There is something magical about making bread yourself. Bread it's a symbol of livelihood, and to be in control of such a critical aspect of our lives is truly satisfying. Sourdough bread is even more unique, as you also control the type of yeast you use to make it grow.
Today, we'll show you how to make homemade pumpkin bread from scratch.
If you are here, we imagine you've already started your sourdough, which is now bubbling somewhere in your kitchen. If not, making it is so easy, and Patrick Ryan explains it very well in this video.
The secret to a good sourdough bread is in the ingredients used during the fermentation process, and in the kneading. We make our sourdough starter using a mix of white and wholemeal organic flour. The fewer chemicals seep into the yeast, the better. Also, make sure you use filtered or mineral water during the feeding, as sourdough doesn't like the calcium found in tap water.
Our Pumpkin Sourdough bread recipe is a step up from the classic sourdough loaf, ideal if you crave something new. On top of the many health benefits of fermented foods, you'll also get those from pumpkin: vitamins, antioxidants, and extra fibres.
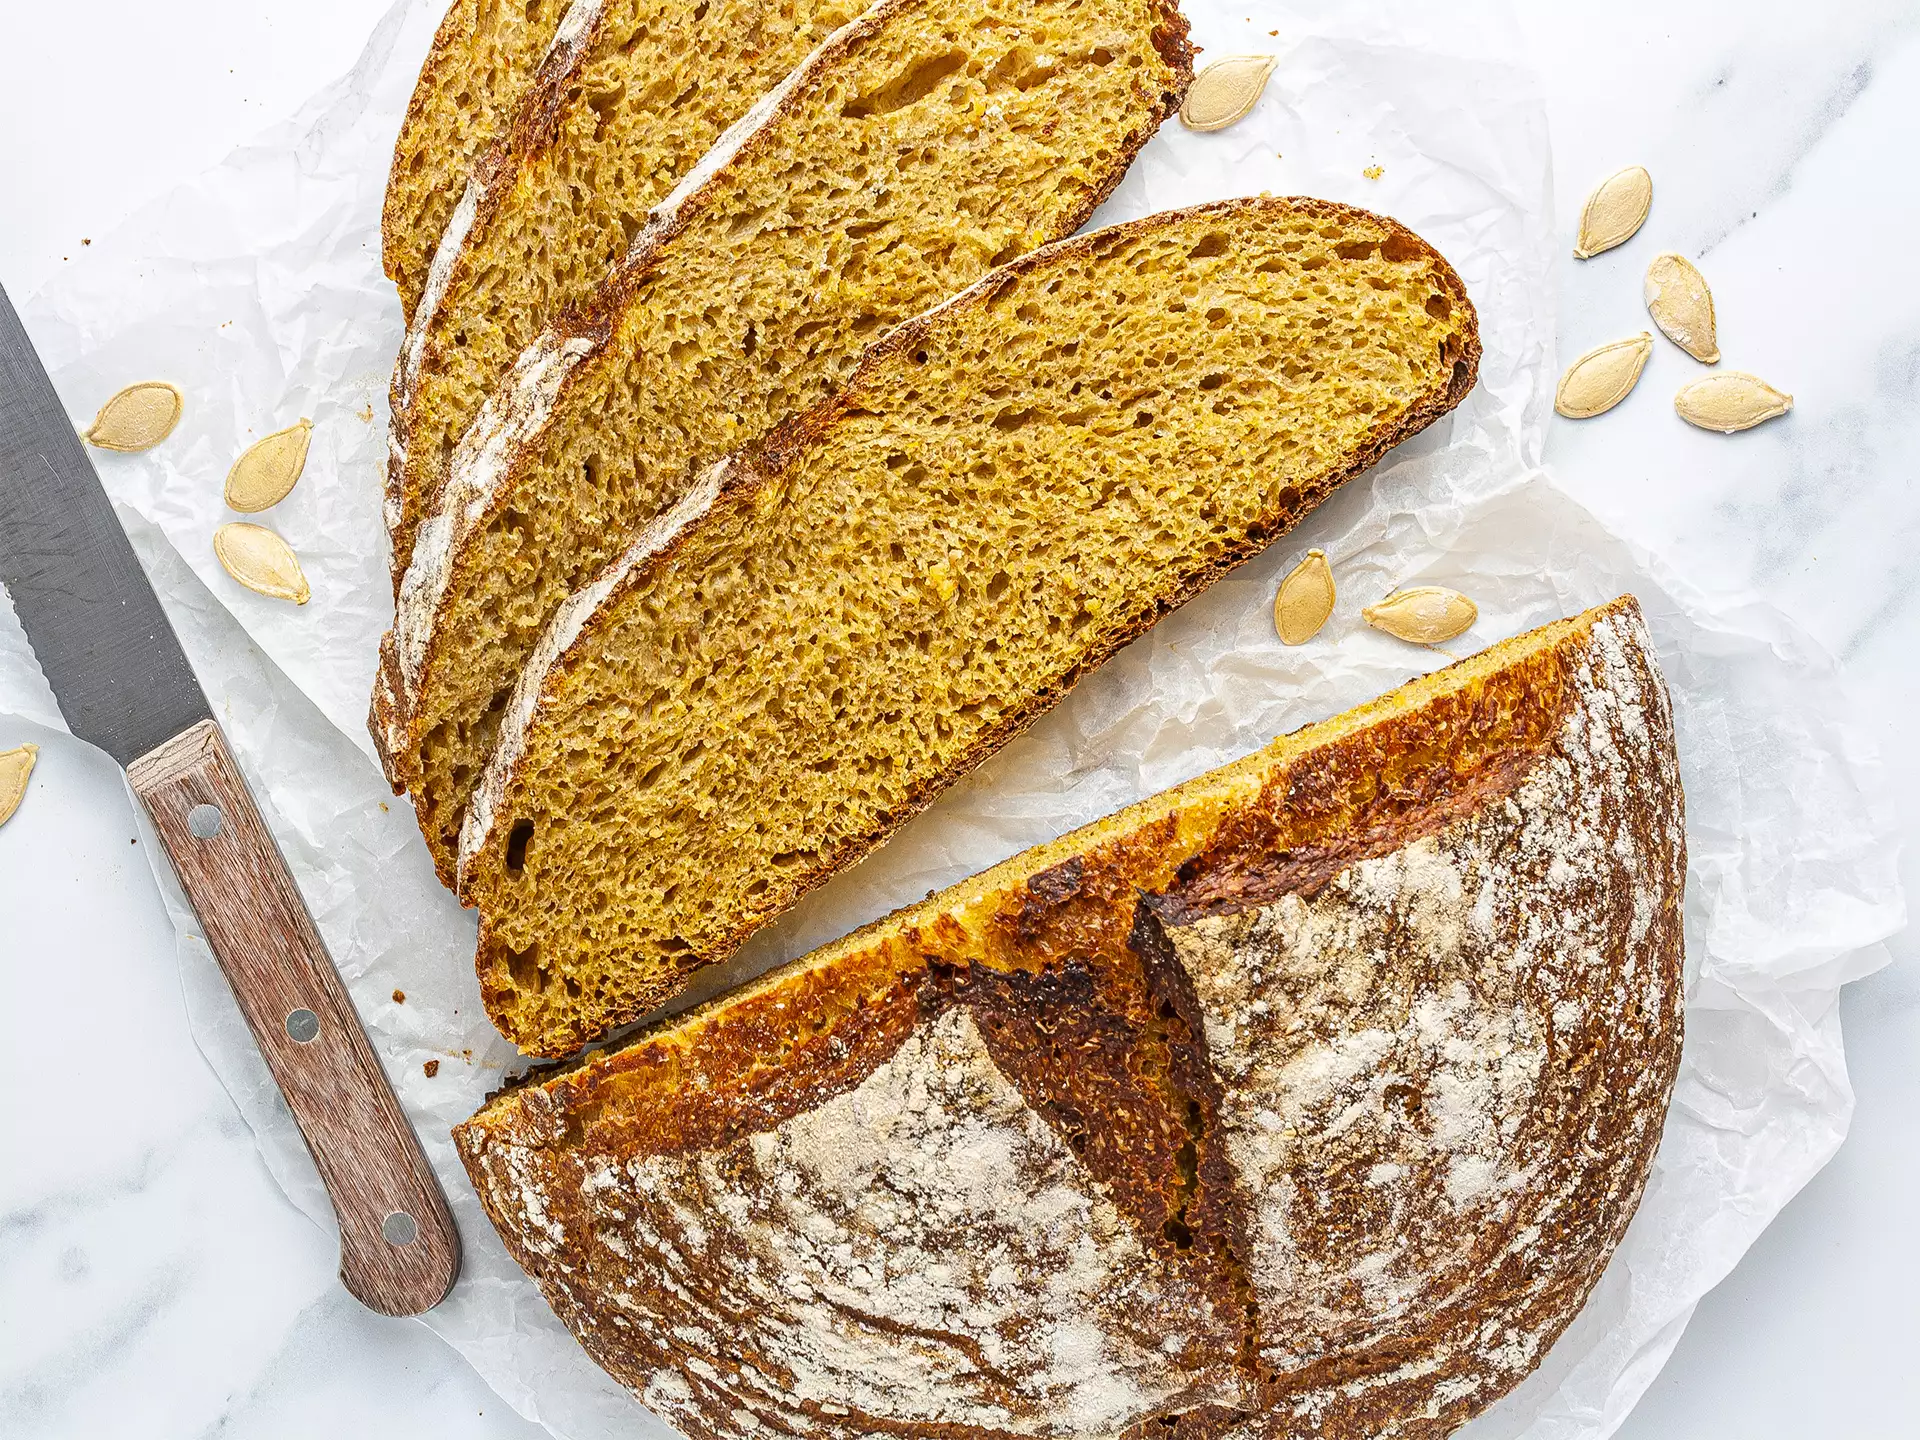
Moreover, the pumpkin gives such a pretty colour to this loaf, your family and guests are bound to be impressed! And the best thing is, our recipe is so easy to pull off. We are sure you are going to love this. Ready? Let's do this!
NOTE: The default ingredients yield one 800g (1.7 pounds) loaf and one serving consists of two 40g (1.4 oz) bread slices.
Can I use this recipe for a bread maker?
Yes you can! We used to make bread using our bread making maching, until it broke. Then we went back to kneading by hand. So you can do it both ways.
We found out that by kneading by hand, we are getting better results, as we are more in control. We usually keep kneading until we can stretch it out very thinly without ripping it.
How do I make sourdough easier to digest?
We never had problems digesting our sourdough bread, but folks with partial gluten intolerance may. So we have done some research on the matter.
Turns out, the longer you let the sourdough prove in a cold place, such as your fridge, the easier it will be to digest. The gluten is what may make bread hard to digest, and letting the dough prove for longer allows the yeast to break down the gluten. This, in turn, makes it easier for your body to digest the bread.
A longer proving time also improves the bread flavour. That's why we let our bread prove for at least 7 hours. So whether or not you have trouble digesting gluten-rich bread, we recommend you let your bread dough prove as long as we do.
Can I use canned pumpkin puree?
Yes, you can. But use half the amount we mentioned in the ingredients above. We used raw pumpkin which, once turned into a puree, loses about half of its weight.
Do I have to use bread flour for this recipe?
Bread flour, or strong flour, has more gluten content than plain, all-purpose flour. Gluten is essential to baking (non gluten-free) traditional loaves. It is the protein responsible for the bounciness and stretchiness of the dough. Without it, the bread would be prone to cracking and wouldn't grow as much.
Strong wheat flour, whether white or wholemeal, is the primary choice for traditional sourdough, but you may also experiment with rye flour or spelt flour, either alone or mixed with wheat flour.
Finally, you can augment your flour mixes with gluten itself, by buying and using the vital wheat gluten product.
Can I freeze the sourdough bread?
You can freeze sourdough bread, just as much as any other loaf.
What you will notice with homemade sourdough, is that it doesn't turn stale as easily and as quickly as store-bought bread. For this reason, we usually only freeze our freshly baked sourdough loaves if we know we won't finish them within a week.
Why is my sourdough not rising or is overly dense?
If you sourdough starter is young (made within the last 2 weeks), then don't worry too much about getting a flat loaf. Chances are, your yeast is still weak and needs a bit more feeding before giving you those bubbly bread slices.
But a flat or overly dense loaf may also be the result of insufficient proving and kneading.
You should let the bread prove for four hours after kneading, and three more hours after transferring it into its mould (i.e. banneton).
As far as kneading goes, you know your bread is ready when your dough passes the so-called windowpane test.
The test consists in stretching out the edge of the dough so thinly that it turns into an opaque membrane. This membrane should be thin enough to let a source of light through, hence window pane. The dough is ready if this membrane doesn't rip once held up in the air for a handful of seconds.
What can I use instead of a proving basket?
If you don't have a banneton, you can use a standard bowl to prove your sourdough, such as a salad bowl or mixing bowl.
Line it with a tea towel and then dust it with flour before placing the rolled dough in - always with the seam side up. Then cover the dough with the flaps of the tea towel, and you're all set up for the second proving.
Made with natural rattan, the banneton is a proving basket used by many pro bakers as it provides extra support to the rising dough and prevents it from spreading. Also, it gives a gorgeous floury ring pattern to the bread crust.
So, if you're into bread making, we definitely recommend you get one of these bannetons, they come in all sort of shapes too!
What can I use to bake this pumpkin bread in?
In this recipe, we have used the ceramic bread cloche by Emile Henry, which is absolutely fantastic, worth every penny. However, you can also use any oven-proof lidded pot such as Dutch oven, pyrex casserole dish, roaster, or bread baker.
The lid locks the steam inside the baking dish, meaning the bread will get a lovely golden crust.
But don't worry if only have a baking tray, you can still make this sourdough recipe. Just dust it with flour, and place the bread over it.
To create the steam required to crisp up the loaf crust, place a second tray or oven-proof dish at the bottom of the heated oven, and when you're ready to bake, pour boiling water into the hot dish.
Ingredients
| Peeled Raw Pumpkin | 390 g |
| Extra Virgin Olive Oil | 1 tbsp |
| Wholemeal Bread Flour | 150 g |
| White Bread Flour | 270 g |
| Salt | 5 g |
| Sourdough Starter | 175 g |
| Lukewarm Filtered Water | 100 mL |
Step 1
Make sure to weigh the raw squash without the skin. If instead, you prefer to use pumpkin puree, then check out our FAQ below for extra tips.
Dice the pumpkin, and toss it with extra virgin olive oil on a baking tray. Then, roast it for 20 minutes at 200°C (390°F) for static ovens or at 180°C (355°F) for fan ovens.
When the squash chunks are soft and can be easily poked through with a fork, transfer them to a food processor and blitz them into a smooth puree.

Step 2
In a mixing bowl, combine wholemeal bread flour, white bread flour, and salt. Then, add the prepared mashed pumpkin, sourdough starter, and lukewarm water (1).
Work the ingredients until they come together and then transfer the mixture to a floured worktop.
Knead the dough, pressing it down and forward with the heel of your hand, then fold back, turn sideways, and repeat (2).
The pumpkin dough will feel a bit more sticky than the classic one, but try not to add to much flour when you work it.
To help develop the gluten, knead for at least 15 minutes or until you have a smooth and elastic dough.


Step 3
Roll the dough into a ball and transfer it to a bowl, preferably a plastic one. Cover with cling film and leave the sourdough to prove for 4 hours in a warm place.
You can cover it with a blanket or place it in a turned-off oven.
You'll see the dough grow in volume as time goes by.

Step 4
After the first proving, knock back the dough to remove excess air and stabilize its temperature.
Then shape it into a tight round ball by tucking it under, creating a smooth top.
Then, transfer the dough with the seam side facing up to a proving basket dusted with flour. If you don't have a banneton, check our FAQ below for other options.
Cover with a tea towel and leave to prove for another 3 hours.

Step 5
Turn the proved dough onto the floured base of a cloche or dutch oven. Check our FAQ below for more options on how to bake the loaf.
Make sure the seam side is now facing down, while the domed side is facing up.
Dust the top with a bit of flour, score the loaf surface with a sharp knife or baker blade and cover with the bread baker lid.
Bake at 250°C (480°F) for static ovens for 40 minutes.
The bread is ready when it has formed a nicely browned crust, and it sounds hollow when tapped.
Leave the pumpkin sourdough to cool completely on a wire rack before slicing.

Tips
Make sure you have fed your sourdough starter the night before you plan to bake this pumpkin loaf. To do so, add the amount of flour and the same amount of water as the weight of your sourdough starter. For example, if you have 100g (3.5oz) of sourdough starter, then add 100g (3.5oz) of flour and 100ml (3.5 fl oz) of water. Then, stir and leave the starter at room temperature ready for the following morning.
If you want to save time, you can leave the sourdough to prove overnight in the fridge and then bake it in the morning.