Making yogurt at home is such a satisfying and rewarding experience. Just like with sourdough bakes, you leverage microorganisms and help them turn ordinary ingredients into wonderful food. Today, we'll show you how to make oat milk yogurt, without using a machine. All you need is a thermometer.
If you do have a machine, then all the better! We will include instructions below on how to do this with a yogurt maker as well.
To get a thick and creamy yogurt, we need to create the right environment for the yogurt cultures to thrive and work their magic. What we need is heat. Our ingredients have to incubate between 40°C and 45°C degrees (104°F - 113°F), for 6 to 12 hours. The steadier the temperature, the shorter the incubation time.
A yogurt machine makes all of this easy. We sadly lost ours during a recent house removal. We took this as an opportunity to make yogurt like in the olden days.
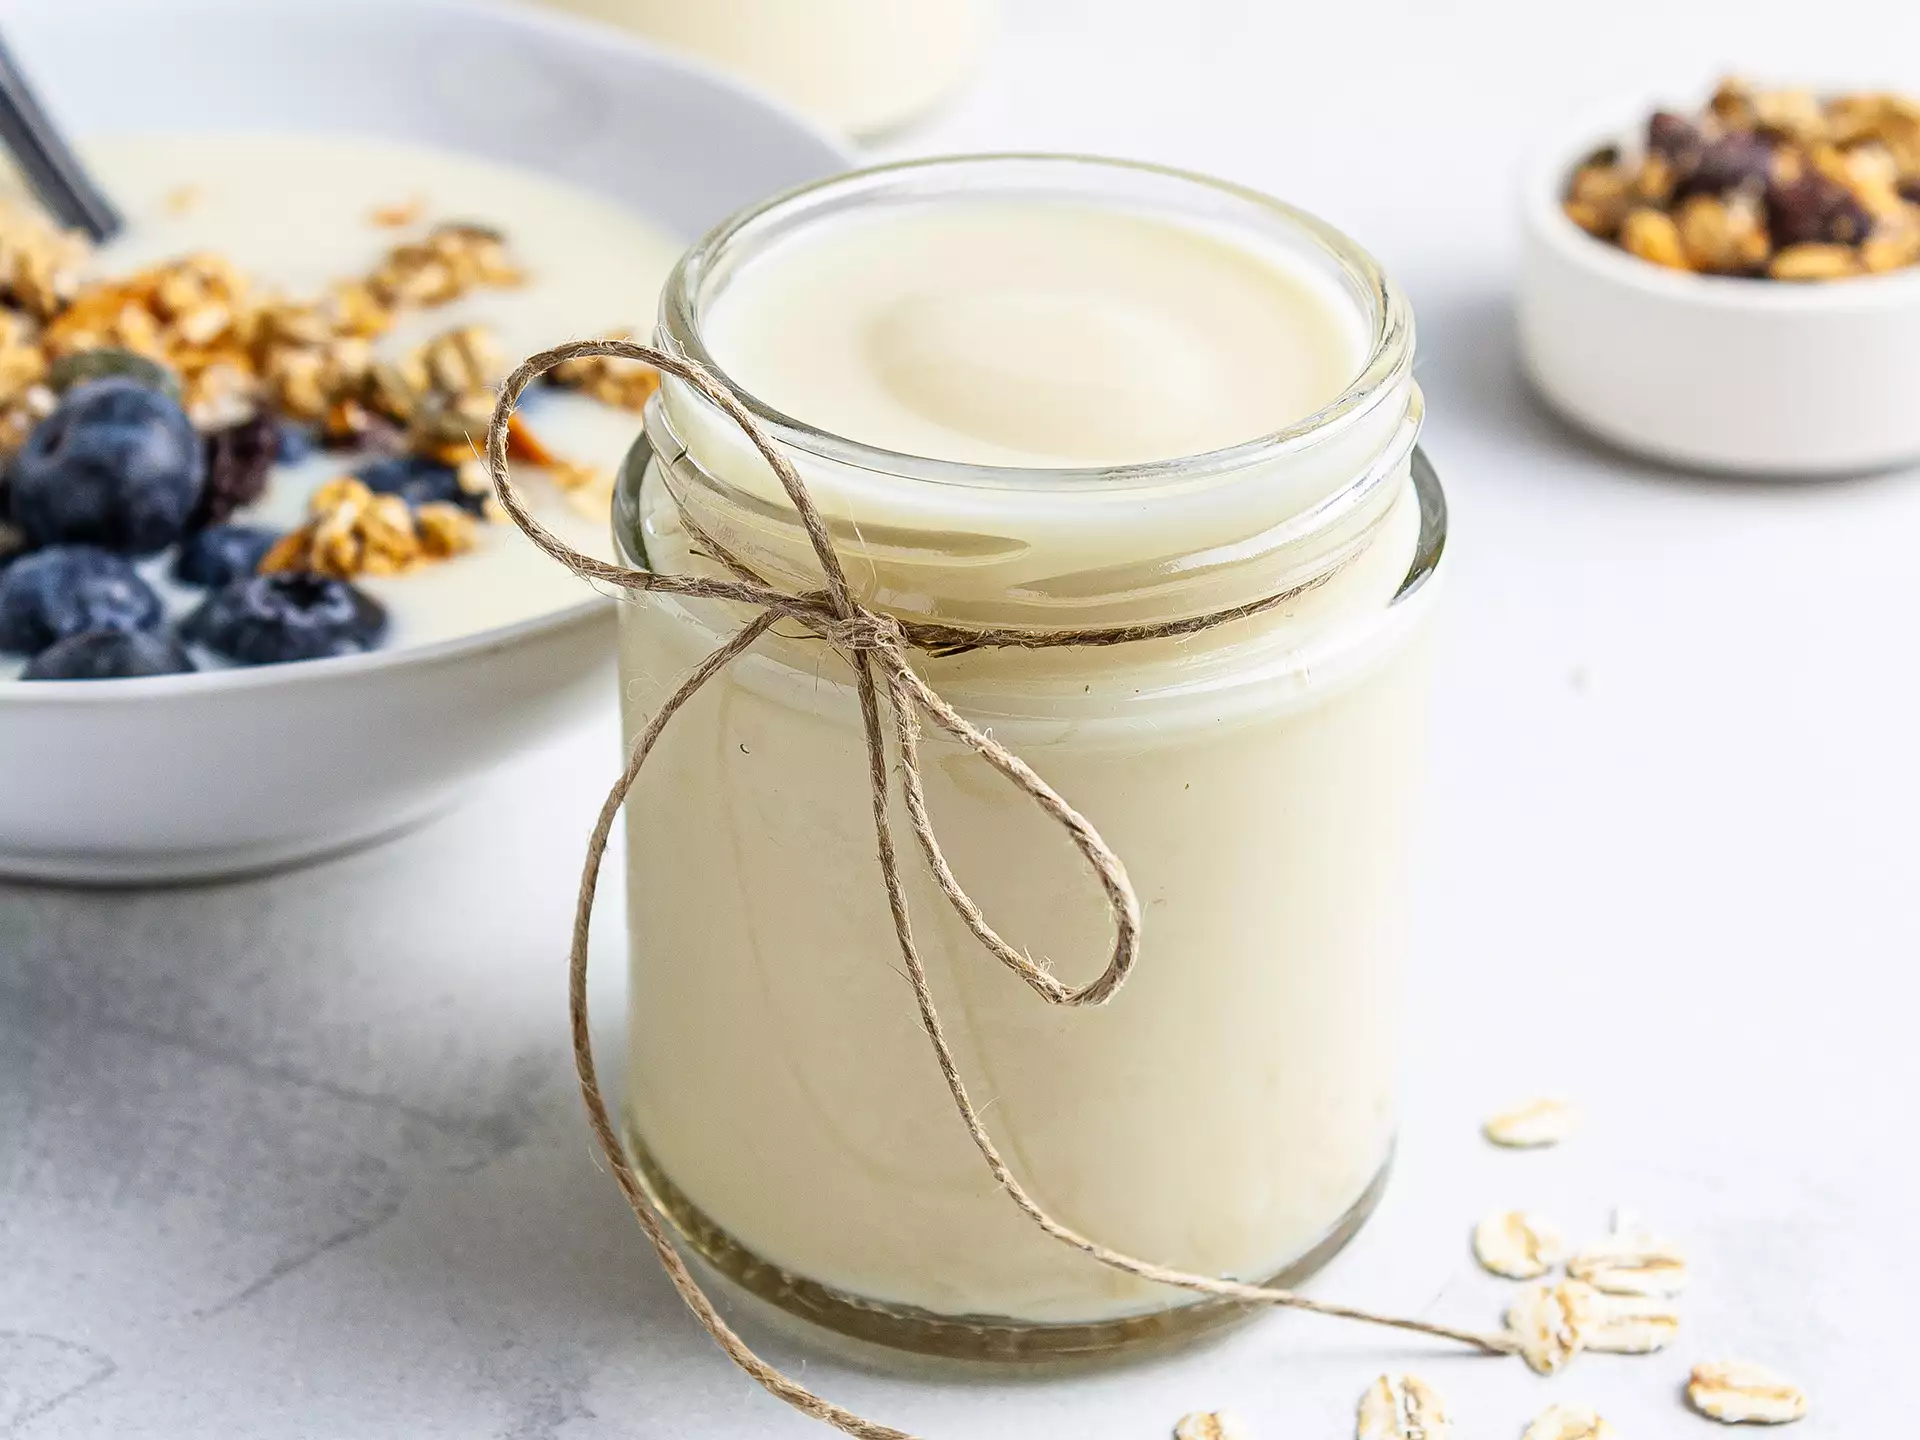
There are many suggestions online on how to replace a yogurt incubator. We experimented extensively with the water bath technique, and are quite happy about the results. Our yogurt is dairy-free, vegan, and so very flavourful. The consistency we got is between greek and drinking yogurt — a perfect match for granola and fruit.
Once you have yogurt, you can re-use some of it to "restart" the process and keep making more. We tell you how to do this in the tips at the bottom of the page. Are you excited? We sure are! Let's do this together.
How do you sterilise jars for yogurt?
It's very important to sterilise the jars or pots before pouring the yogurt in. This is because you want only the bacterial cultures from your starter to proliferate.
Start by cleaning the jars with hot soapy water and then place them in a deep saucepan.
Cover them with water, bring to a boil, and simmer covered for 15 minutes.
Then, transfer the jars onto a clean towel to drain excess water. Without touching the inside of the pots, immediately seal the caps.
Keep the jars in the heated oven at 30-50°C (80°-120°F) up to when you're ready to use them.
Is this plant-based yogurt healthy?
Making your own yogurt from scratch means you have complete control over the ingredients.
Plant-based yogurts are a healthy alternative to the classic ones as they have a fraction of the calories and fats.
However, many store-bought brands are packed with hidden sugars and additives, which may offset the benefits of vegan yogurt.
In this recipe instead, we tried to keep the ingredients list to a minimum: we used unsweetened oat milk, very little starch, and a bit of xantham gum. That's it!
A 150g (5oz) serving of this homemade yogurt has only 89 kcal and 5g of sugars and 2.5g of fats, which cover 6% and 4% your recommended daily intake (RDI) for these nutrients respectively.
How do I thicken homemade yogurt?
If you want to make your vegan yogurt thick and dense, here are a few tricks you can try:
Increase the fat content
Classic yogurt is made with whole milk which has a higher amount of fat than plant-based drinks. The animal fat helps to make the yogurt creamy. In this recipe, you can increase the amount of fat by adding a few tablespoons of canola oil to the oat milk and whisking well before heating it.
Heat the oat milk for longer
Keeping the milk at 85°C (185°F) for 10 to 20 minutes will help proteins to "denature" better. They will unfold and become loose, ready to coagulate later on, thickening the yogurt.
Increase the amount of starch
We tried to use as little starch as could. If it means keeping the recipe as raw as possible, we don't mind if our yogurt is slightly runnier. It's still delicious and healthy!
However, you can add more starch to get a thicker result. Make sure you sift it and whisk it in a bit of cold milk before adding it to the milk in the pan.
Ingredients
| Unsweetened Oat Milk | 1 L |
| Potato Starch | 3 tbsp |
| Xanthan Gum | 1 tsp |
| Yogurt Starter Culture Sachet | 1 |
Step 1
Pour a bit of cold oat milk in a small bowl and add sifted potato starch and xanthan gum.
Whisk the ingredients until the powders are completely dissolved in the liquid.
Then, transfer the mixture into a saucepan, pour in the remaining milk, and mix well.

Step 2
Make sure you have a baking thermometer at hand to check the milk temperature with accuracy as this is vital to the success of your yogurt.
Turn the hob to low heat and bring the milk to 85°C (185°F), that is before the boiling point.
It will take about 30 minutes for the milk to reach this temperature, so check it regularly with the thermometer.

Step 3
Now, transfer the milk into a clean bowl and leave it to cool down at room temperature until it reaches 45°C (113 °F).
It will take about 1-2 hours to reach this temperature, but you can speed it up by placing the bowl into a larger one filled with cold water.
Next, dissolve the yogurt culture in a cup with a little bit of the warm milk and then incorporate the mixture back into the bowl.
Our vegan starter sachets contain about 2g (0.1 oz) of bacterial culture powder.

Step 4
Divide the milk among sterilised jars.
For tips on how to sterilise your containers, check out our FAQ below.
If you have a yogurt maker, then simply place the jars in the machine and follow the manufacturer instructions. Most machines complete the process in around 6 hours.
If instead, you don't have one, you can incubate the yogurt pots into a hot water bath for 12 hours.
To do so, place the sealed jars in a bowl or deep tray filled with warm water at 45°C (113 °F), wrap all with cling film, and cover with a wool blanket.
The water must remain between 40 and 45°C (104-113 °F) for the cultures to be active. So check the temperature regularly, every hour.
Replace cold water with warm water to maintain the proper temperature.

Step 5
After the incubation period, check that the yogurt is dense and that it has developed its characteristic acidic flavour.
You can leave it to incubate for up to 24 hours for a more sour taste.
Finally, transfer the jars into the fridge and refrigerate for 3 to 6 hours.
You can now enjoy your homemade oat milk yogurt!

Tips
For extra flavour, add a teaspoon of vanilla extract.
You can reculture the yogurt again using 3 tablespoons of ready yogurt instead of a new sachet of bacterial culture. Also, you'll only have to incubate the yogurt for 3 to 6 hours.