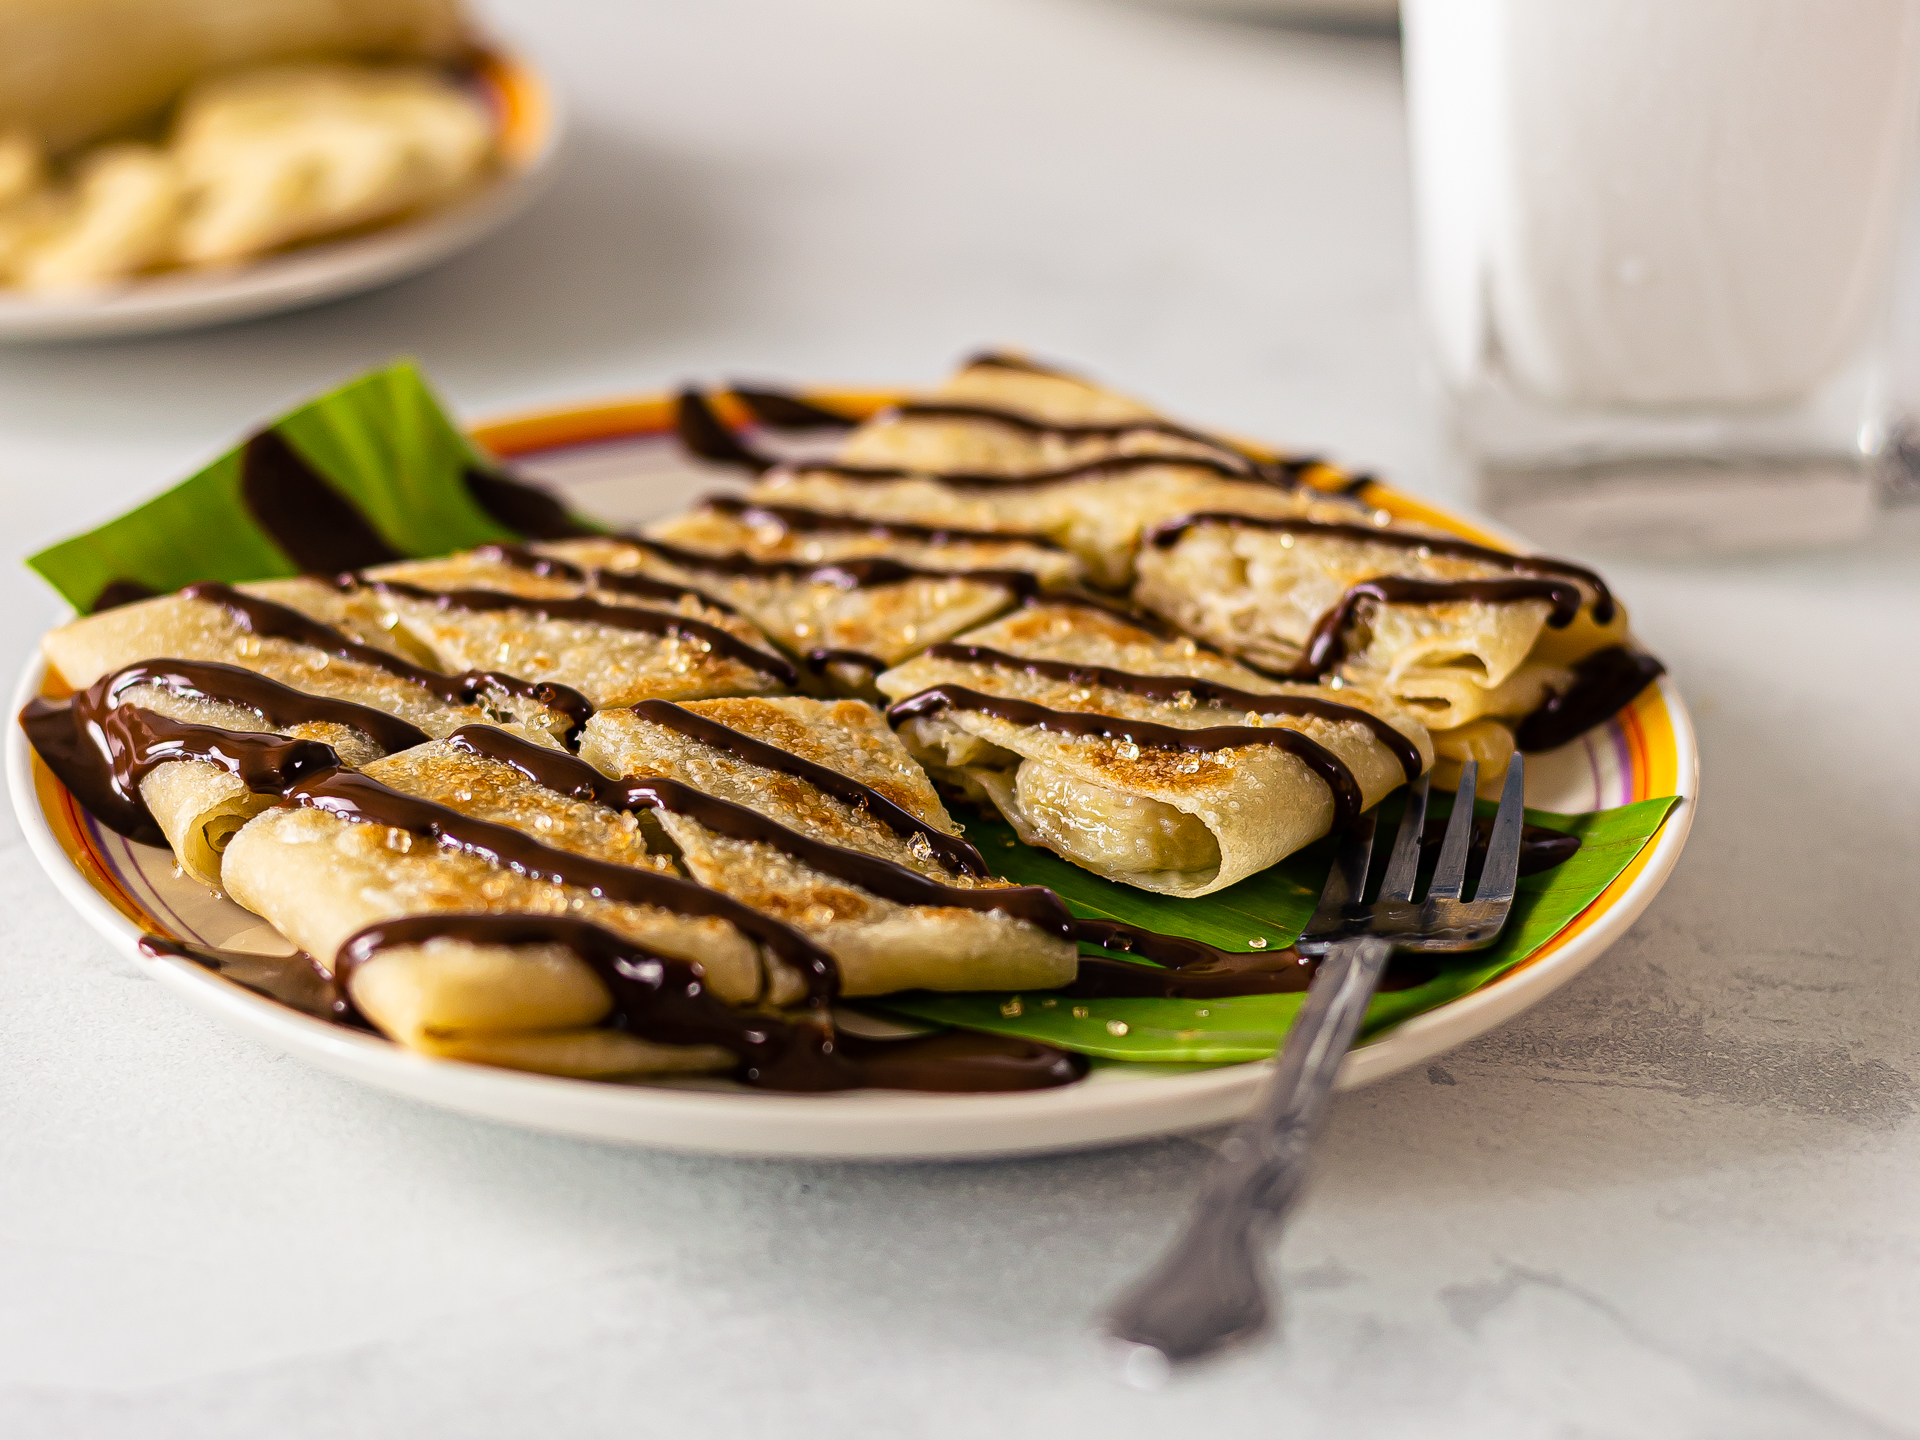
If you want to know how to prepare those sweet banana pancakes they sell at Thai street food stalls, you're in the right place. We'll go through the recipe step by step, and you'll soon be enjoying this mouthwatering roti dessert. Ready for it? Let's go!
Banana pancakes are also known as banana roti or banana rotee in Thailand.
Despite their name, Thai banana pancakes are nothing like your typical fluffy American pancake. Instead, they're like a cross between a stuffed French crepe and a crispy Indian roti flatbread.
Thai-style pancakes consist of a rich, egg-based dough rather than a batter. The dough is allowed to rest for a few hours and then stretched very thinly before being fried on a large hot pan.
The pancake is filled with ripe banana slices, folded like an envelope, and finally cooked until golden.
Thai food vendors will then slice the pancake into bite-sized squares and drizzle it with condensed milk or chocolate sauce. So good!
In the steps below, we'll show you how to prepare the banana roti dough from scratch, but with a few changes compared to the classic recipe.
Thai pancake dough is typically made with flour, eggs, butter, and condensed milk.
But, because we wanted our recipe to be dairy-free, we replaced condensed milk with a little sugar and butter with vegetable oil.
Also, we swapped the condensed milk and chocolate sauce toppings with a healthier, dairy-free alternative: melted dark chocolate. It's optional, but it will make the banana roti even tastier!
As for the banana filling, you want to use very ripe bananas so they'll be sweet and creamy.
While in Thailand, we made the pancakes with lady fingers' bananas, small and pulpy bananas; but the classic Cavendish bananas will do the job just fine.
Oh, and if you want to try another mouthwatering Thai dessert, we think you'll love this coconut blue sticky rice with mango — perfect with a glass of guava pineapple smoothie on the side!
Note: To make this recipe fully vegan, skip the egg and knead the dough for twice as long.
Ingredients
| Plain Flour | 260 g |
| Salt | 1/2 tsp |
| Caster Sugar | 2 tsp |
| Vegetable Oil | 2 tbsp |
| Large Eggs | 1 |
| Water | 100 mL |
| Ripe Bananas | 3 |
| Melted Dark Chocolate (optional to drizzle) | to taste |
Step 1
To make the Thai pancake dough, mix all-purpose flour with salt and sugar in a bowl.
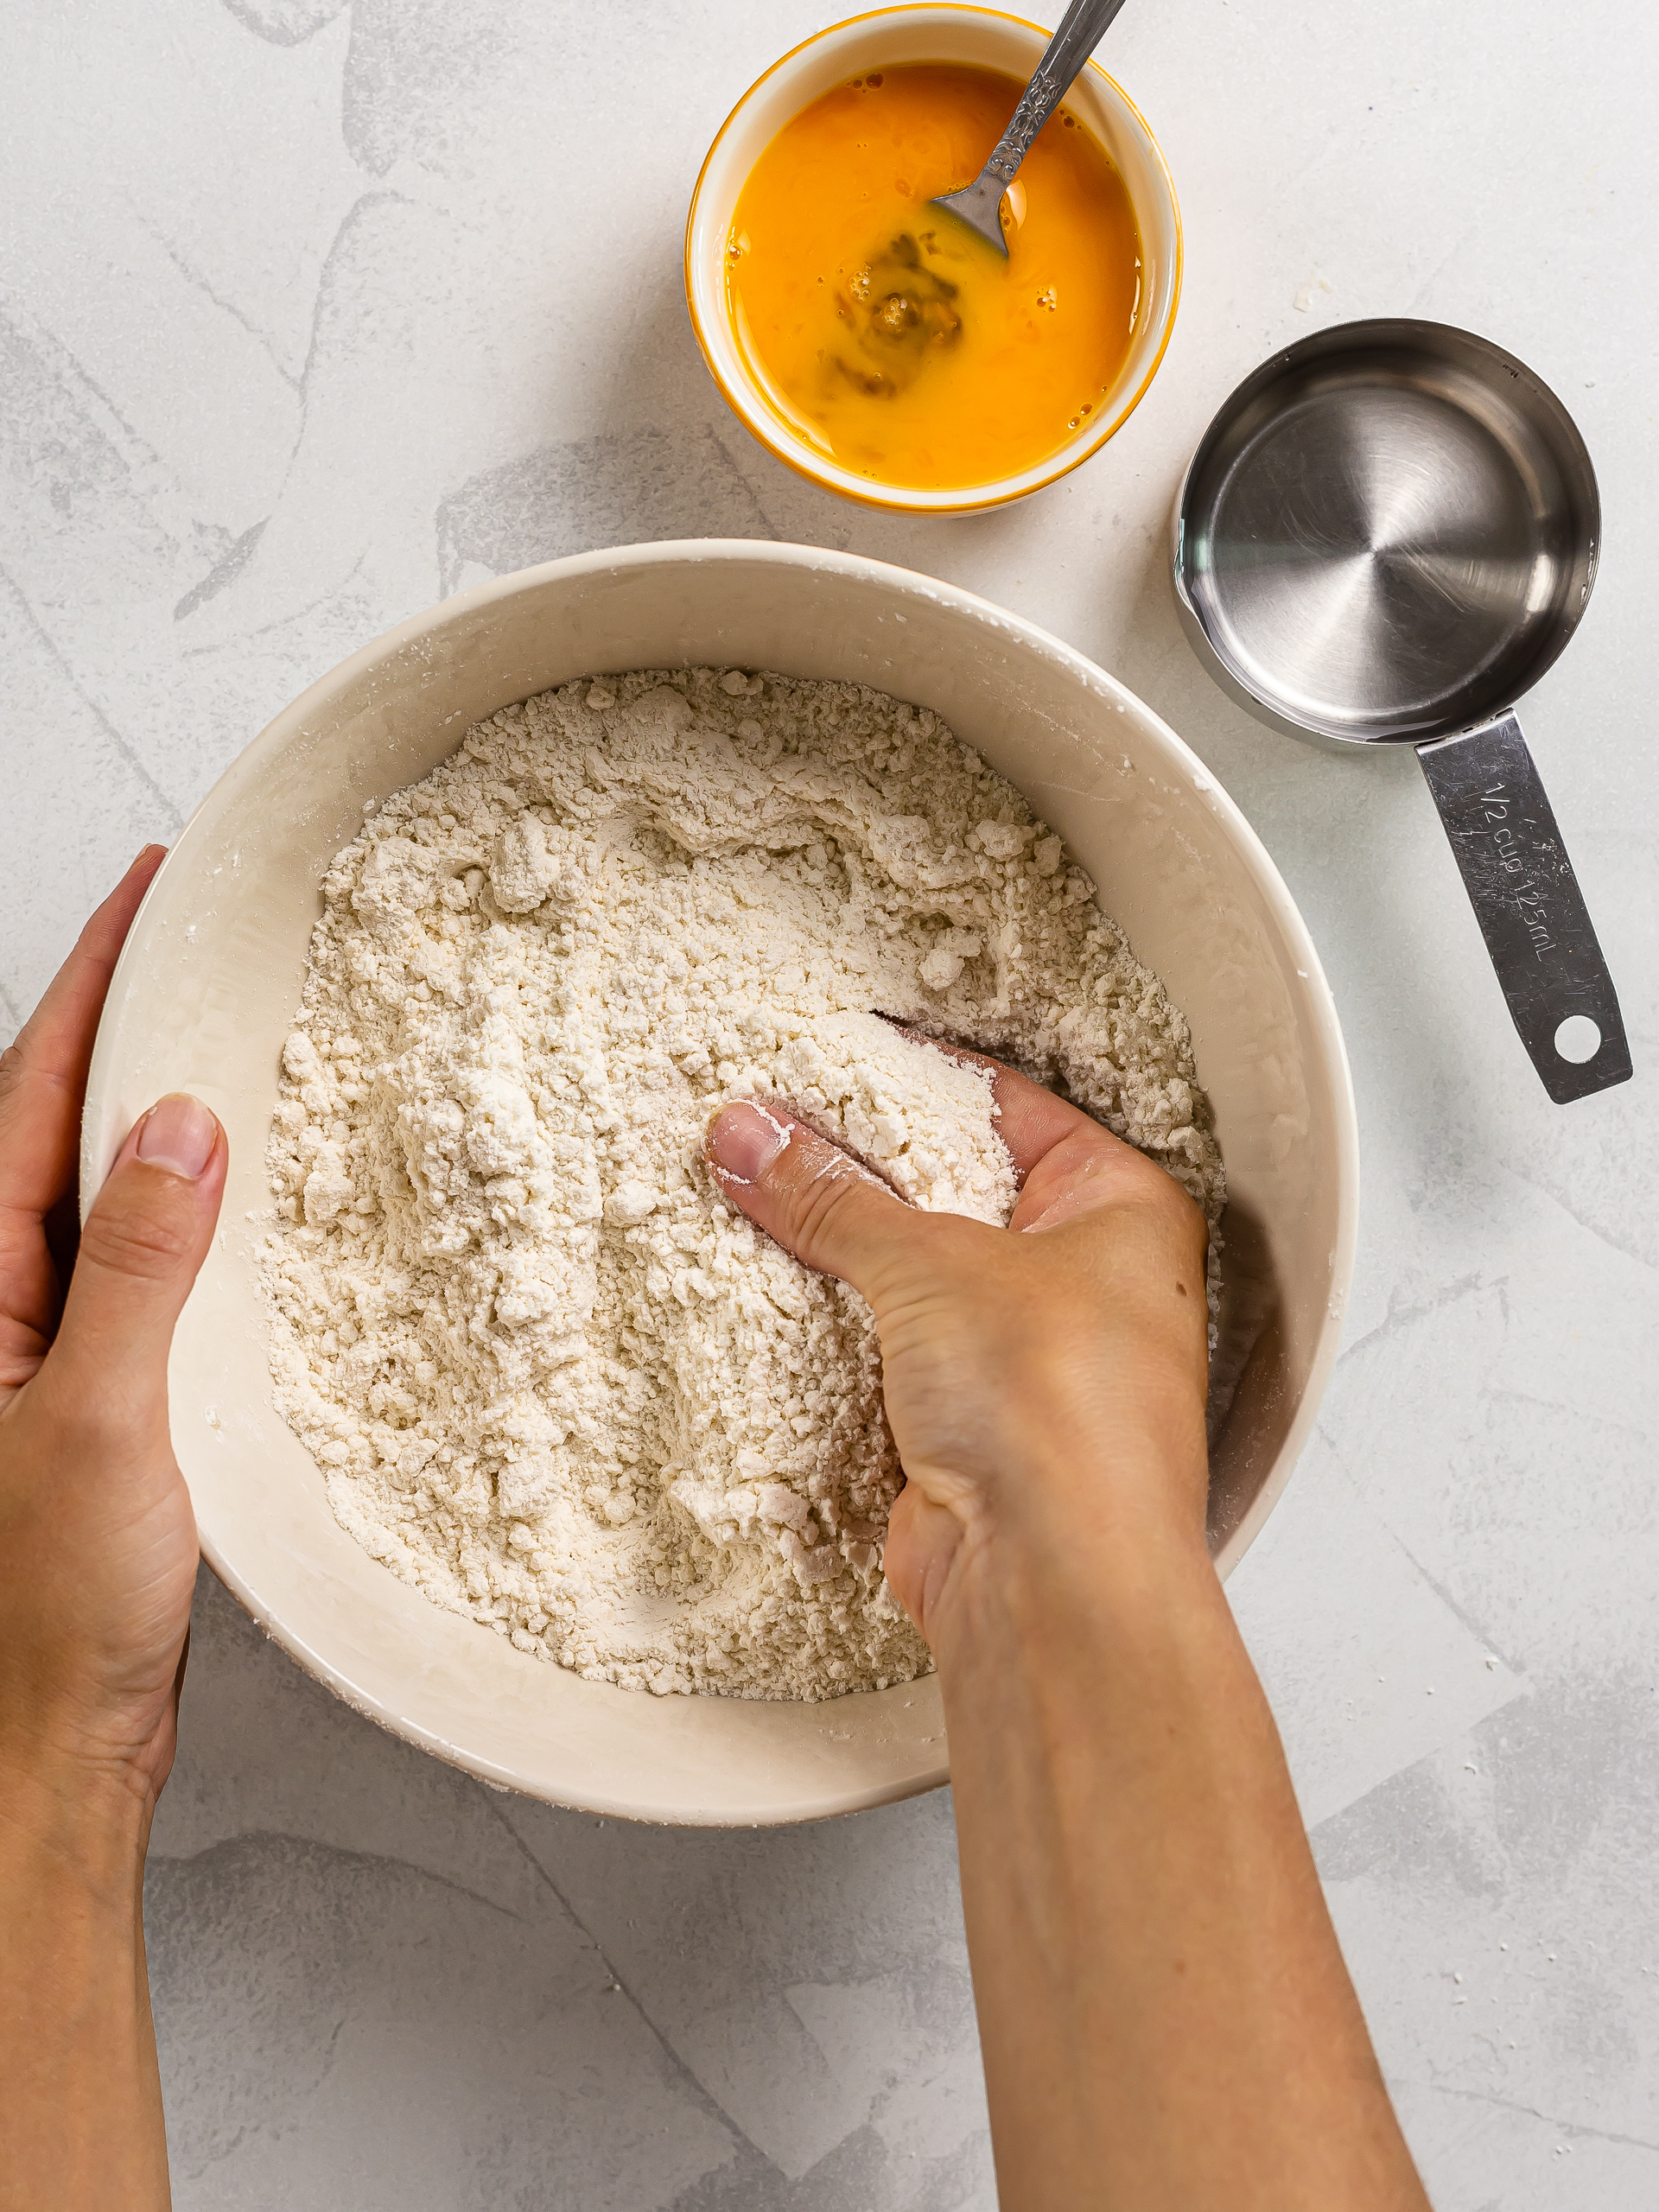
Then, tip in the vegetable oil and rub it into the flour with your fingers until you have a crumbly, sandy mix, as shown in the picture.
Beat the egg in a cup and add it to the flour, followed by water at room temperature.
Step 2
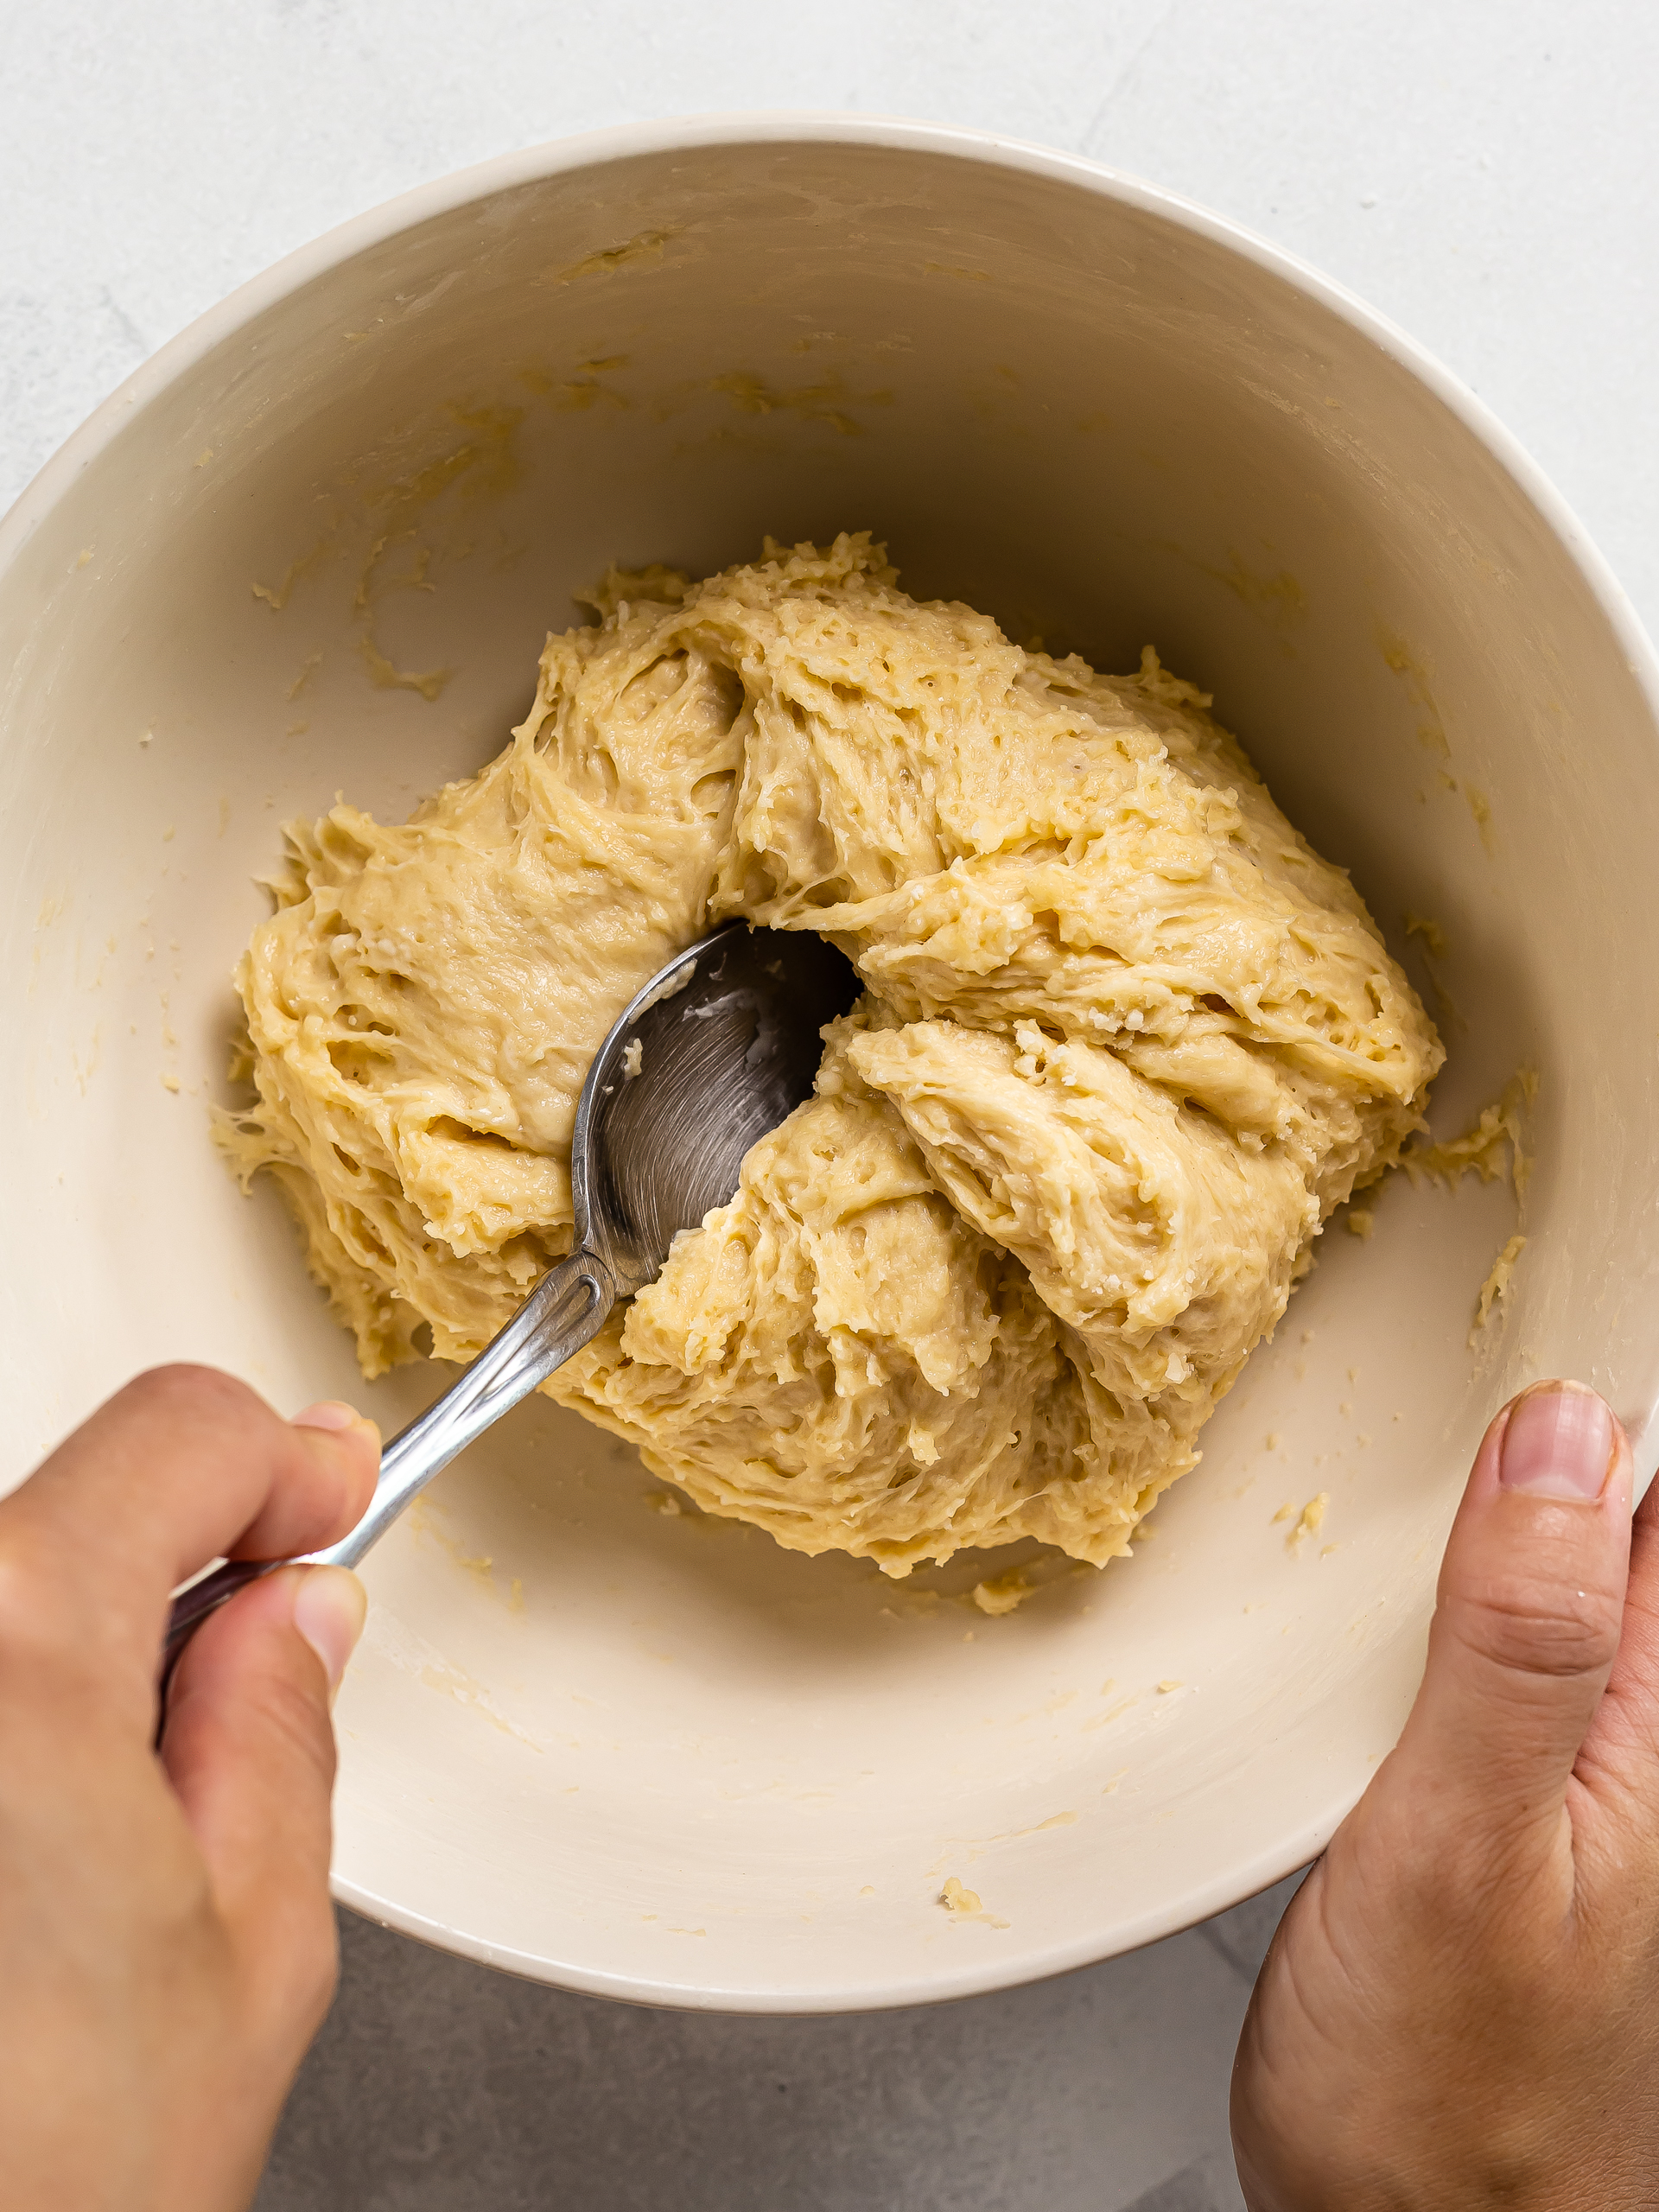
Mix the ingredients with a spoon or spatula until they come together into a rough, lumpy dough.
Keep mixing it until the dough is more uniform and detaches from the sides of the bowl.
Then, wrap the bowl with cling film and let the pancake dough rest for 20 minutes at room temperature.
If you allow the dough to rest, it will be soft, stretchy, and easier to knead in the next step.
Step 3
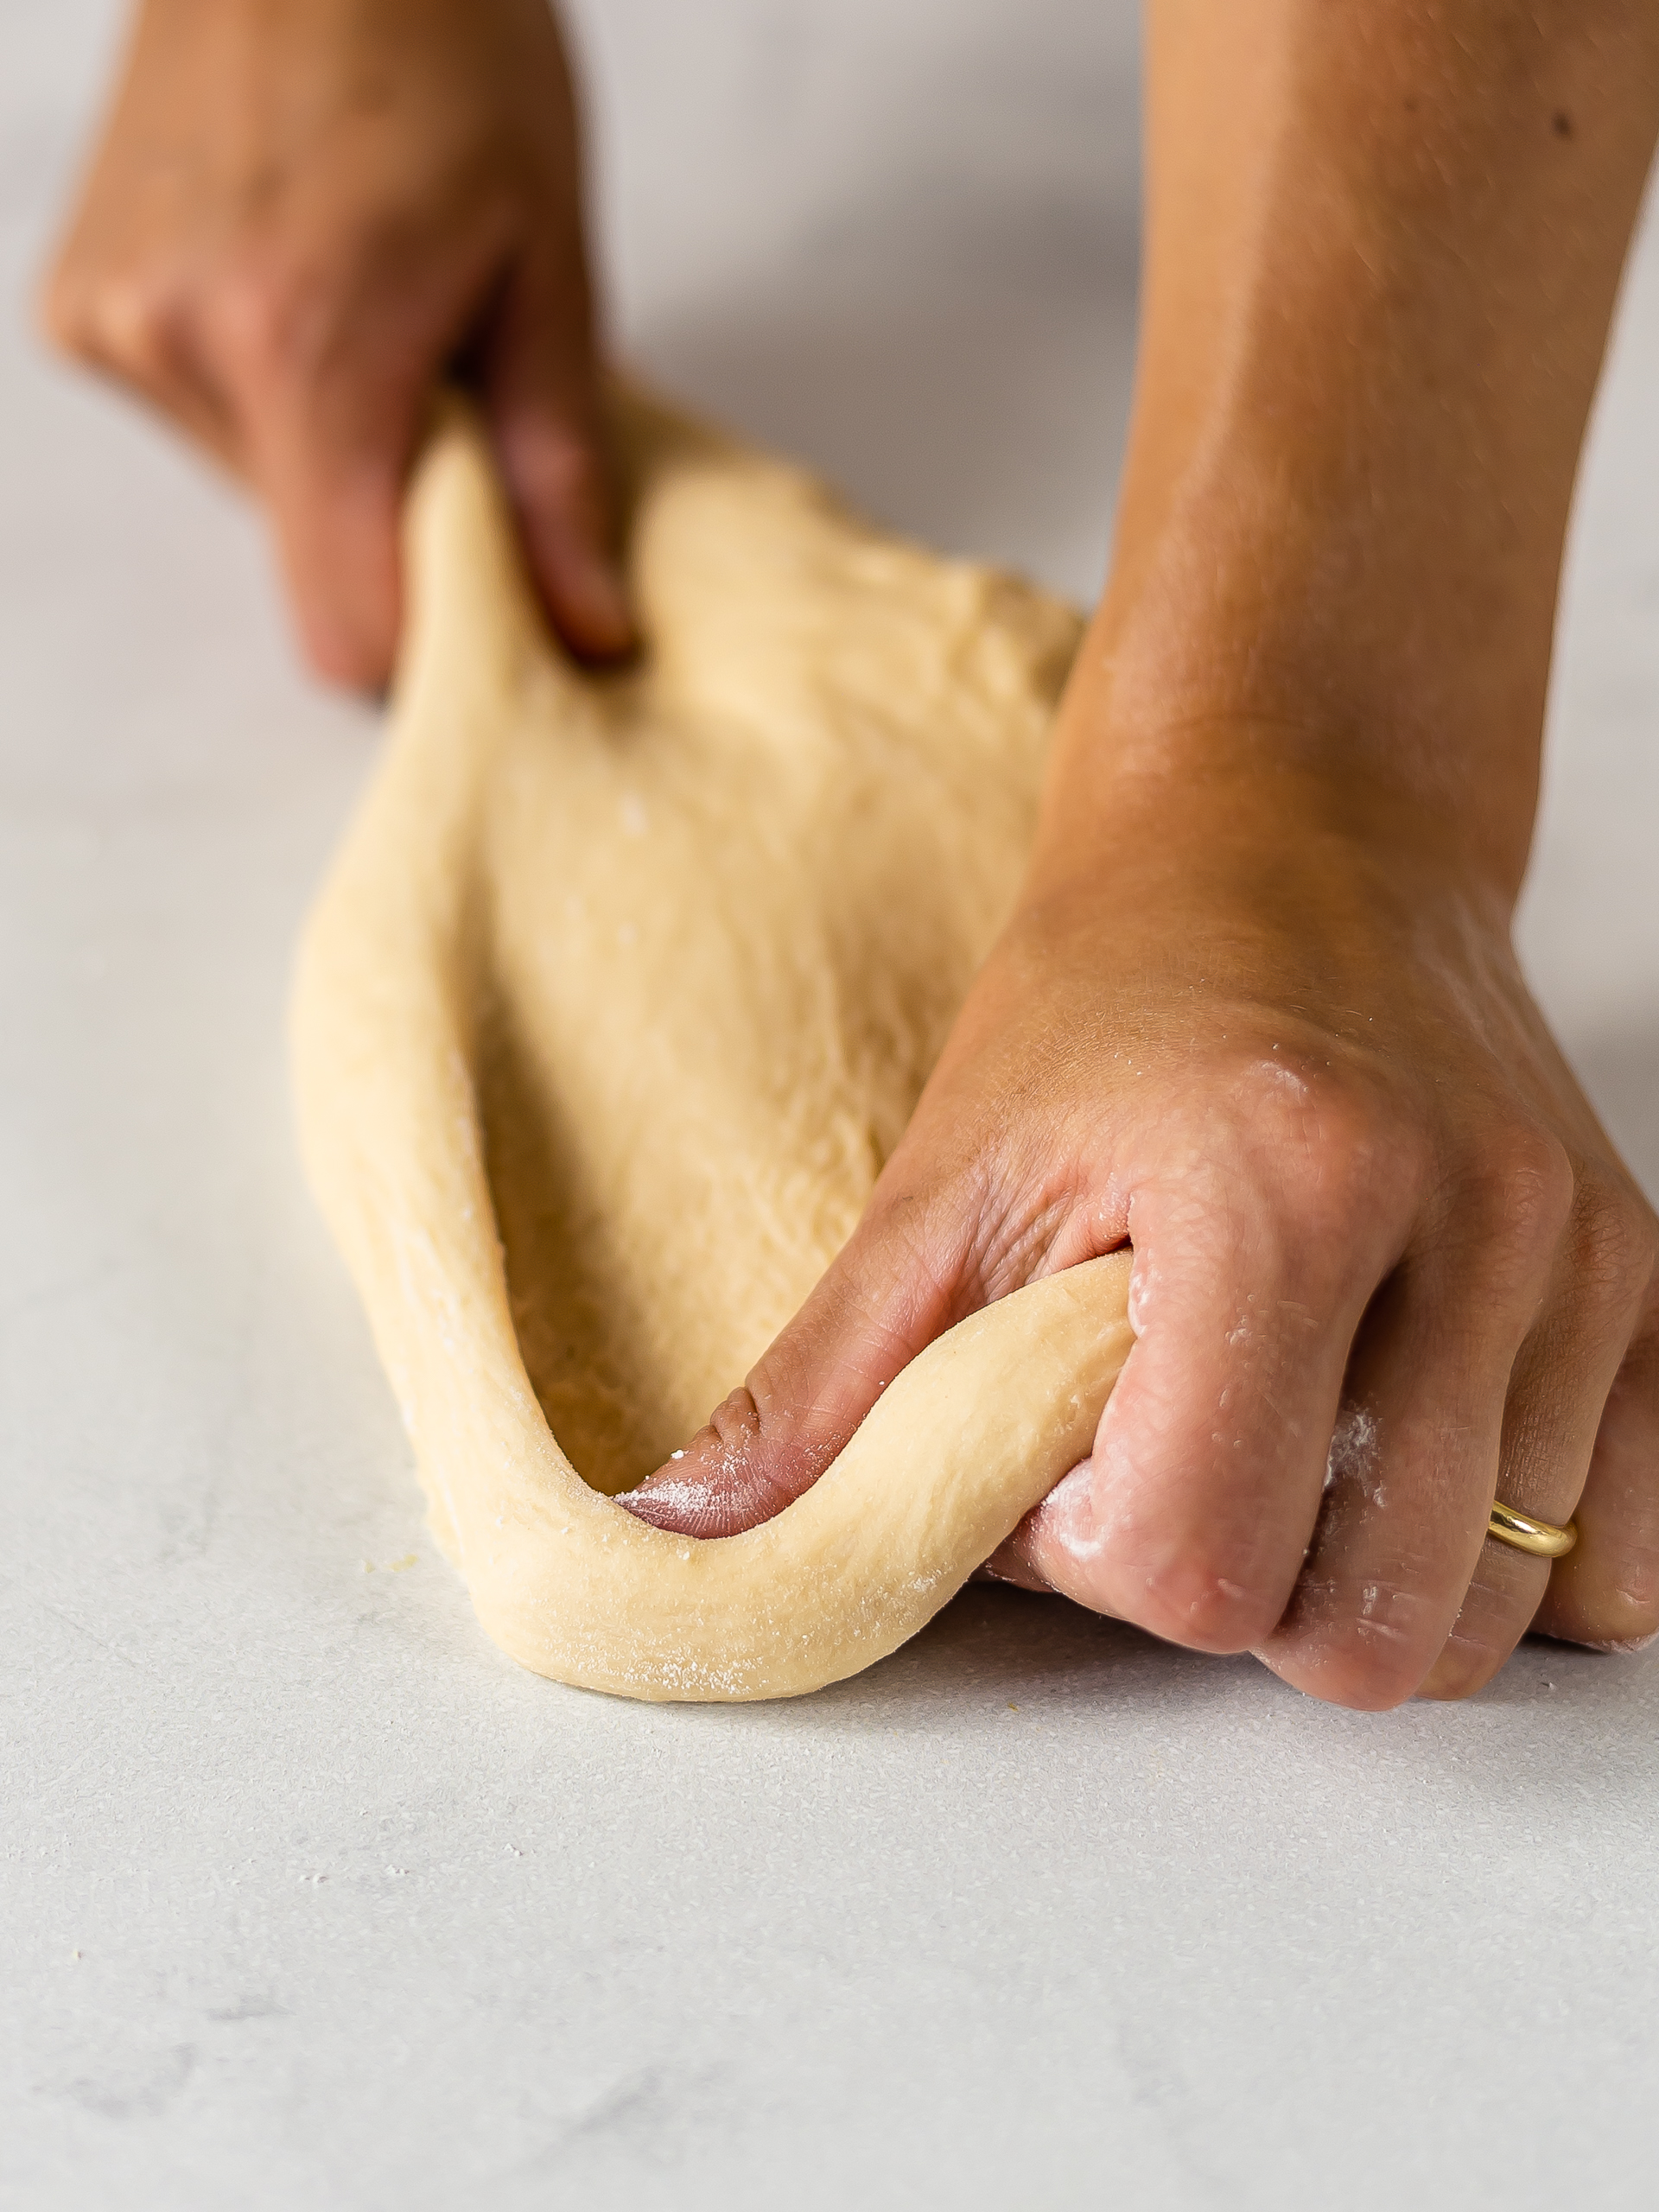
Transfer the dough onto a lightly floured worktop and knead it for 8-10 minutes.
You want the dough to be super smooth, pliable, and elastic, as you'll have to stretch it very thinly to make the pancakes.
The dough will be quite sticky at first, but it will become easier to handle after the first 5 minutes of kneading.
If needed, dust your hands with more flour or use a dough scraper to move the dough around.
However, avoid adding too much flour, or the dough will get dry and hard.
Step 4
Now, divide the dough into as many pieces as the number of servings — 6 for the default ingredients.
Each piece should weigh about 70g (2.5 oz) to make a pancake that fits into a 24cm (9.5 inches) square skillet.
If you're using a larger or smaller pan, you have to make bigger or smaller balls.
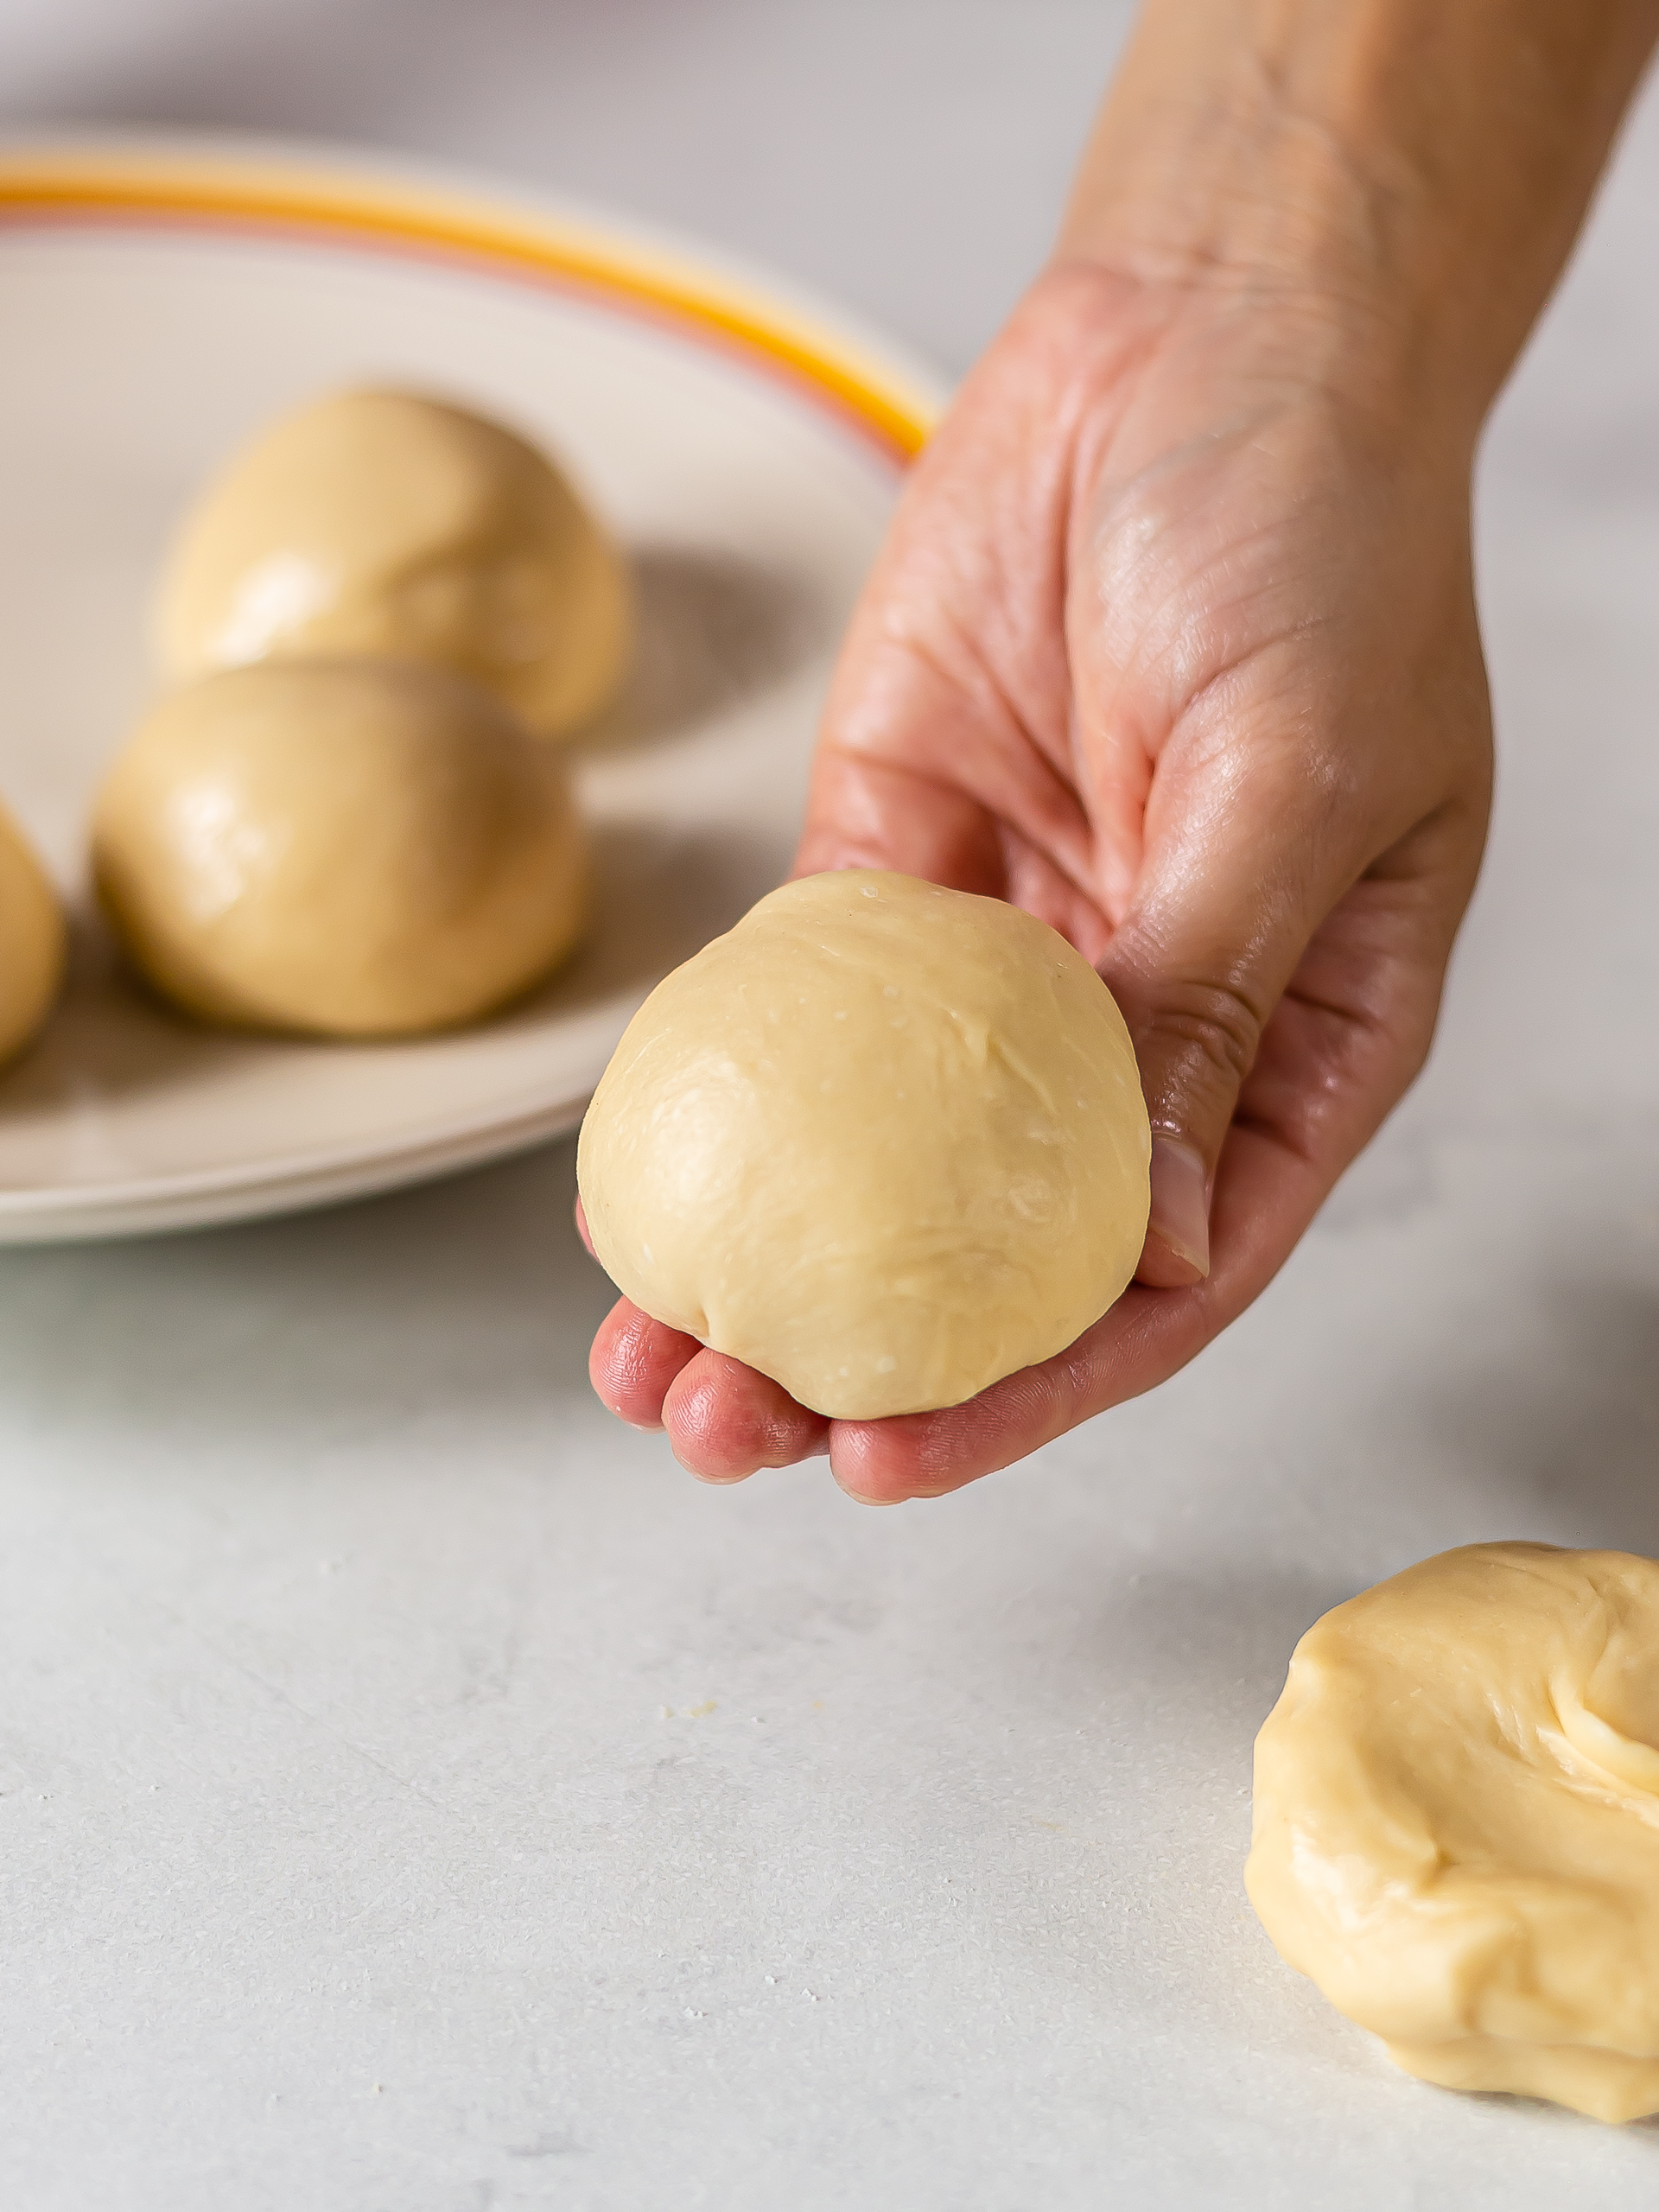
For each dough portion, pull and tuck the sides dough under to make a tight ball.
Then, roll it onto your worktop to smooth it out.
Step 5
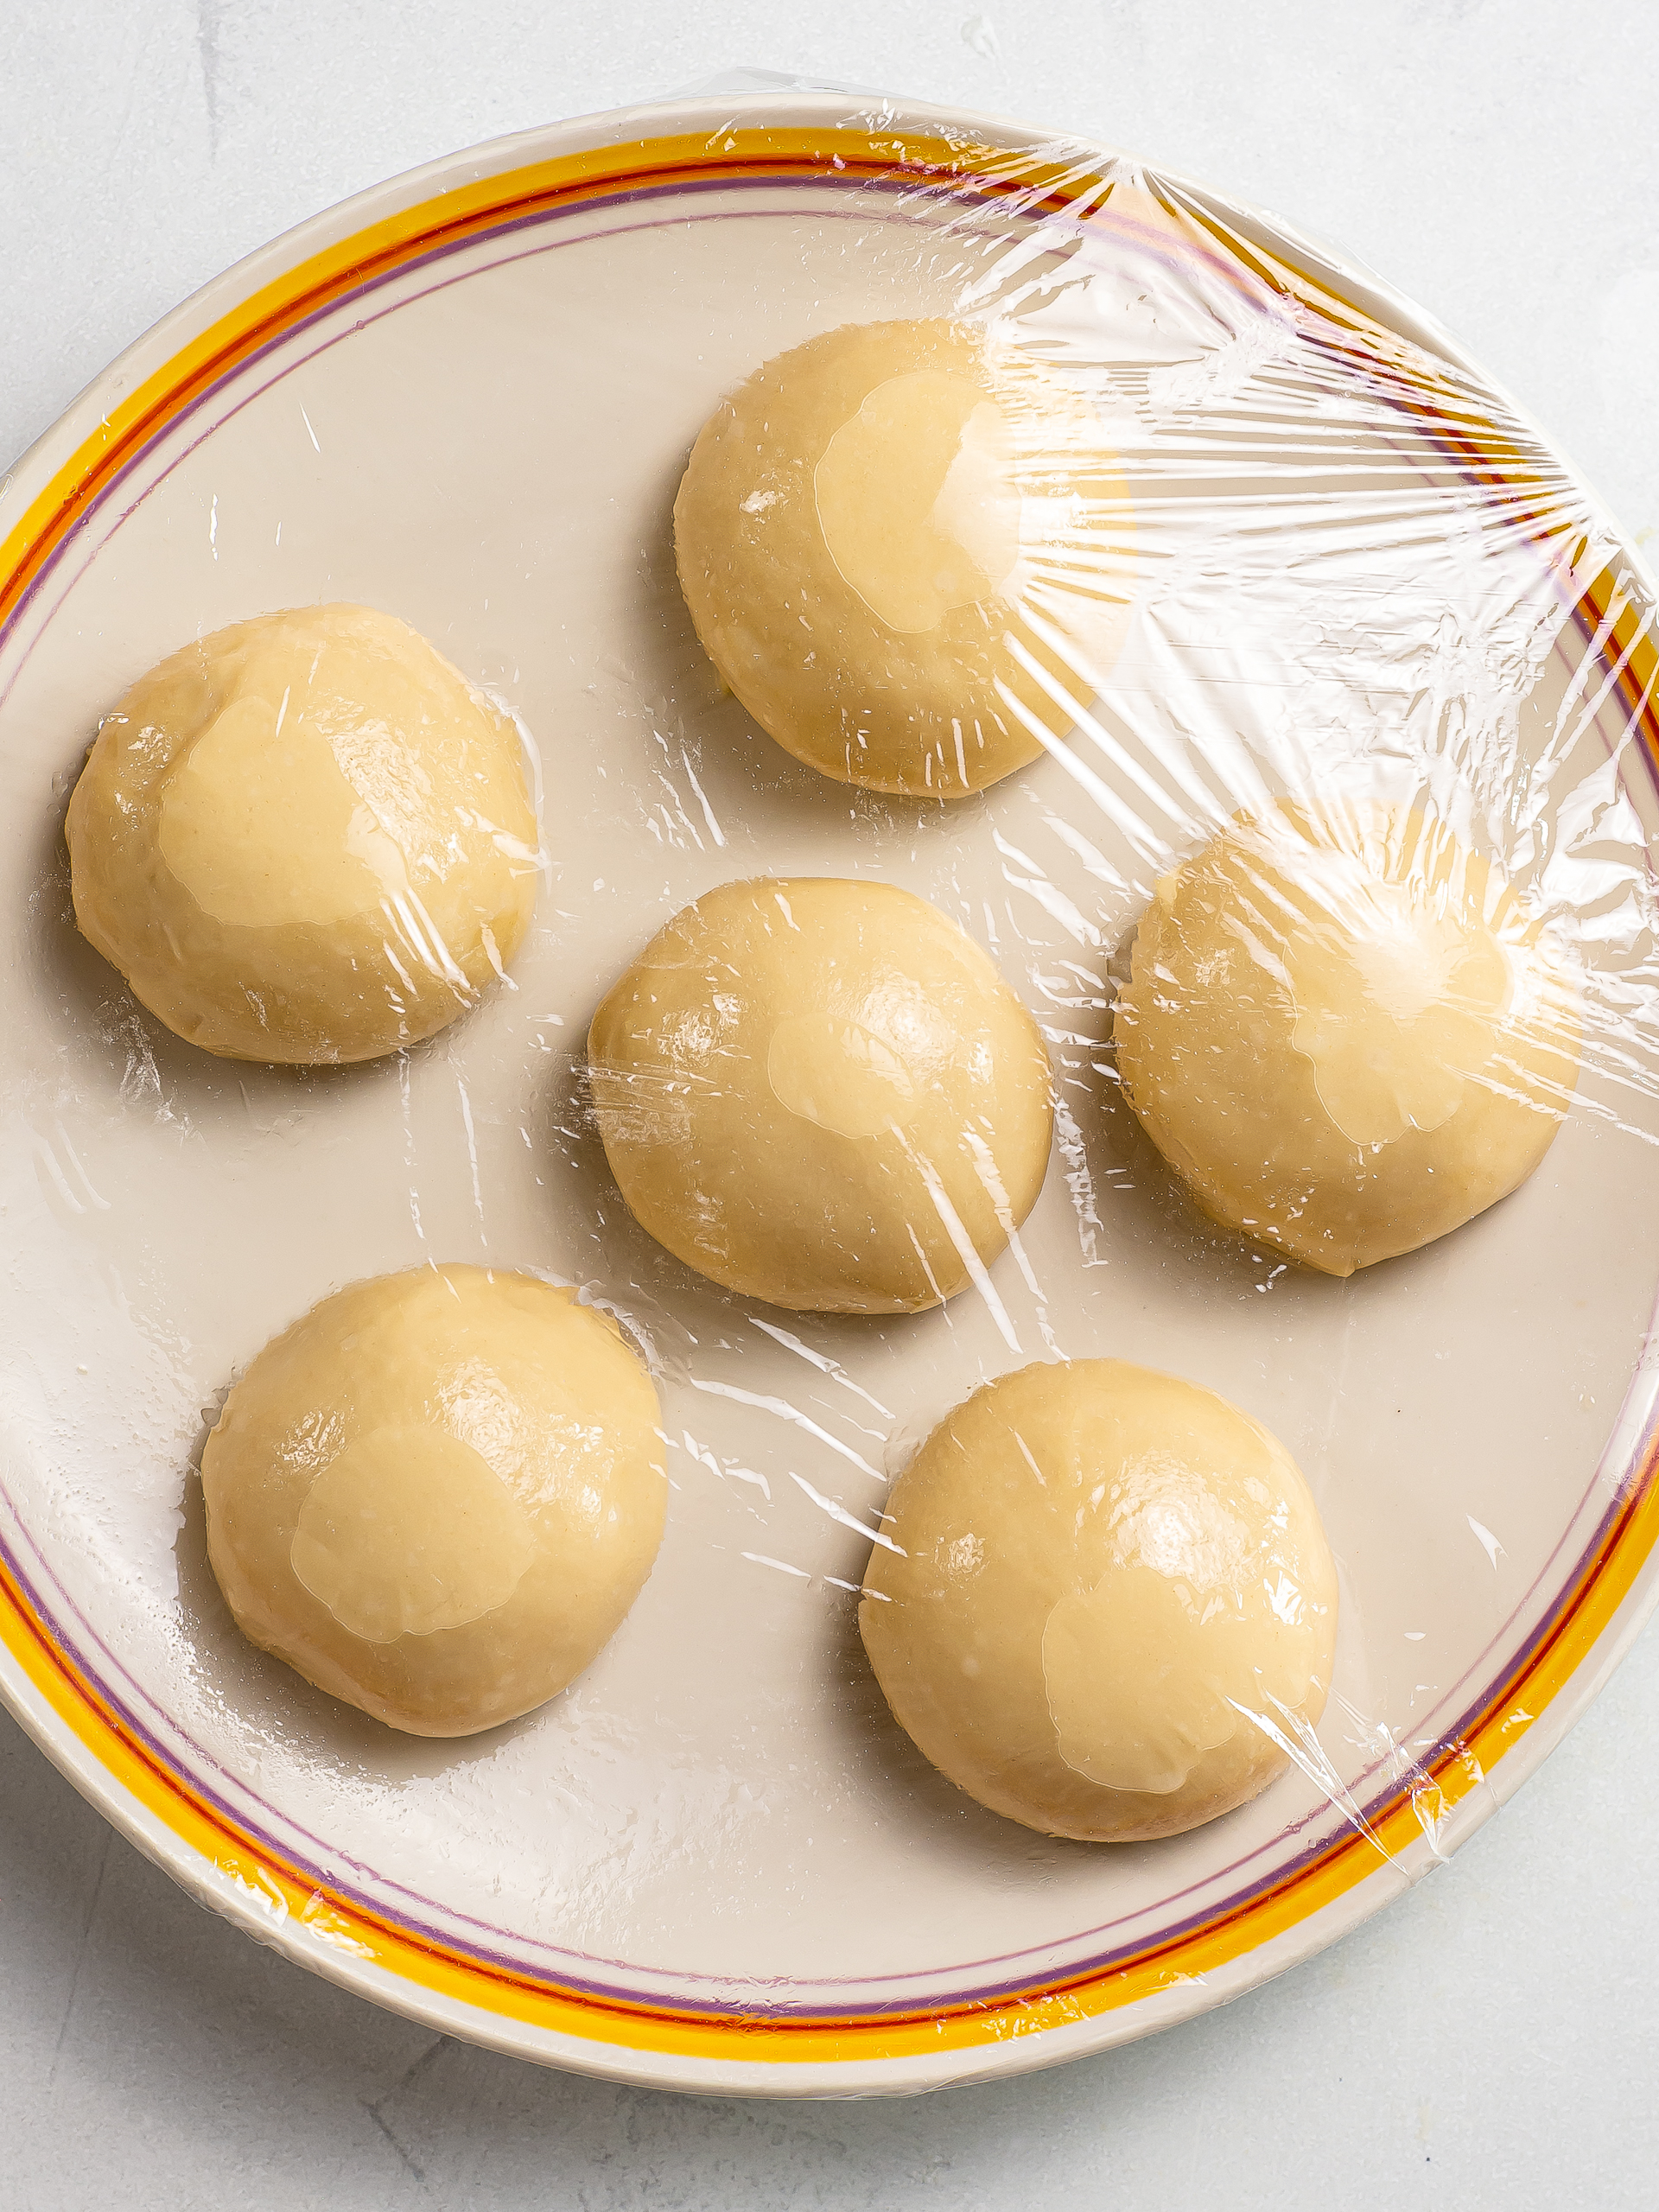
Lightly oil the prepared dough balls and place them on a greased tray or plate, leaving some space in between.
Wrap them in cling film and let them rest for 2 hours at room temperature.
If you let the dough rest properly, the gluten strands will relax, and it'll be much easier to stretch the dough into super thin pancakes.
At this point, you can also transfer the dough balls to the fridge and keep them overnight, ready to make pancakes the next morning.
Step 6
Now, let's shape, fill, and cook the Thai banana pancakes.
Heat a 24cm (9.5 inches) skillet over high heat and grease it with a fair amount of oil — yes, oil is important or you'll end up with some kind of pita bread instead of a Thai pancake!
Peel and slice the bananas, then set them aside.
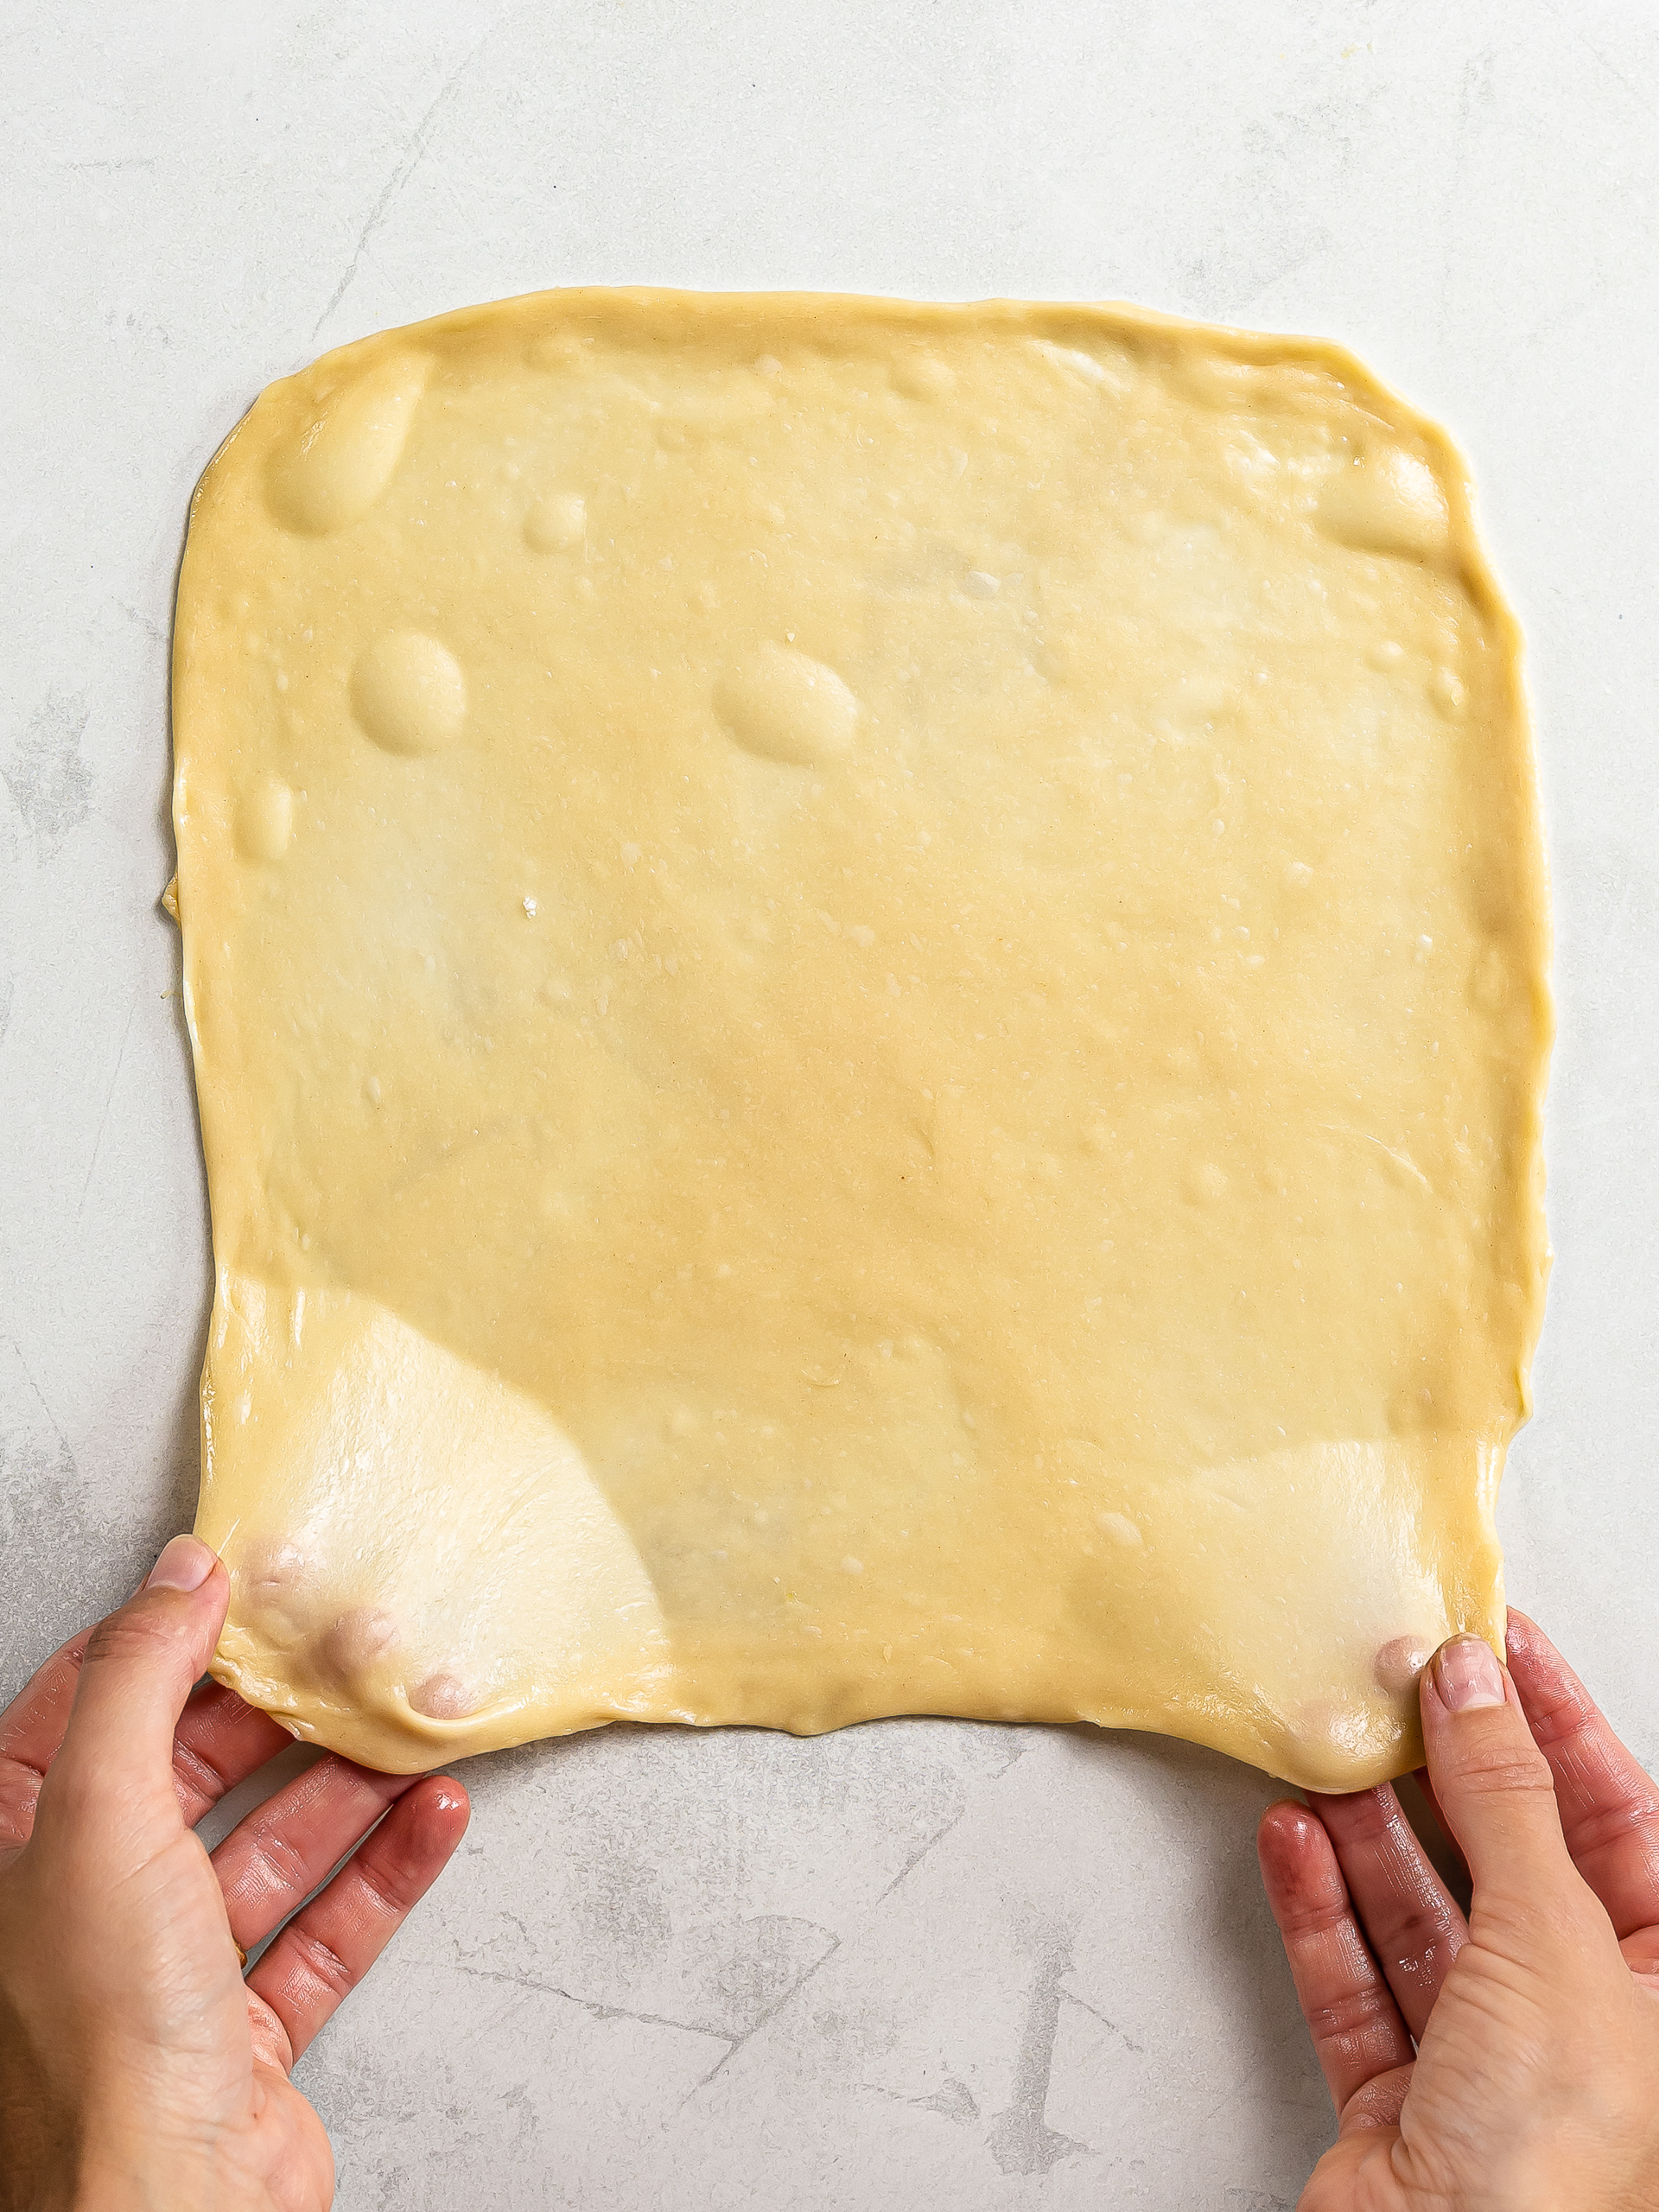
Lightly oil your hands and worktop, take one dough ball, and flatten it down with your fingertips.
Then, lift and pull one side of the dough, stretching it outward.
Slightly press it down to make it stick to the worktop and repeat on the other side.
Keep pulling and stretching the dough to make it as thin as possible without tearing it.
Make sure the pancake has the same size as the skillet, and if needed, trim off excess dough with a knife or dough cutter.
In our case, we made our dough pancake square as we had a square skillet at hand.
Step 7
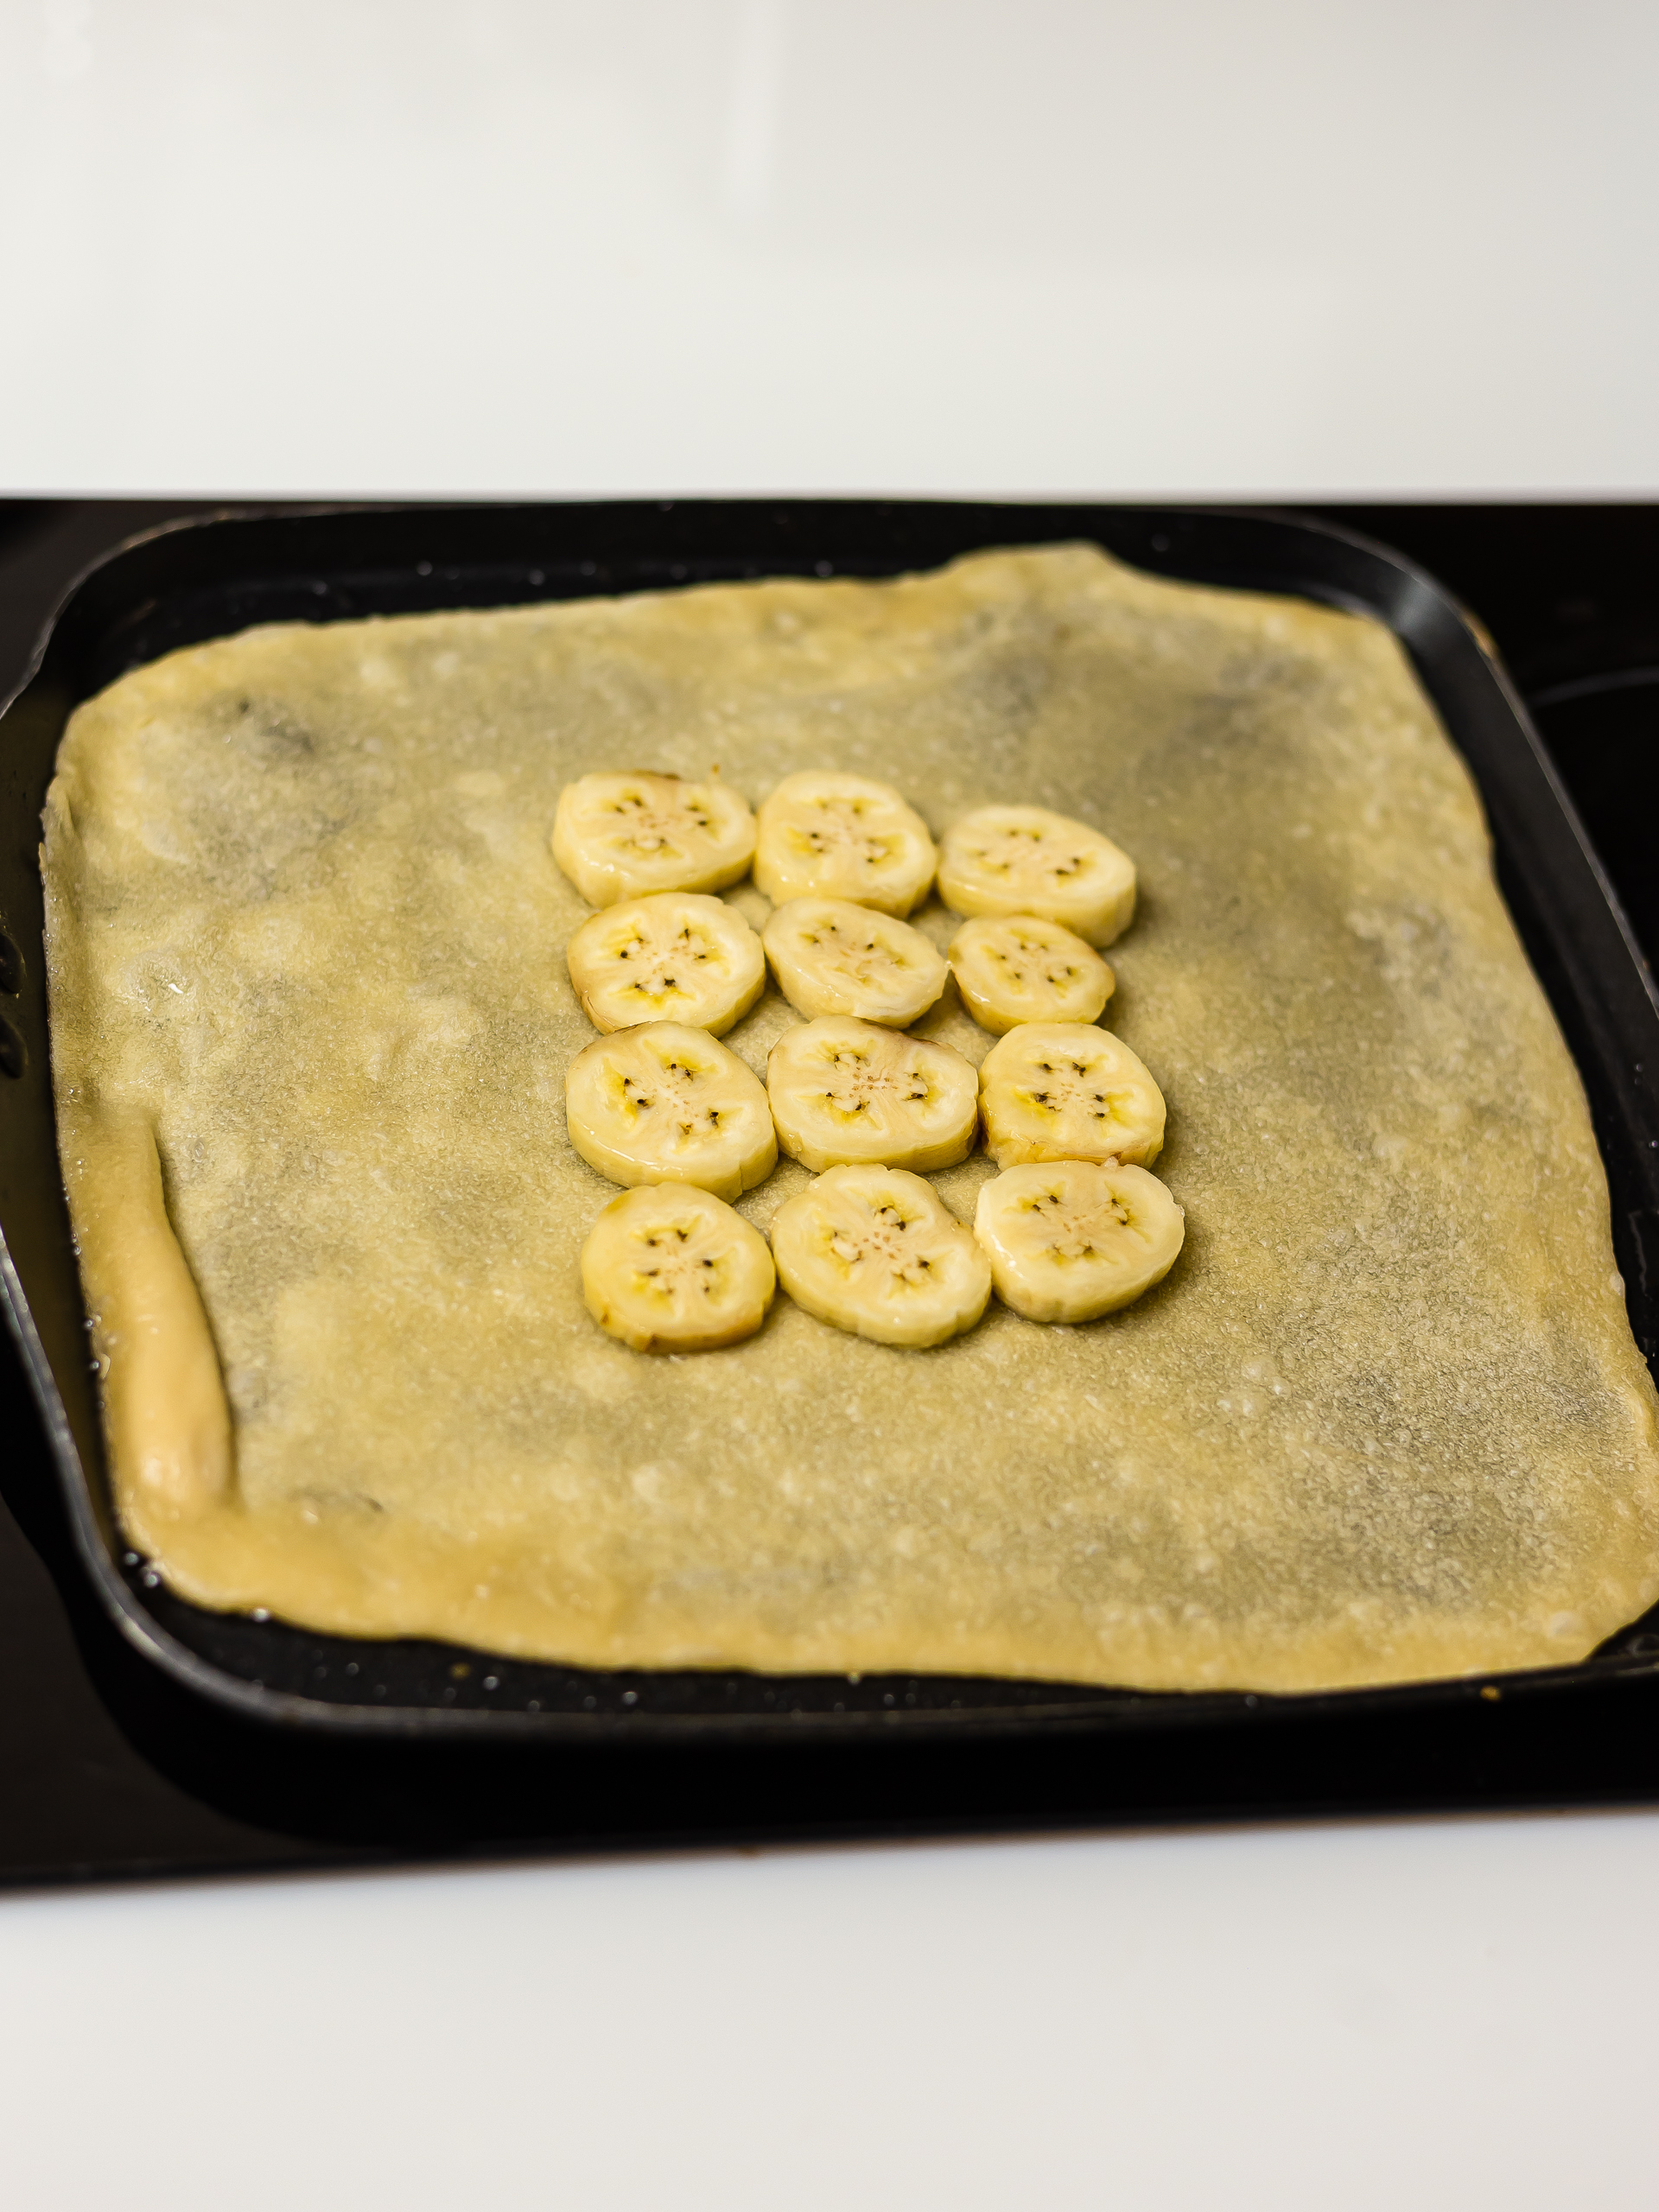
Lift the pancake and carefully transfer it onto the hot pan.
Quickly smooth out any folds with a spatula and arrange the banana slices in the centre of the pancake.
Be quick here: you don't want the pancake to crisp up too much or you won't be able to fold it over the banana filling.
Step 8
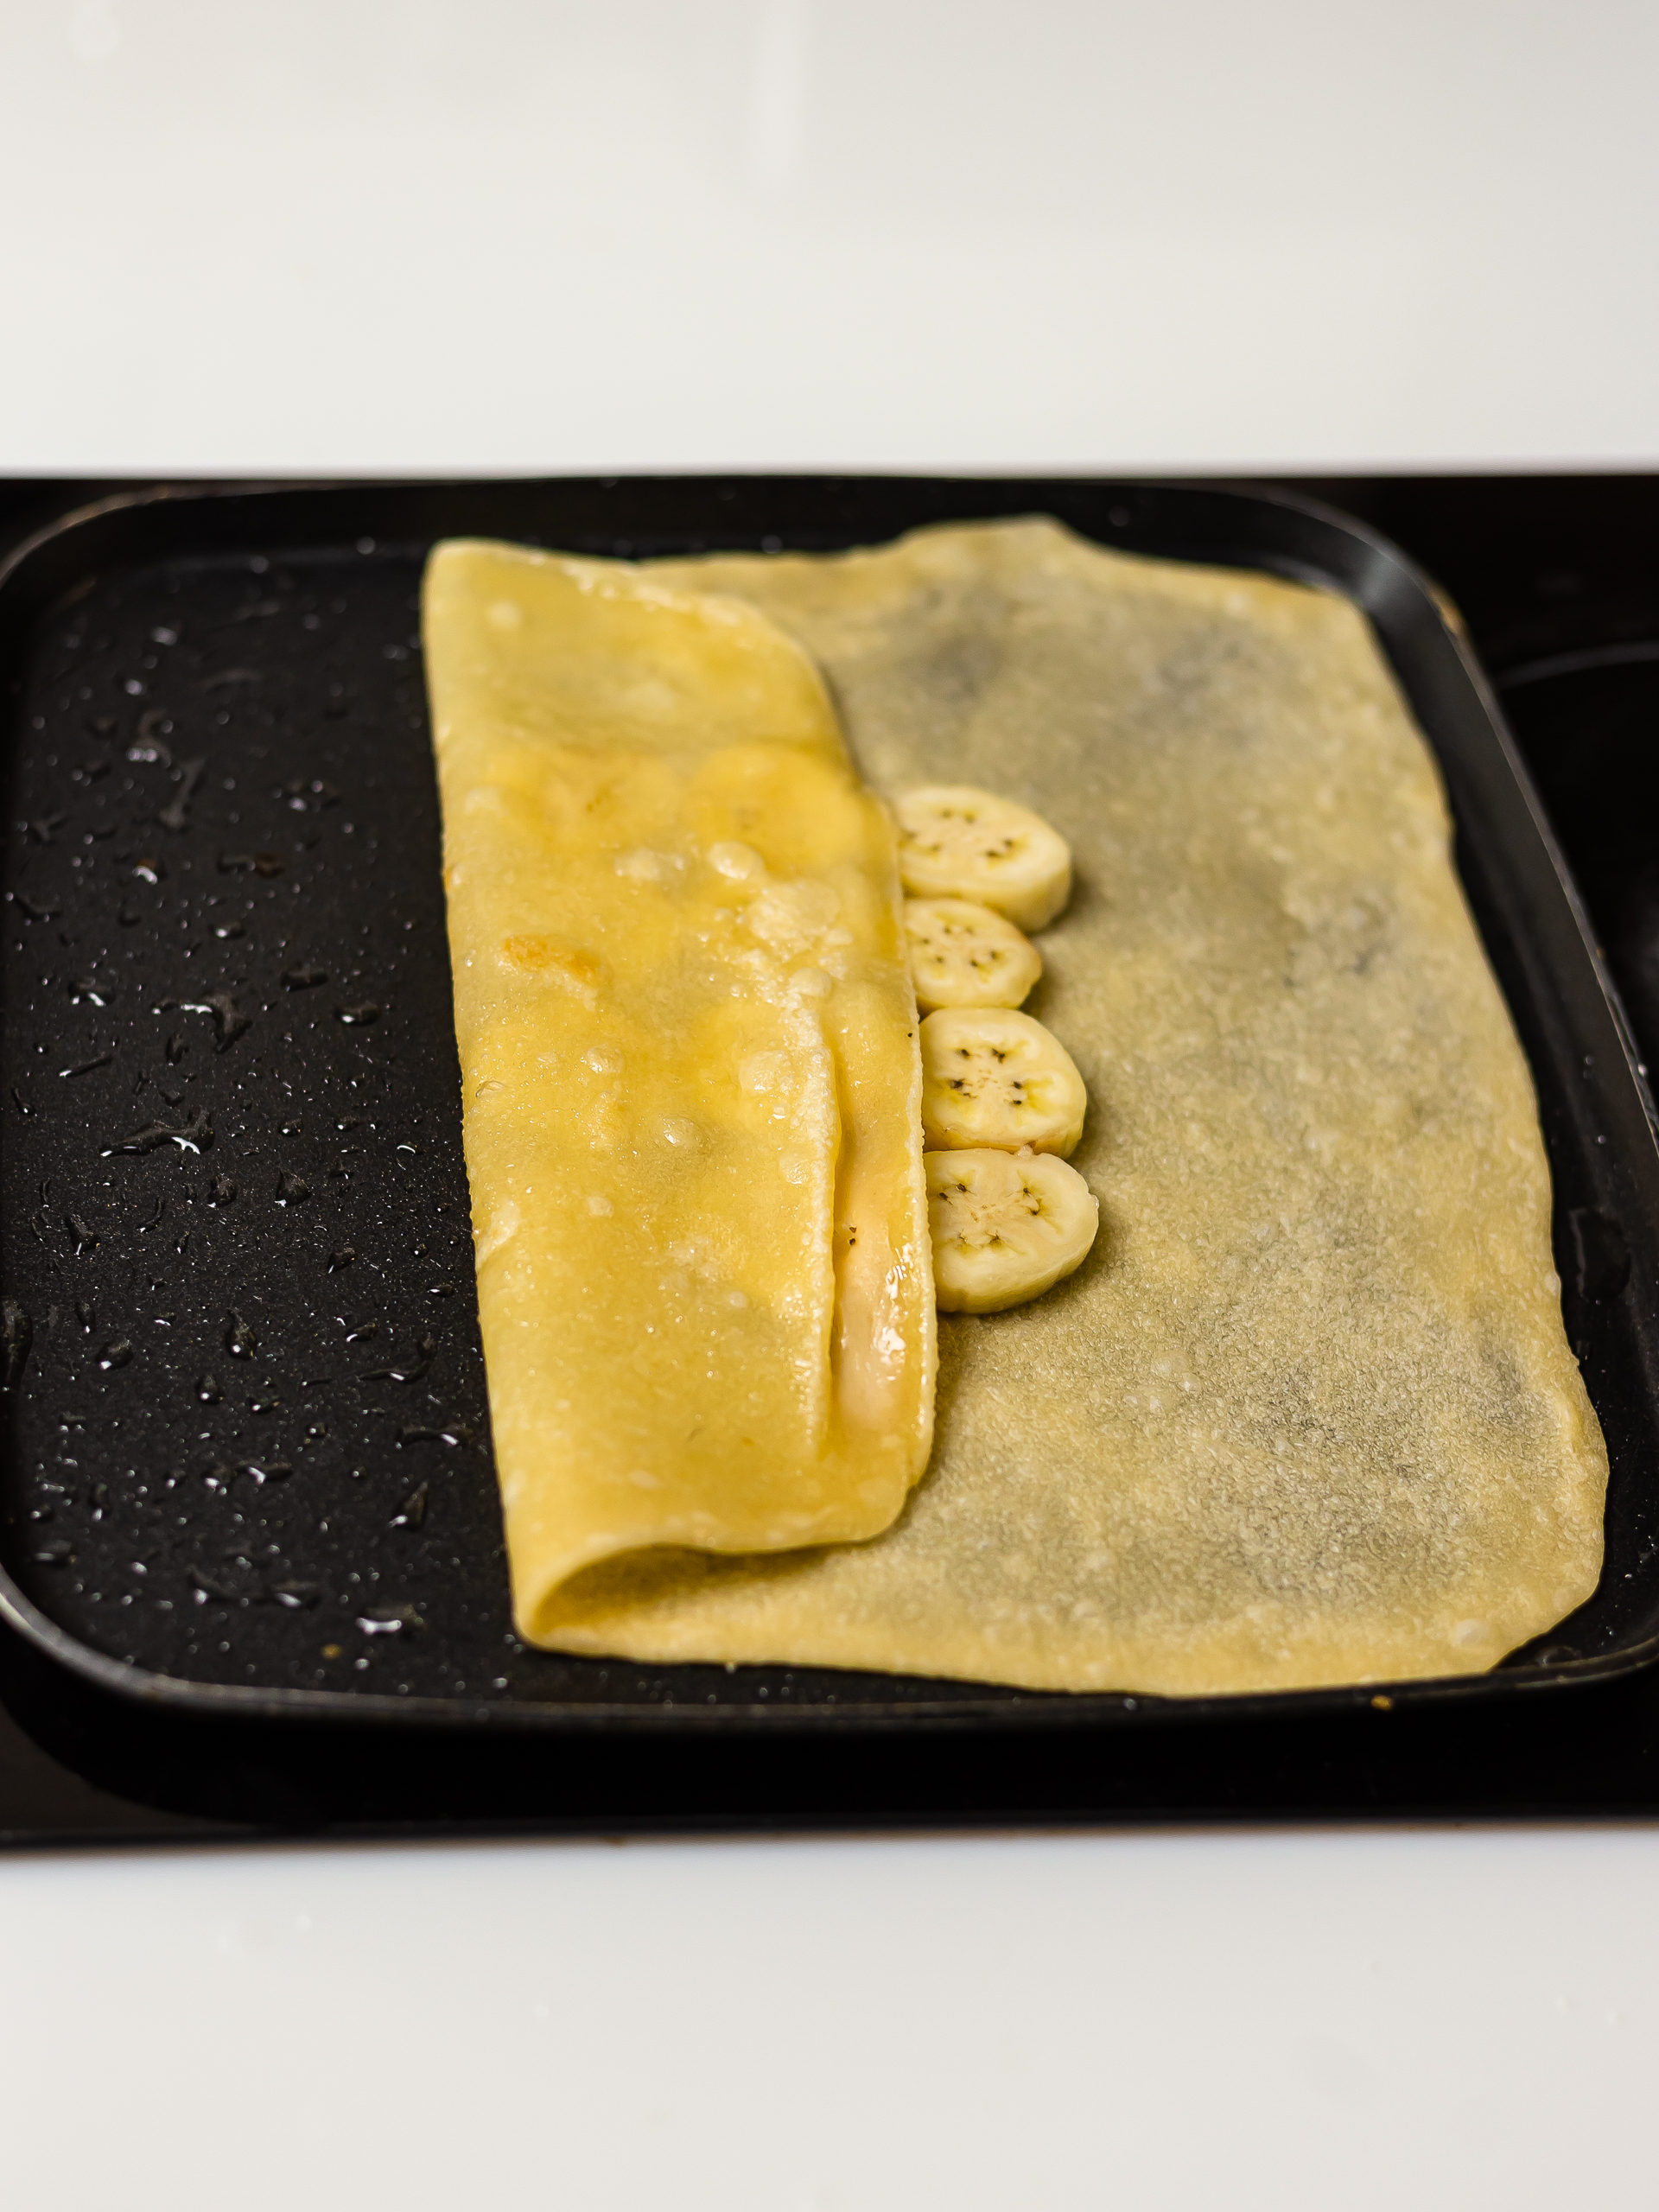
With the help of a spatula or with wet fingertips, lift and fold one side of the pancake over the banana filling (1).
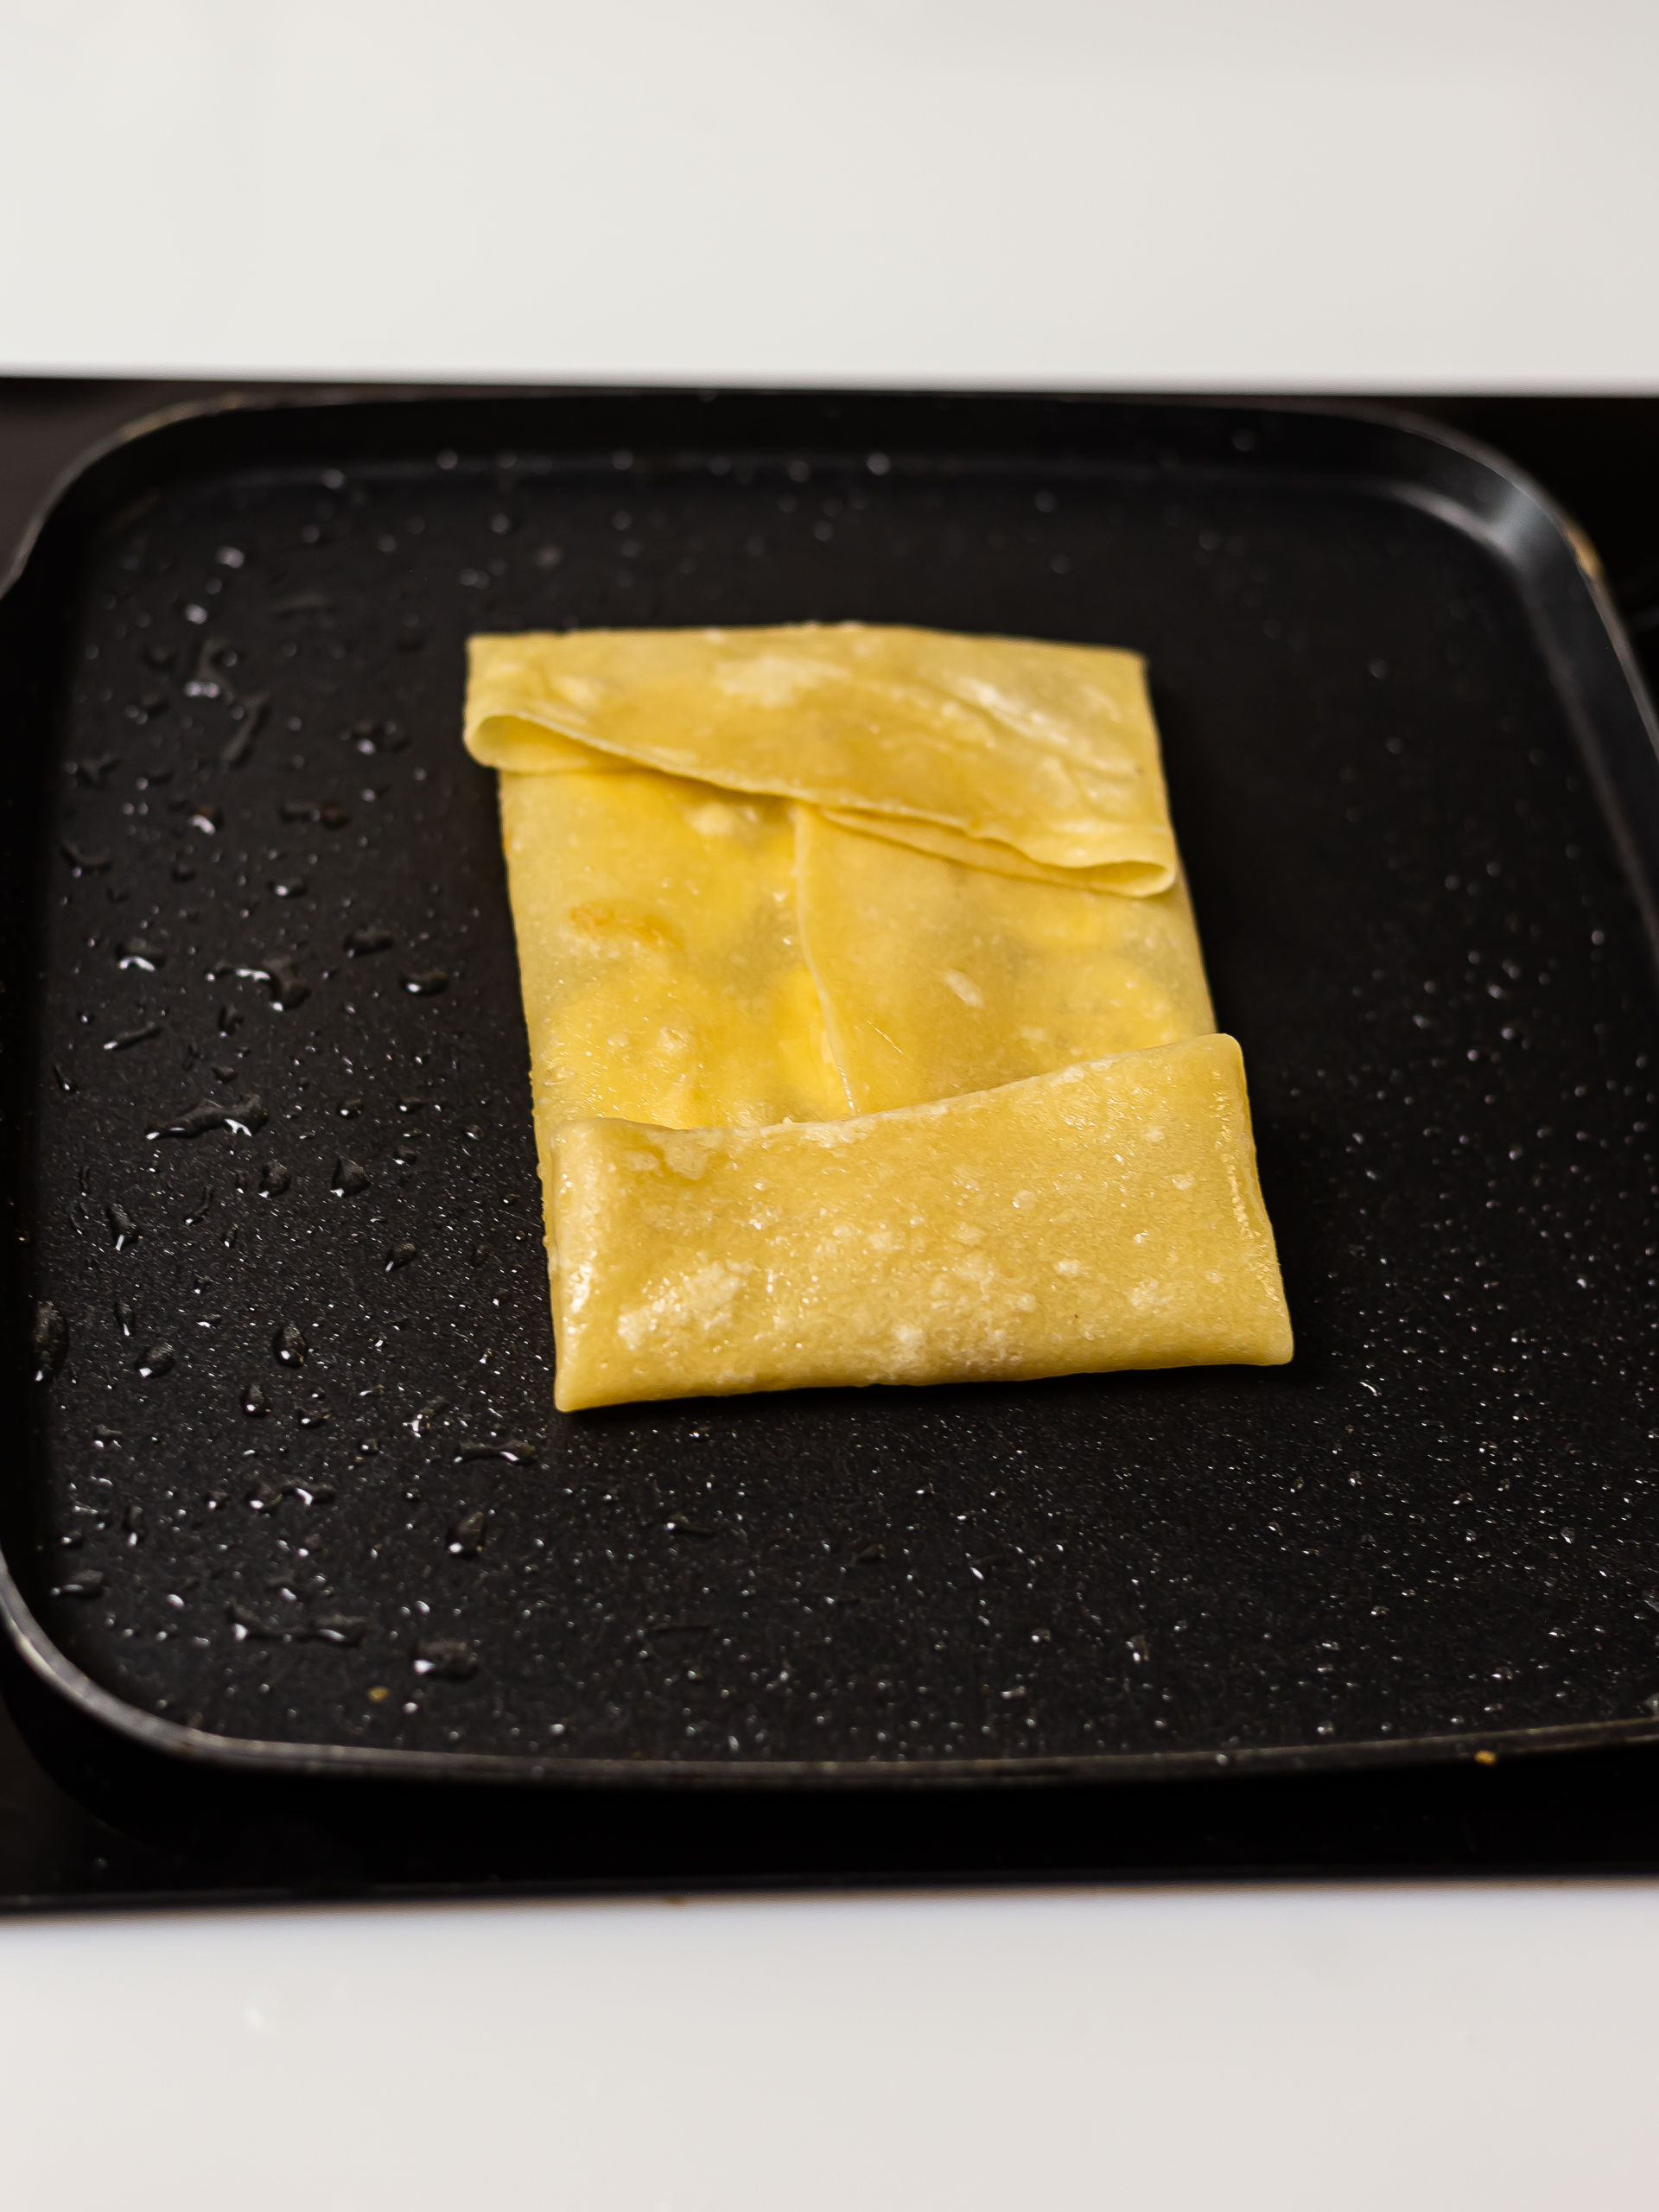
Then, fold the other sides as you would do for an envelope (2).
Now, cook the pancake for 1-2 minutes over high heat or until lightly crispy and golden at the bottom.
Step 9
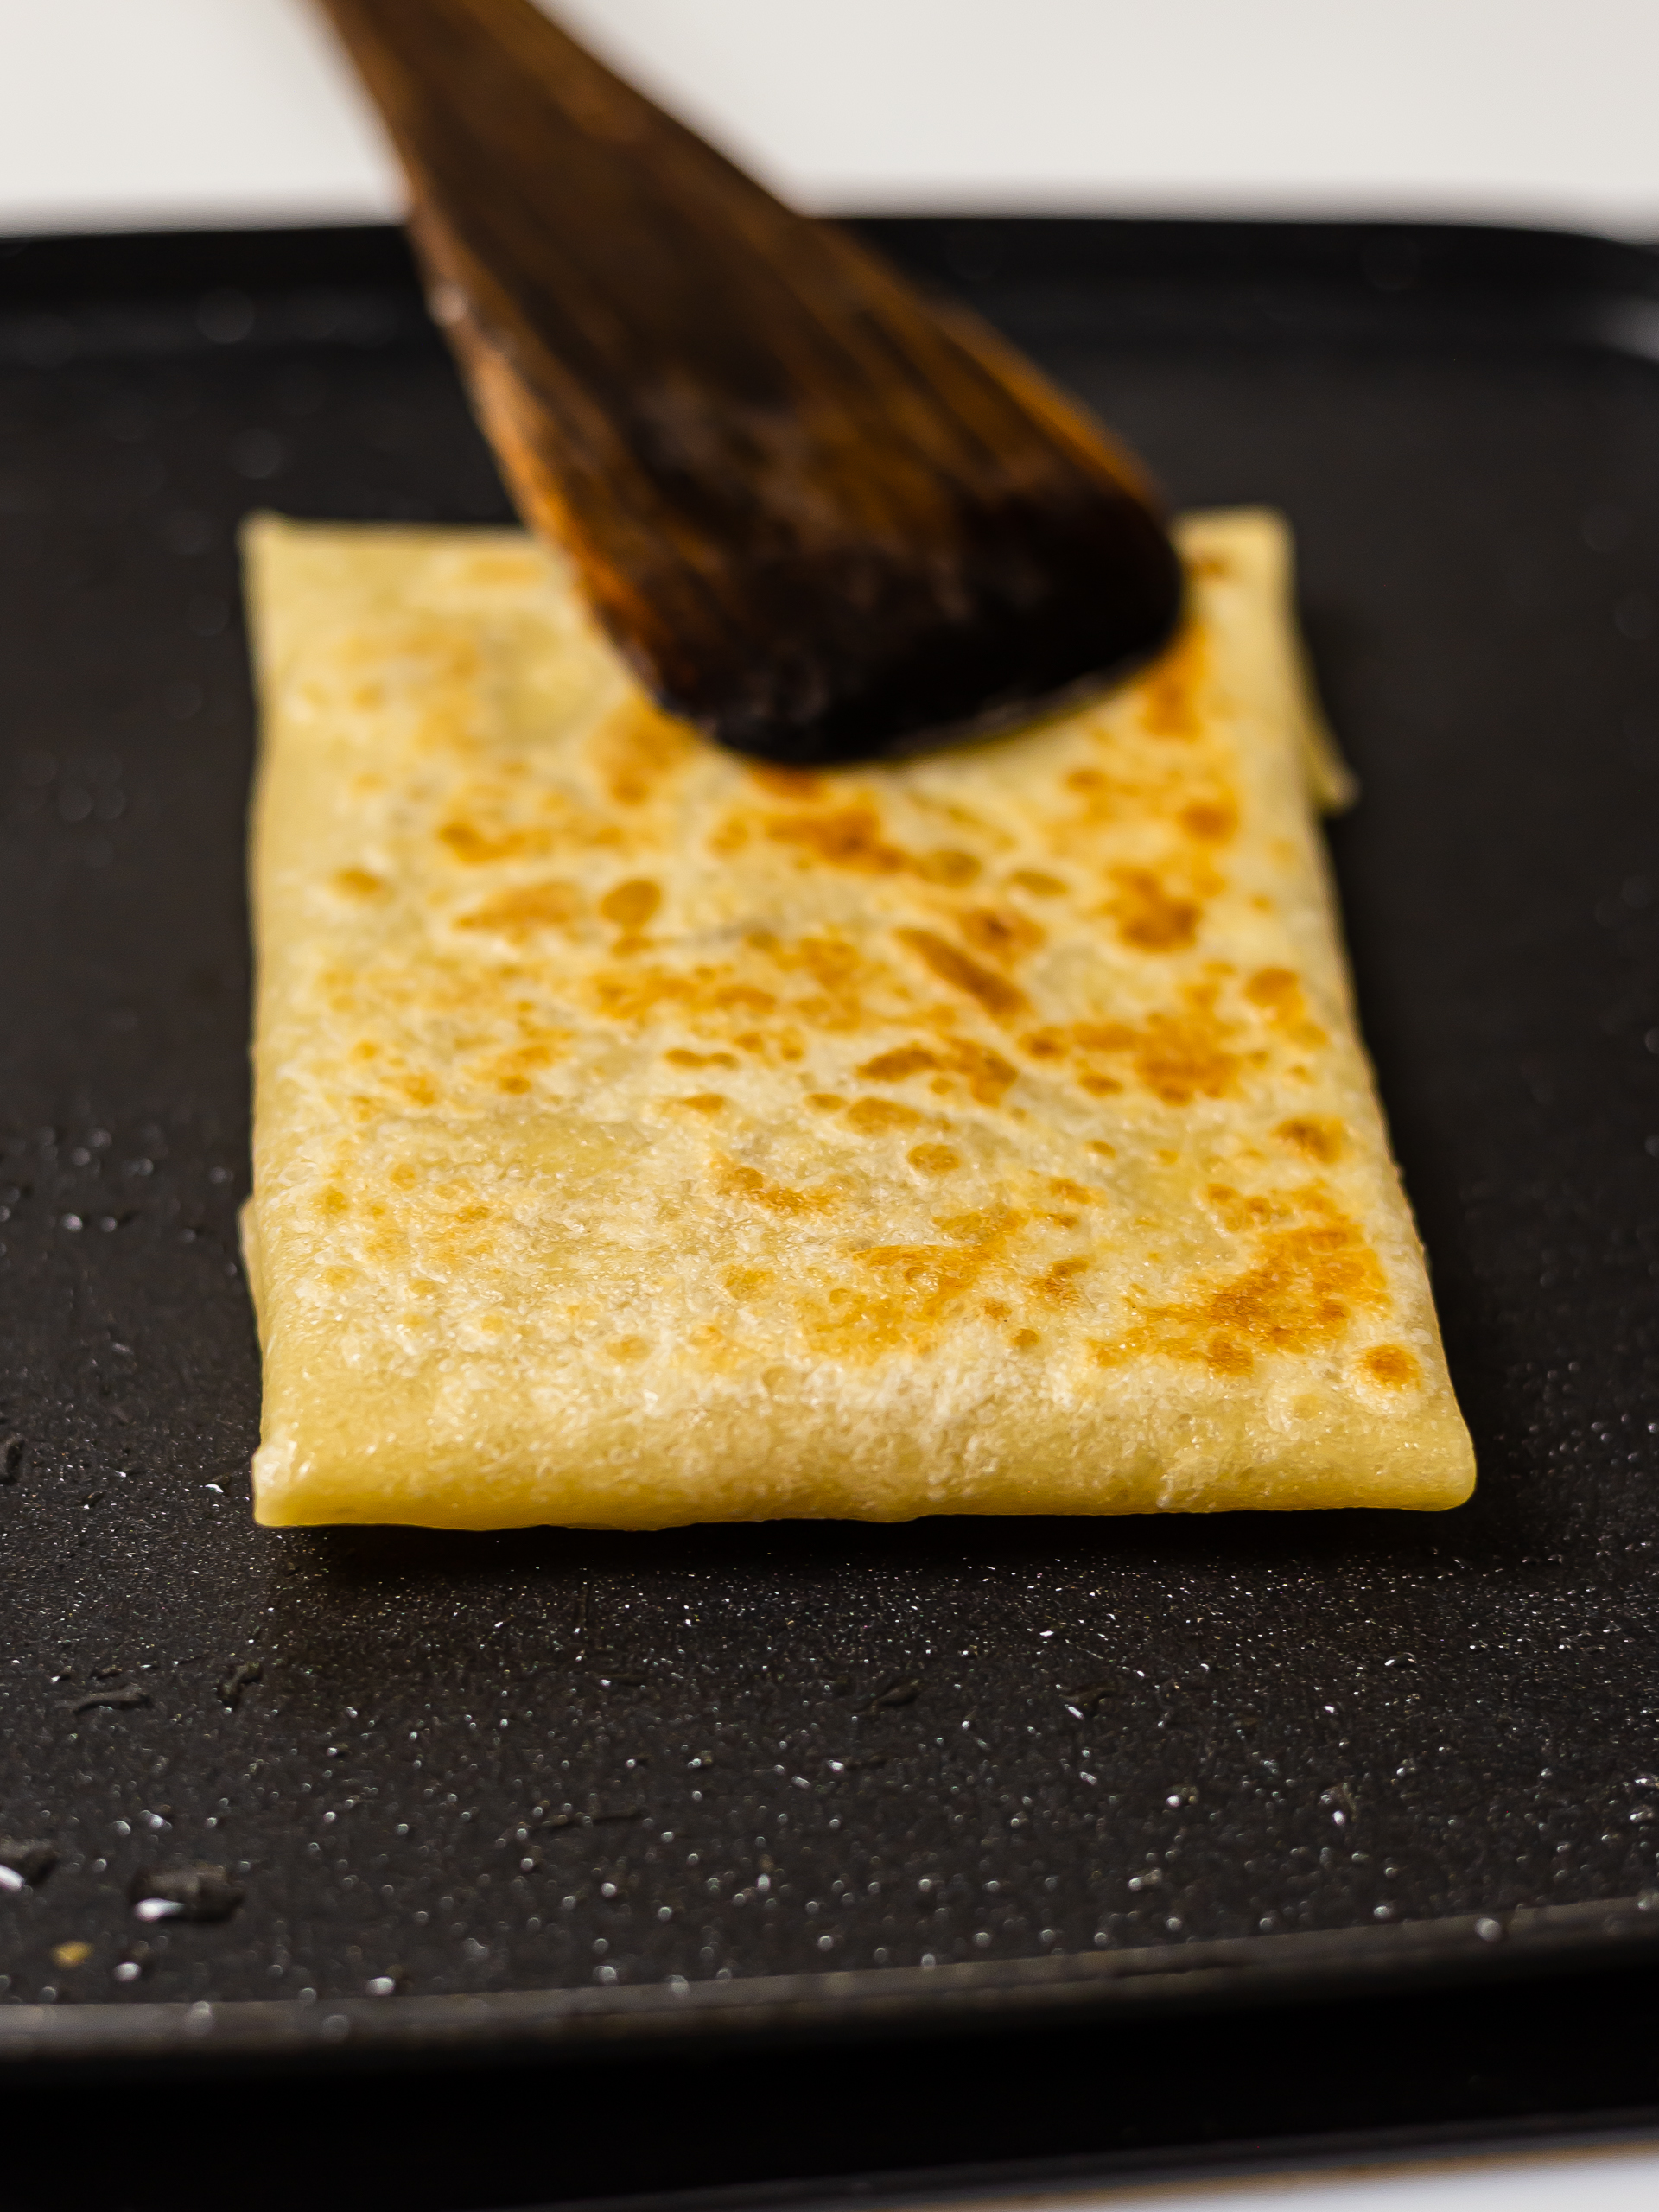
Flip the pancake over and cook it for another 1-2 minutes (1).
Your Thai banana pancakes are ready!
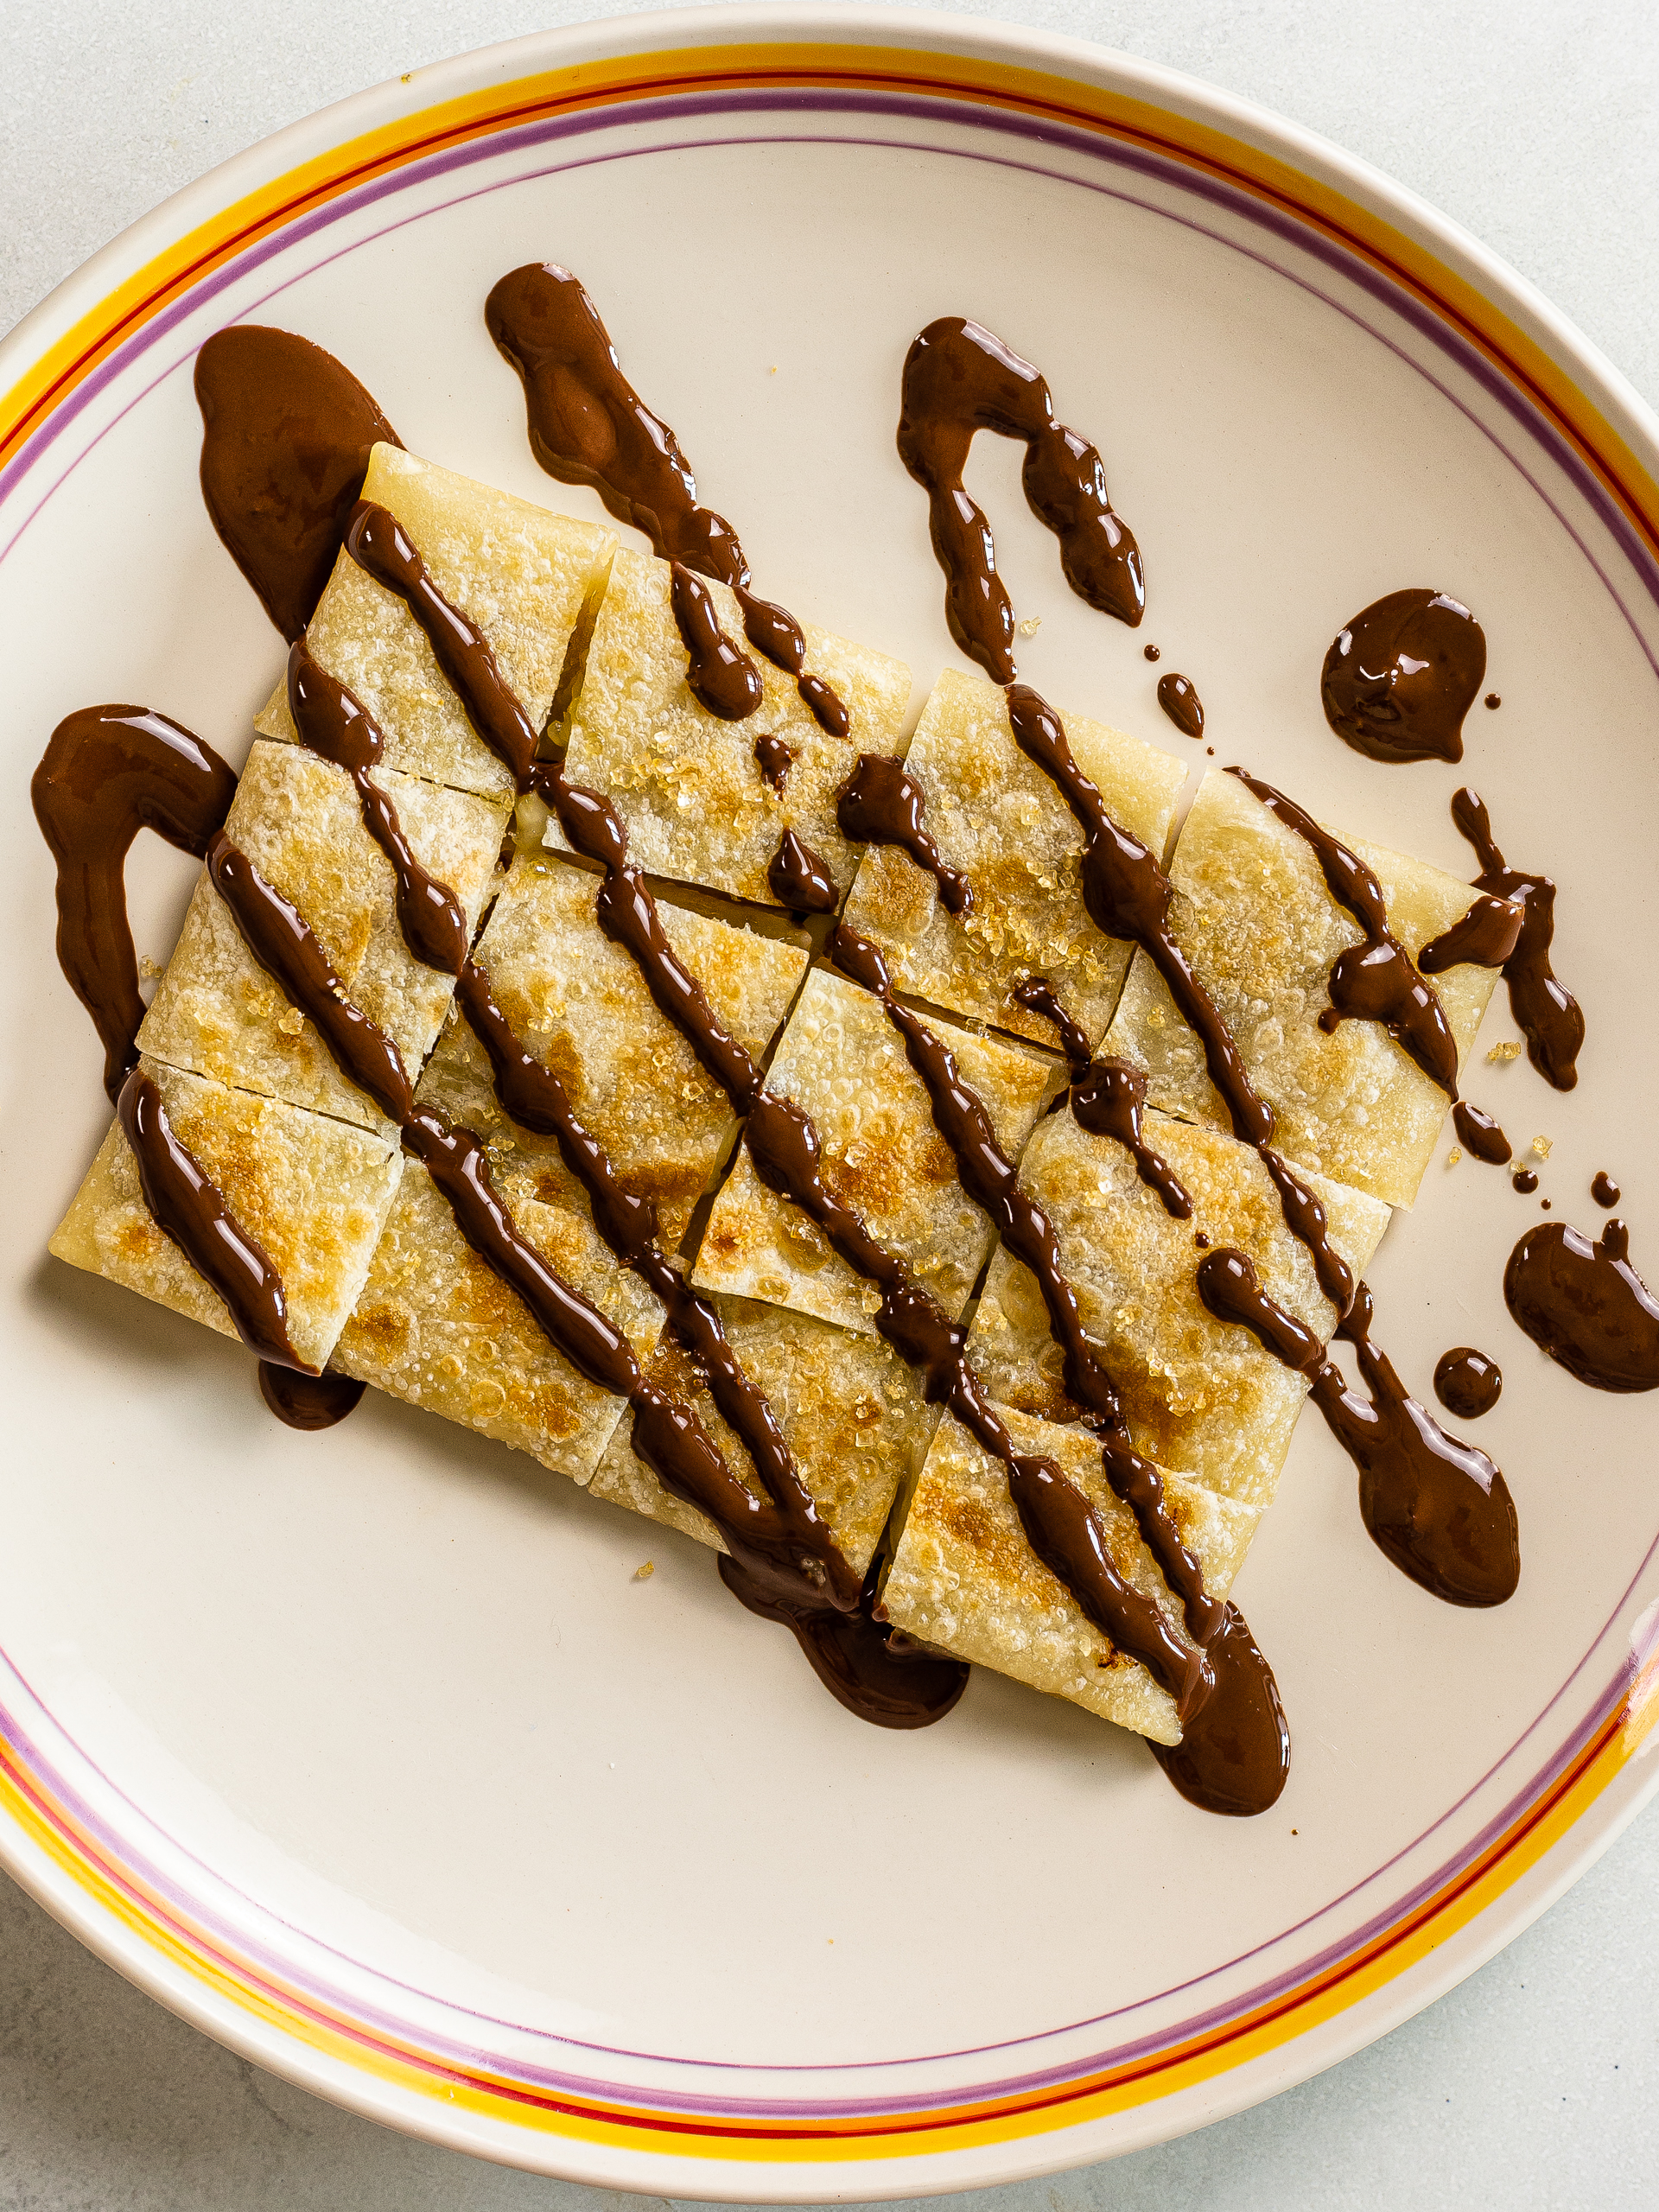
Transfer them onto a serving plate, cut into bite-sized squares, and enjoy piping hot (2).
Classic Thai pancakes are drizzled with condensed milk or chocolate sauce and sprinkled with sugar.
For a dairy-free and healthier option, you can drizzle them with melted dark chocolate instead (2).
Tips
If you keep the dough balls in the fridge overnight, leave them on the counter for 1 hour to get back to room temperature before stretching them into pancakes.
