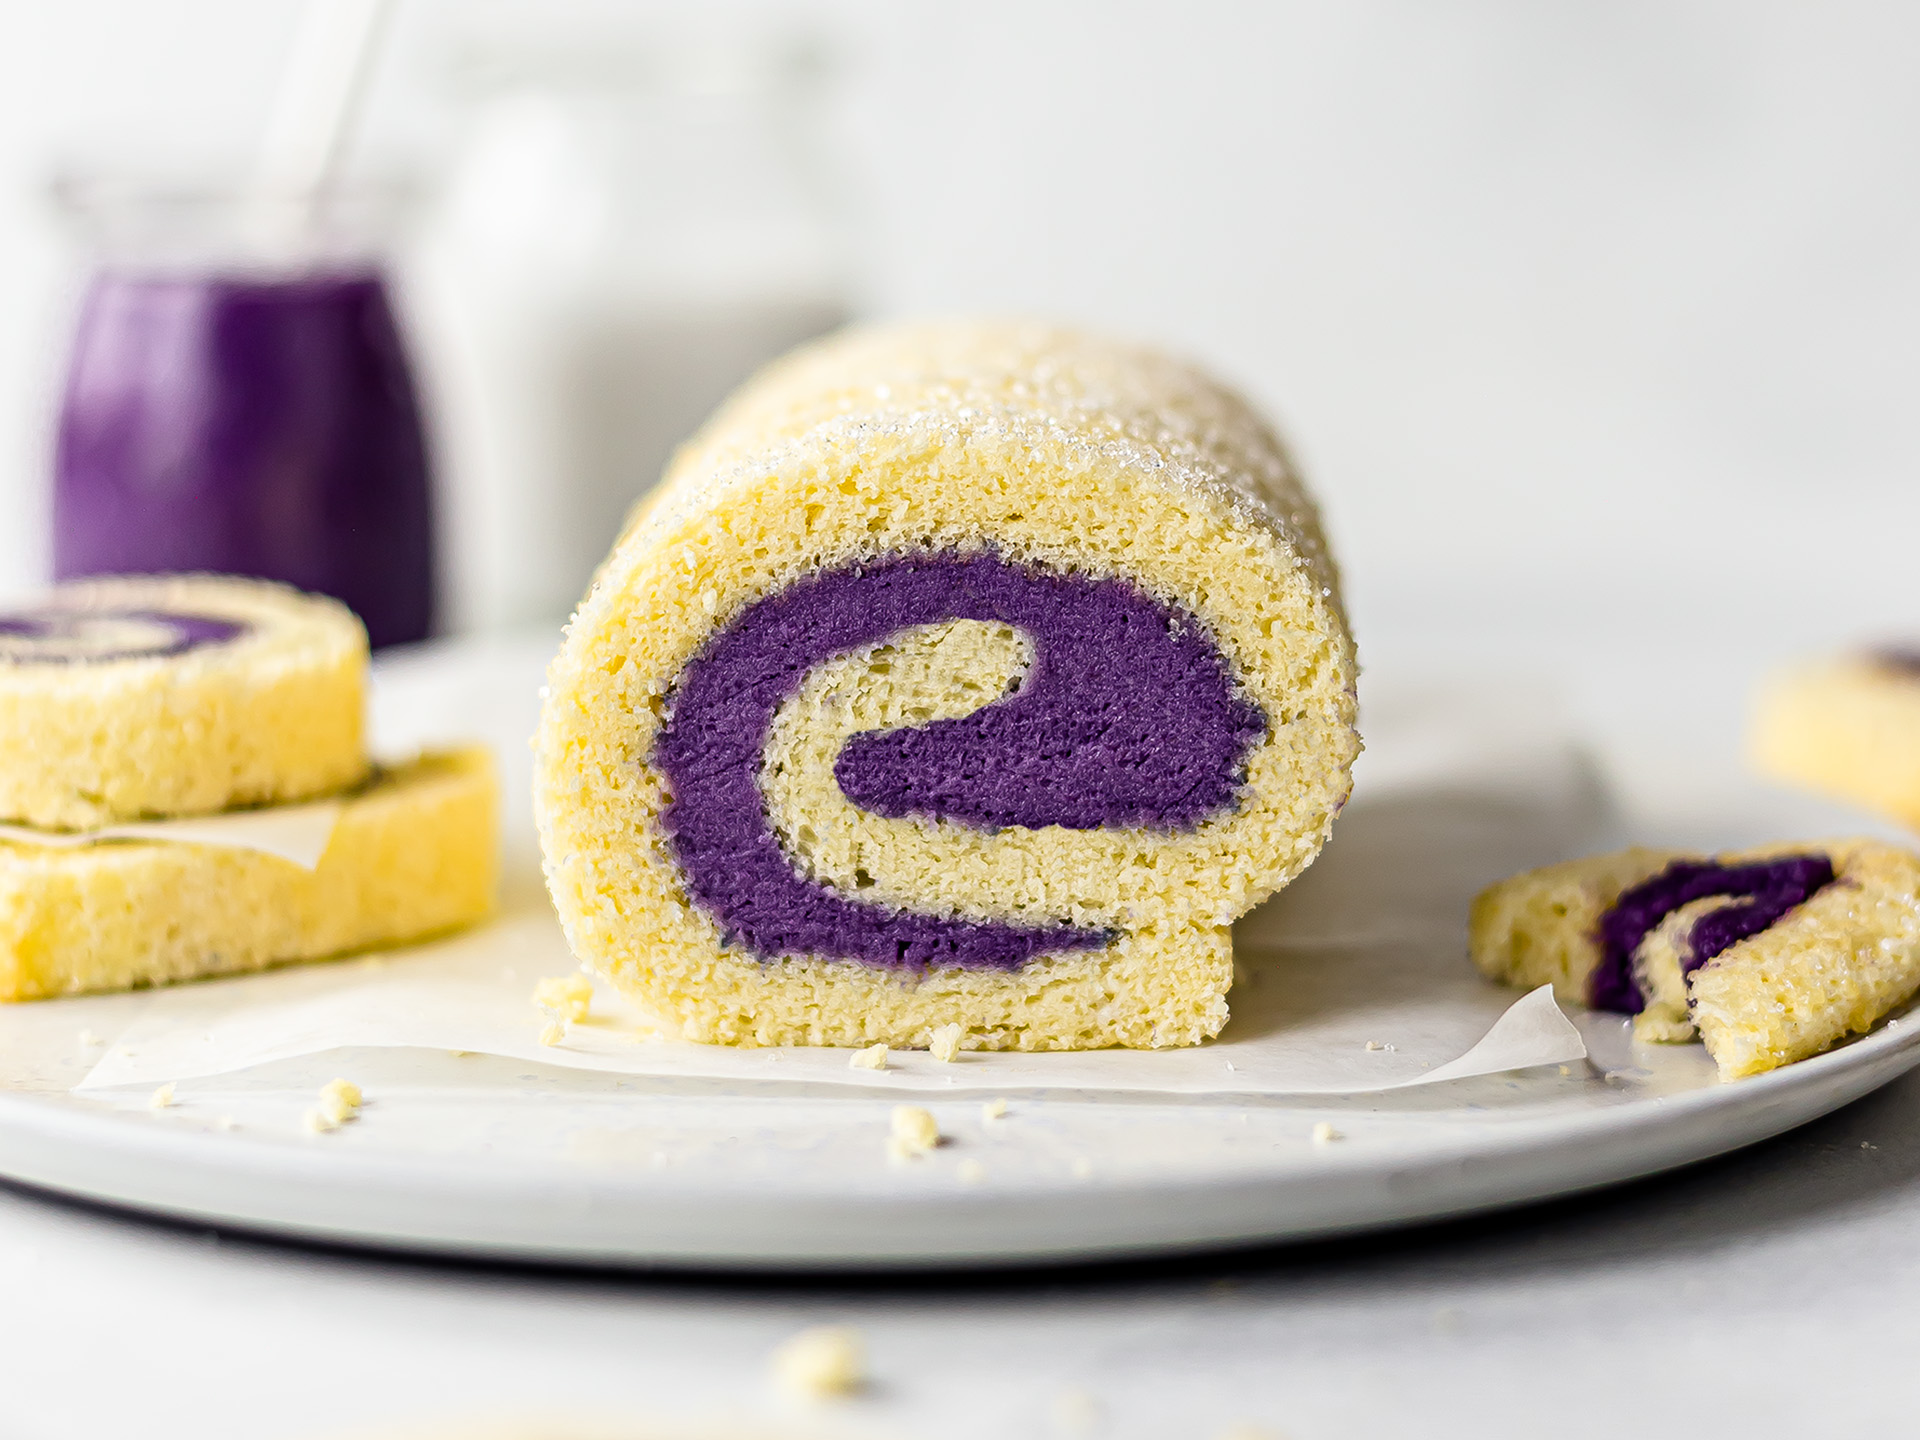
Looking for a fun and tasty dessert? You've come to the right place! Today we'll show you how to make ube roll: a classic Filipino cake roll filled with purple yam, AKA ube. It's so cute, fluffy, and delicious. You'll love it!
Cake rolls are super popular in Southeast Asia, and ube-filled roulades are a real hit in the Philippines. And for a reason!
Ube rolls bring together a light and airy sponge cake with Philippines' beloved purple yam spread, AKA ube halaya. All in a cute-looking swirled dessert!
First time using ube? Ube is the Filipino name for purple yams, a root vegetable with a strikingly purple flesh and barky, brownish skin.
This wonderful tuber tastes sweet and nutty, with hints of vanilla and even white chocolate!
Ube is traditionally used to make ube halaya, a custard-like dessert that includes milk, butter, and sugar.
Ube halaya is also the base of many colourful desserts like cakes, donuts, flans and puddings. And yes, this ube cake roll too!
Whenever a recipe calls for ube, you have two options:
Get the pre-made ube halaya at your local Asian food store or online;
Make ube spread from scratch using purple yams (fresh or frozen).
We have a quick and easy ube spread recipe if you want to give it a go!
It's dairy-free and made with less sugar and a little coconut oil for creaminess. It's cheaper and healthier than the store-bought one!
And if you'd like to try the recipe but can't get ube, you can use purple sweet potatoes instead. They're so very similar to ube they're basically interchangeable!
Once you've sorted the ube spread, all you have to do is prepare the cake batter, bake it, and roll it up with ube filling.
The batter for cake rolls is very light and airy. Made with a little sugar and flour, it basically relies on whipped eggs for structure and fluffiness.
Many roll cake recipes recommend rolling and cooling the sheet of cooked sponge cake first, then unroll it and fill it. In our recipe, instead, we immediately filled and rolled the ube cake while it was still warm.
From our experience, the less time you spend handling the cake, the less likely it is to crack!
Ok now, time to get started and make this swirled ube roll together!
Ingredients
| Egg Whites | 70 g |
| Egg Yolks | 30 g |
| Caster Sugar (divided) | 50 g |
| Plain Flour (cake flour or all-purpose flour) | 40 g |
| Baking Powder | 1 tsp |
| Salt | 1 pinch |
| Coconut Milk (canned) | 30 mL |
| Ube Spread (ube halaya)recipe | 180 g |
Step 1
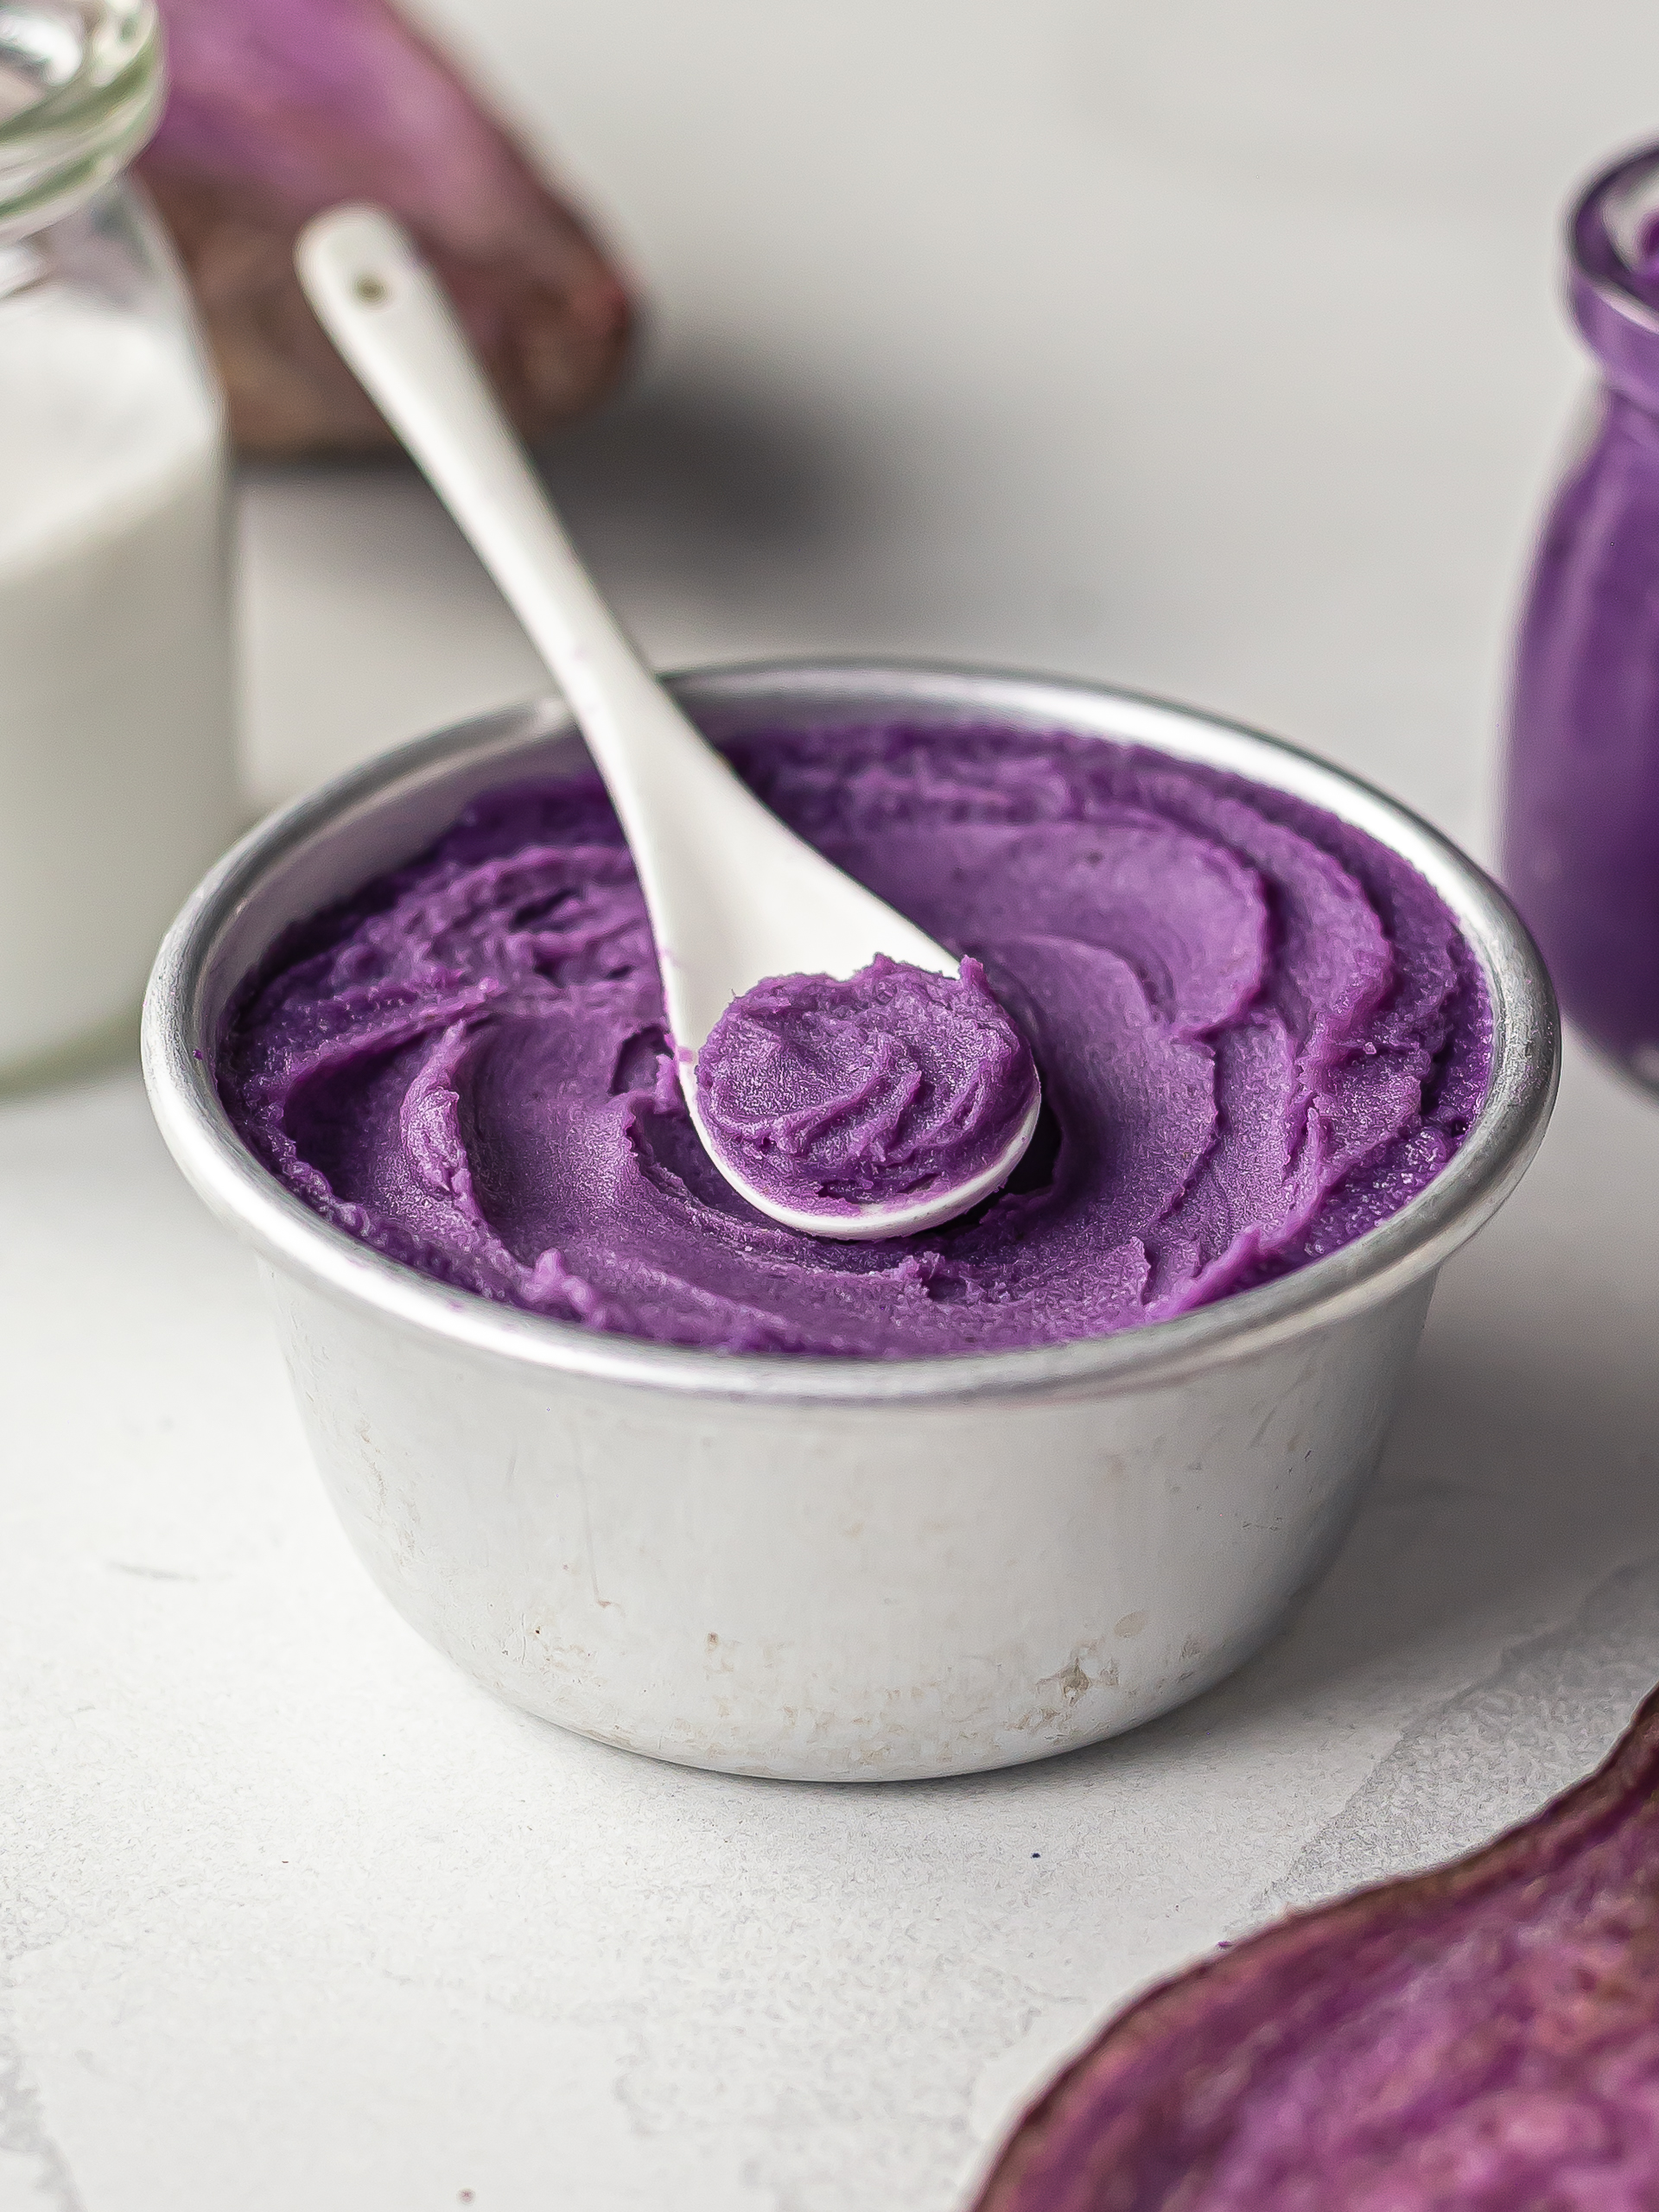
For the filling, you can use ready-made ube spread, also called ube halaya or ube jam.
It's a creamy paste made with mashed purple yams and sugar. You can find it online or at your local Asian food store.
But if you can get hold of fresh purple yams, you can also prepare the ube filling from scratch.
We have an easy recipe for ube spread that uses purple yams, coconut milk, maple syrup, and a little coconut oil for extra creaminess.
And if you can't find ube, you can replace it with purple-fleshed sweet potatoes, which are very similar in taste and texture, just a little sweeter.
Keep the ube spread in the fridge while you prepare the cake batter to let it harden slightly — this way, it will be easier to spread evenly later on.
Step 2
Preheat the oven to 180°C (355°F).
Grease a baking tray with a little oil and line it with parchment paper — press the paper down to make it adhere to the tray.
We used a small rectangular baking tray, about 20 x 25 cm (8 x 10 inches) — the kind you use in toaster ovens. If you're using a larger tray, make sure to scale up the ingredients.
Let's make the sponge cake batter.
Because this sponge cake relies mostly on eggs for structure, you must measure the egg yolks and whites to get the recipe right.
We calculated that you'll need about 2 medium-large eggs to get the amount of egg yolks and whites in the default ingredients.
Separate the egg yolks from the whites, weighing them accurately, and halve the sugar.
Note: If you are struggling to remove excess egg whites to get them to the desired weight, you can give them a quick whipping to break their bond.
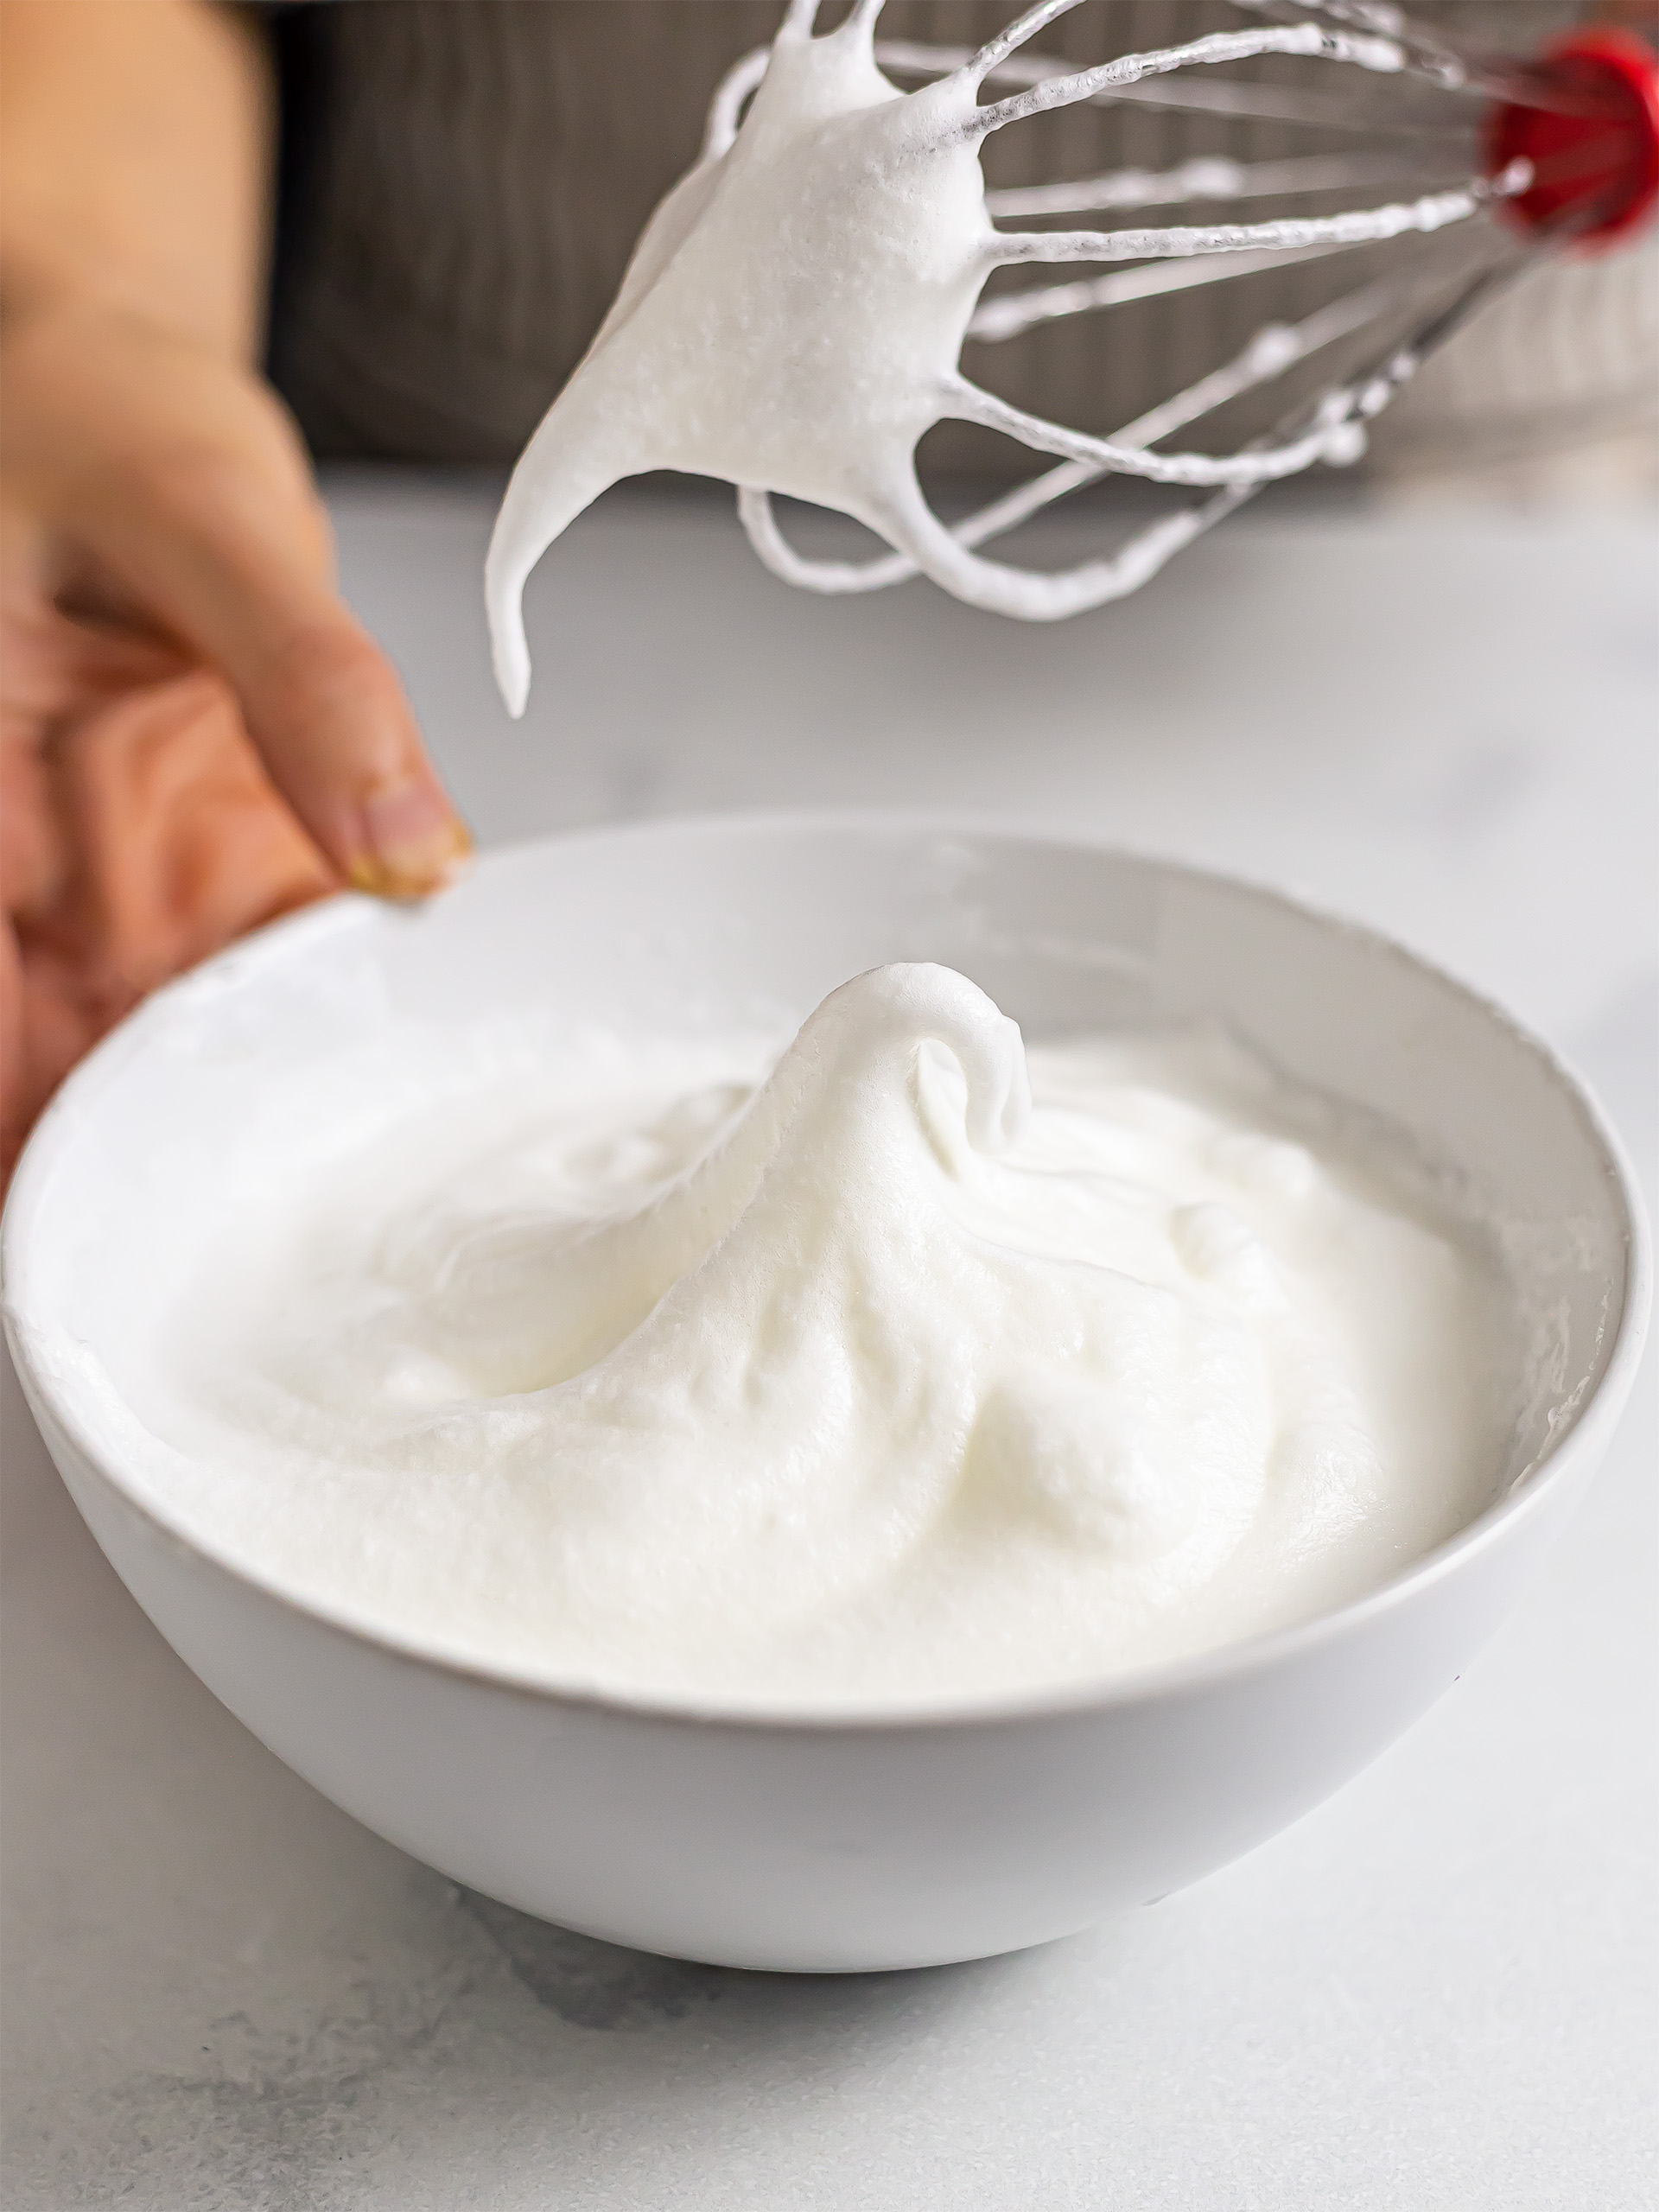
Beat the egg whites in a bowl using an electric or stand mixer at medium speed.
If you don't have it, you can also whip the whites by hand with a whisker (it will take longer, but it can be done!)
As you beat the whites, add one half of the sugar: spoon it in a bit at a time and make sure it's fully incorporated before adding more.
Keep whipping the egg whites with sugar until they're foamy, hard, and form stiff peaks, about 3-5 minutes.
Step 3
Set the whipped whites aside, and let's beat the yolks with the electric mixer.
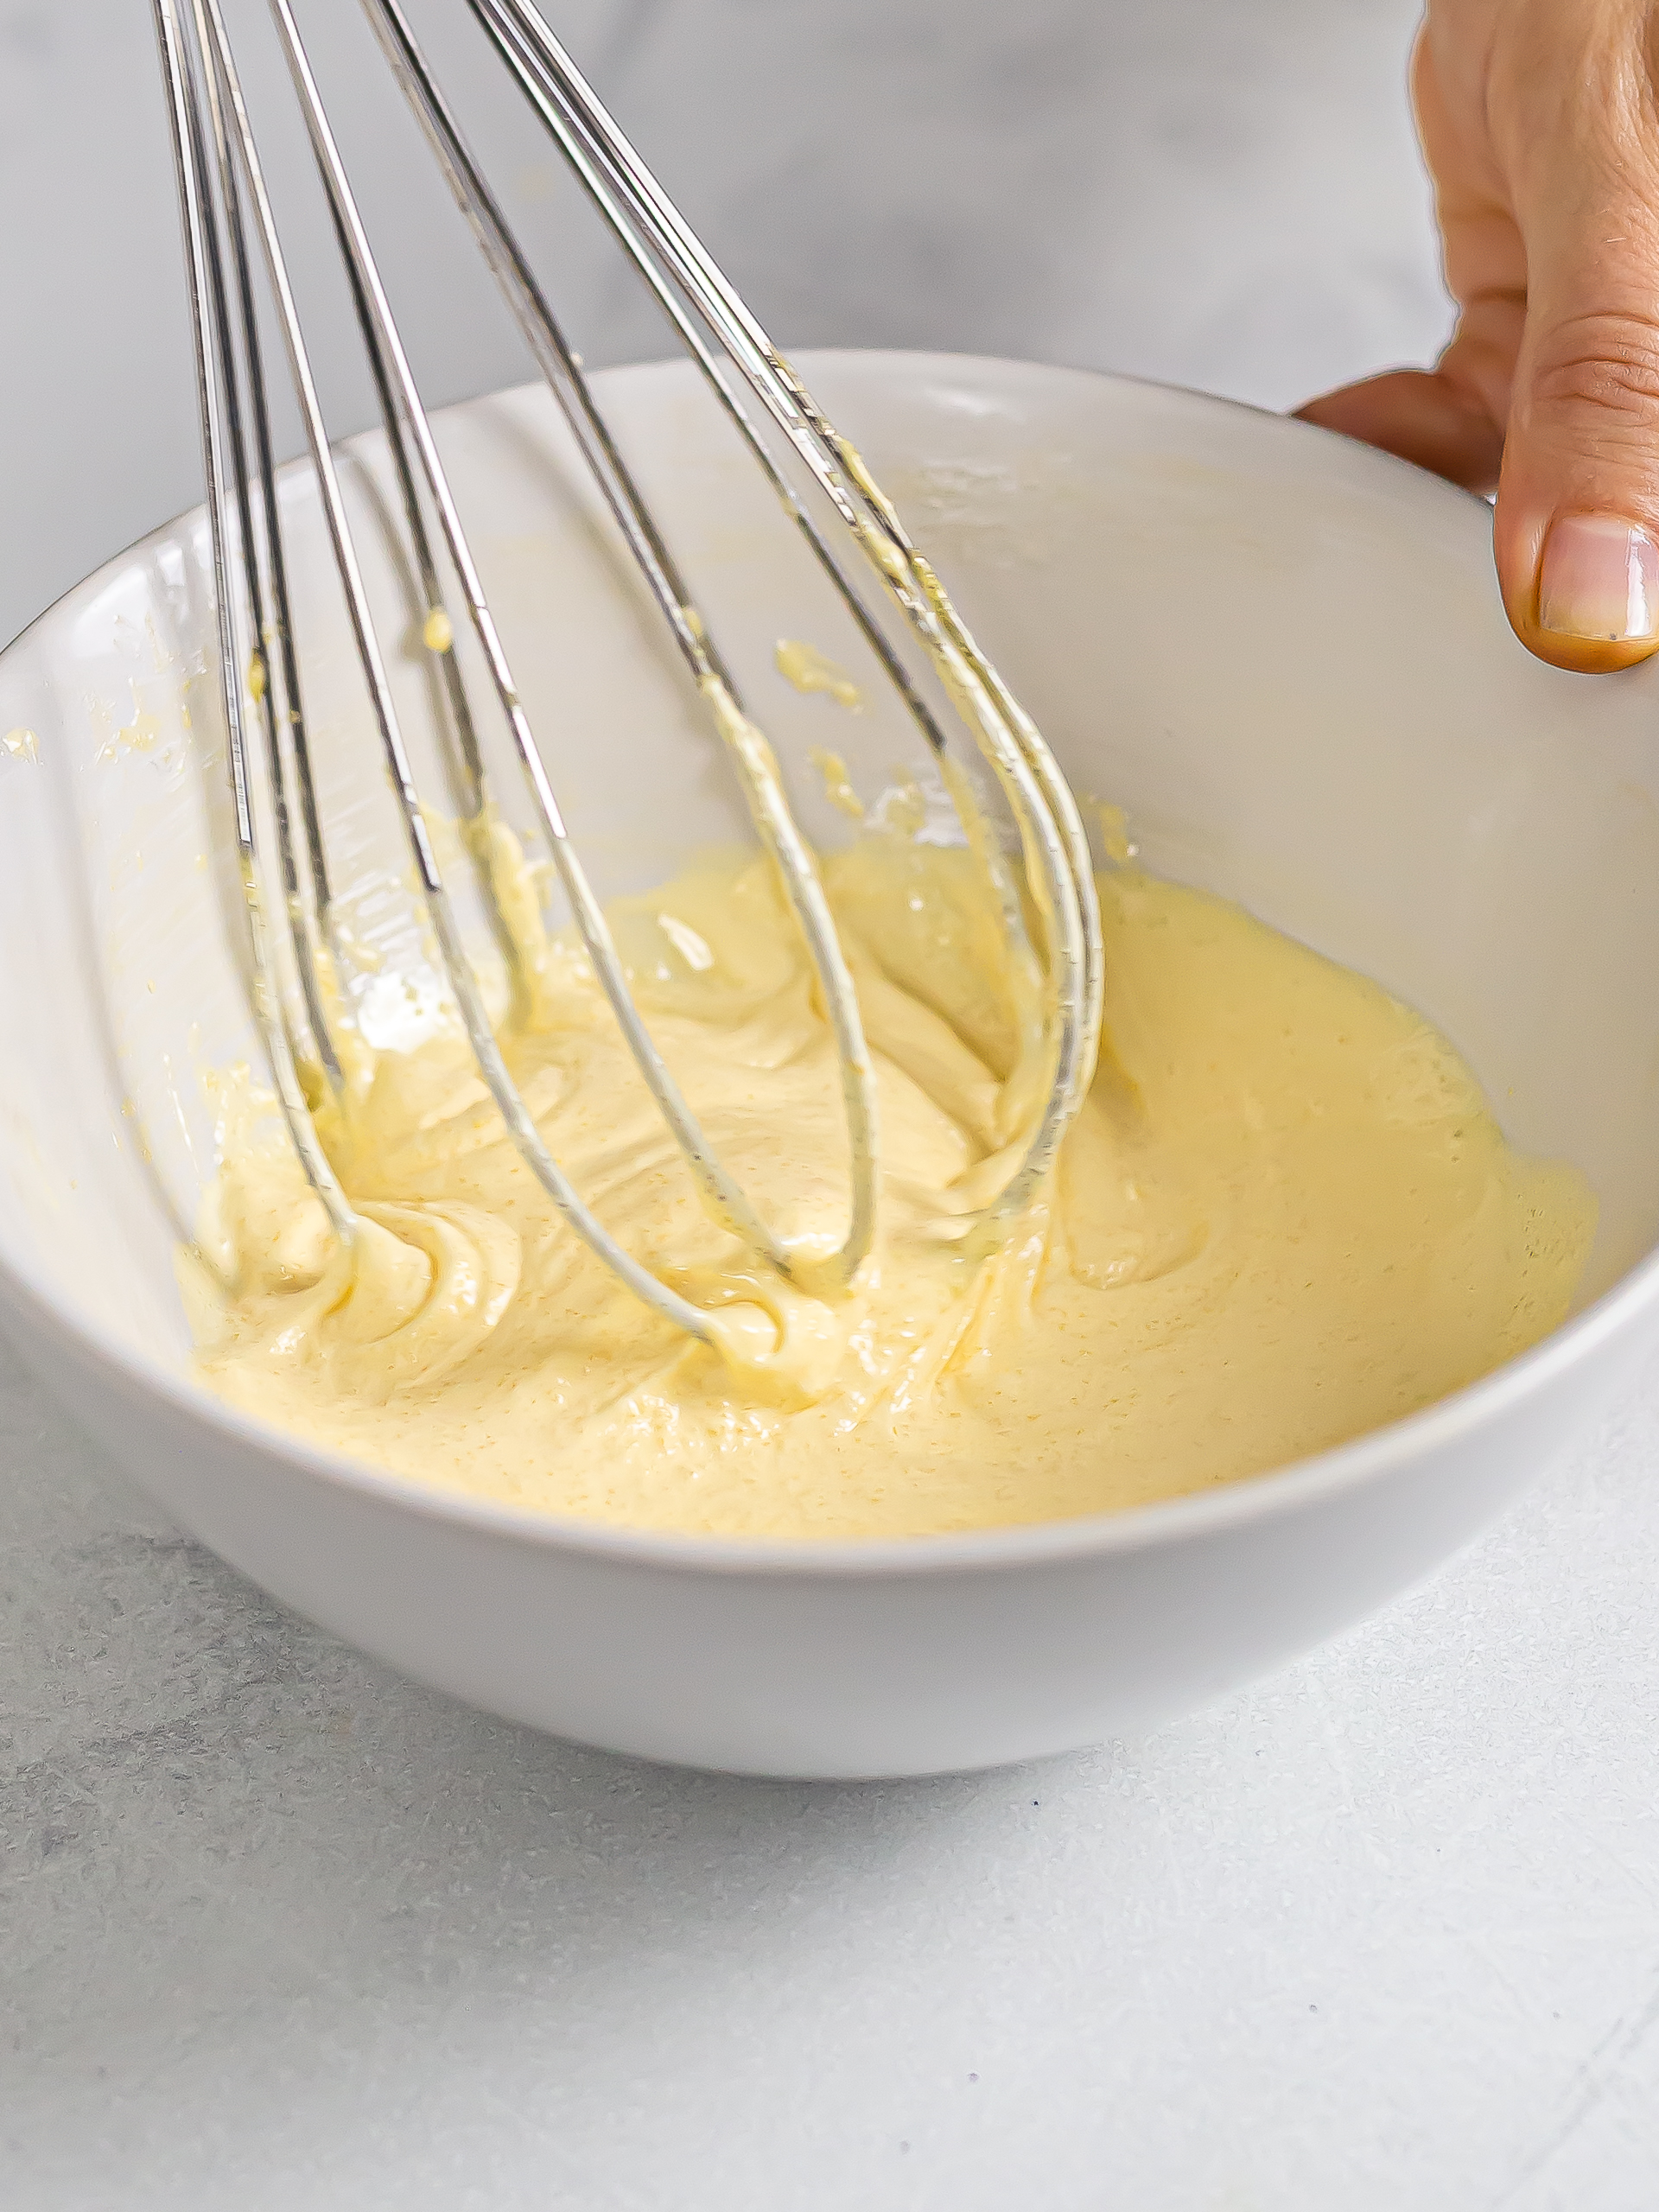
Whip them in a large clean bowl with the remaining half of the sugar; again, tip the sugar in a bit at a time, making sure it's fully incorporated before adding more.
Beat the yolks until they turn paler and creamy, about 3 minutes.
Step 4
Now, sift the flour with baking powder and salt in a bowl.
Add the flour mix to the beaten yolks along with the coconut milk.
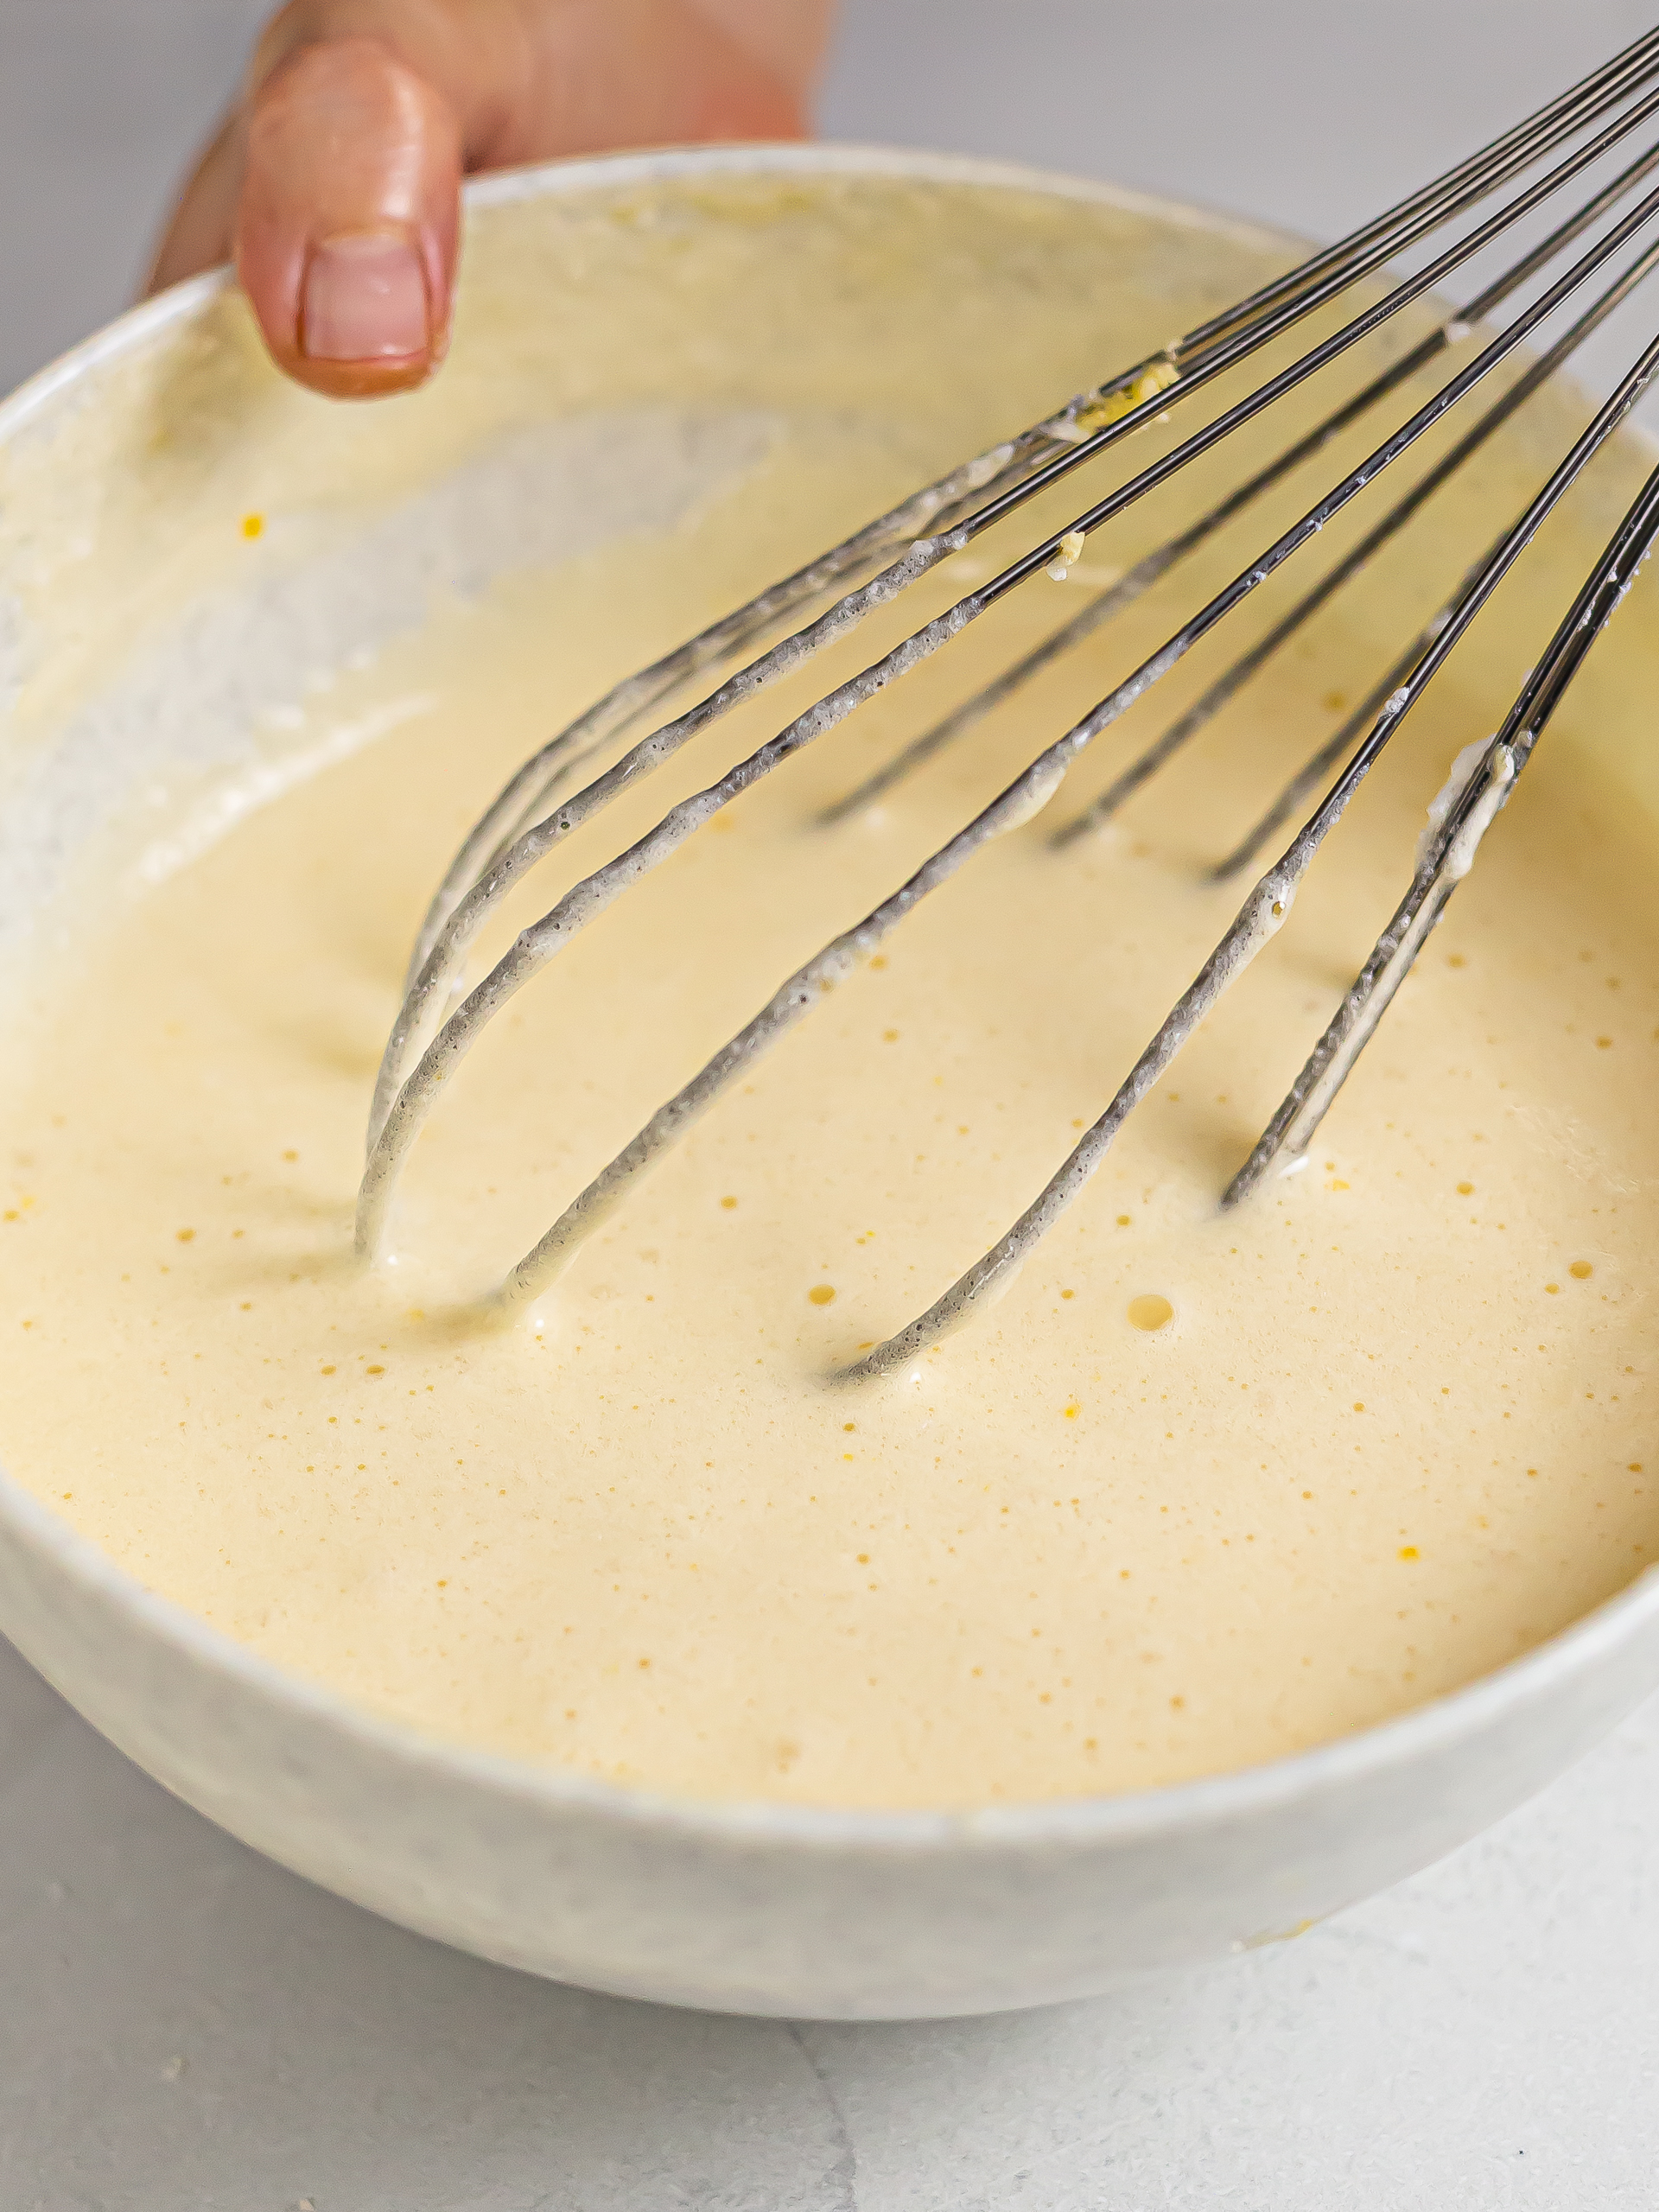
And now, beat everything together until you get a uniform batter.
Next, fold in the whipped egg whites, gently mixing until incorporated.
Be careful not to deflate the egg whites by overmixing.
The batter should be fluffy and pourable, similar to a pancake batter.
Step 5
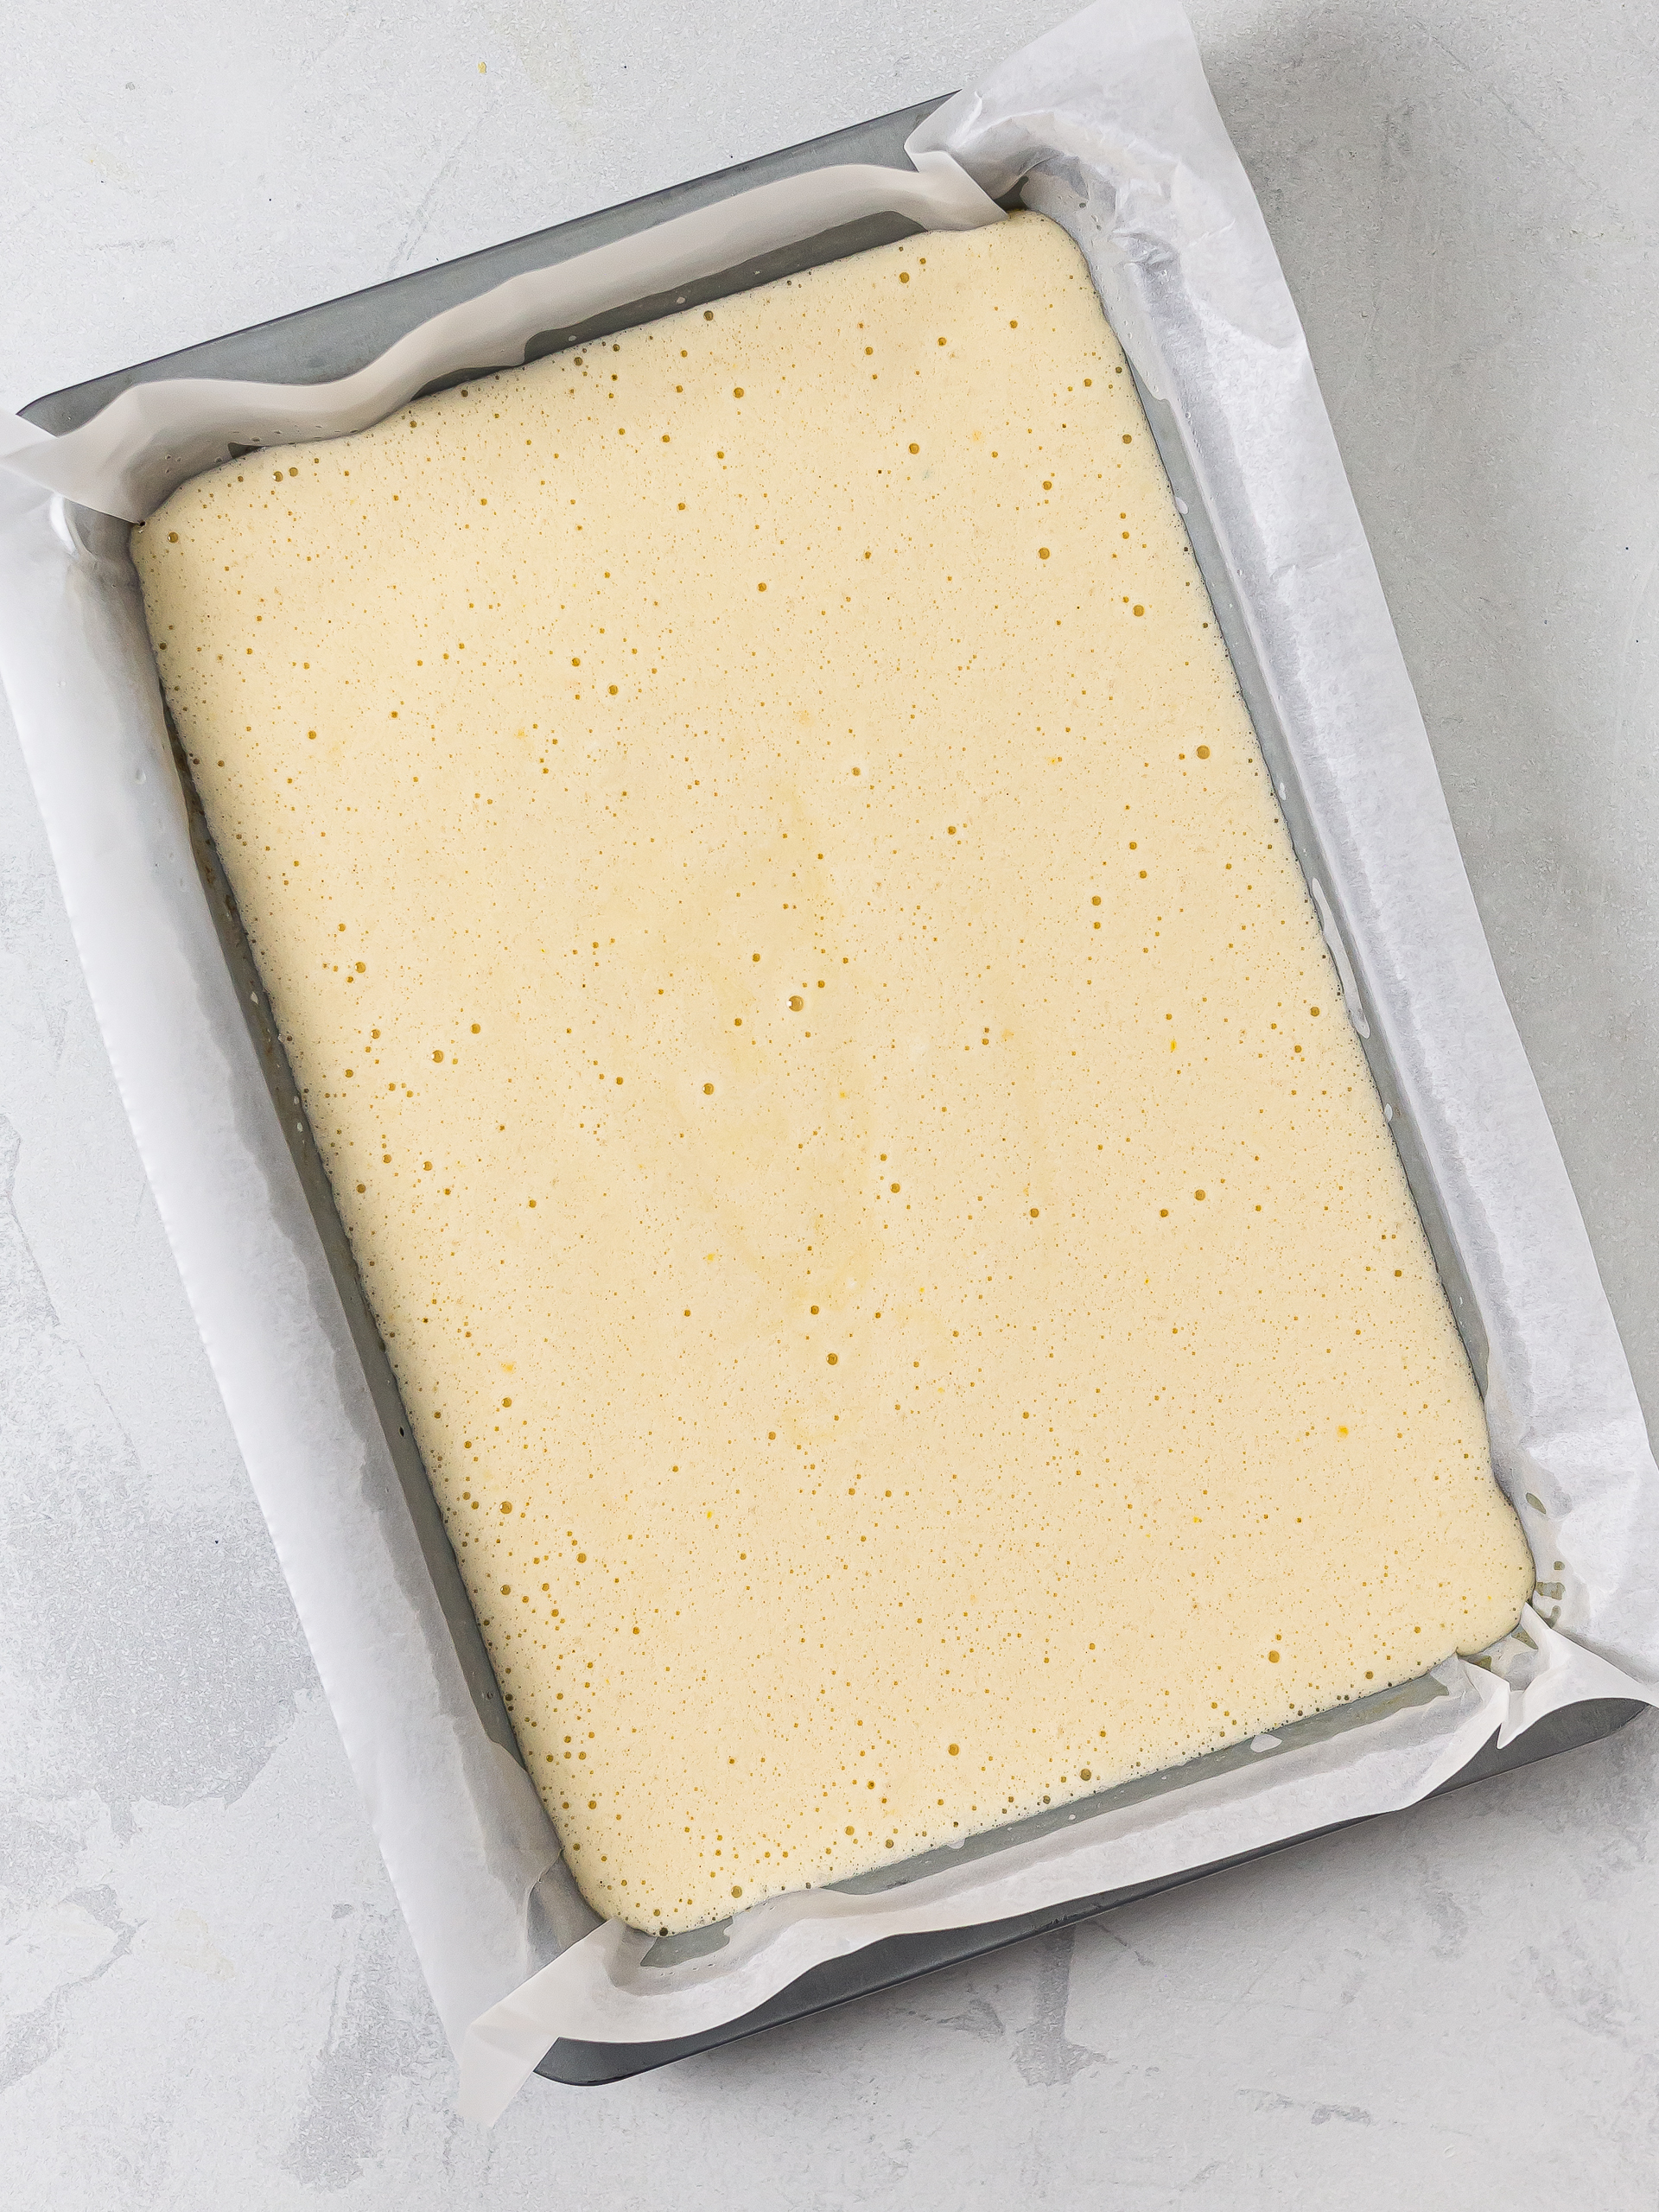
Pour the cake batter into the prepared tray, shaking and tilting the tray to make sure the batter forms a flat, smooth, and even layer. It will be quite thin.
Tap the tray on your worktop a few times to remove any air bubbles, and bake the cake at 180°C (355°F) for 15 minutes.
The cooking time is crucial for this recipe, and every oven is a little different, so keep an eye on the cake while it bakes.
After the first 8 minutes of cooking, regularly check the cake for doneness. It should feel spongy, springy, and a little moist, not dry.
If the cake overcooks, it will get dry, and it will crack as you roll it.
Step 6
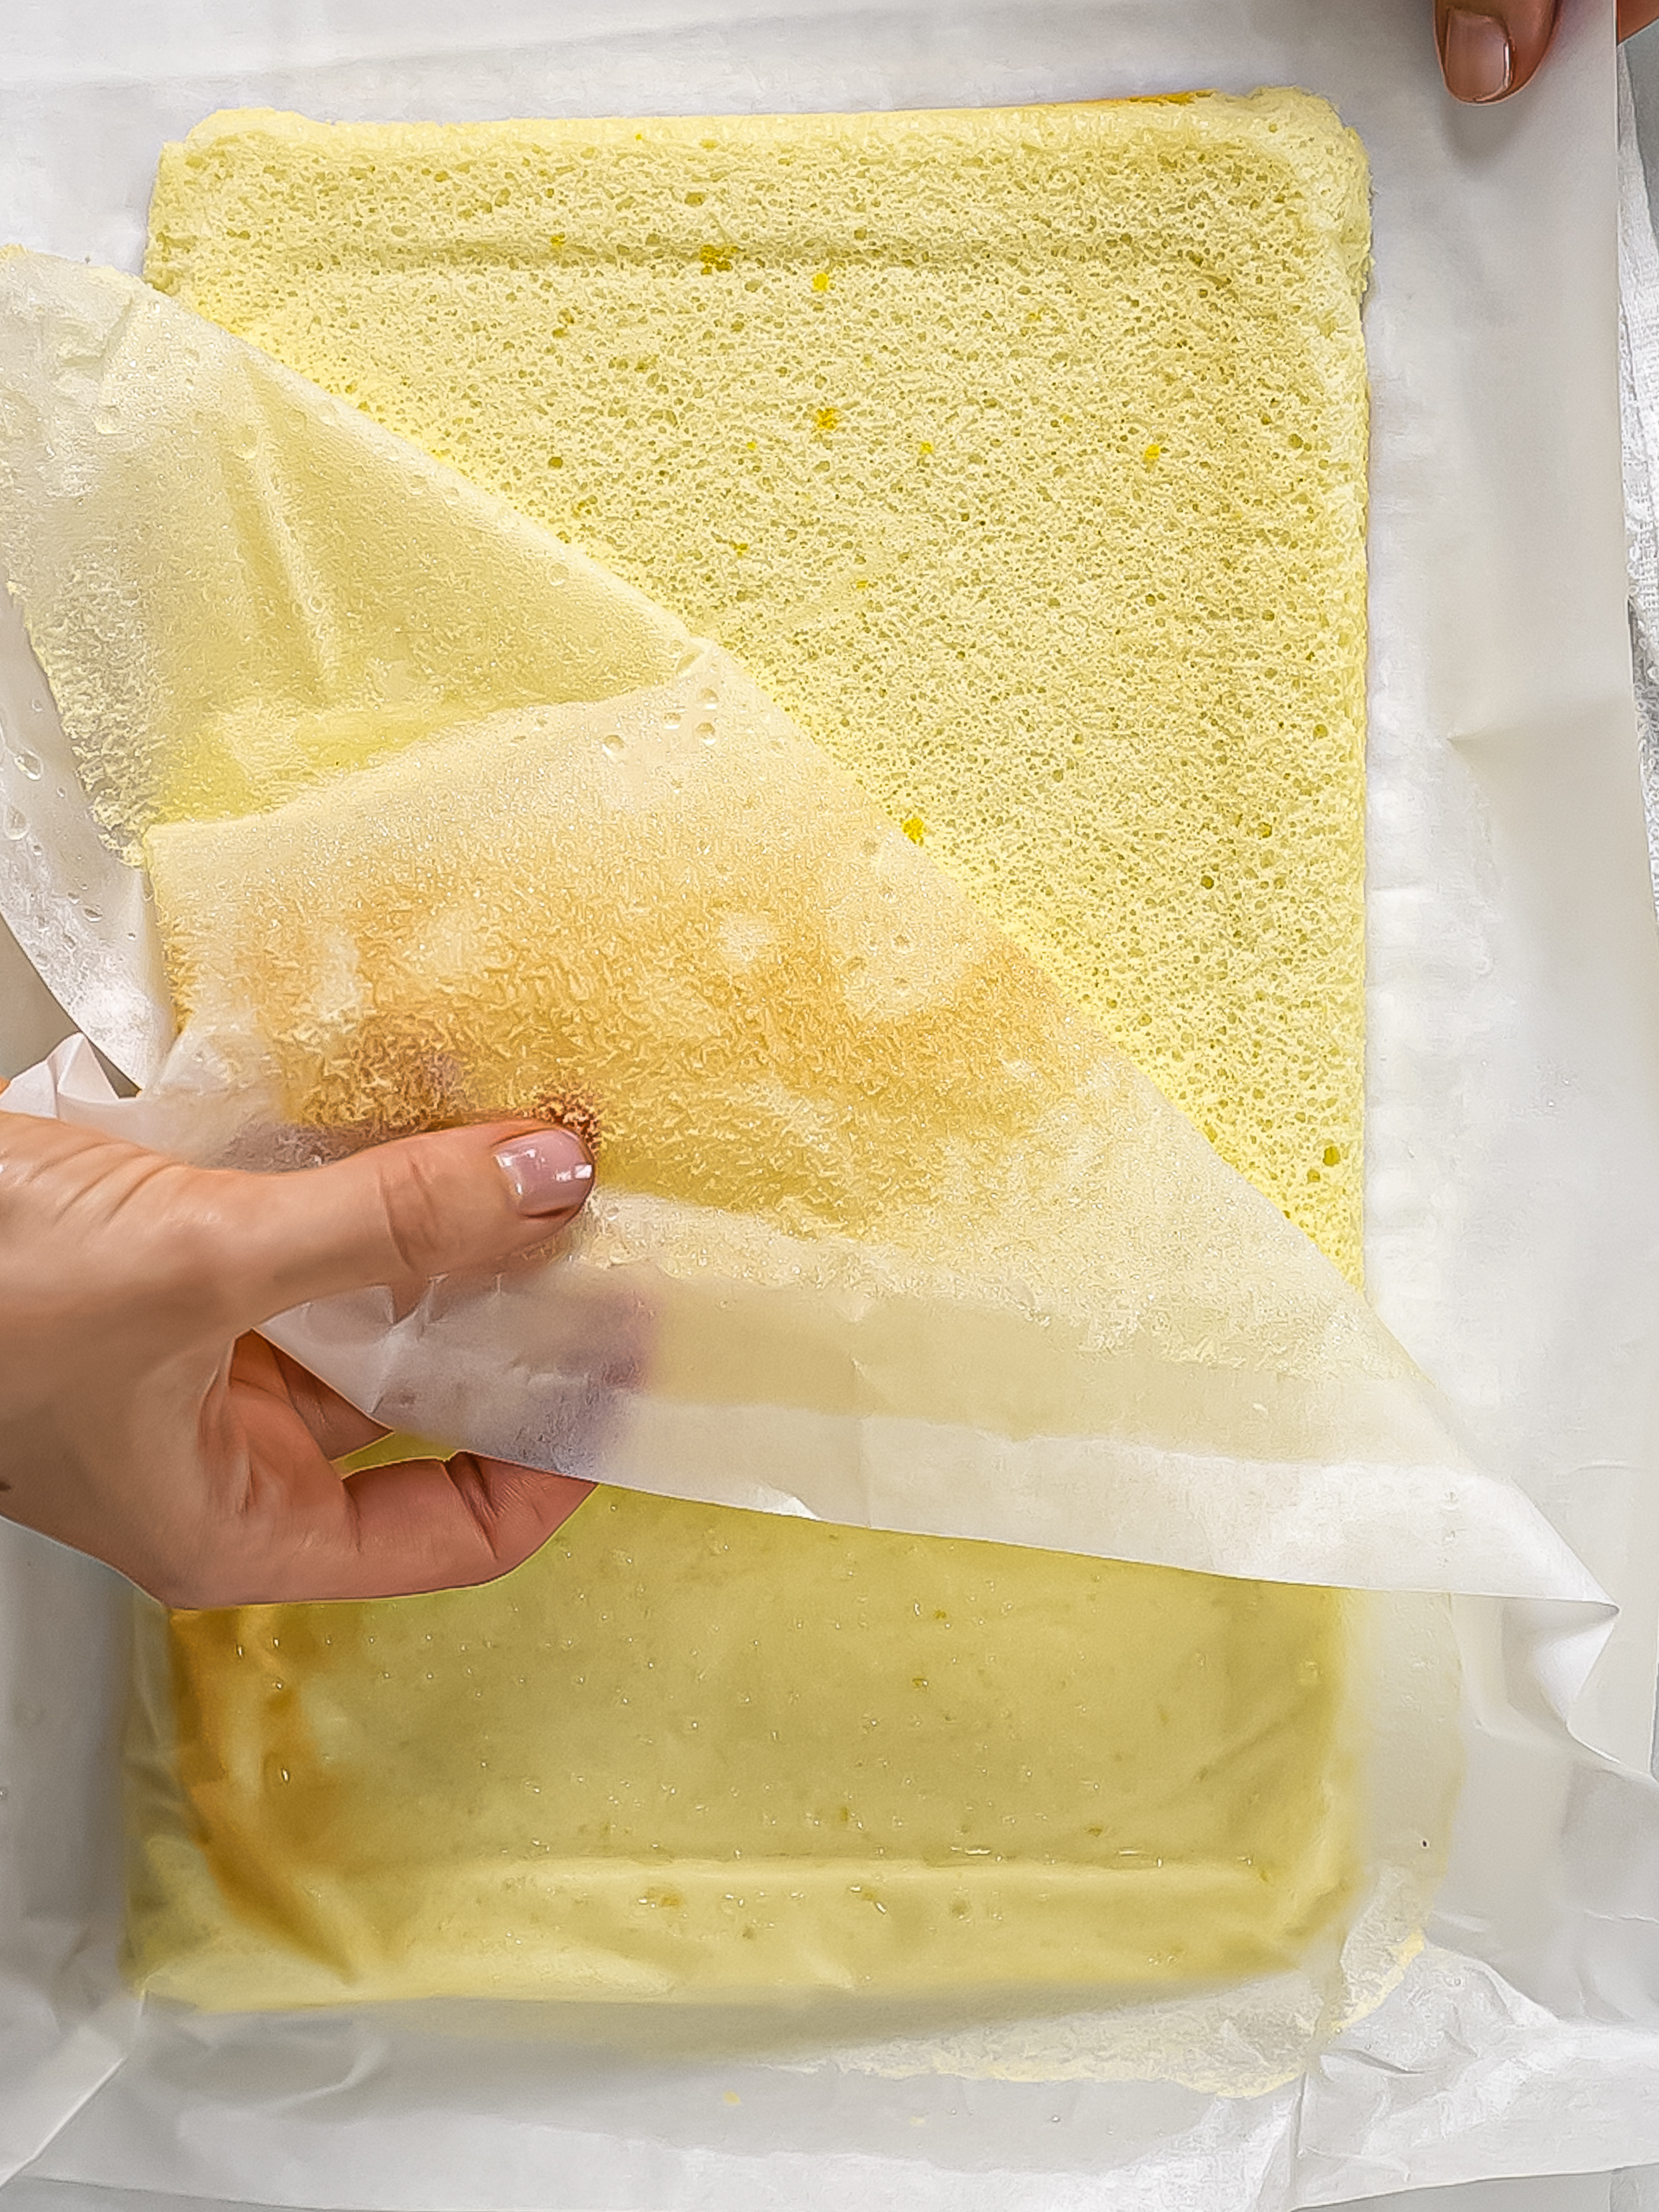
Once cooked, you'll need to flip the cake and peel off the baking paper rather quickly.
To do it, sprinkle the surface of the cake evenly with some sugar.
Then, cover it with a large sheet of parchment paper and top the paper with a kitchen towel.
To help you flip the cake, you can use another tray or anything that's flat, hard, and as large as the tray.
Flip the cake, and remove the baking tray.
Now, start gently peeling off the baking paper, trying not to tear the sponge cake. Take your time here.
Step 7
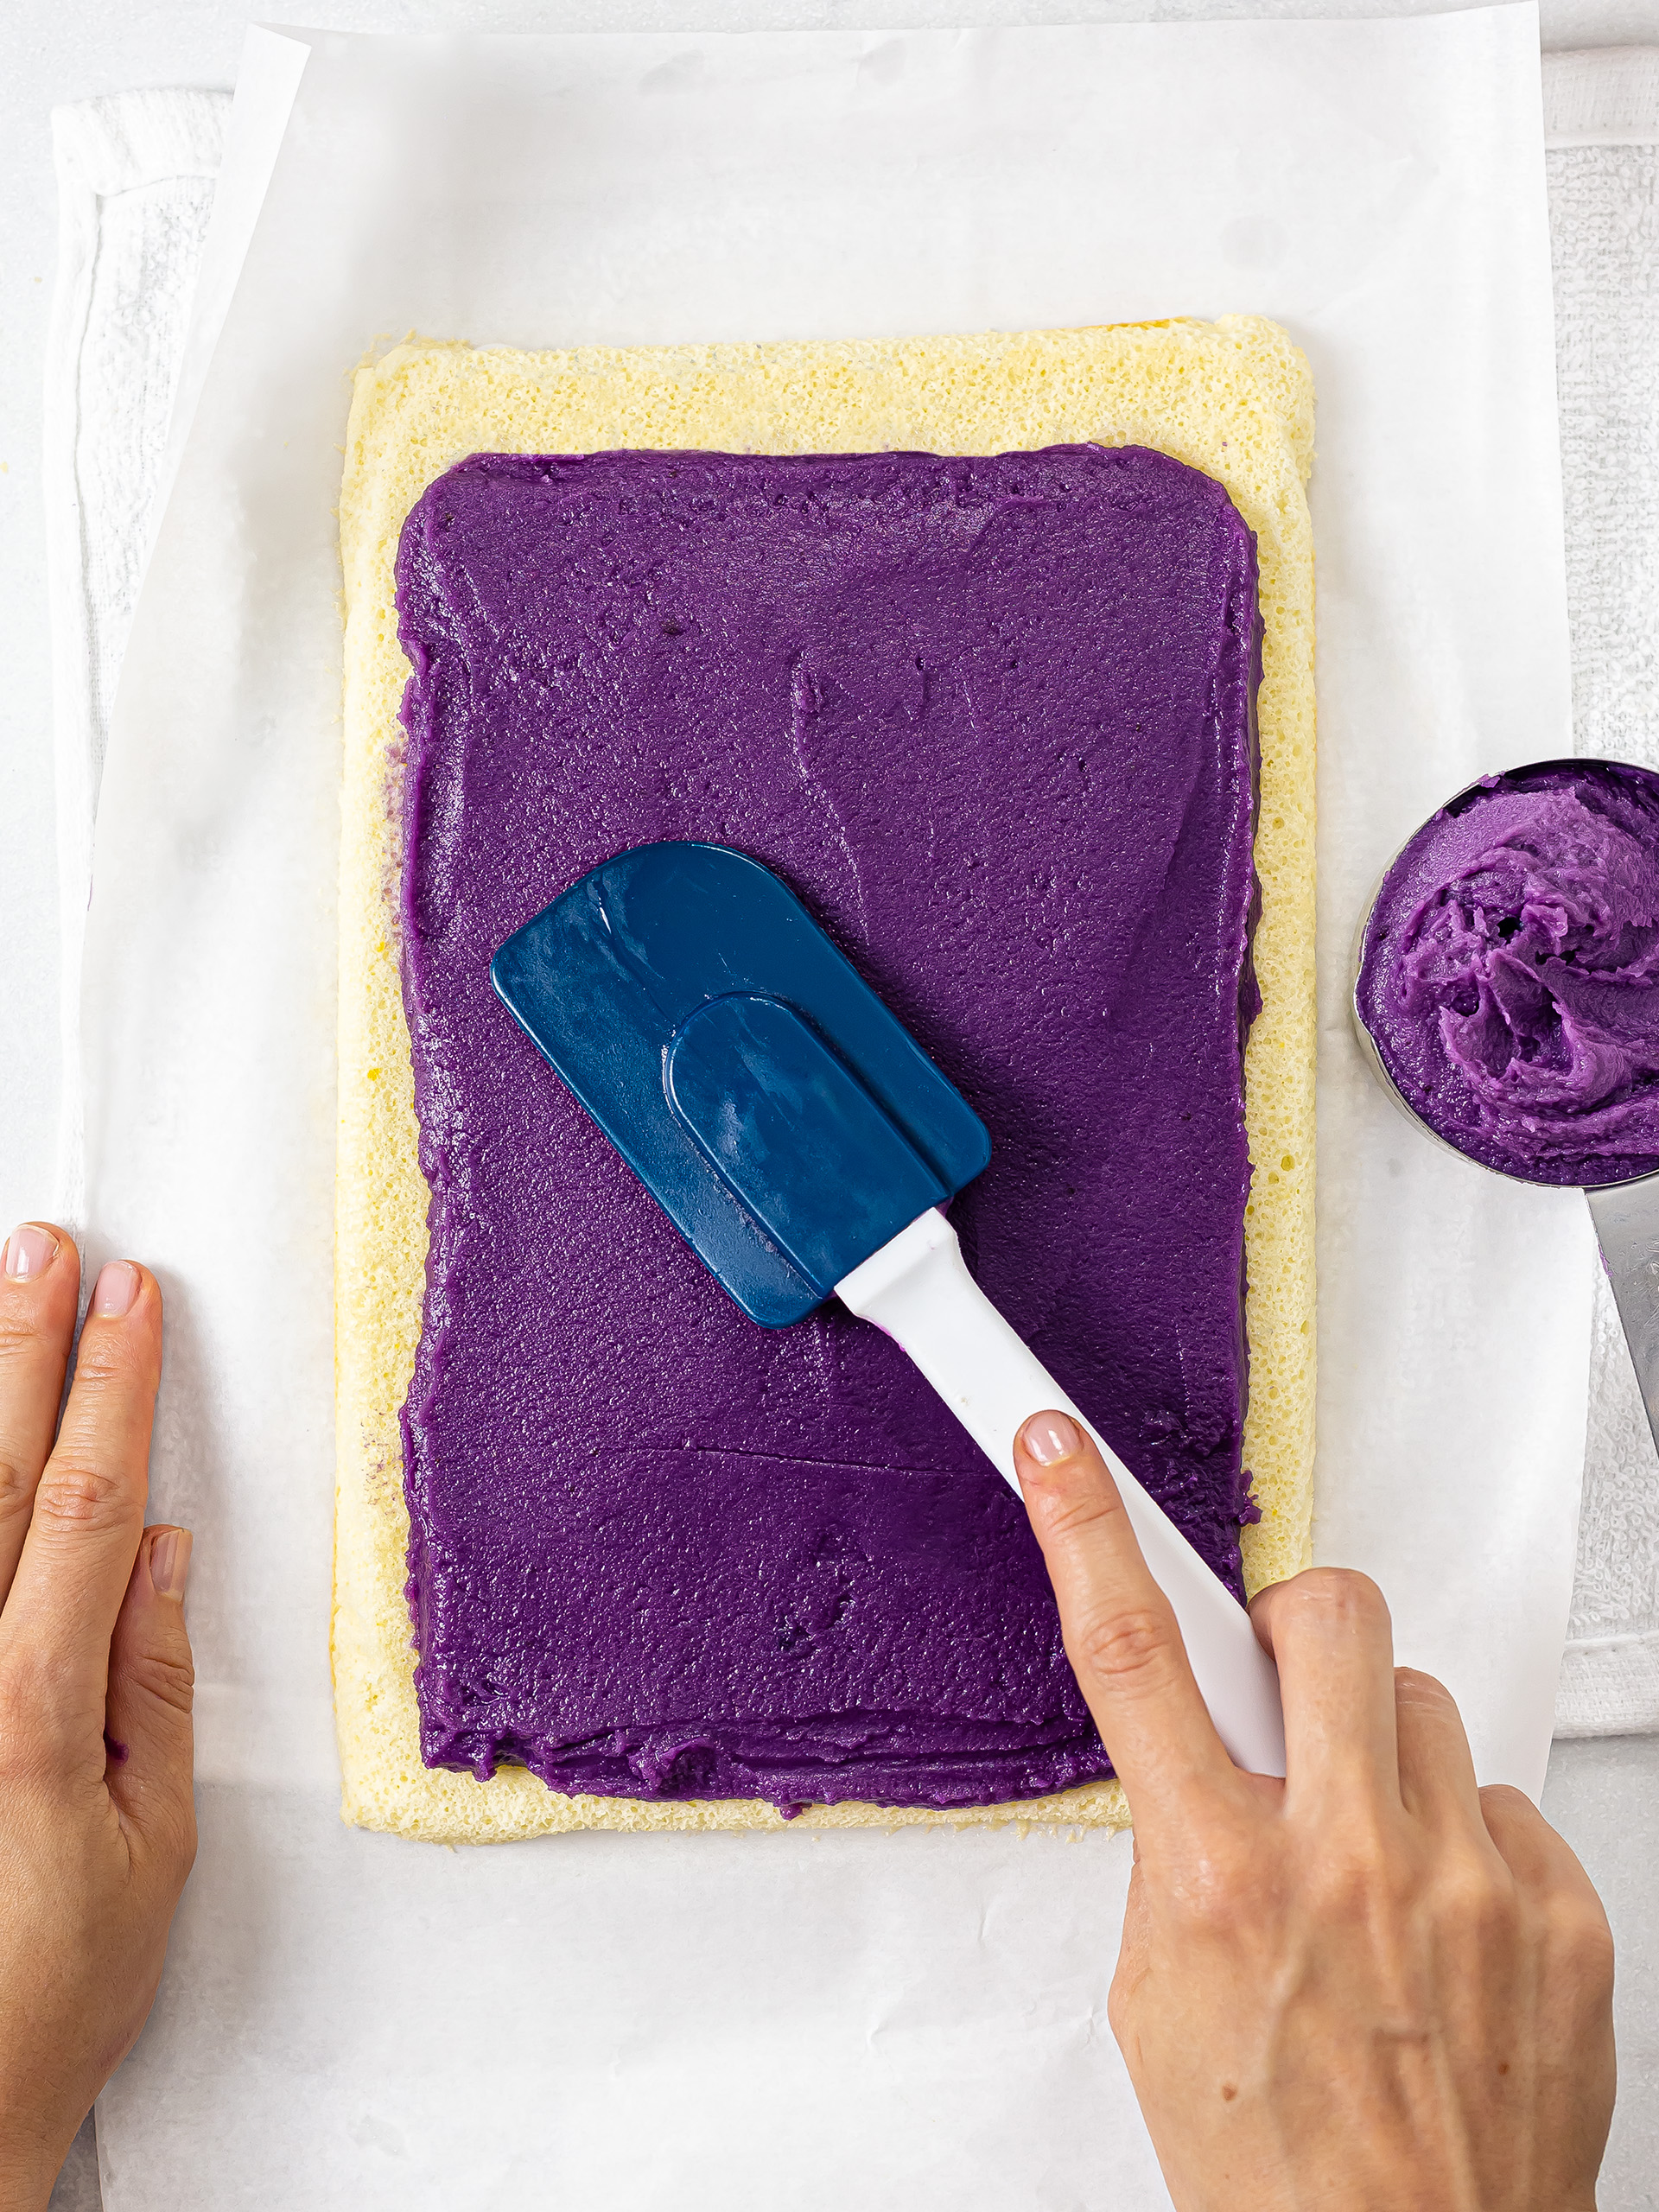
Now, use a spatula to spread the ube filling over the cake surface.
You need to be fast here, as you don't want the cake to cool down too much, or it might crack as you roll it.
Spread the filling, leaving a 1.5 cm (1/2 inch) free on the edges. It's a good idea to taper off the filling on the short edges, to make the rolling easier and less messy.
Step 8
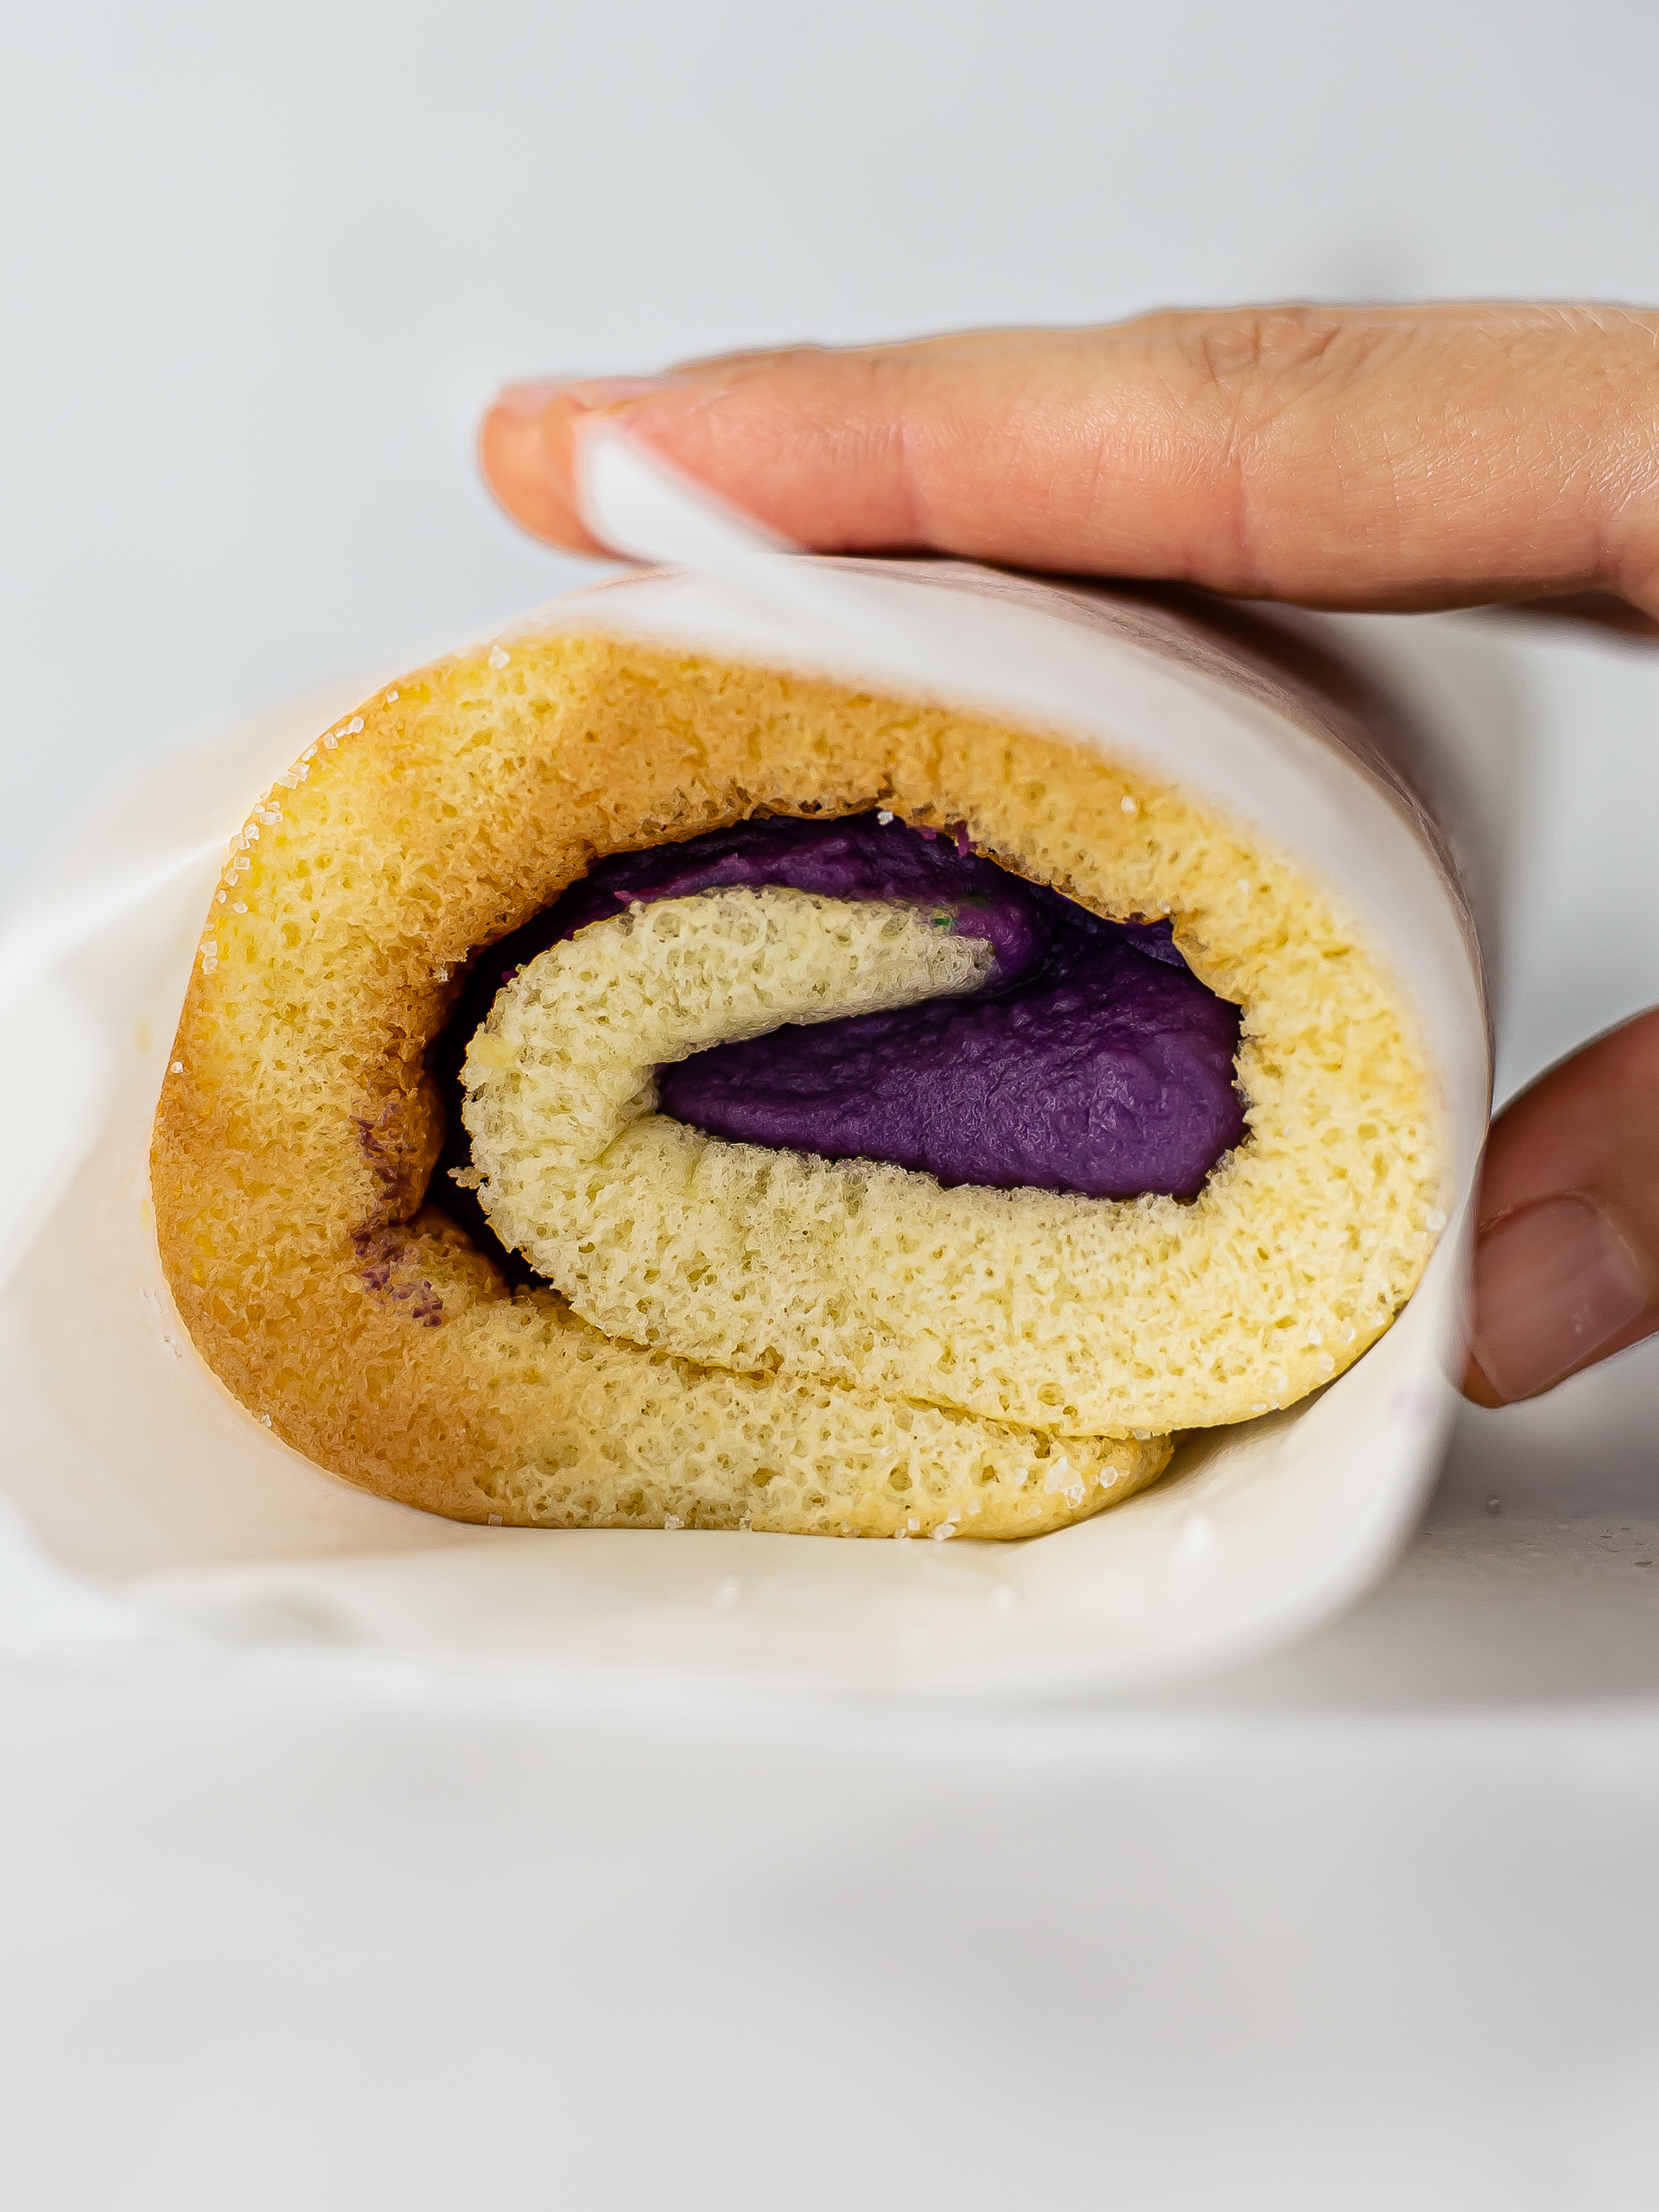
Now, starting from a short side, begin rolling the cake tightly around the filling.
Help yourself with the baking paper and the underlying kitchen towel if the cake feels too hot.
Roll the cake into a log, and finish with the seam-side down.
If you have trouble with this step, you can watch the recipe video on this page to see how we've done it.
Once rolled, wrap the cake roll tightly with baking paper so that it keeps its shape.
Cover with cling film and let the ube cake roll set in the fridge for at least 30 minutes.
This step will allow the cake to set into its shape, preventing it from unravelling.
Step 9
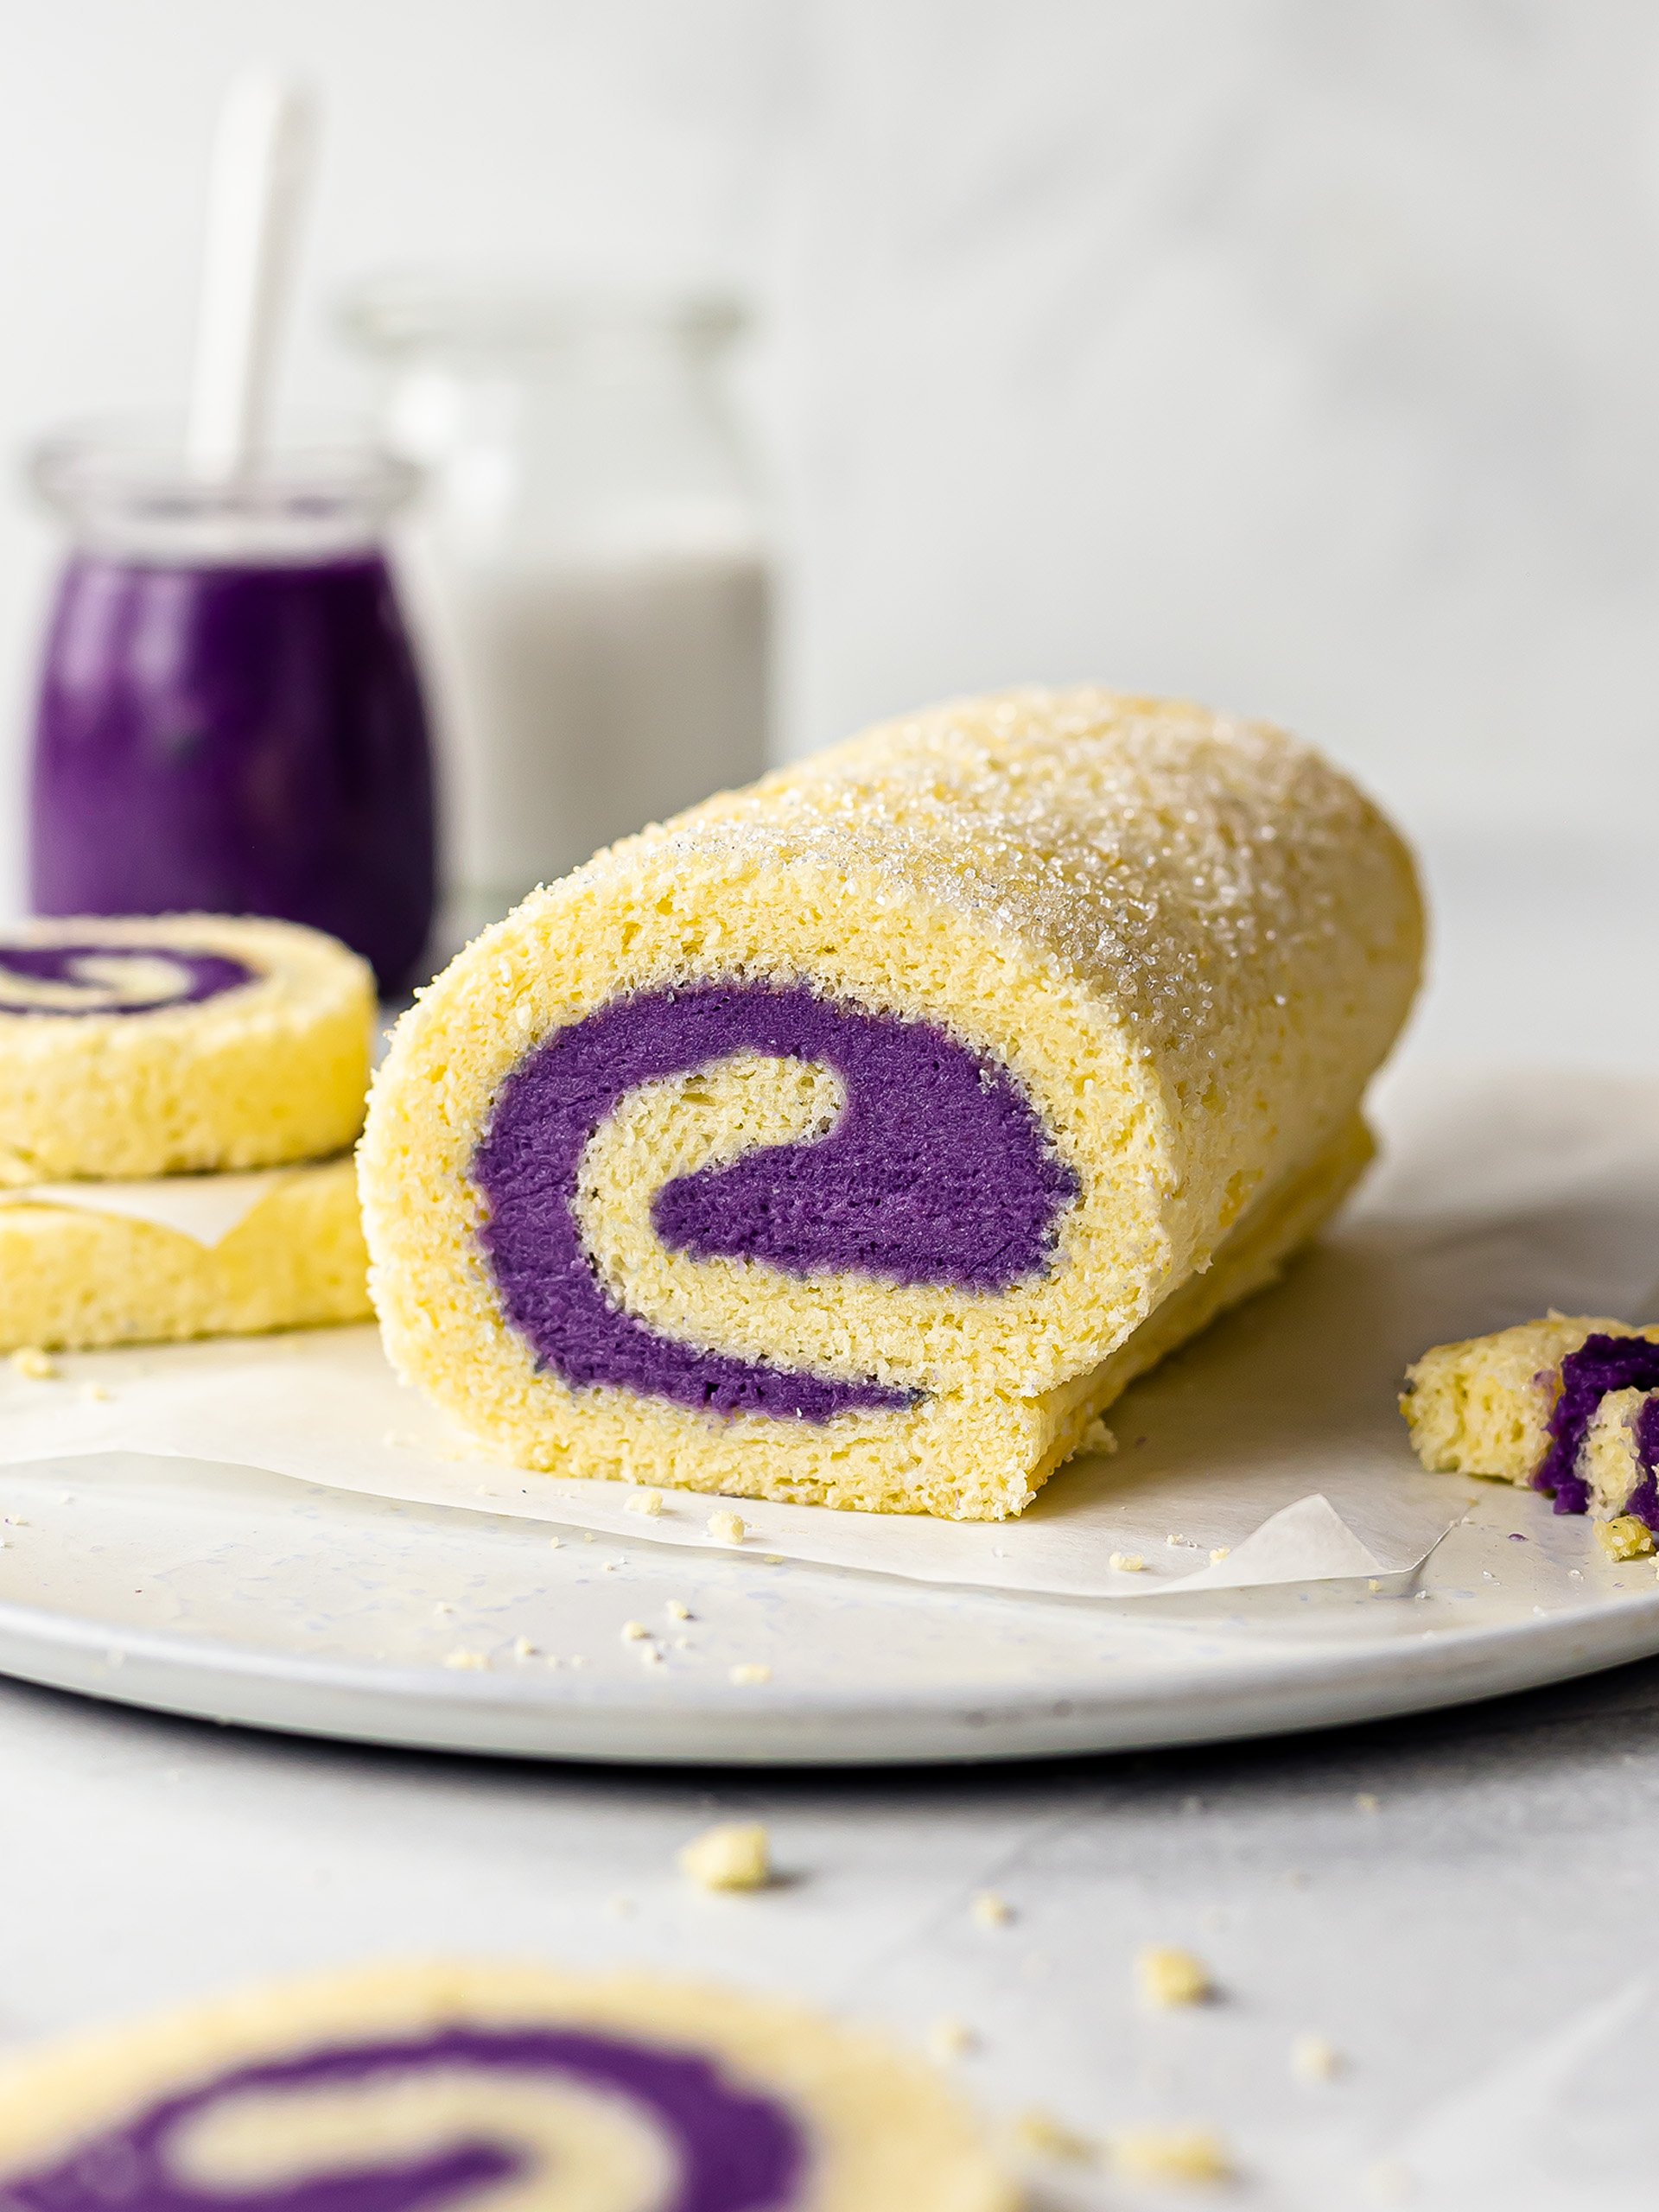
Finally, carefully unroll the paper and use a sharp long knife to cut the cake into slices.
You're all done!
I know this recipe was a bit long, but I wanted to give you as precise steps as possible to help you through the tricky bits.
Now you can enjoy this beautiful ube swirled cake with a nice glass of milk, or maybe pair it with our coconut ube bubble tea or warm ube purple latte for extra delight!
Tips
You can optionally garnish the ube-filled roll cake with fresh berries, thin banana slices, or a simple dusting of sugar. You can also frost it with more ube spread or drizzle it with a white glaze.
Store the ube roll cake in the fridge for up to 3 days, wrapped in cling film.
