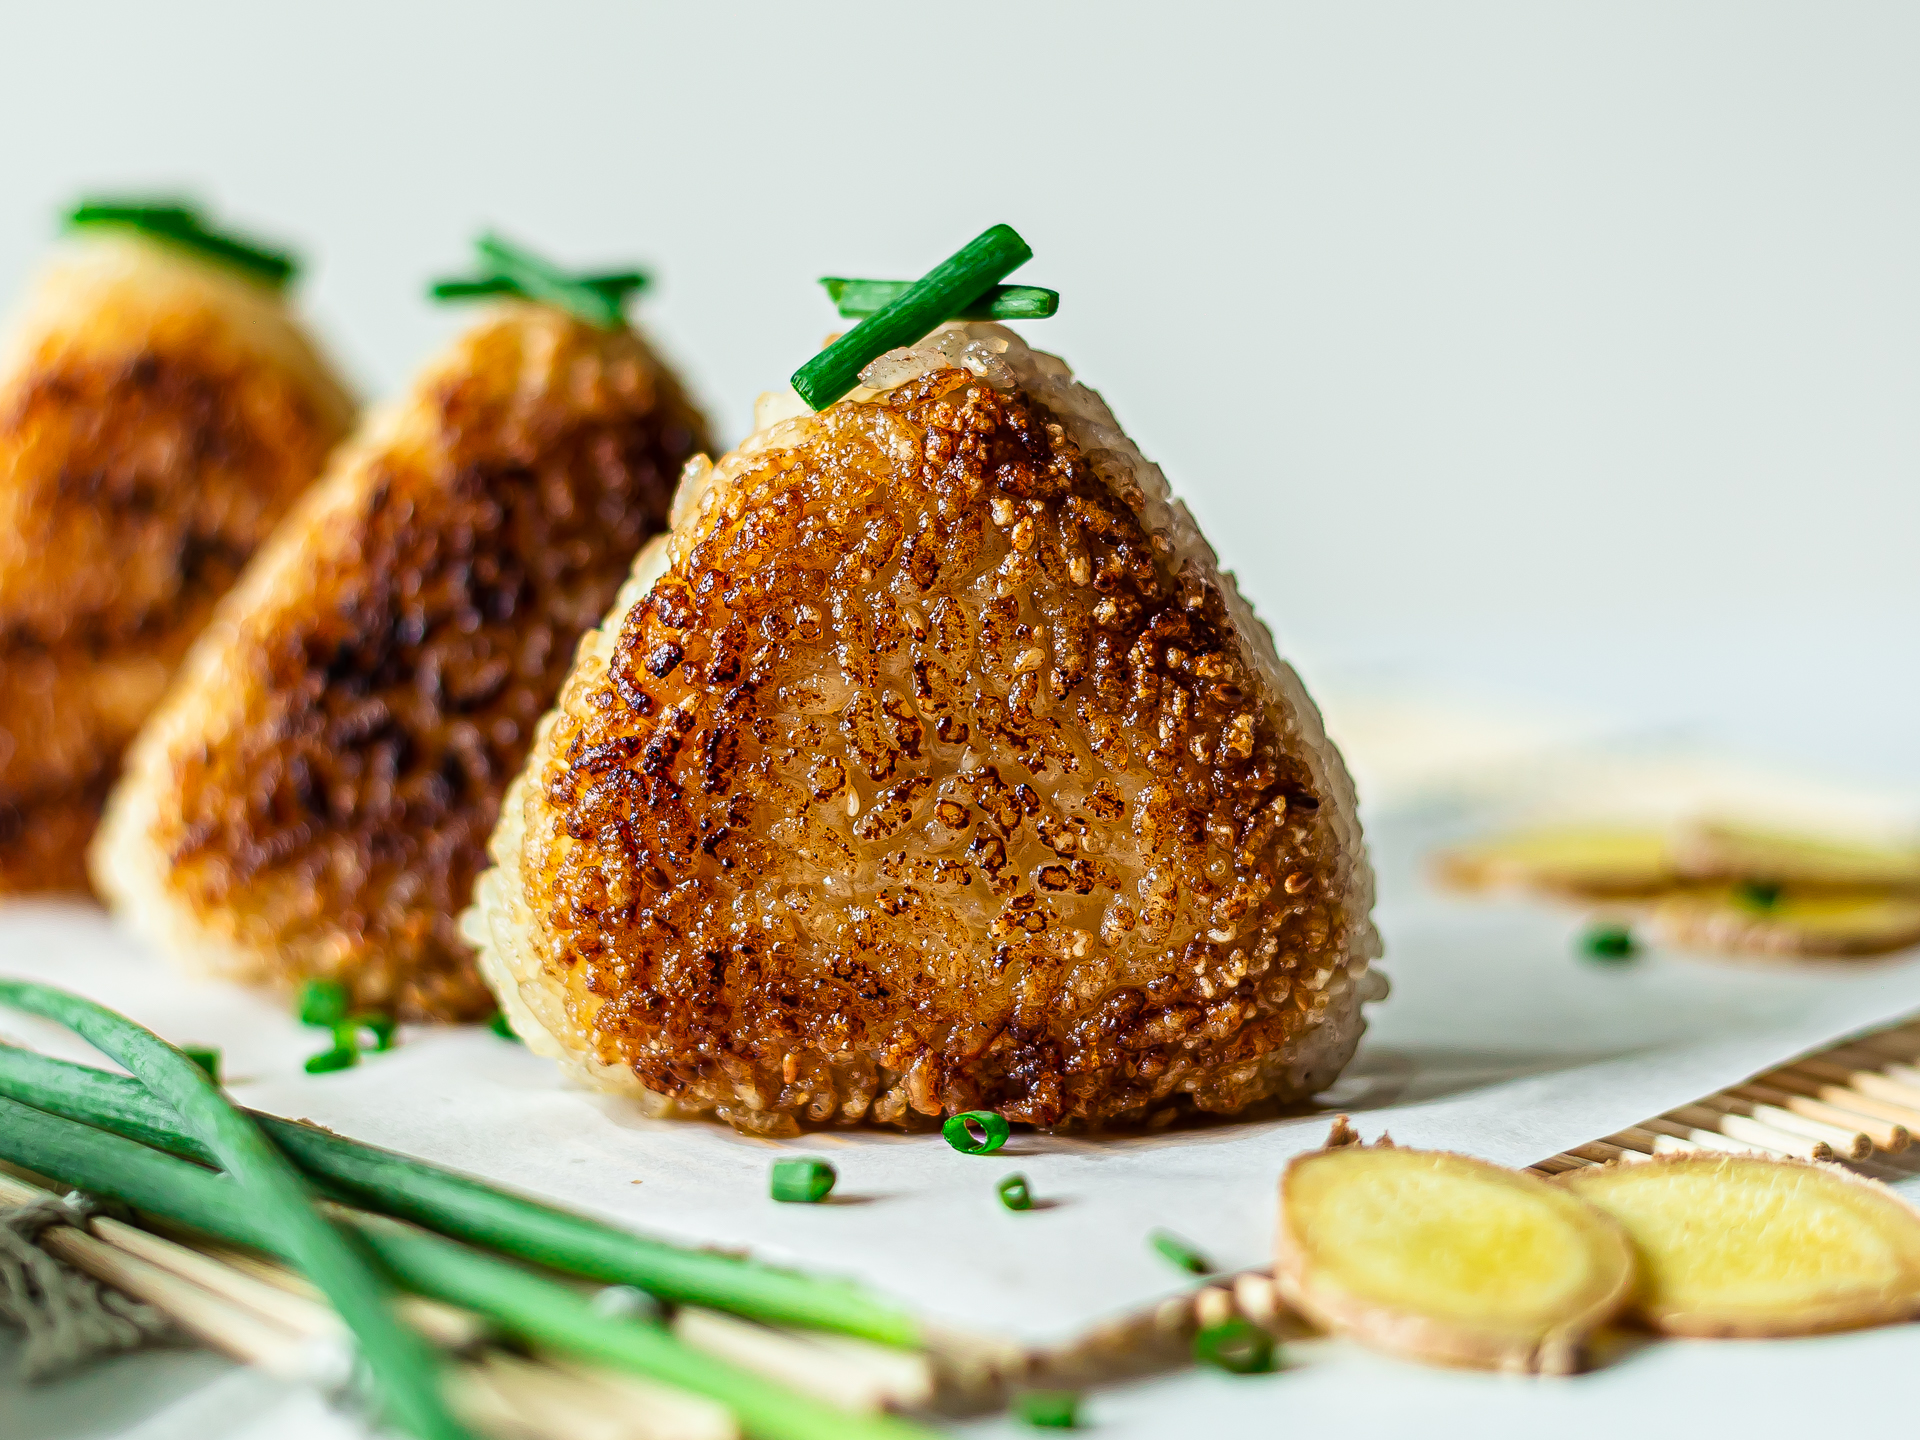
Yaki onigiri are the grilled version of classic Japanese rice balls. Crispy outside and soft inside, they're the ultimate comfort food, perfect as a snack or lunch box add-on. They're super easy to make at home with our step-by-step recipe — so let us show you how!
The word yaki (焼き) means "to grill" or "to fry" in Japanese, while onigiri (おにぎり) stands for "pressed rice".
While basic onigiri are triangular-shaped balls of cooked rice, yaki onigiri undergo a second cooking step: grilling or frying.
Traditionally, yaki onigiri are cooked on a charcoal grill which makes the rice balls smoky and crusty. They're delightfully charred outside, yet soft and moist inside. A real delight!
But for a simpler recipe, you can just fry the yaki balls in a skillet until the rice is browned and crispy. Cast iron pans will give you the best results, but a good ol' non-stick pan will also do the job, so no worries!
While classic onigiri are often stuffed with savoury fillings, yaki onigiri are usually plain. This means they're made without stuffings, just plain cooked rice pressed into a ball.
This way, you can focus on the wonderfully caramelised flavour of fried rice.
But because we love stuffing our Japanese rice balls so much, we made these yaki onigiri with a delicious mushroom teriyaki filling. It's quick and easy, and your rice balls will be even more flavourful!
Another thing that sets yaki balls apart from traditional onigiri is the coating sauce. While grilling, yaki onigiri are usually brushed with soy sauce for extra flavour.
Besides soy sauce, other yaki onigiri sauces include miso paste, sweet miso sauce, or a combo of miso/soy sauce and melted butter. You can give them a go if you like!
In this recipe, we used gluten-free sauce and no butter to keep the yaki onigiri both vegan and gluten-free. Also, while some recipes fry the onigiri in butter, we opted for vegetable oil.
In the steps below, we'll show you how to cook the sushi rice from scratch, shape it into onigiri balls, and cook them until perfectly crispy.
We'll also share extra tips and tricks on how to prevent the yaki balls from falling apart while frying.
These crispy rice balls are best while piping hot, but you can also have them cold. They're perfect as a savoury snack at home or on the go.
Yaki onigiri are also a great alternative to a bowl of rice for lunch or dinner, paired with this vegan homemade miso soup or silky Japanese corn soup.
And you can also use them as a base for Japanese ochazuke, following our tips below!
Ingredients
| Filling (optional) | |
| Vegetable Oil | 1/2 tbsp |
| Garlic Cloves | 1 |
| Mushrooms (shiitake and/or king oyster) | 130 g |
| Gluten-Free Teriyaki Sauce | 2 tbsp |
| Others | |
| Frying Oil | to taste |
| GF Soy Sauce (for brushing) | 2 tbsp |
| Rice Balls | |
| Japanese Short-Grain White Rice | 300 g |
| Water | 400 mL |
| Salt | 1/2 tsp |
| Sesame Seeds (optional) | 2 tbsp |
Step 1
Many yaki balls come without filling, so you can skip to the next step if you prefer plain yaki rice balls.
But our mushroom teriyaki stuffing is quick and easy to make — and it will make the onigiri even tastier.
You can also try onigiri with kombu tsukudani filling or vegan tuna filling for onigiri.
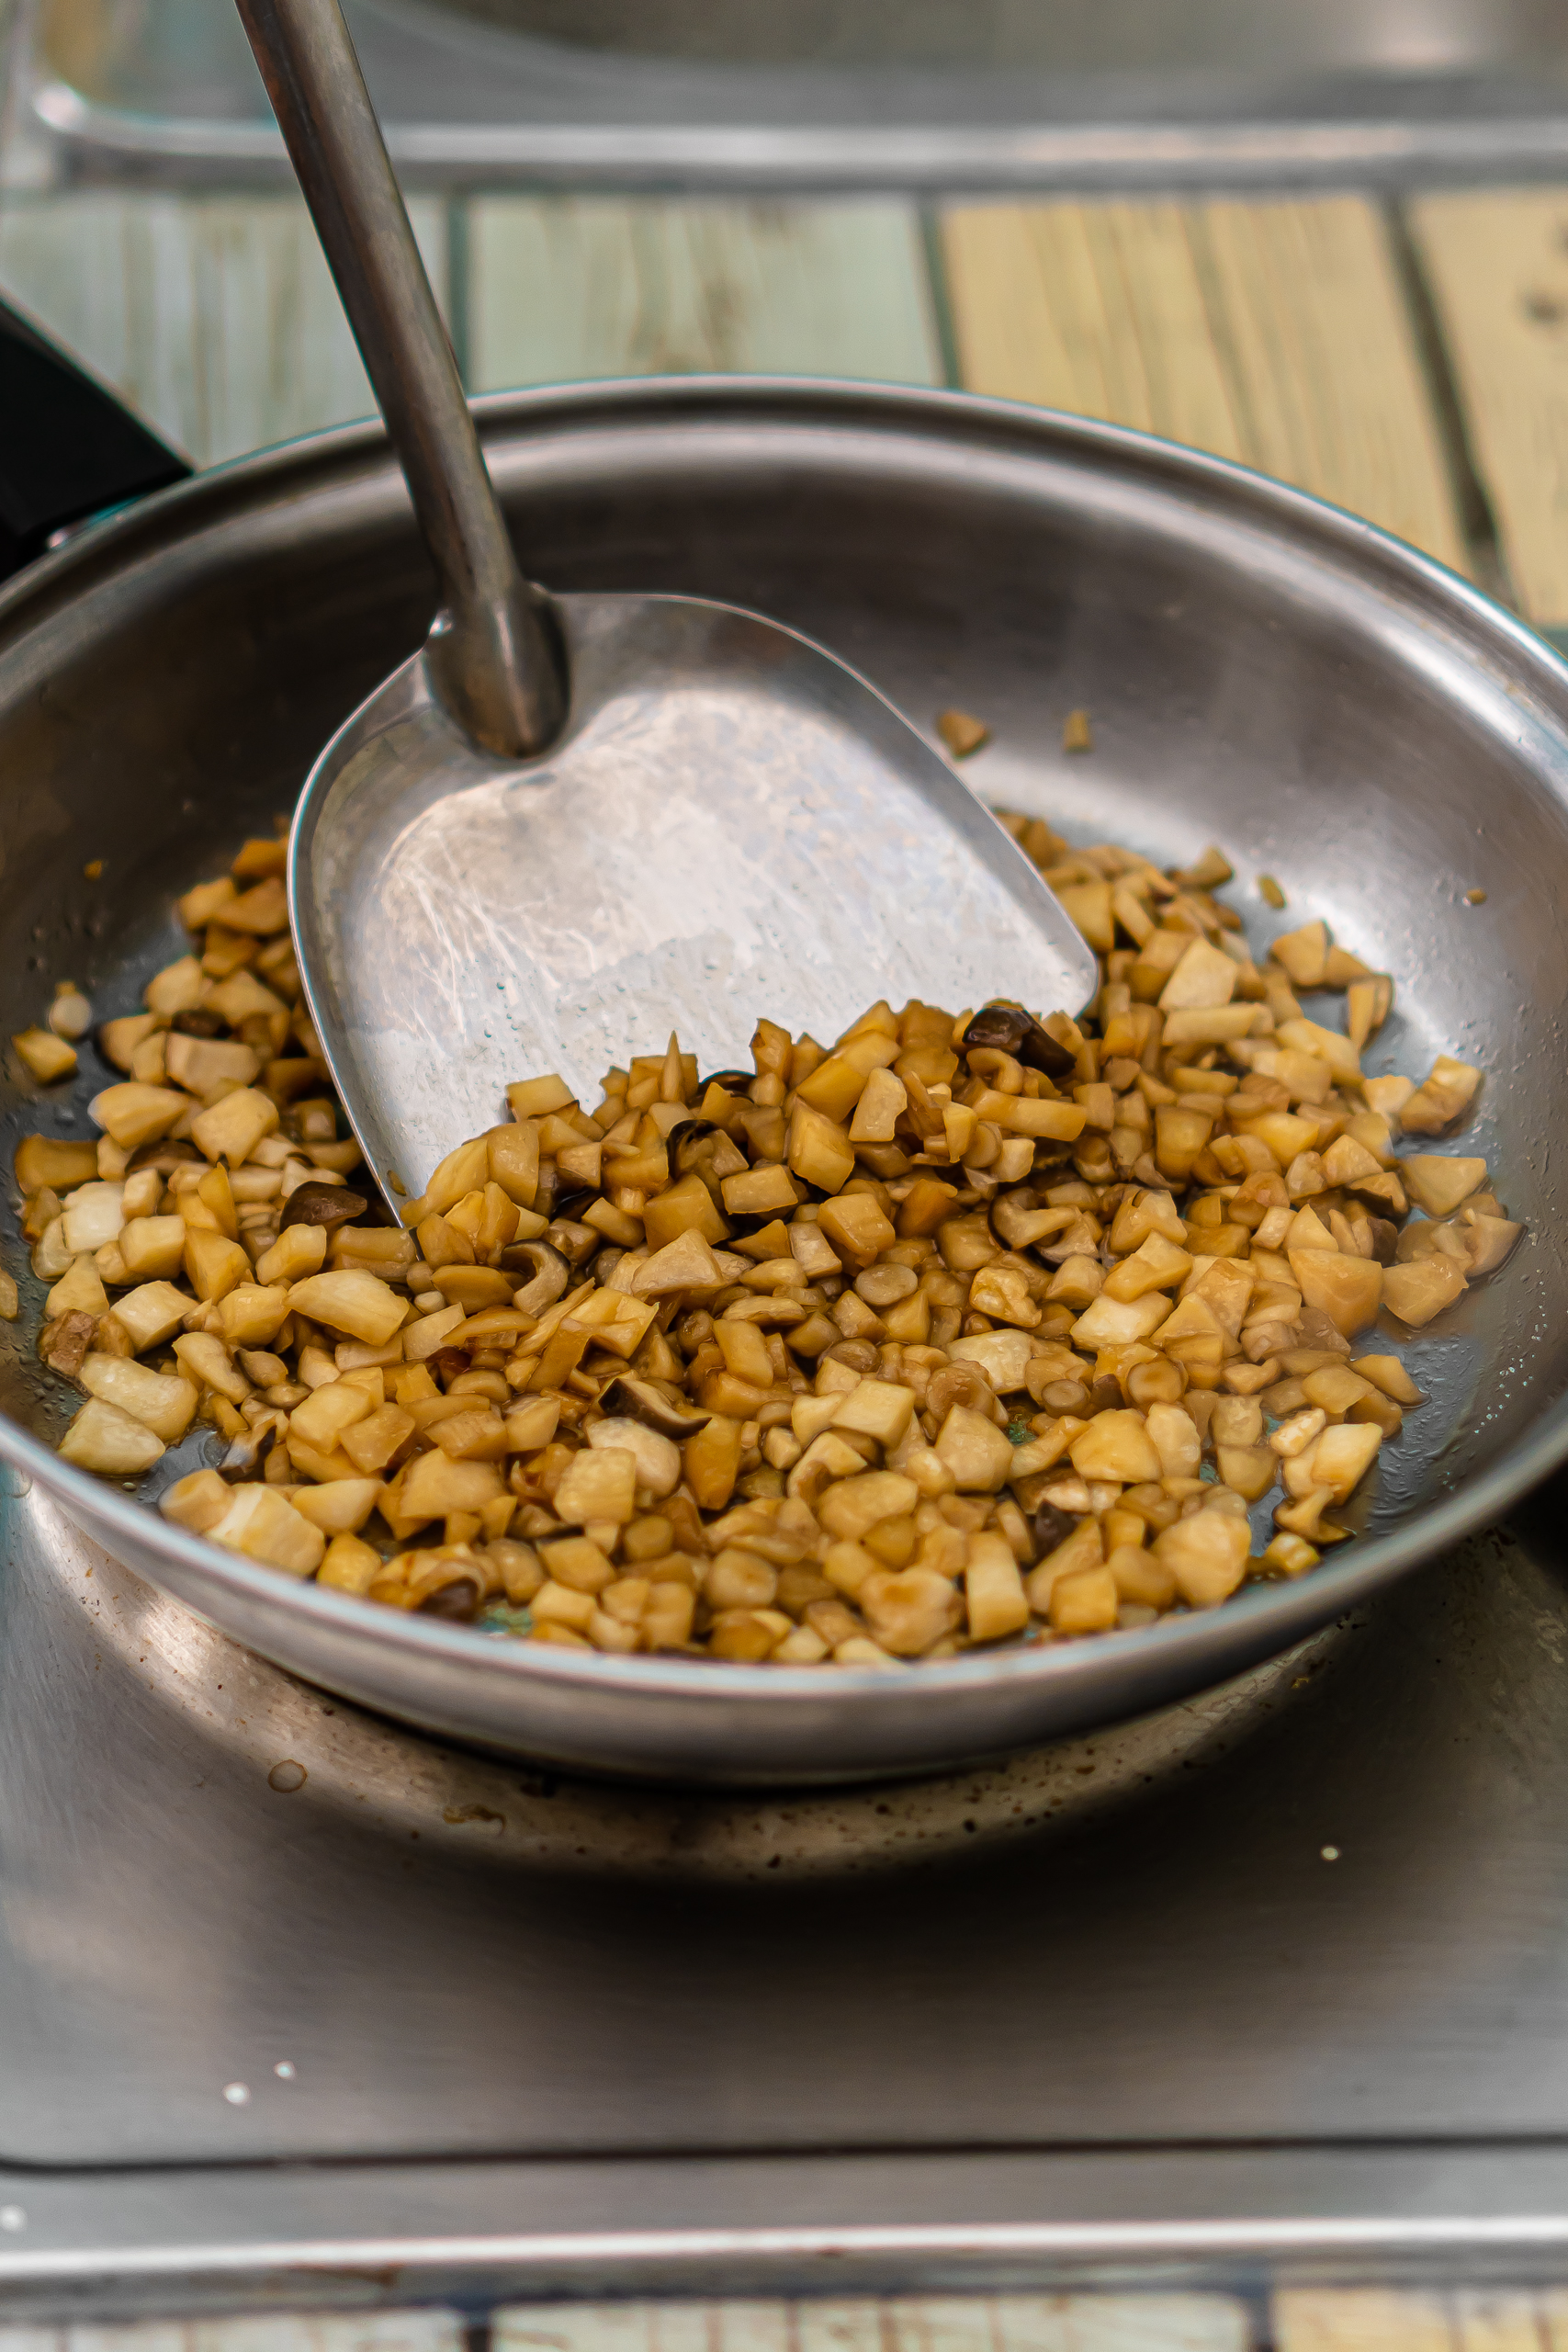
Ok now, heat the oil in a skillet with thinly sliced garlic.
Add in finely chopped mushrooms and teriyaki sauce.
You can use shiitake, king oyster, enoki mushrooms, or a combination.
Cook them for 8-10 minutes until the liquids have reduced and the mushrooms are tender and glossy.
Then, set them aside to cool while you prepare the onigiri rice.
Step 2
For the onigiri rice, make sure you're using Japanese short-grain white rice, also called sushi rice.
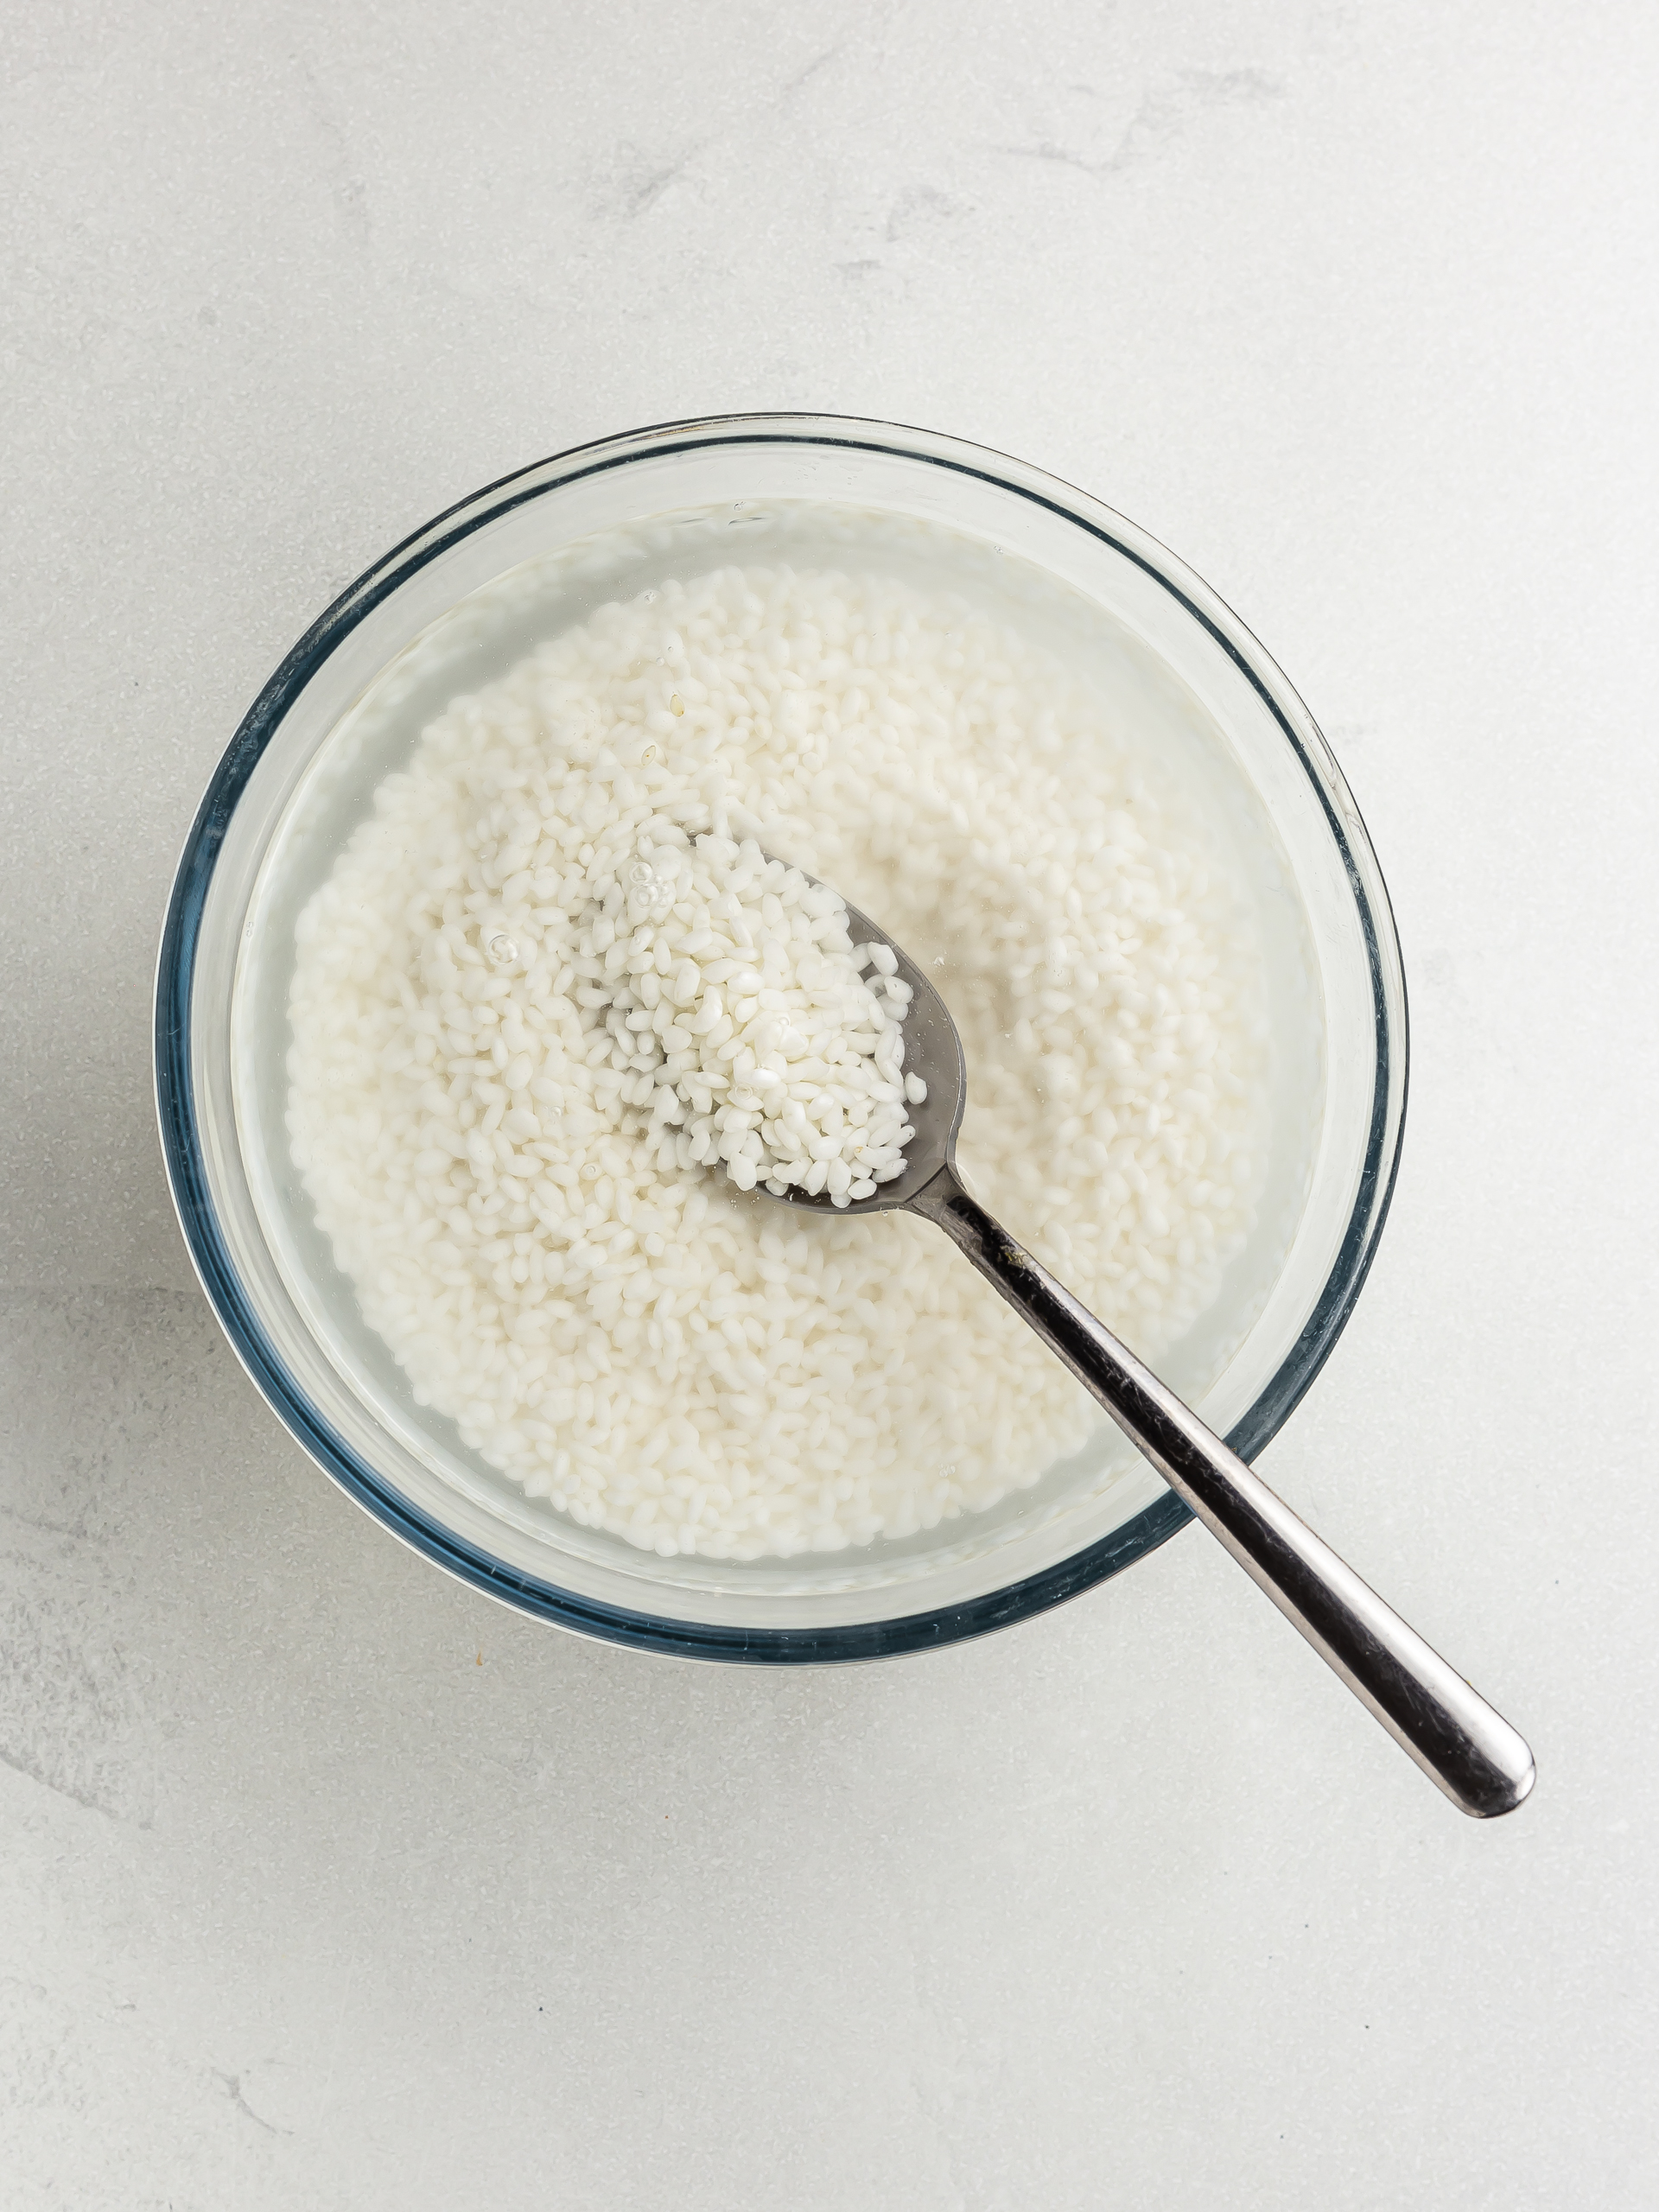
Wash the rice in a pot of cold water, swirling it around and rubbing it with your fingers.
Then, drain it well and repeat two more times or until the water runs clear.
Step 3
Now, you can cook the onigiri rice in a rice cooker, following the manufacturer's instructions, or over the hob.
For this second option, add the drained rice to a pot, followed by the given water and salt.
Cover with a tight-fitting lid and bring the water to a boil.
Once boiling, lower the heat to medium-low and simmer the rice for 8-10 minutes.
You must not open the lid or stir rice while it cooks, or it won't cook properly.
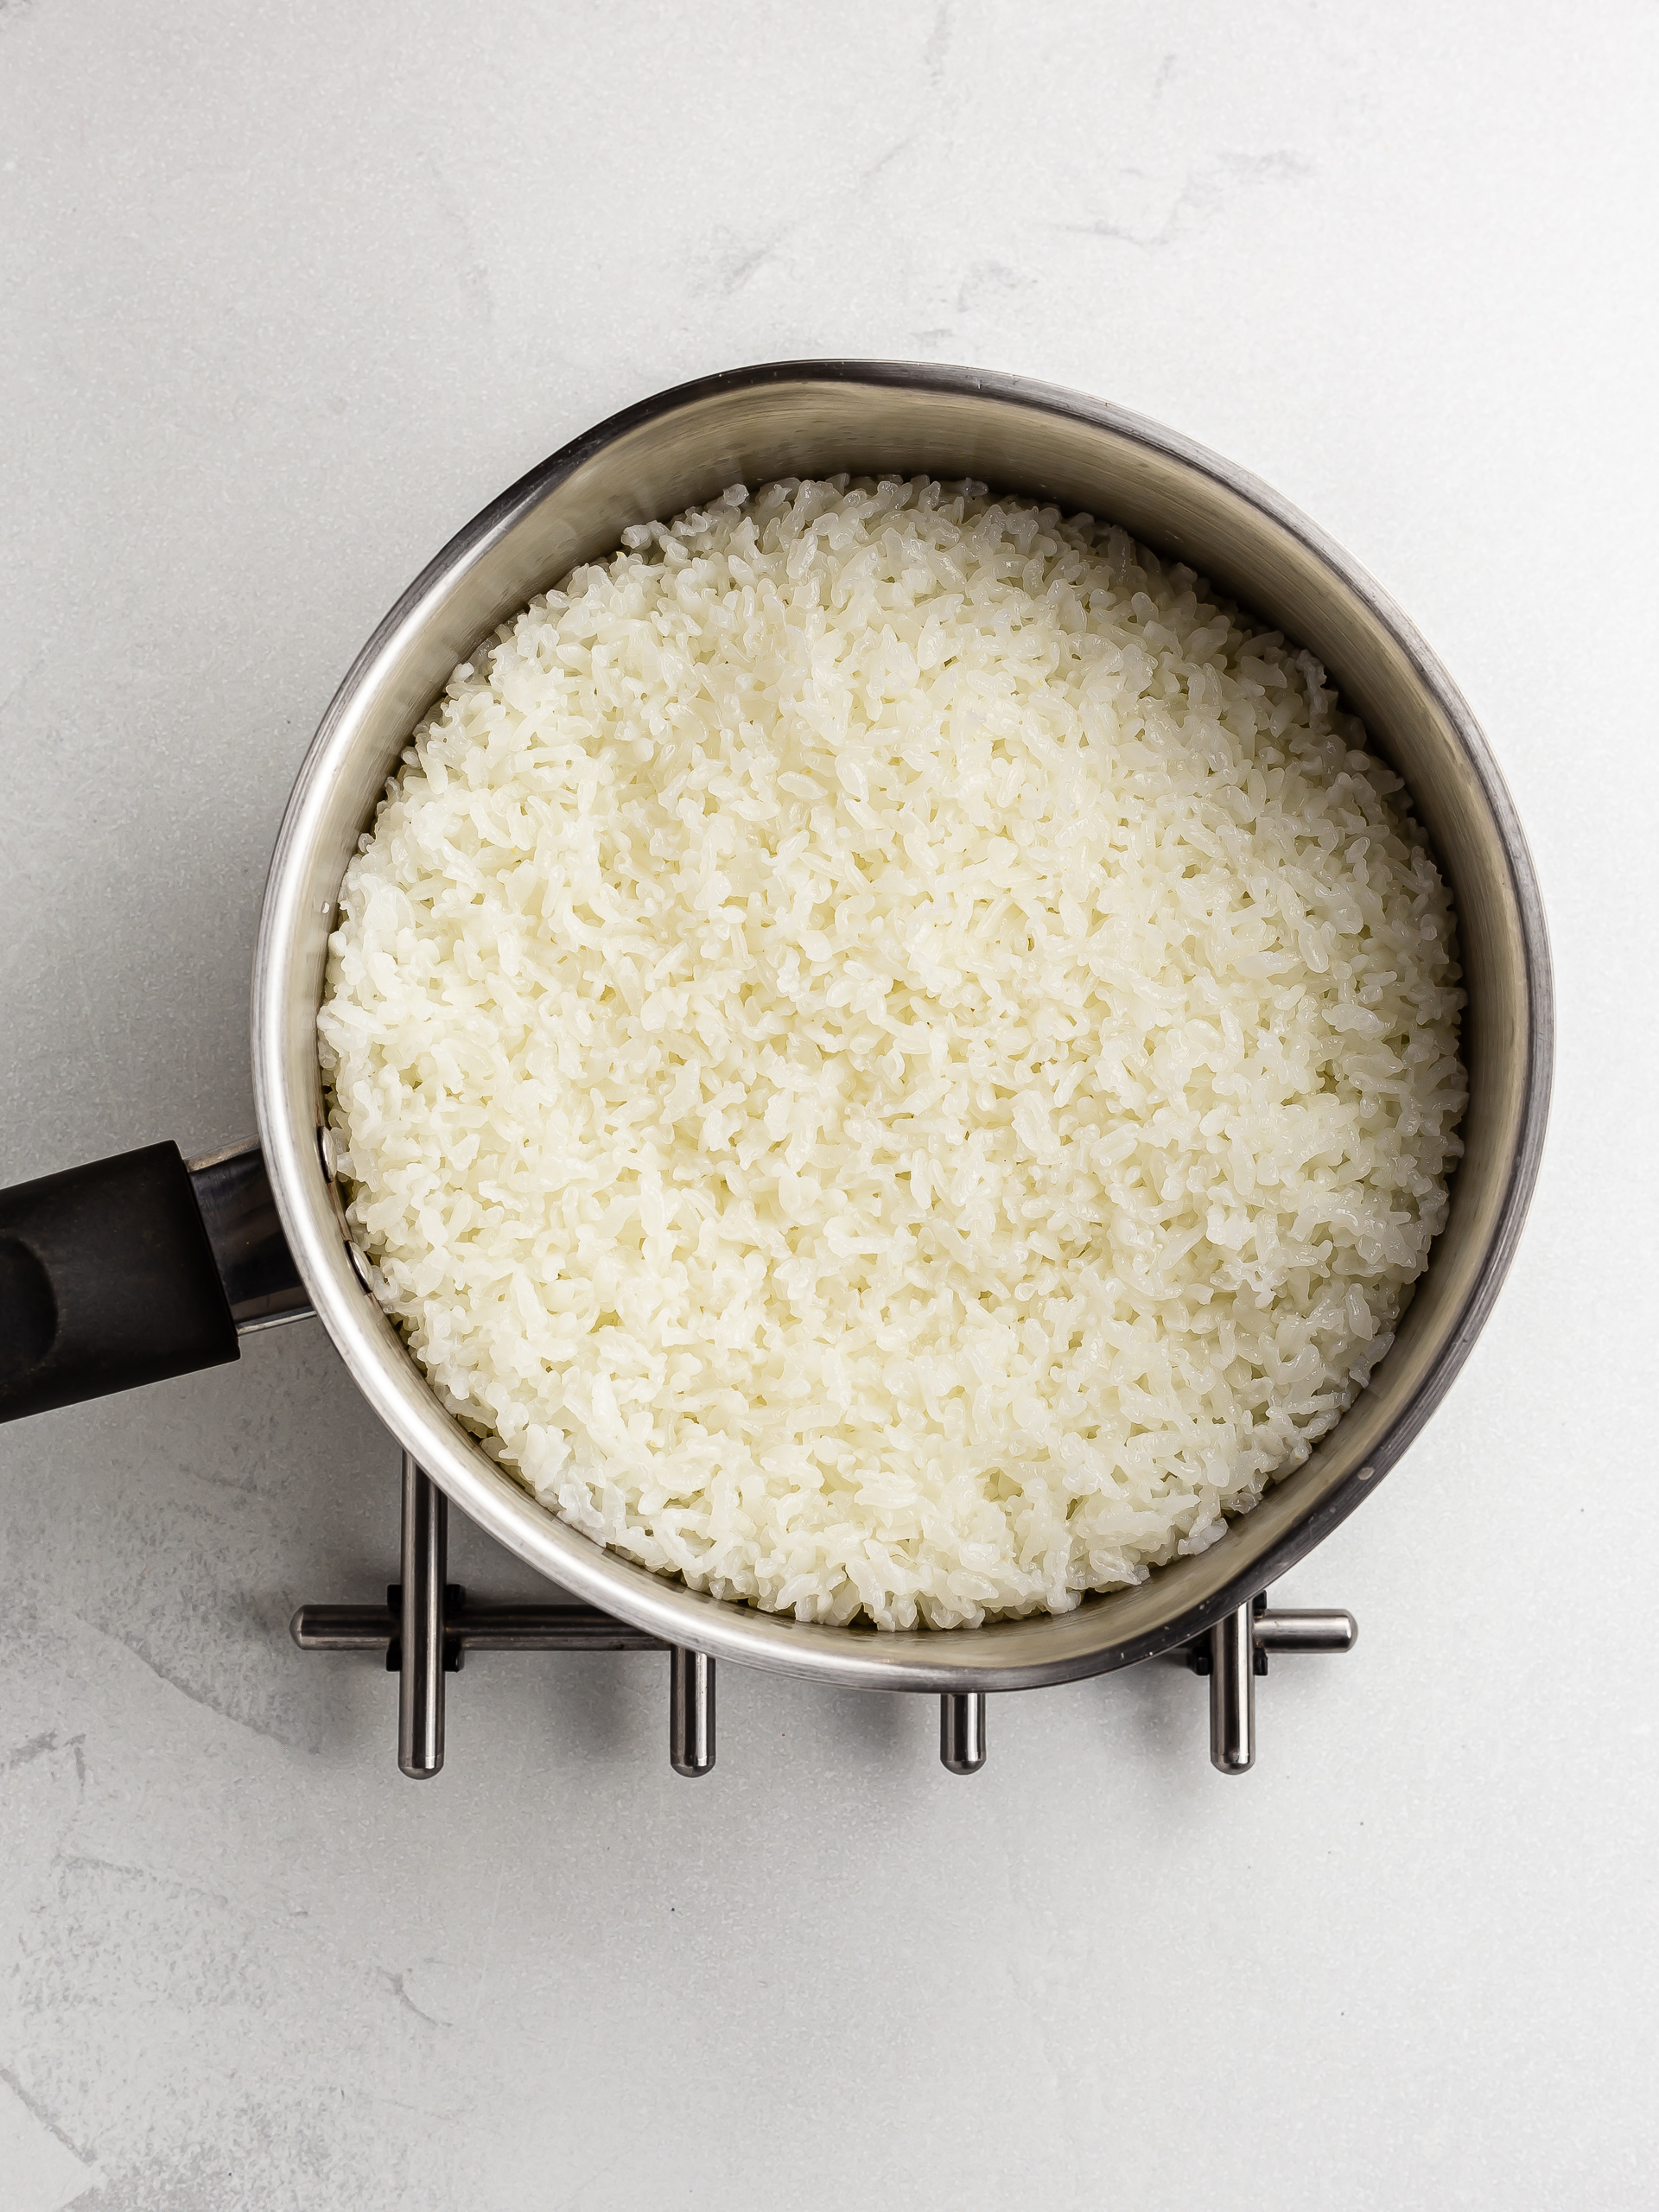
All the water should have been absorbed by the end of the cooking time. Now, take a peek, and if there's still some water left in the pot, cook the rice for a few more minutes.
Then, remove the pot from the heat and without removing the lid, let the rice finish cooking in its steam for 10 more minutes.
Step 4
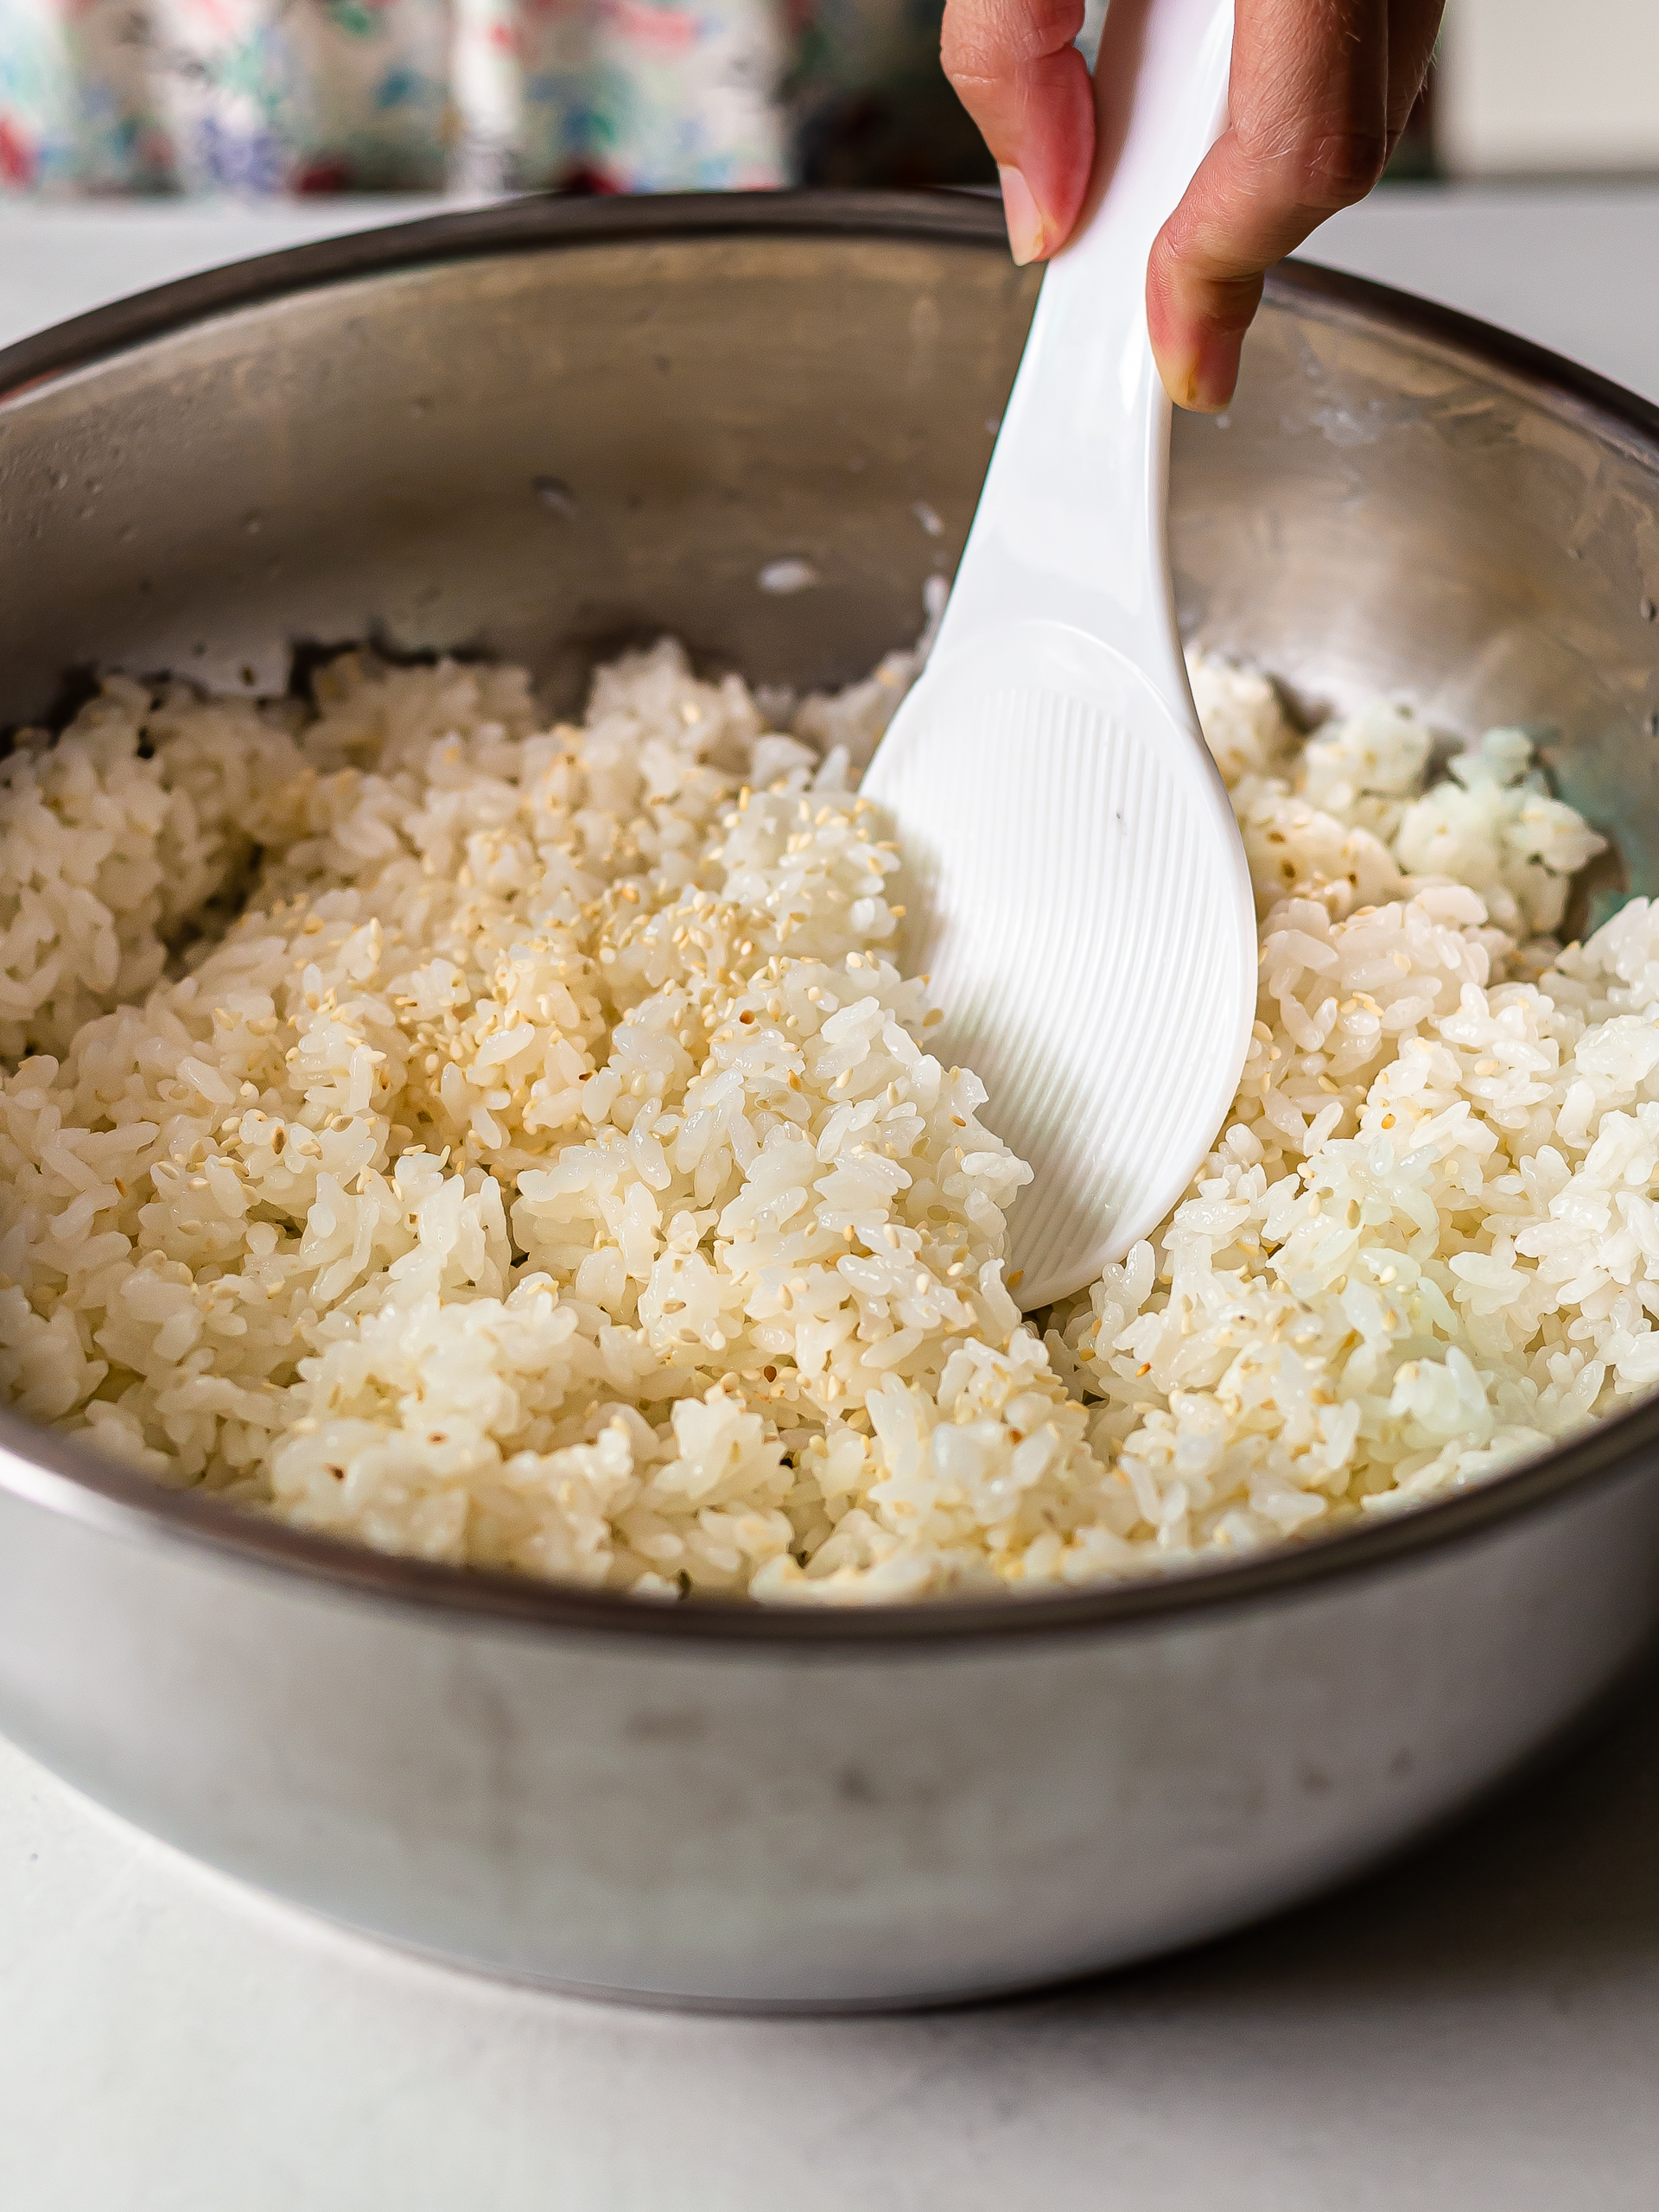
Once cooked, transfer the onigiri rice to a moistened tray, shallow pot or bowl (traditionally a bamboo rice bowl).
Tip in roasted sesame seeds for extra flavour and crunch.
Use a spatula or a wooden sushi paddle to "slice" the rice vertically and horizontally, separating the chunks rather than mixing them.
This way, you won't damage the rice or make it mushy.
Cover the rice with a damp towel or a lid so it won't get dry, and get ready to prepare the onigiri balls.
Step 5
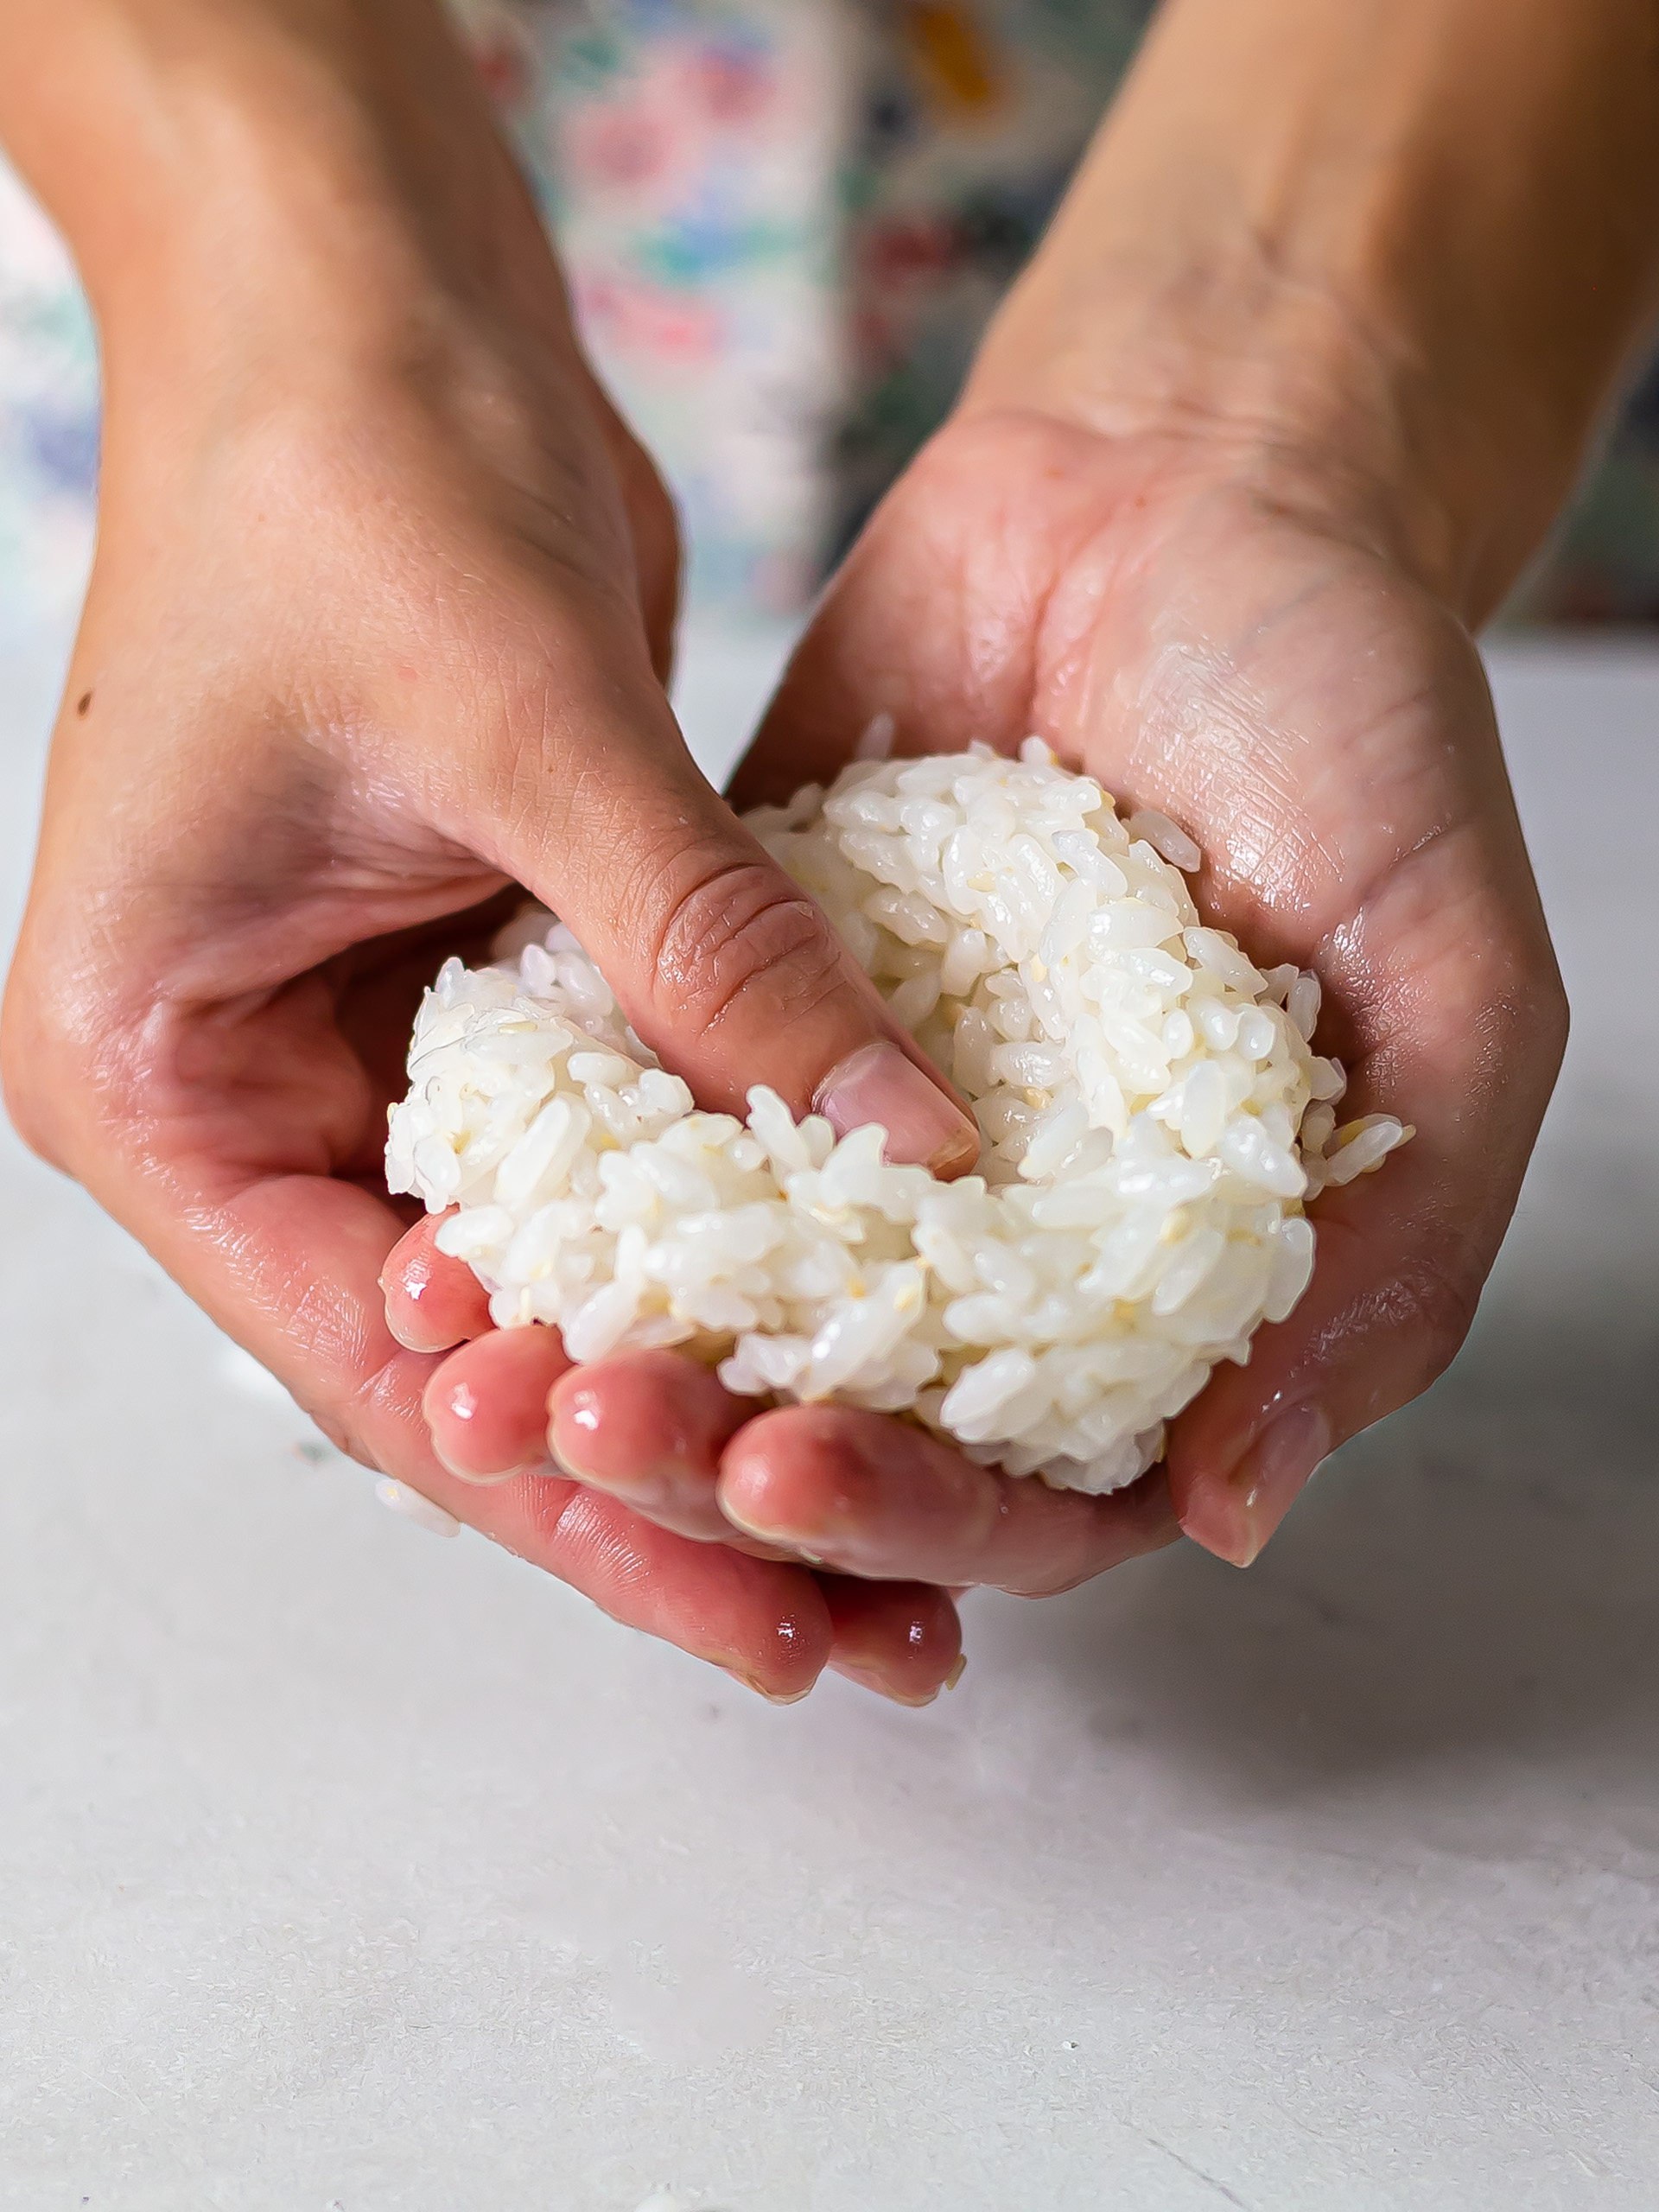
Don't let the rice go lukewarm or cold. Instead, you must shape the onigiri balls while the rice is still warm and sticky, as they will hold together better.
Before you start, submerge your hands in a bowl of cold water to avoid the rice sticking to your hands.
Optionally rub a pinch of salt over your palms to give the rice balls extra flavour.
Take a large handful of rice, compact it and lightly flatten it.
Then, press your thumb in the middle to create a pocket for the mushroom teriyaki filling.
Step 6
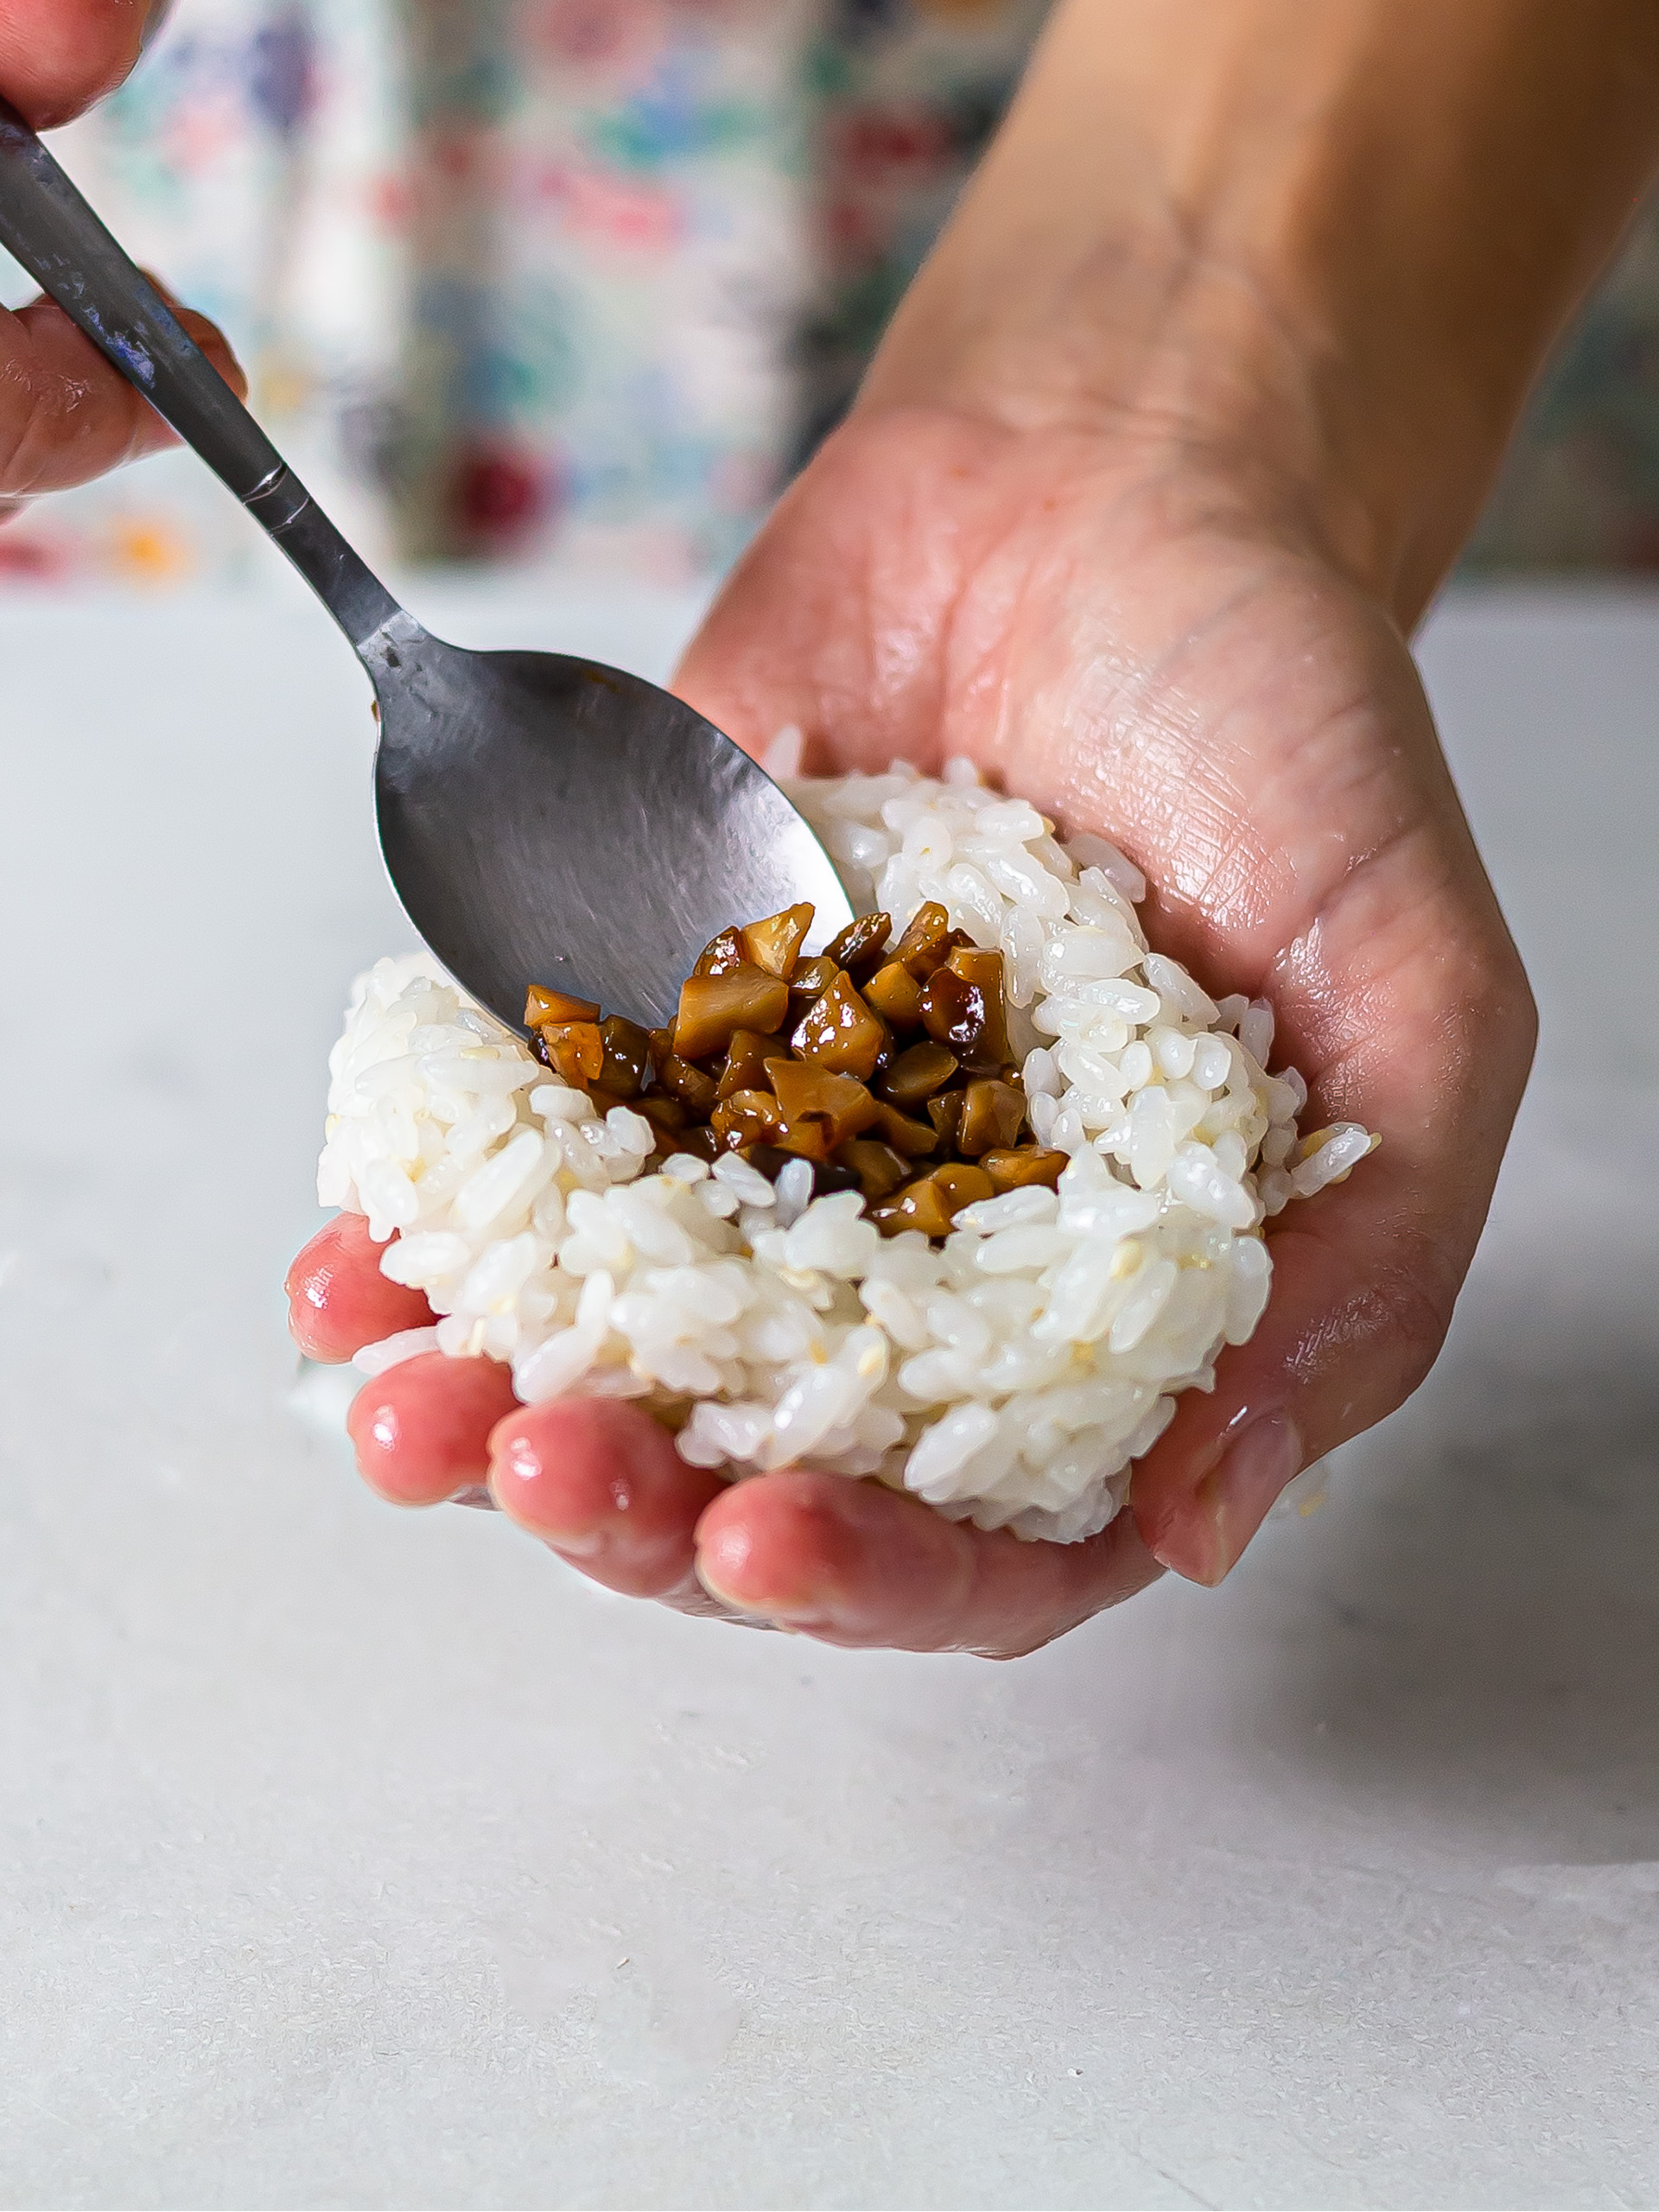
Holding the rice in your palm, place 1-2 teaspoons of the mushroom teriyaki into the pocket (1).
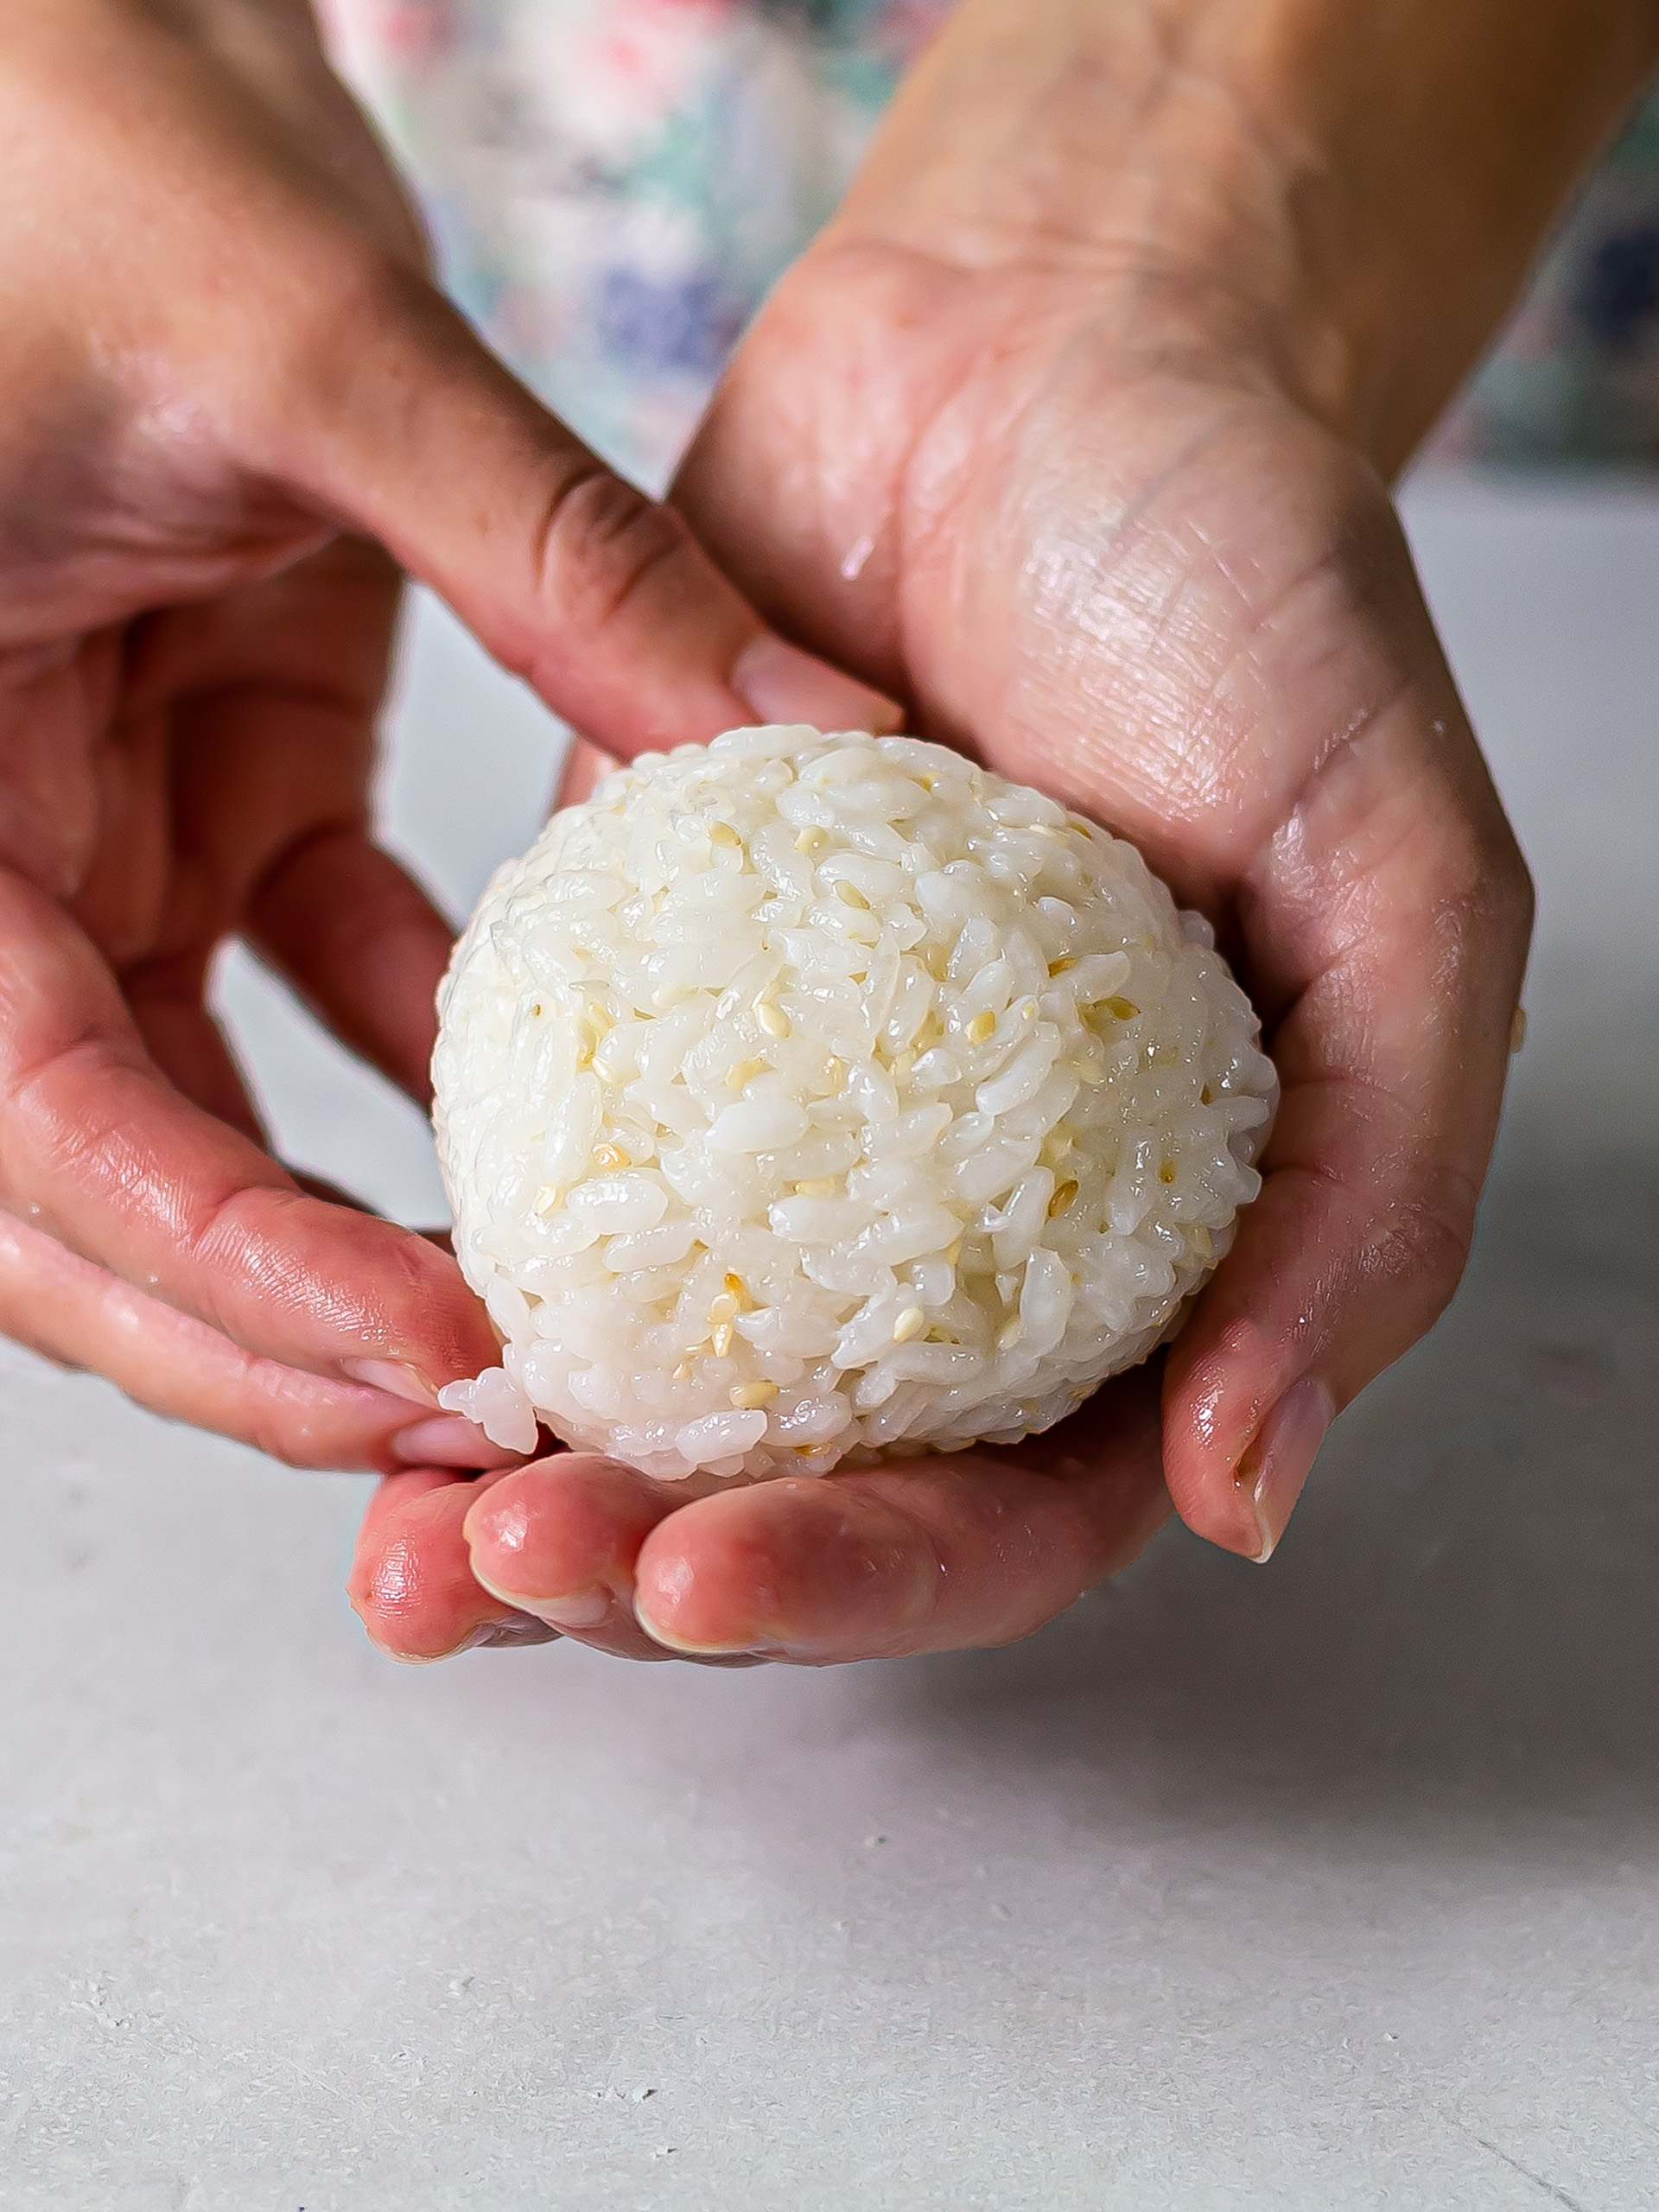
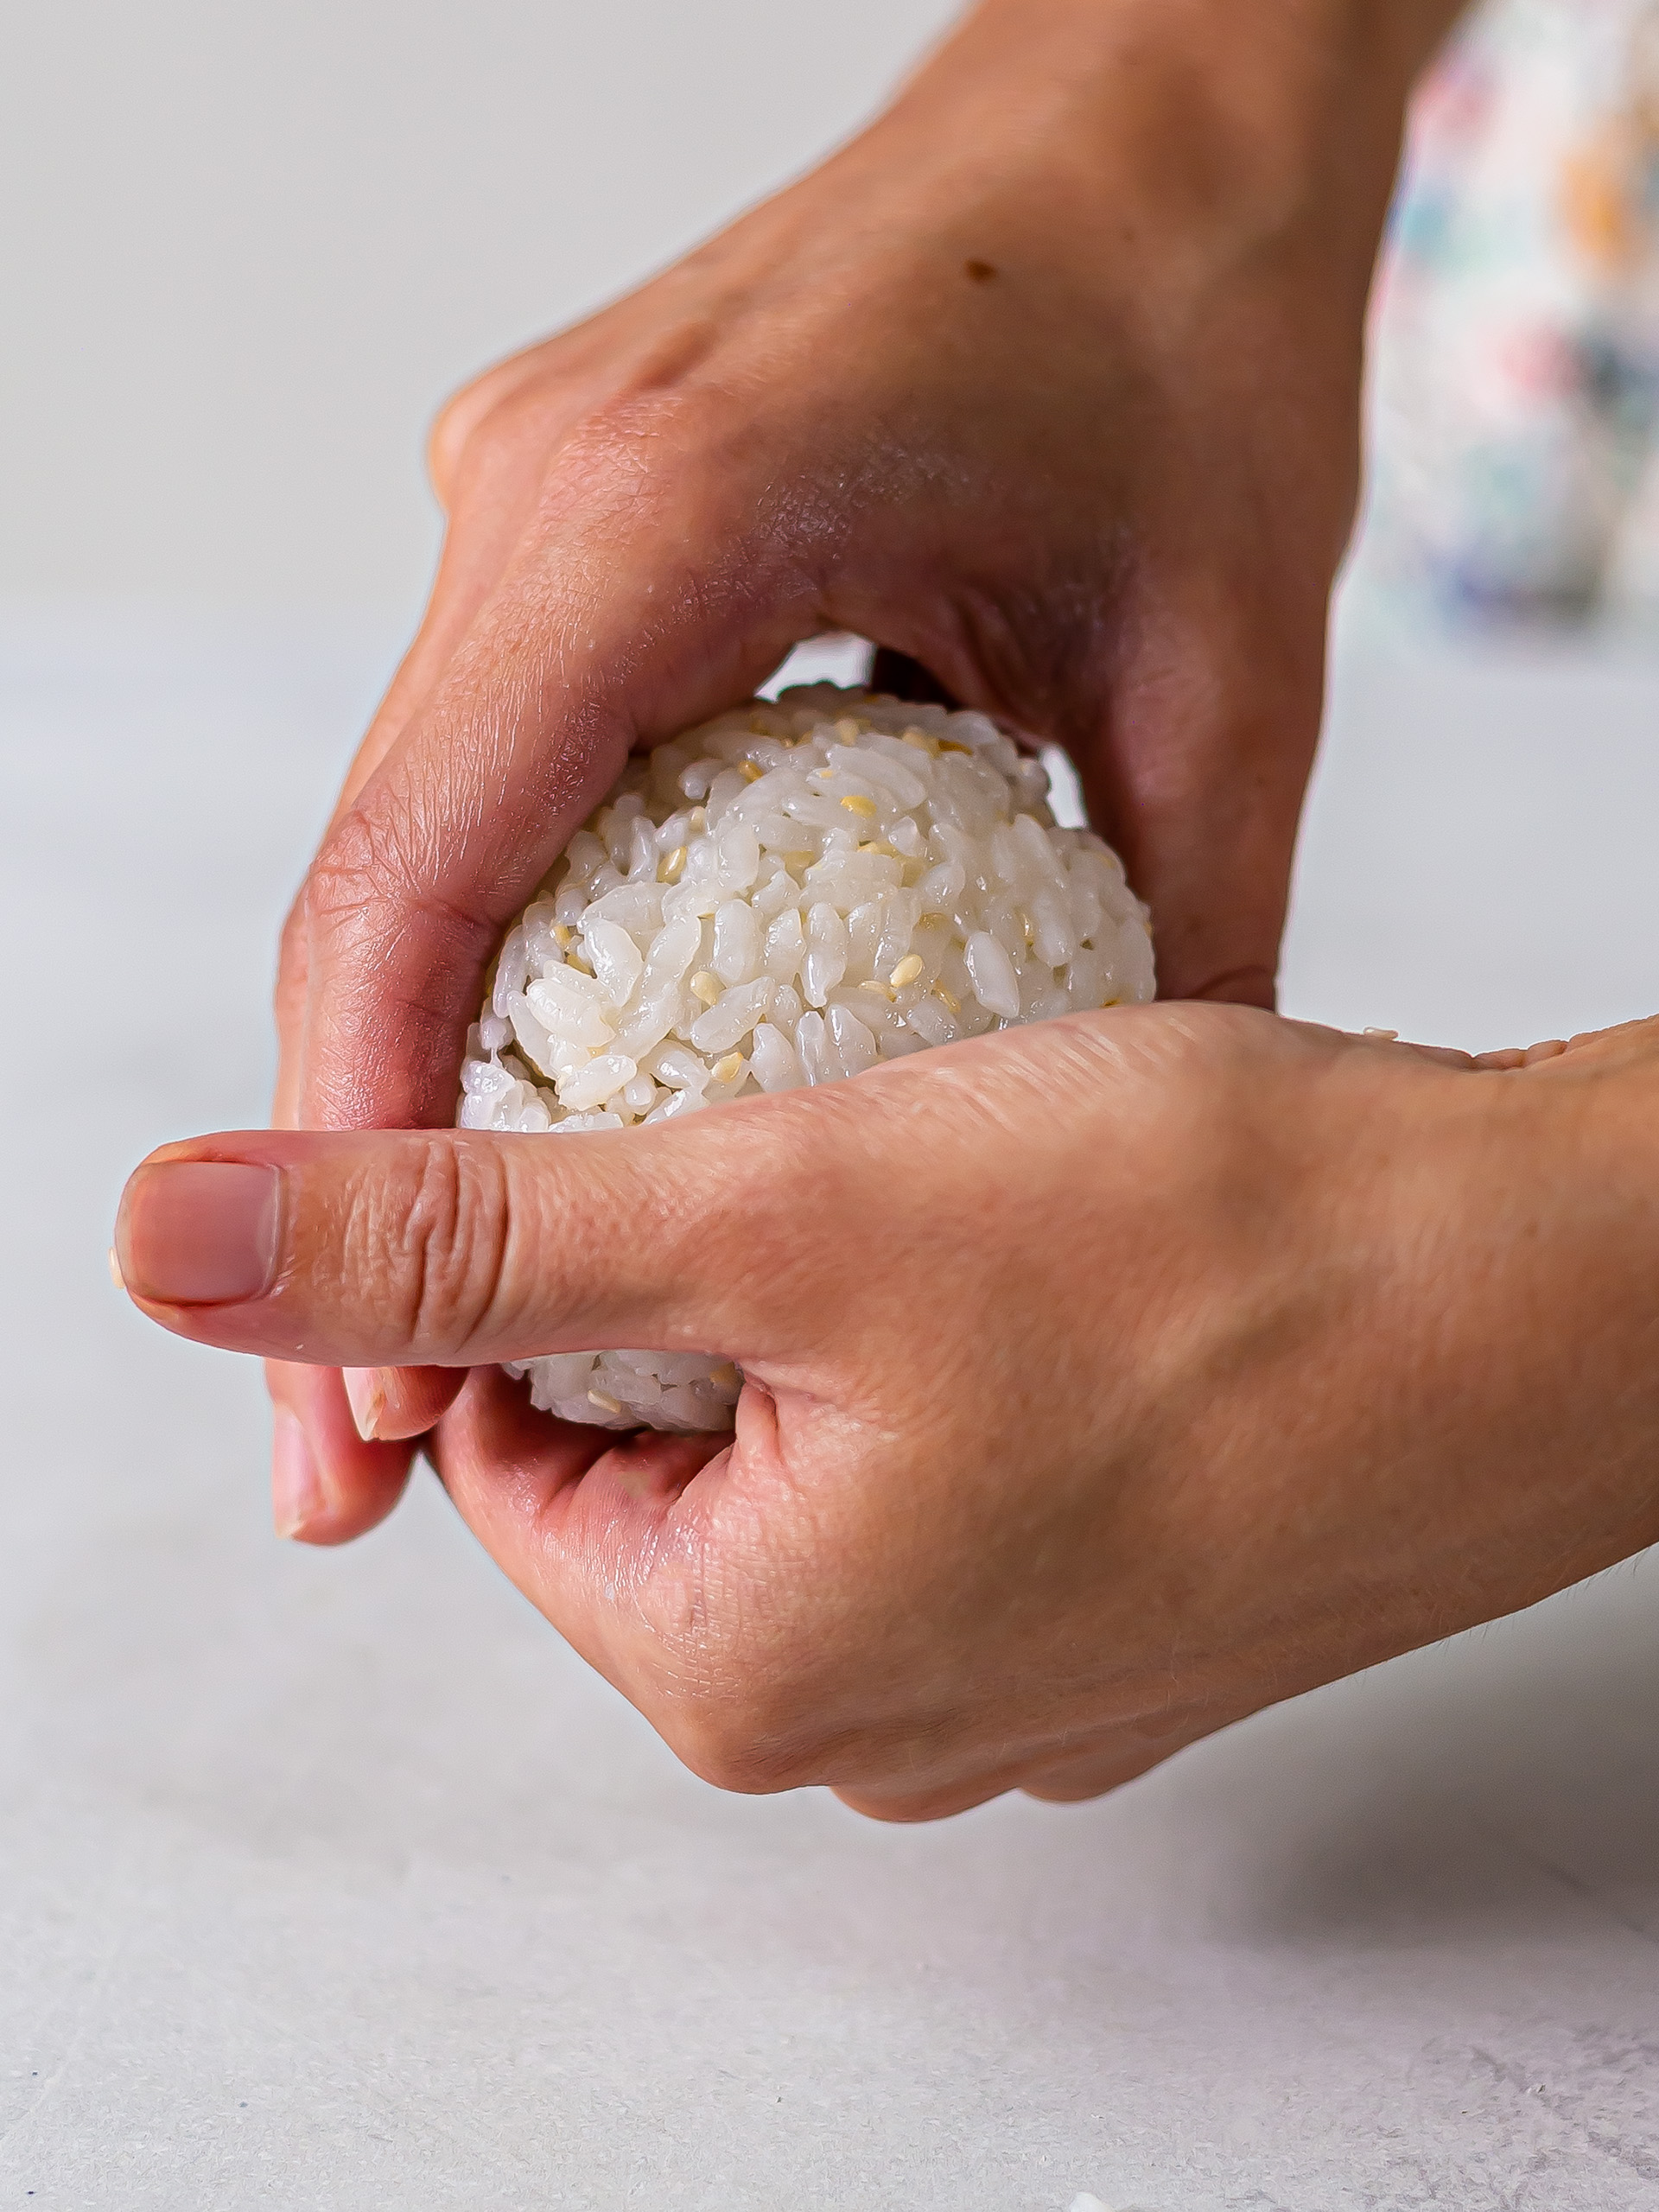
Then, cup your hand, fold the rice over the filling, and seal it into a tight ball (2).
If needed, wet your hands again to prevent the rice from sticking.
Step 7
To shape the onigiri, flatten the rice ball in your palm — as if you are holding a taco shell.
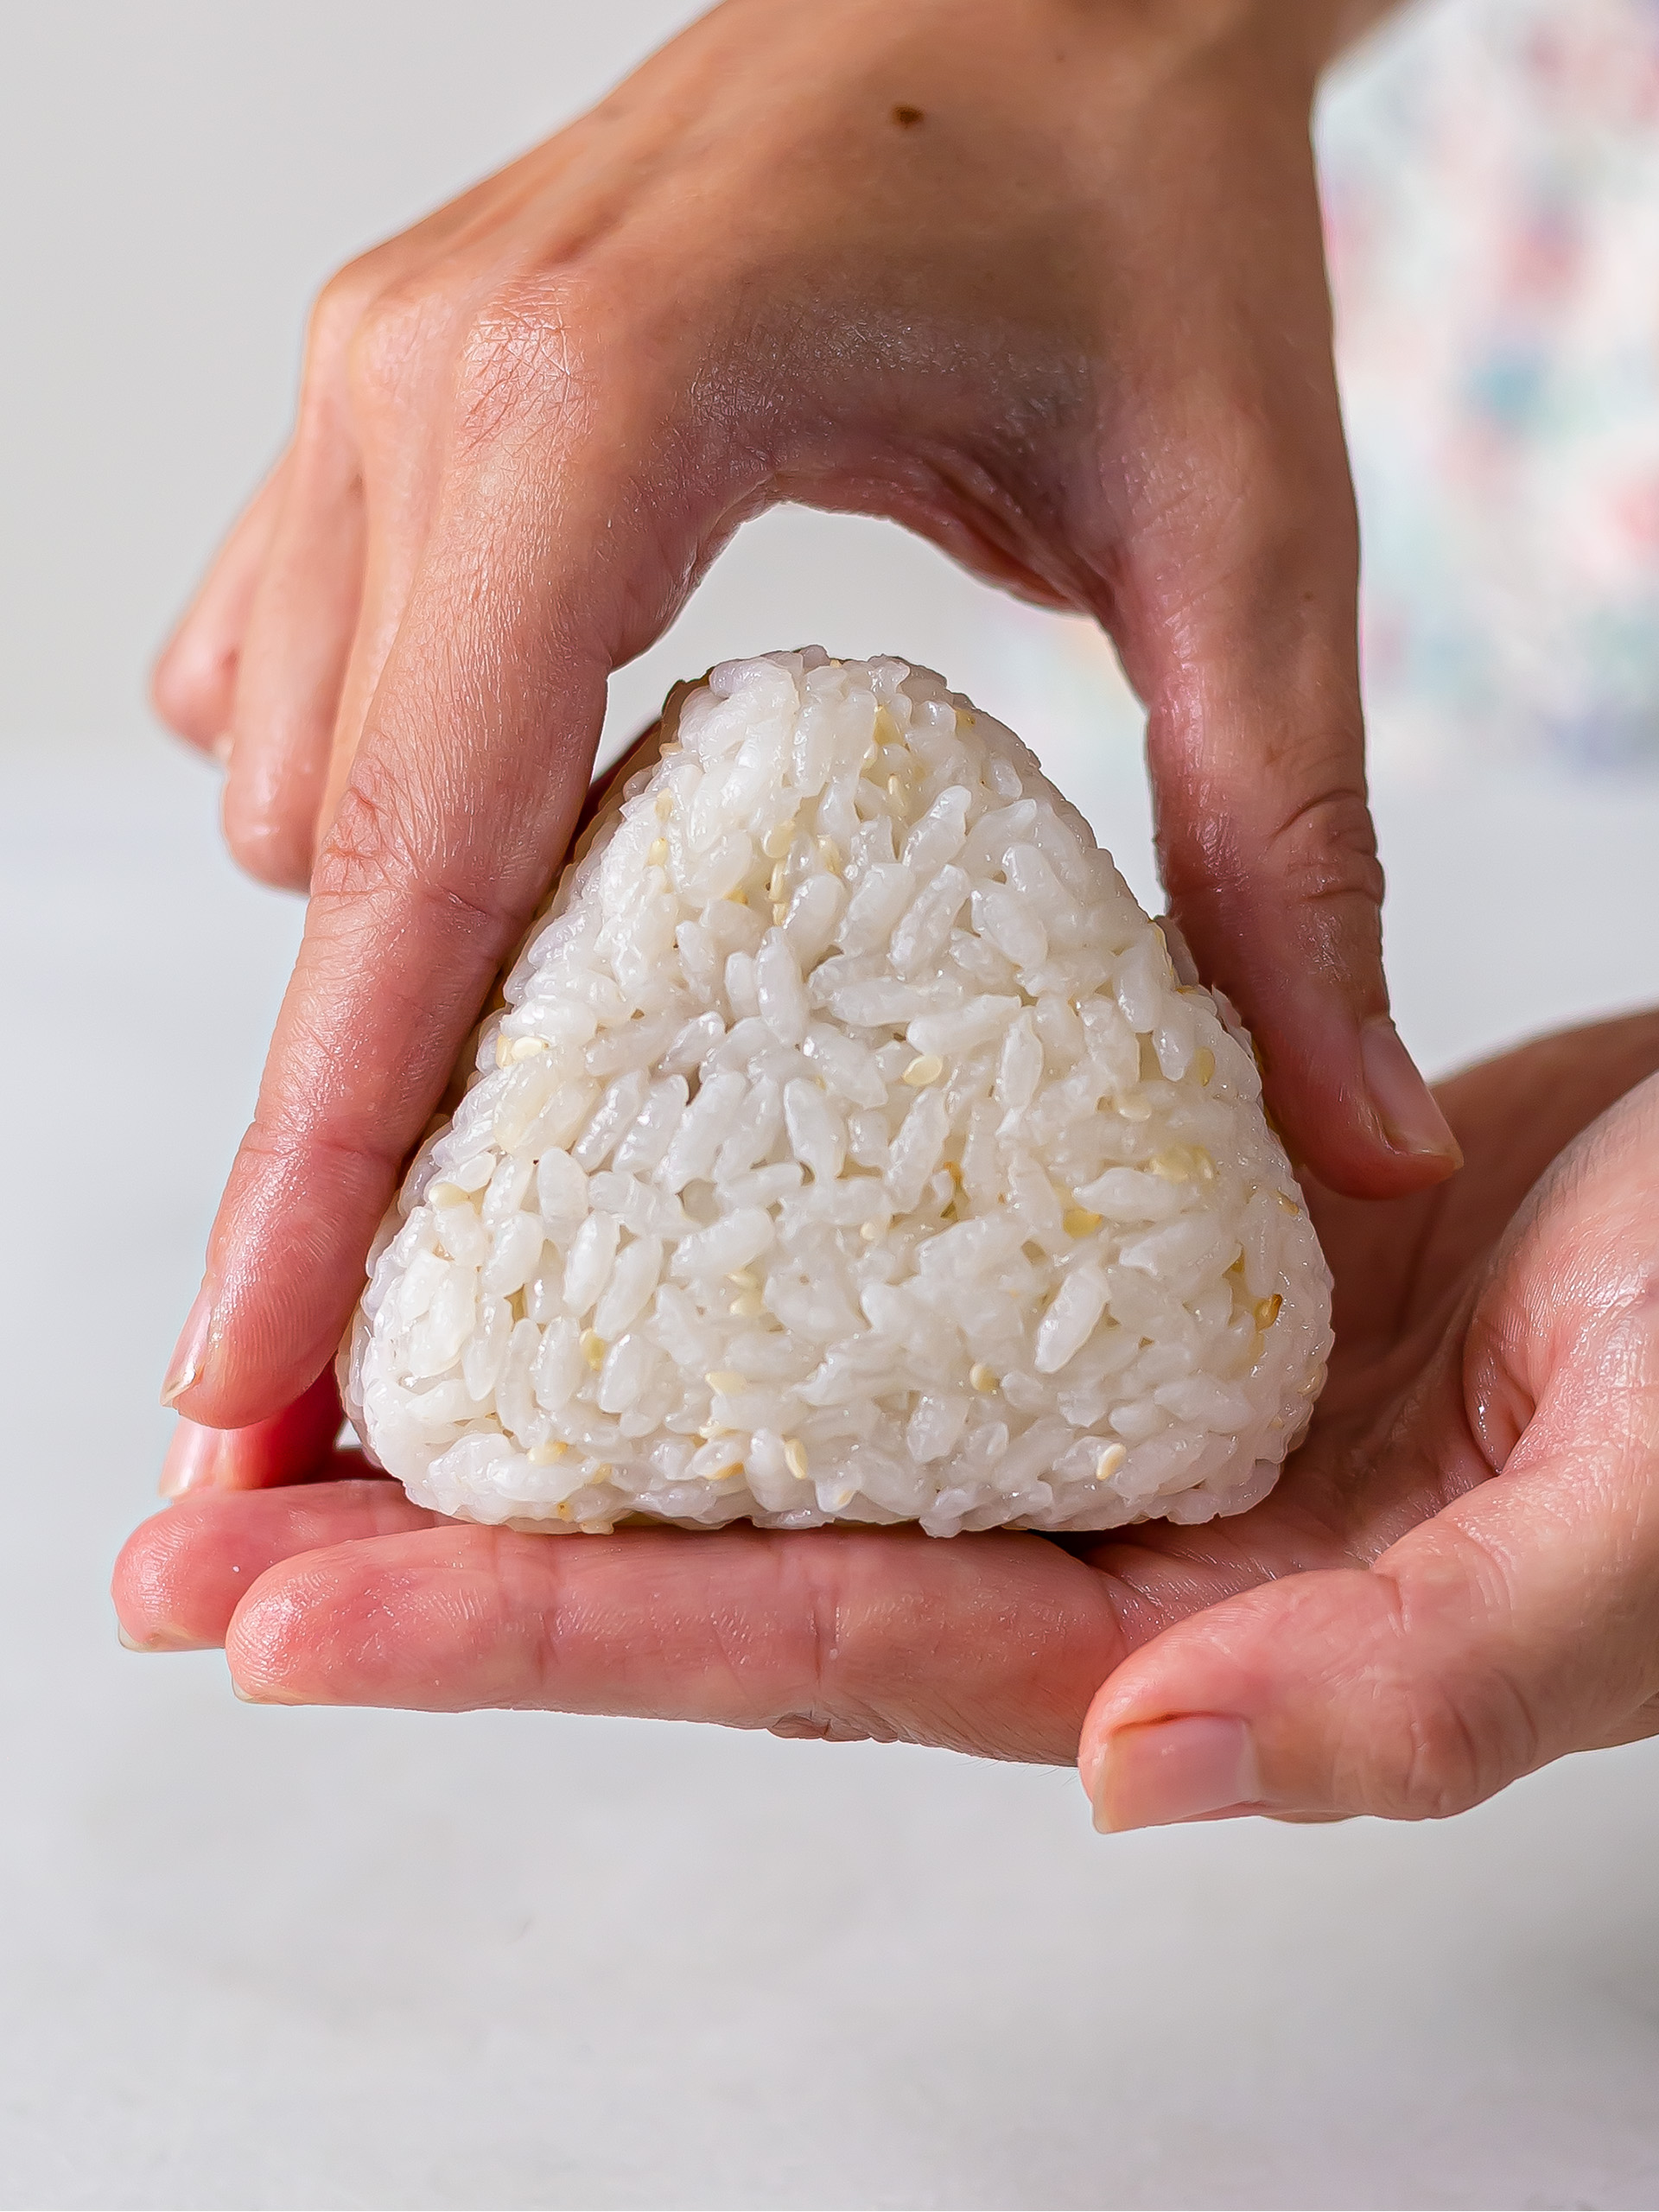
Use your other hand's thumb, index and middle fingers to press in the "corners" of the onigiri (1).
Press and rotate the onigiri until the onigiri rice ball looks like a triangle (2).
Try working as fast as you can — the longer you handle the onigiri, the higher the chances it might break or fall apart.
Shaping the onigiri can be tricky at first, but the more you practice, the easier it will get.
If you struggle, you can also use an onigiri plastic mould, available online. Or you can wrap the rice ball tightly with cling film before shaping it into a triangle.
Step 8
Repeat steps 5-7 until you have used all the rice and filling.
Keep the prepared onigiri in the fridge for 10 minutes to let them set and dry out a little.
This will make the rice balls sturdier and prevent them from falling apart when you'll fry them.
To cook the yaki onigiri, a cast iron pan will give you the best grilled effect as classic onigiri are cooked on charcoal. But you can also use a non-stick frying pan.
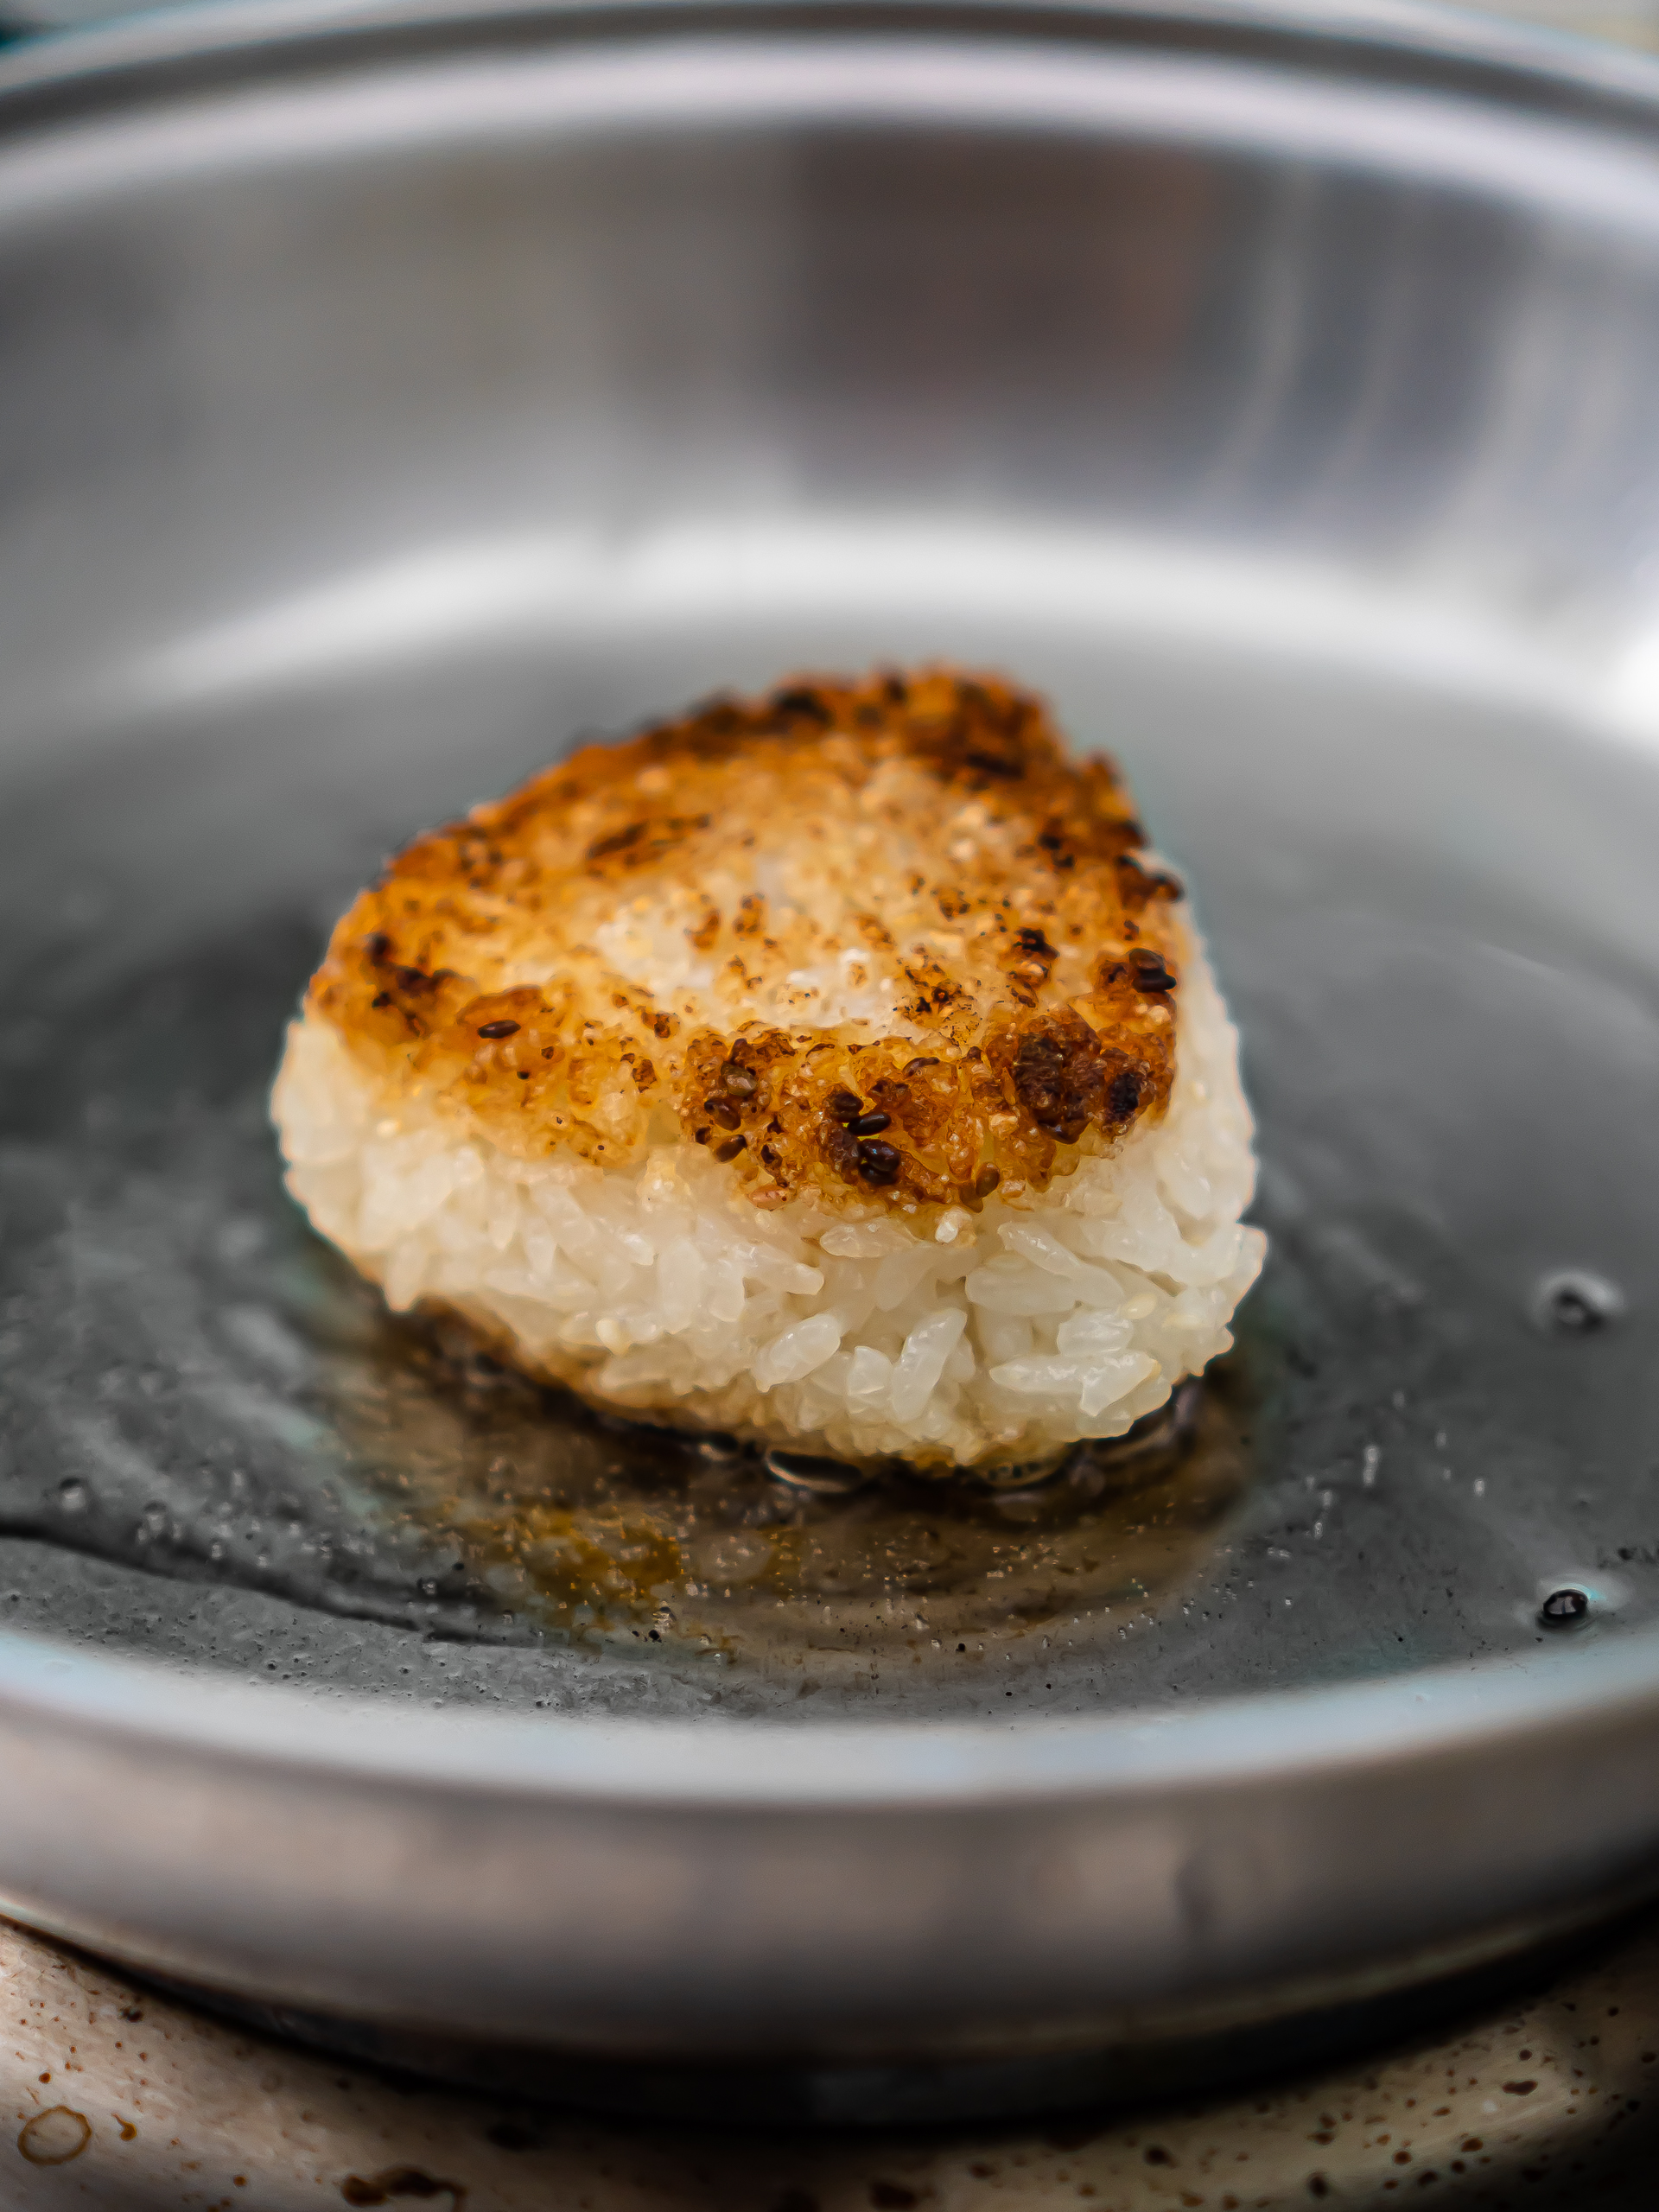
We shot this recipe while travelling in Thailand, and we didn't have access to a cast iron/non-stick pan. So, we tested cooking the yaki in a steel pan adding a little extra oil — and it worked great!
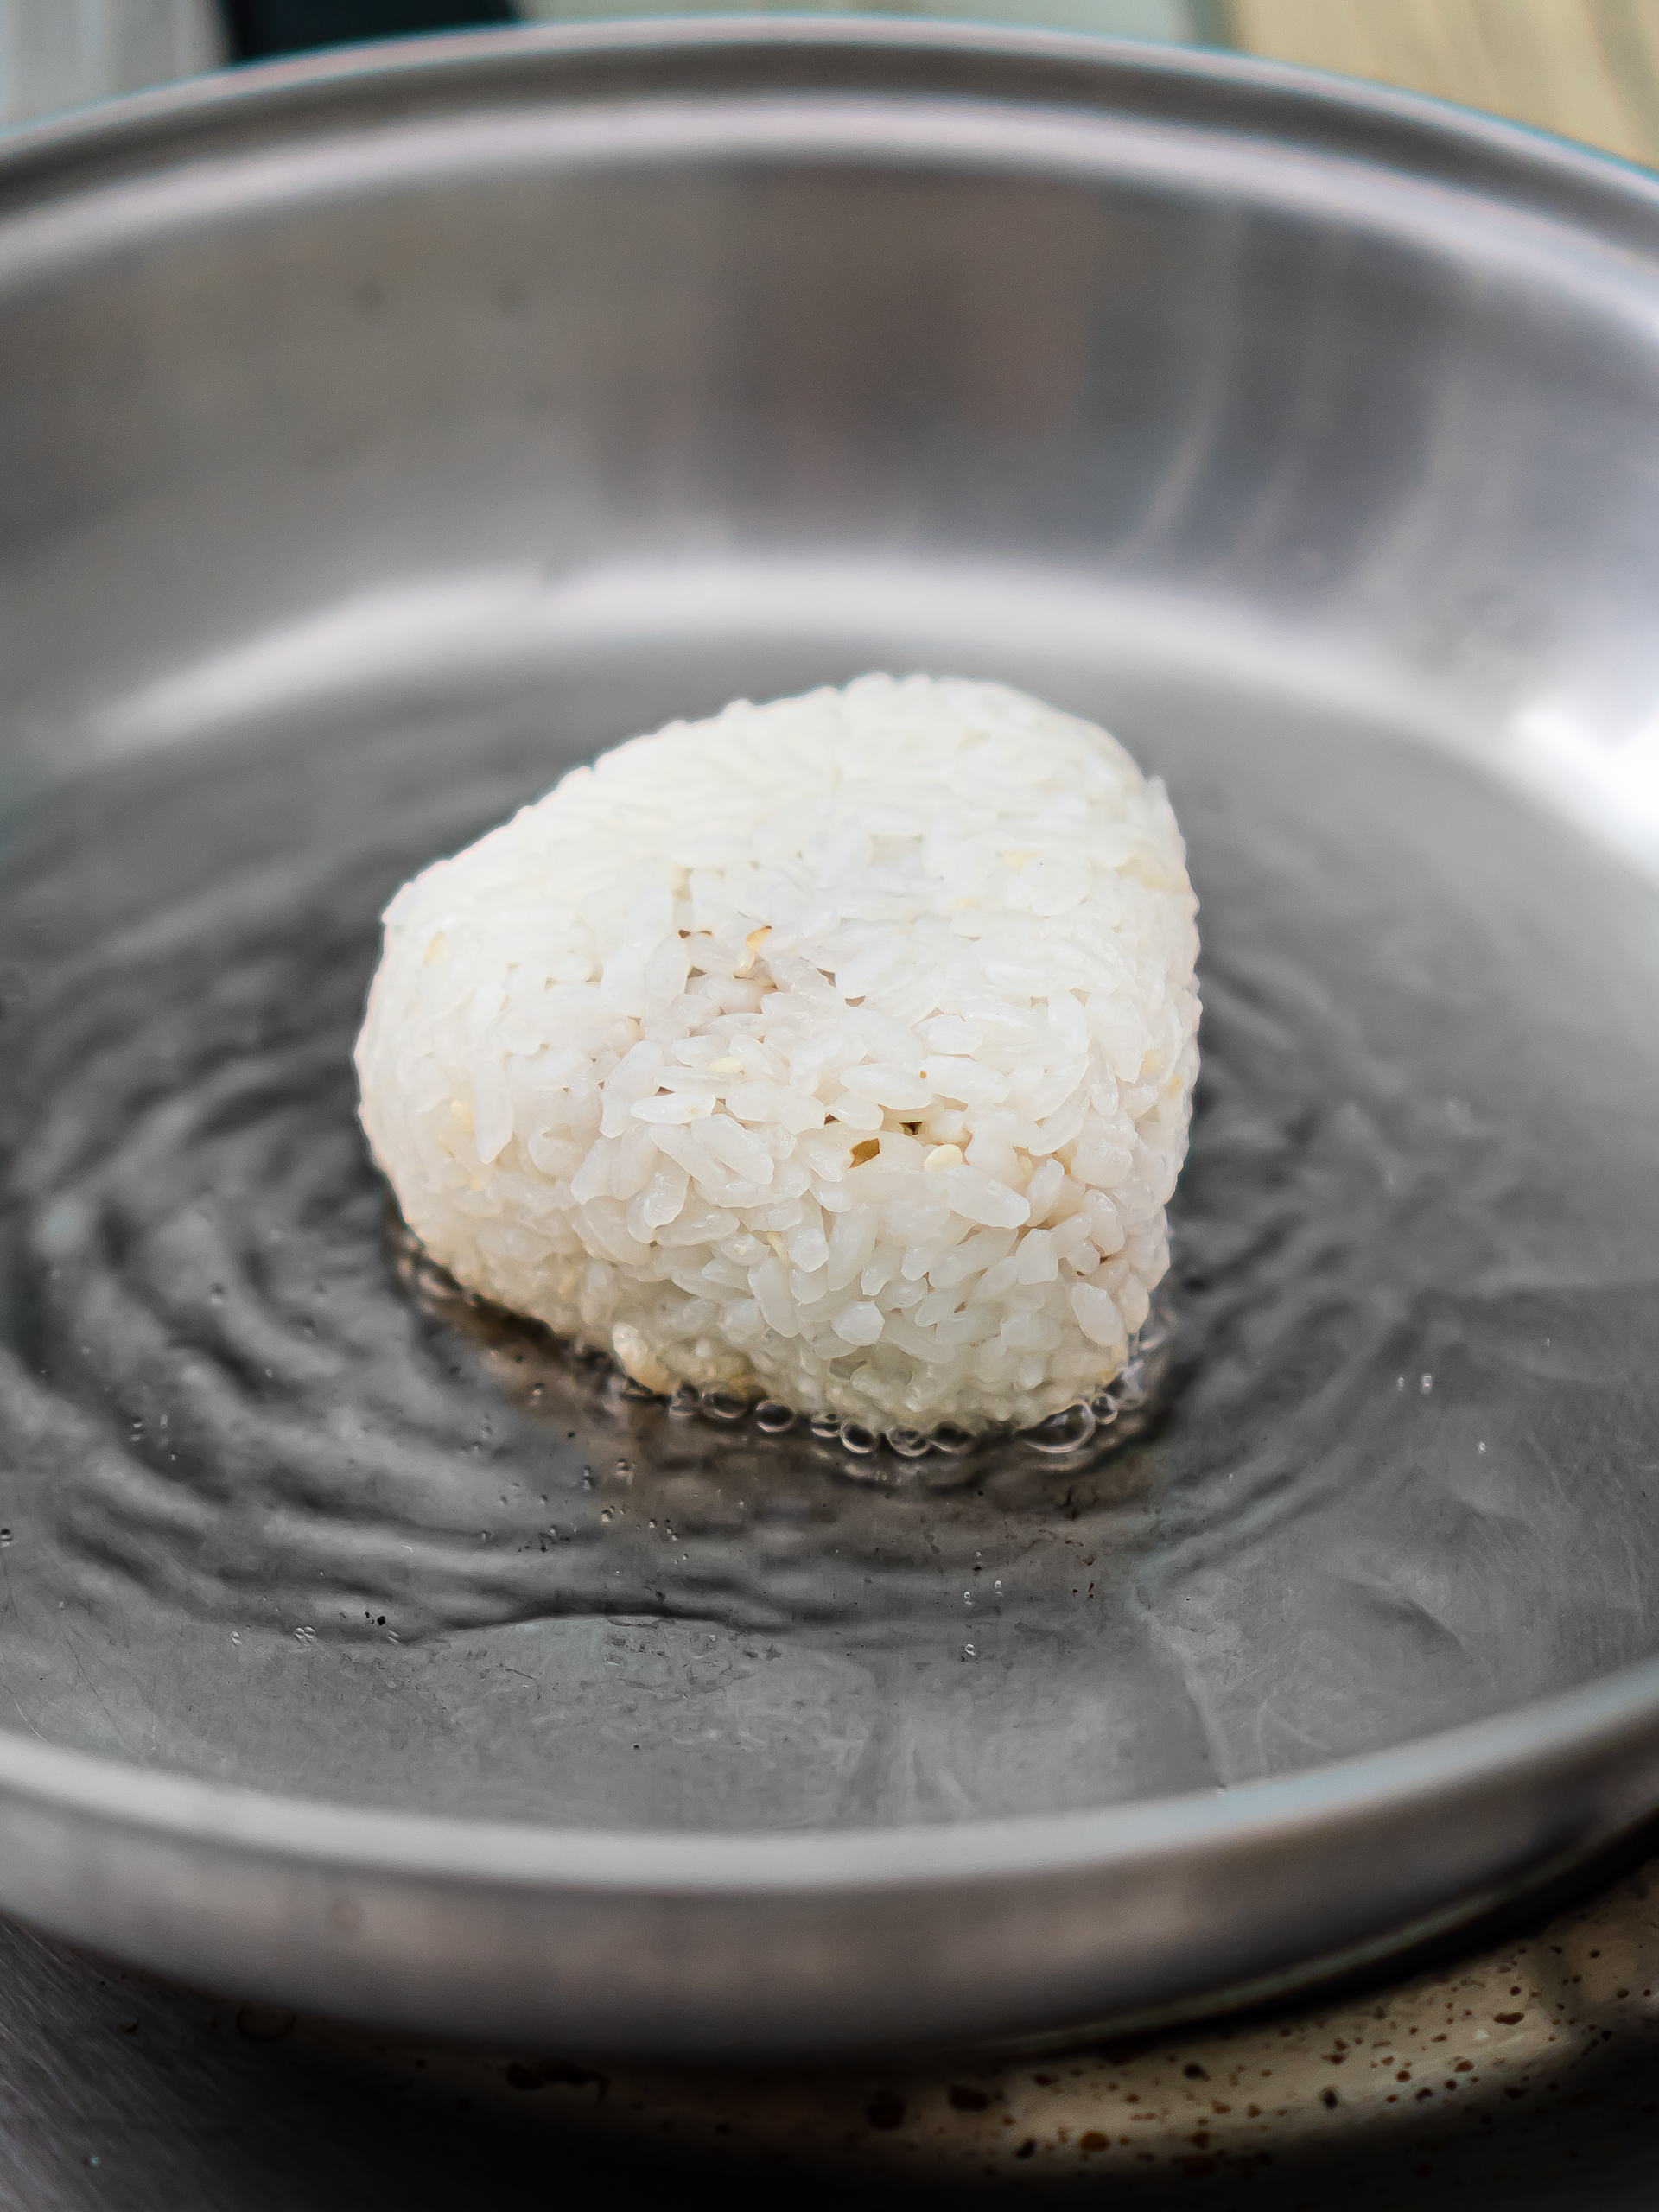
Heat the oil in your pan over high heat, and when hot enough, add in the onigiri.
Fry the onigiri for 1-2 minutes or until the bottom side looks golden.
Step 9
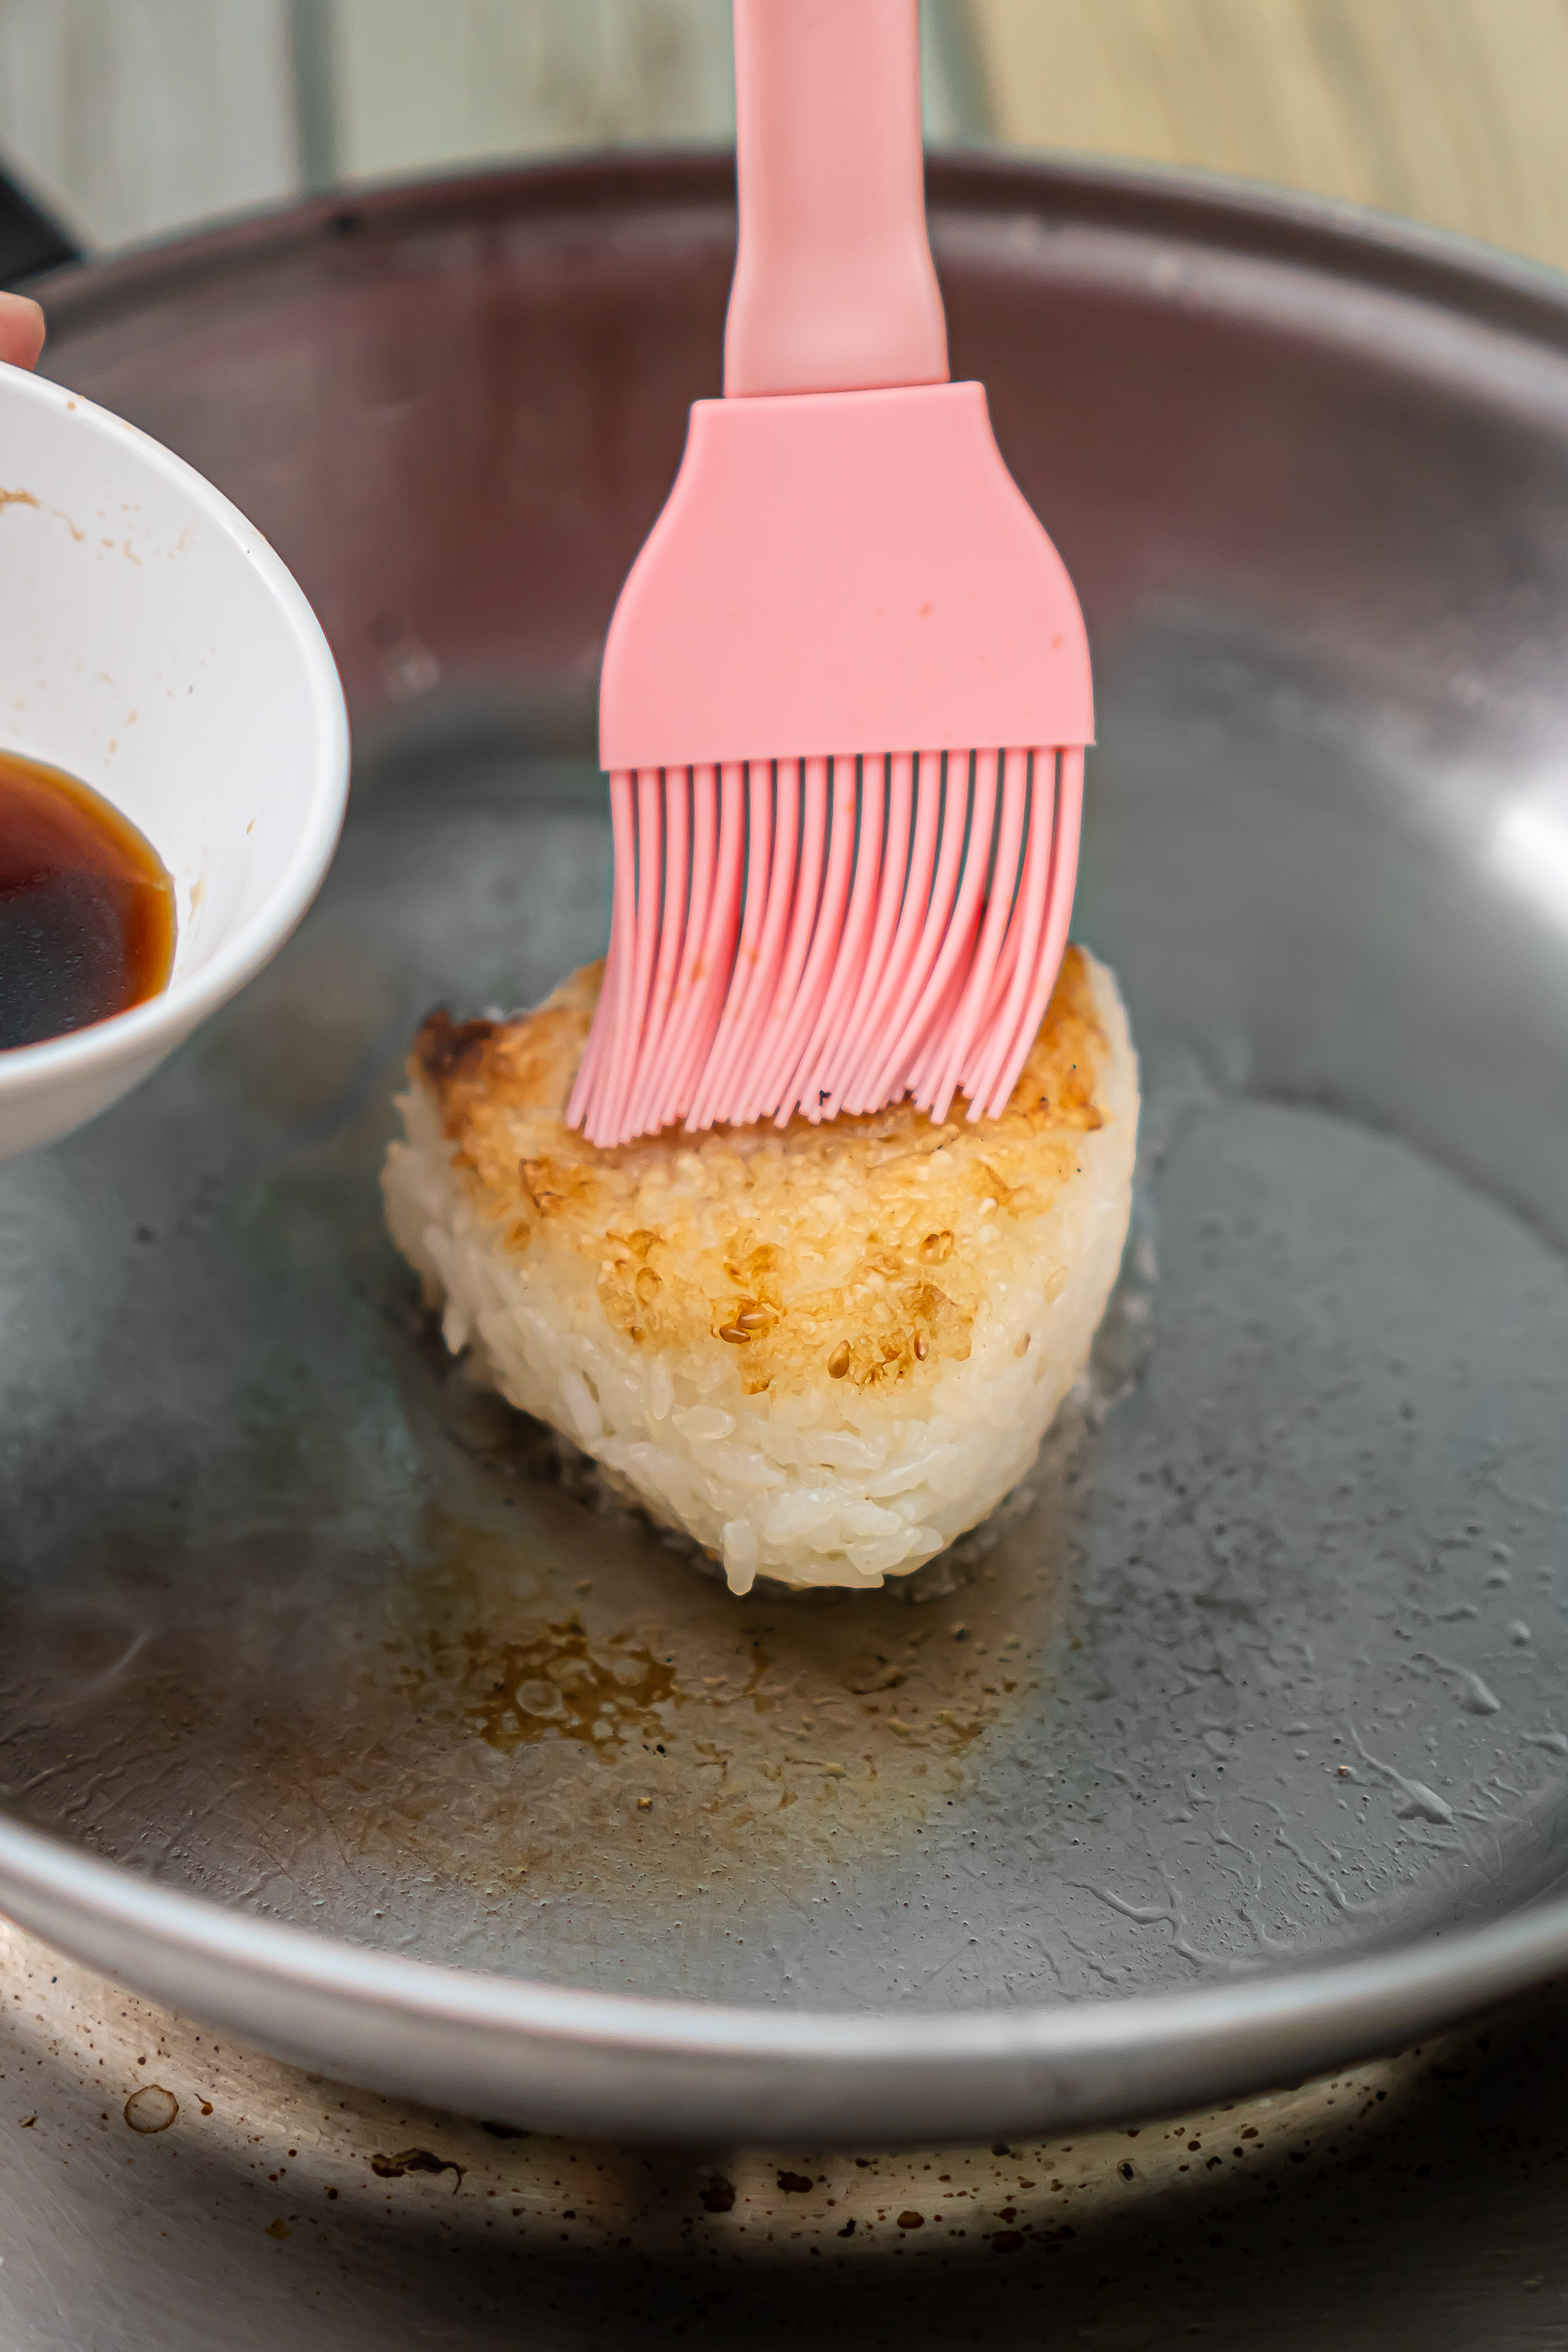
Carefully flip the yaki onigiri with the help of a spatula and cook it on the other side.
Work on one side at a time and avoid turning the onigiri more than necessary to prevent it from breaking.
You can cook more than one onigiri at a time if your pan is big enough, but allow some space for flipping the rice balls.
Now, brush the top side of the onigiri with soy sauce.
Step 10
Flip the onigiri and fry the side you just glazed for 1-2 minutes or until crispy.
Repeat for the other side and cook the yaki onigiri until crusty and browned.
Serve your delicious vegan yaki onigiri piping hot with a sprinkle of sesame seeds or sliced spring onions, dipping them in soy sauce if you like.
Tips
Yaki onigiri are best enjoyed on the same day. If you have any leftovers, keep them in the fridge wrapped in cling film, and use them the next day to make ochazuke for breakfast. Simply pour hot green tea over the onigiri and break down the rice ball. Then, savour the delicious combo of soy-caramelised rice and bittersweet tea.
