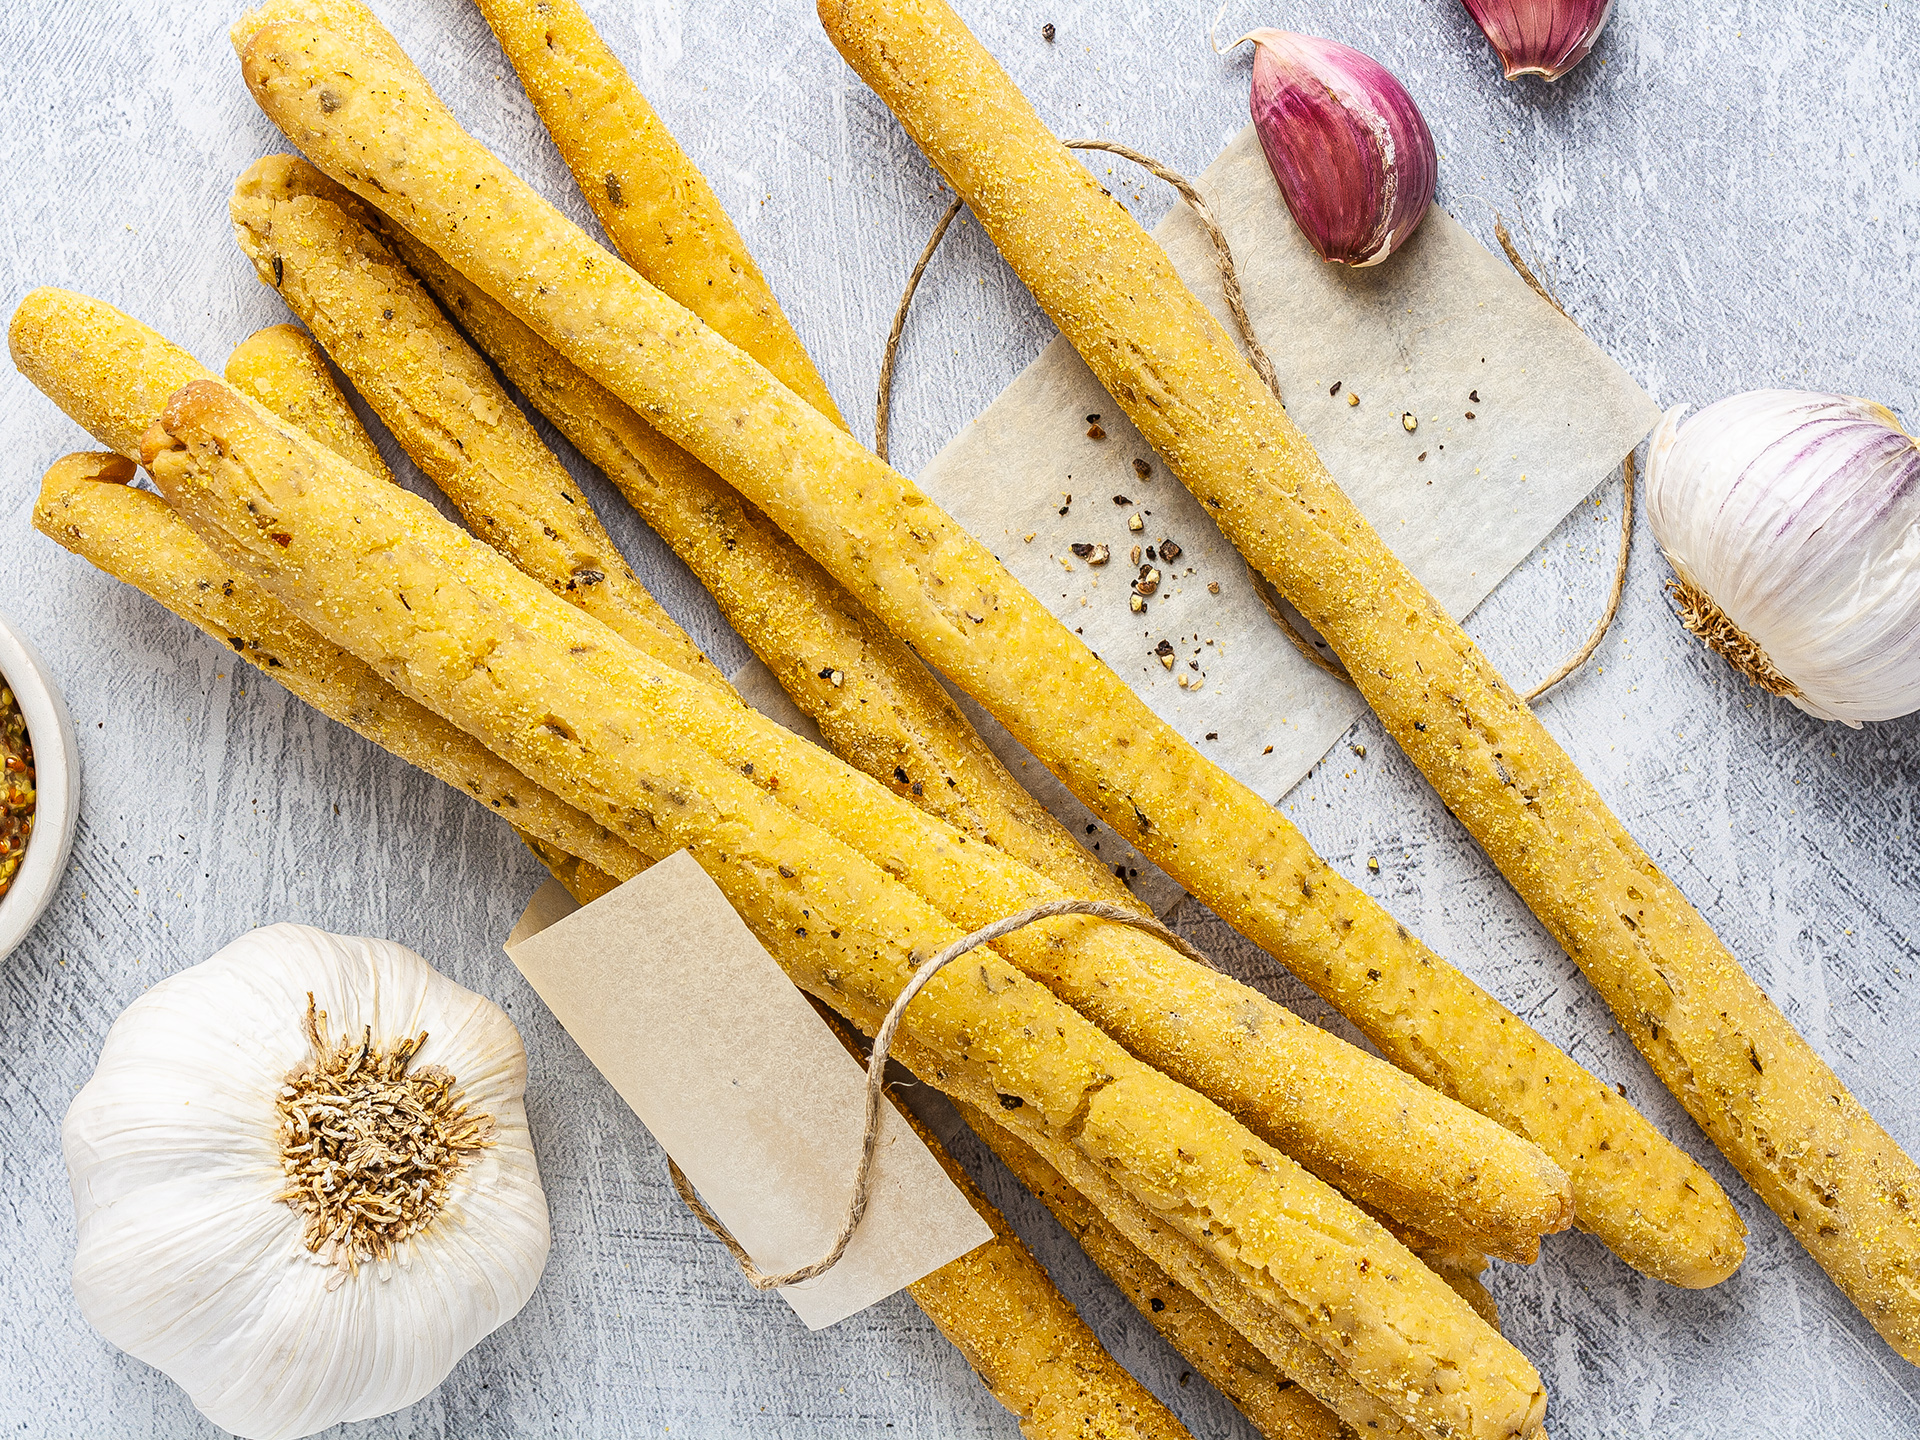
Are you tired of watching your friends crunching on tasty breadsticks while you are on a gluten-free diet? You should be the one doing the happy crunch-crunch! Today we'll show you how to make gluten-free garlic breadsticks from scratch. Problem solved!
To pull this off, we will need gluten-free flour (a mix of rice flour, potato starch, and maize flour - or equivalent) and xanthan gum to get an elastic and compact dough.
We will then use garlic powder and a tasty herbs-mix in the dough, and then brush some garlic-infused-oil over the grissini. If you want to experiment with other breadsticks flavours, check out the FAQ section at the bottom for inspiration.
The recipe is not difficult at all, but like all other bread recipes, it requires a bit of proving time. But good proving will yield extra-crunchy breadsticks, so the wait is worth it.
By the way, these homemade breadsticks are not just gluten-free; they are also vegan, nut-free, and dairy-free. They are the perfect party snack, as everyone will be able to enjoy them, no matter their diet or food allergies.
Overall, our garlic breadsticks are not just yummy but also quite wholesome. A portion comprising three grissini has 260 kcal, and provides 0.2% of your RDI for sugars and less than 10% of your RDI for fats. So are you ready to join the fun? Let's do this!
How long do breadsticks keep?
These dipping sticks last longer than regular bread as they're quite dry and have lower water content. This means they won't go stale as quickly and, when properly stored, can last for 5 days.
We suggest you leave the baked sticks to cool down completely before storing them away to avoid trapping condensation. Then, place them in an air-tight bag and squeeze out as much air as you can. You can also keep them in a tin box or wrapped in foil if you plan on eating them soon after.
Finally, store them in a cool, dark place and avoid the fridge where they can quickly turn soft and stale.
What can I eat with grissini?
These garlic breadsticks are great for snacking on their own, as you would do with crackers.
In the Italian tradition, they also consumed as part of appetiser platters served with olives, soft cheese, roasted tomatoes, and cured meats. Try wrapping them with prosciutto or salami slice - they're delicious!
Moreover, grissini are perfect for dips like hummus, taramasalata, guacamole, and marinara sauce. Check out our beetroot hummus and mango mustard if you want to try new and exciting dips for these breadsticks.
Sometimes, grissini are also added to soups and stews instead of bread rolls, and even with sweet dips like chocolate cream or nut butter.
What else can I add to these the breadstick dough?
In this recipe, we have added garlic powder to the grissini mixture for a delicious garlicky flavour. However, there are so many other ingredients you can try to spice up these snacks.
For example, try incorporating grated parmesan - or nutritional yeast, if you're vegan - or finely chopped olives into the dough.
Seeds like chia, poppy, sesame, and hemp are also great in breadsticks, as they add extra texture, taste, and nutrients.
Spices like paprika, chillies, and turmeric can give a gorgeous look to these crackers, so tip them in the dough mix to get colour breadsticks.
Ingredients
| Gluten-Free Flour | 450 g |
| Cornmeal | 50 g |
| Xanthan Gum | 2 tsp |
| Garlic Powder | 2 tsp |
| Oregano | 2 tsp |
| Dried Sage | 1 tsp |
| Dry Yeast | 7 g |
| Salt | 2 tsp |
| Extra Virgin Olive Oil | 50 mL |
| Lukewarm Water | 220 mL |
Step 1
In a bowl, mix gluten-free flour, cornmeal, xanthan gum, garlic powder, dried oregano, and sage. Then, add dried yeast, salt, extra virgin olive oil, and warm water.
Transfer the mixture to a floured surface and knead until the ingredients come together into a smooth and soft dough.
If needed, add more flour or water to get the right consistency.
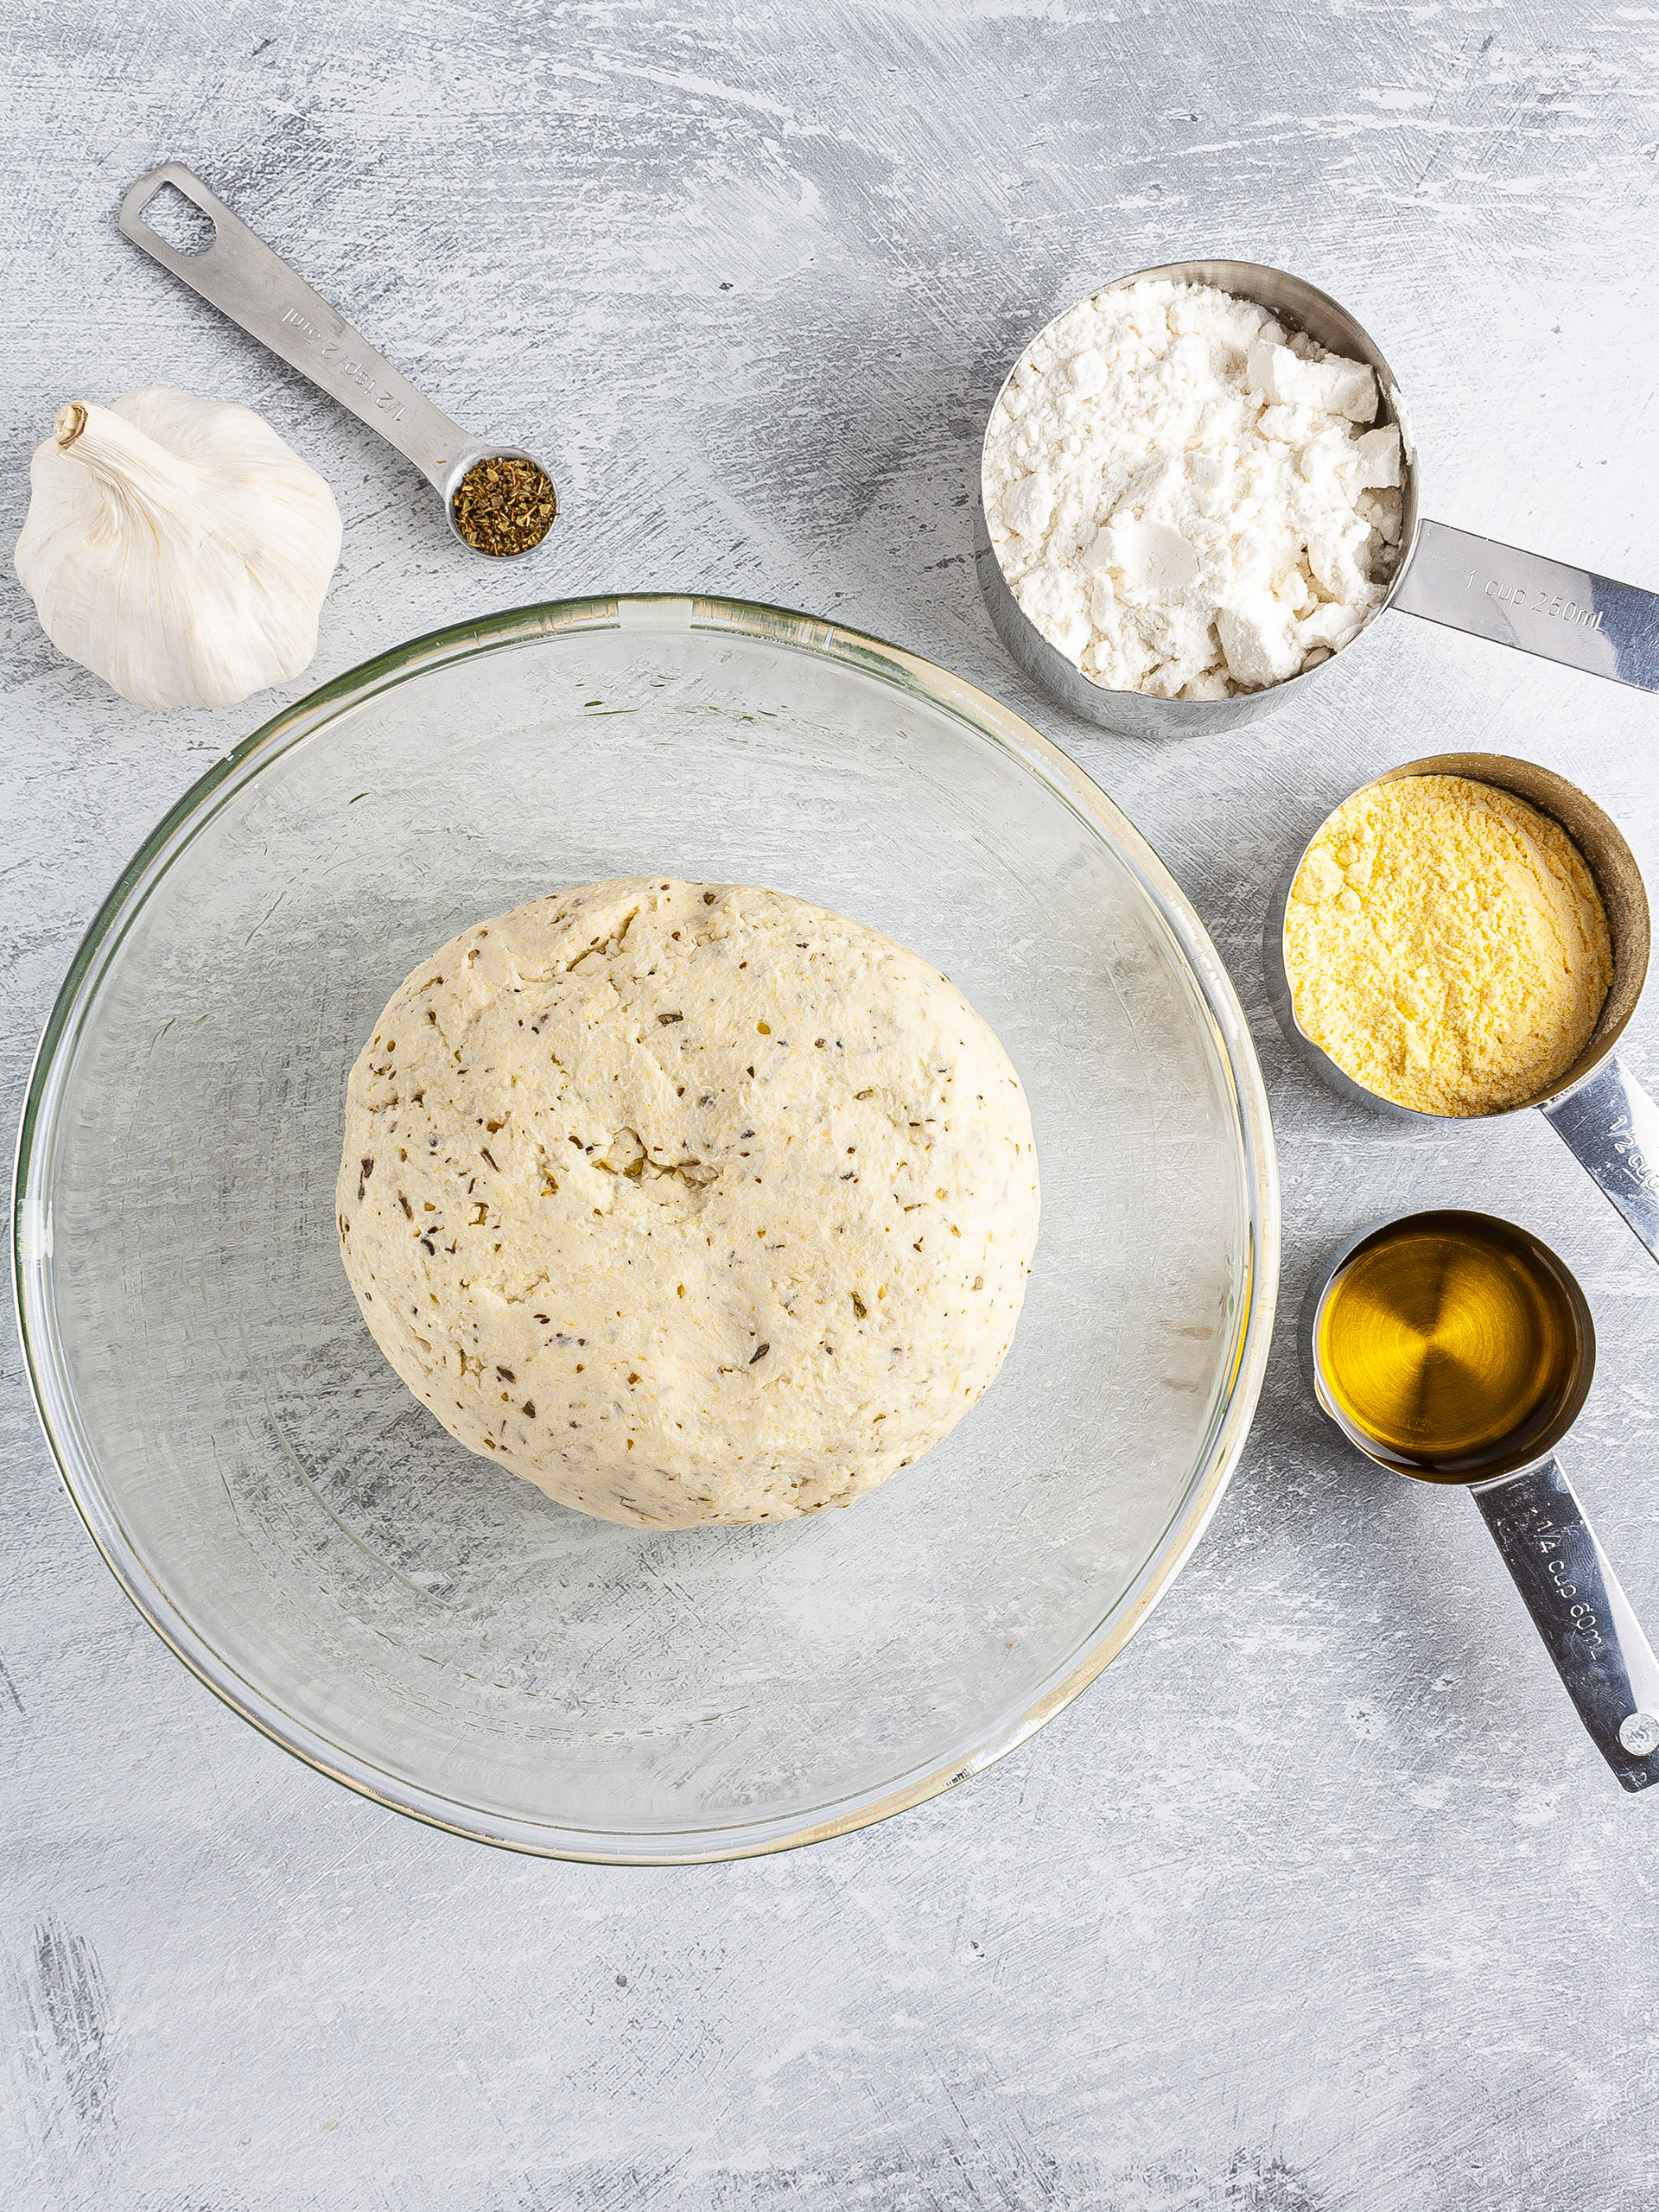
Step 2
Place the breadstick dough back into the bowl and wrap it in cling film.
Leave it to prove in a warm place for 2 hours or until doubled in volume.
Step 3
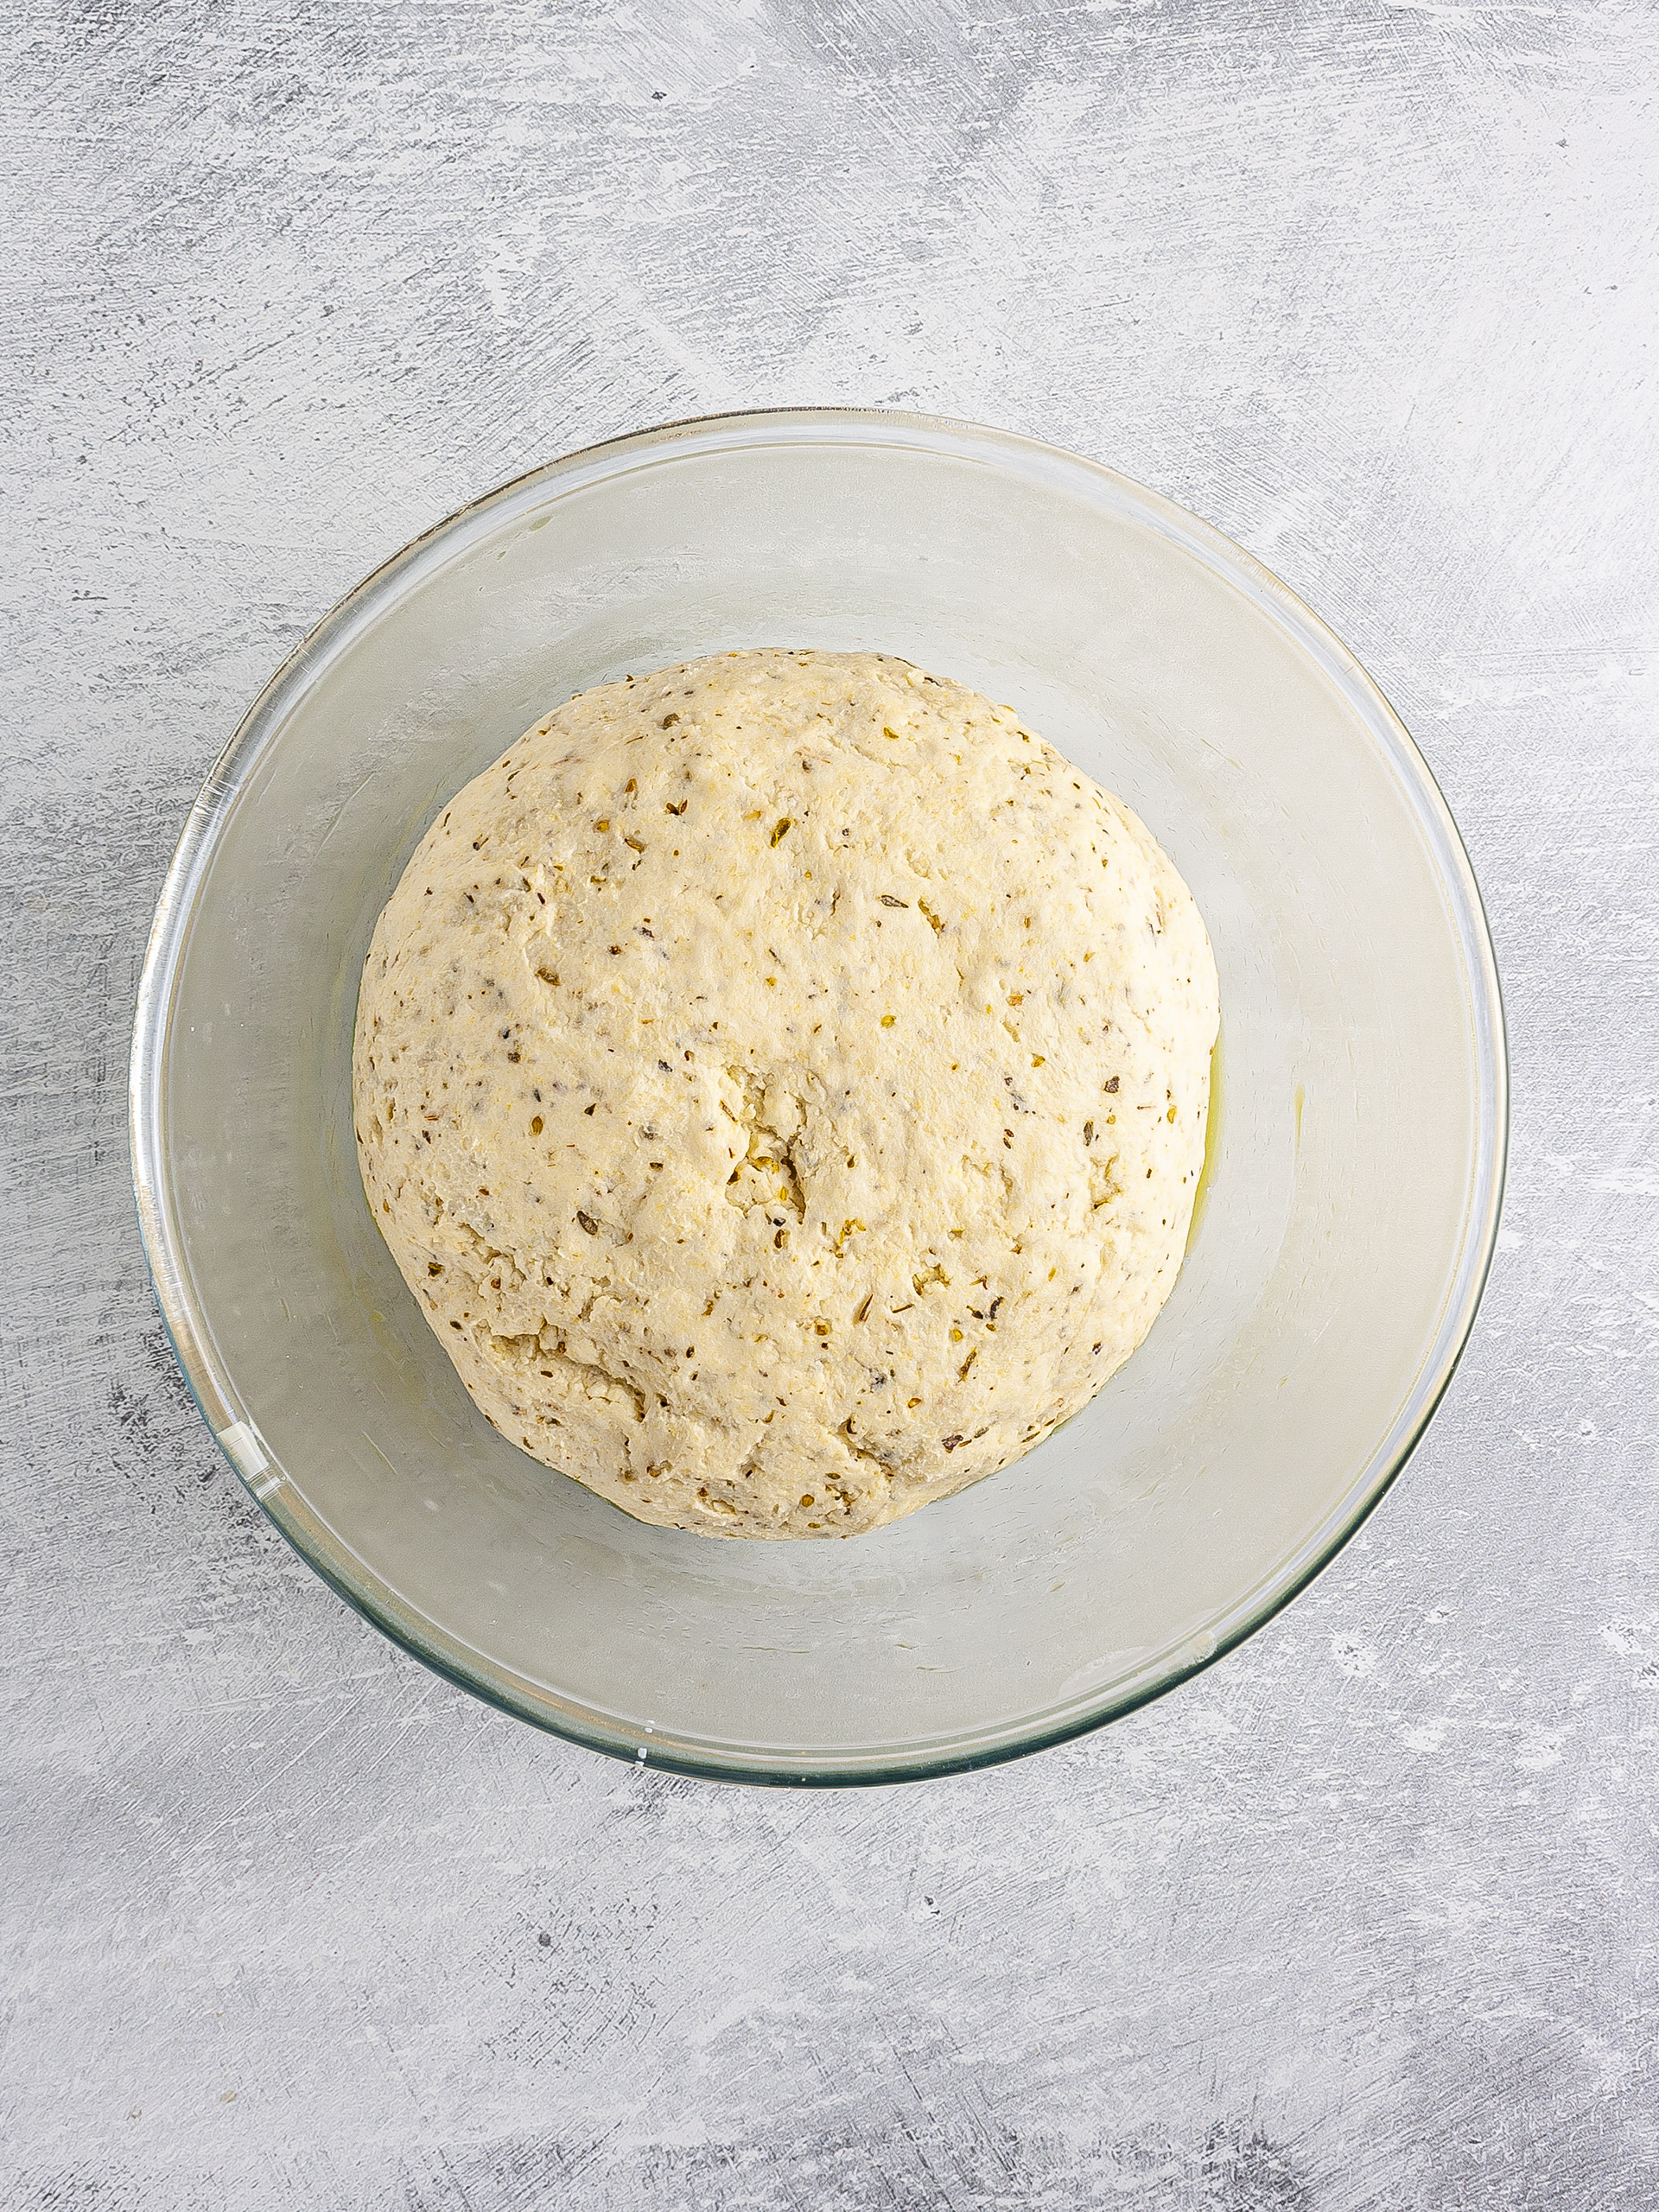
Portion the dough into walnut-sized pieces.
Then, dust your worktop with extra cornmeal to help you mould the grissini and prevent them from sticking to the counter.
Shape each piece into a ball and then into a long strip, rolling it under your palms and fingers.
The thinner you roll the sticks, the crispier they will get once cooked.
Step 4
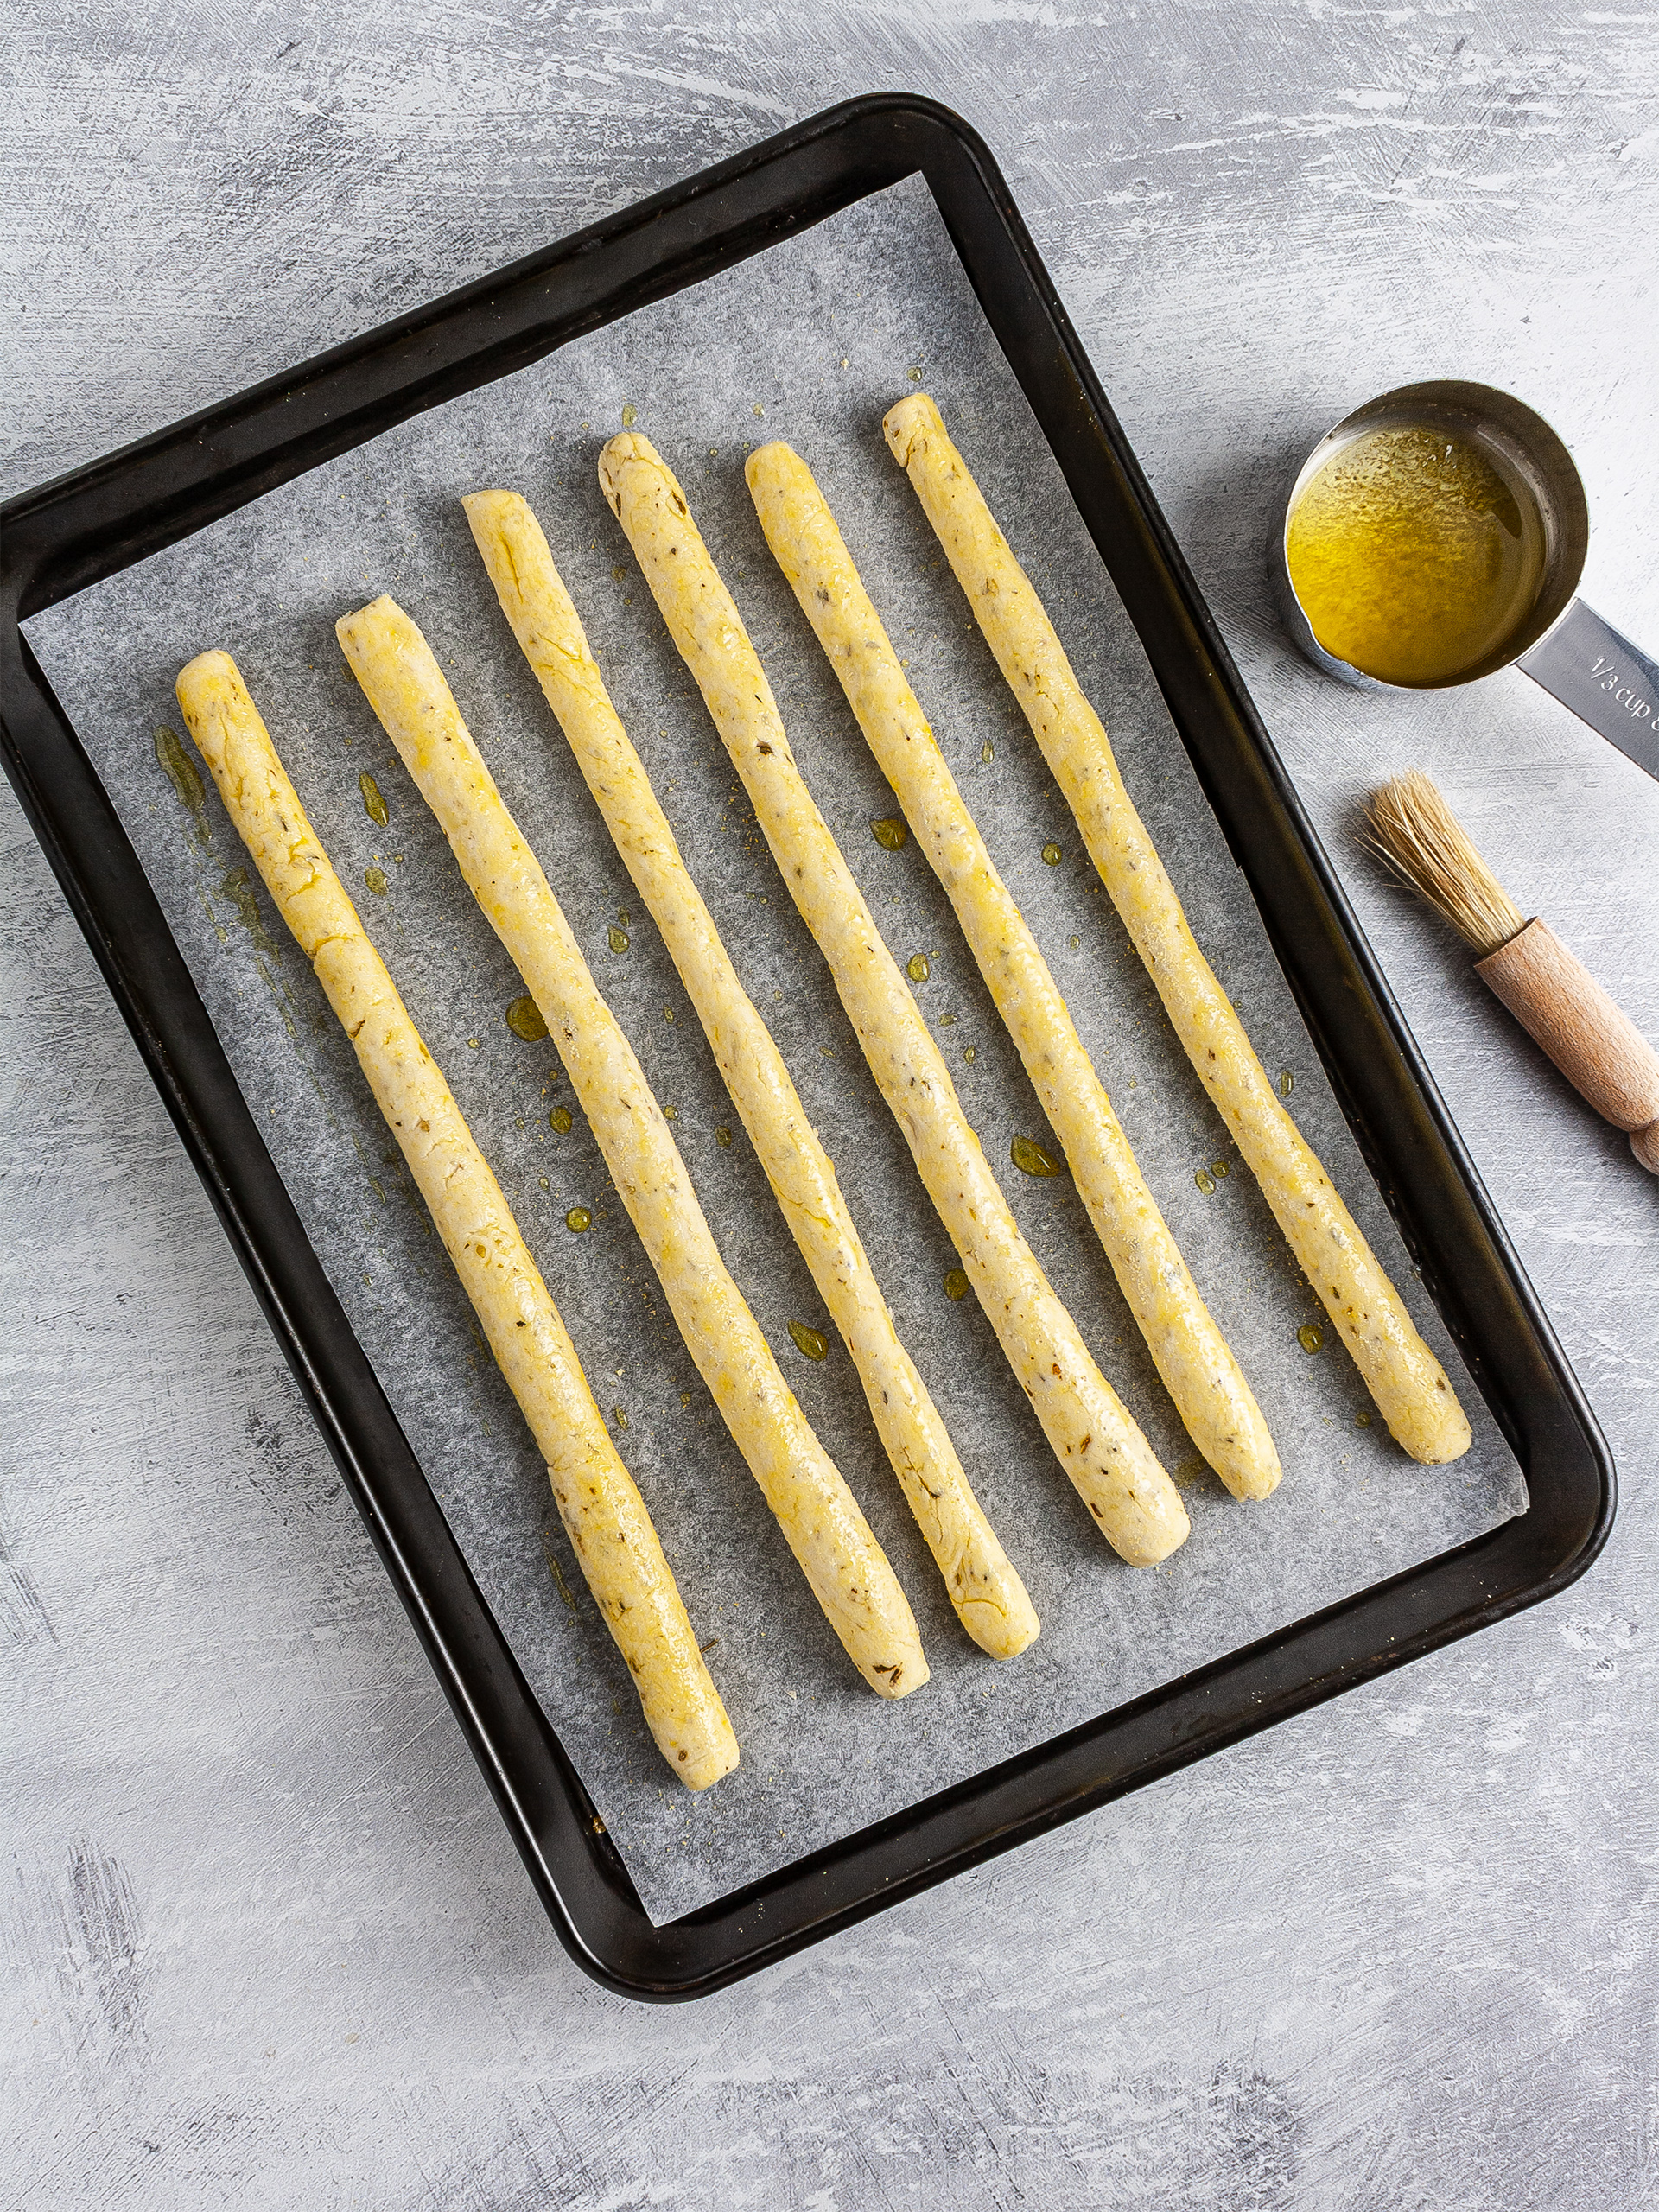
Leave the shaped breadsticks to prove for 20 minutes under a tea towel to prevent them from drying out.
Before baking them, you can brush the grissini with little olive oil mixed with garlic powder for extra flavour and crunchiness - or just cook them as they are.
Step 5
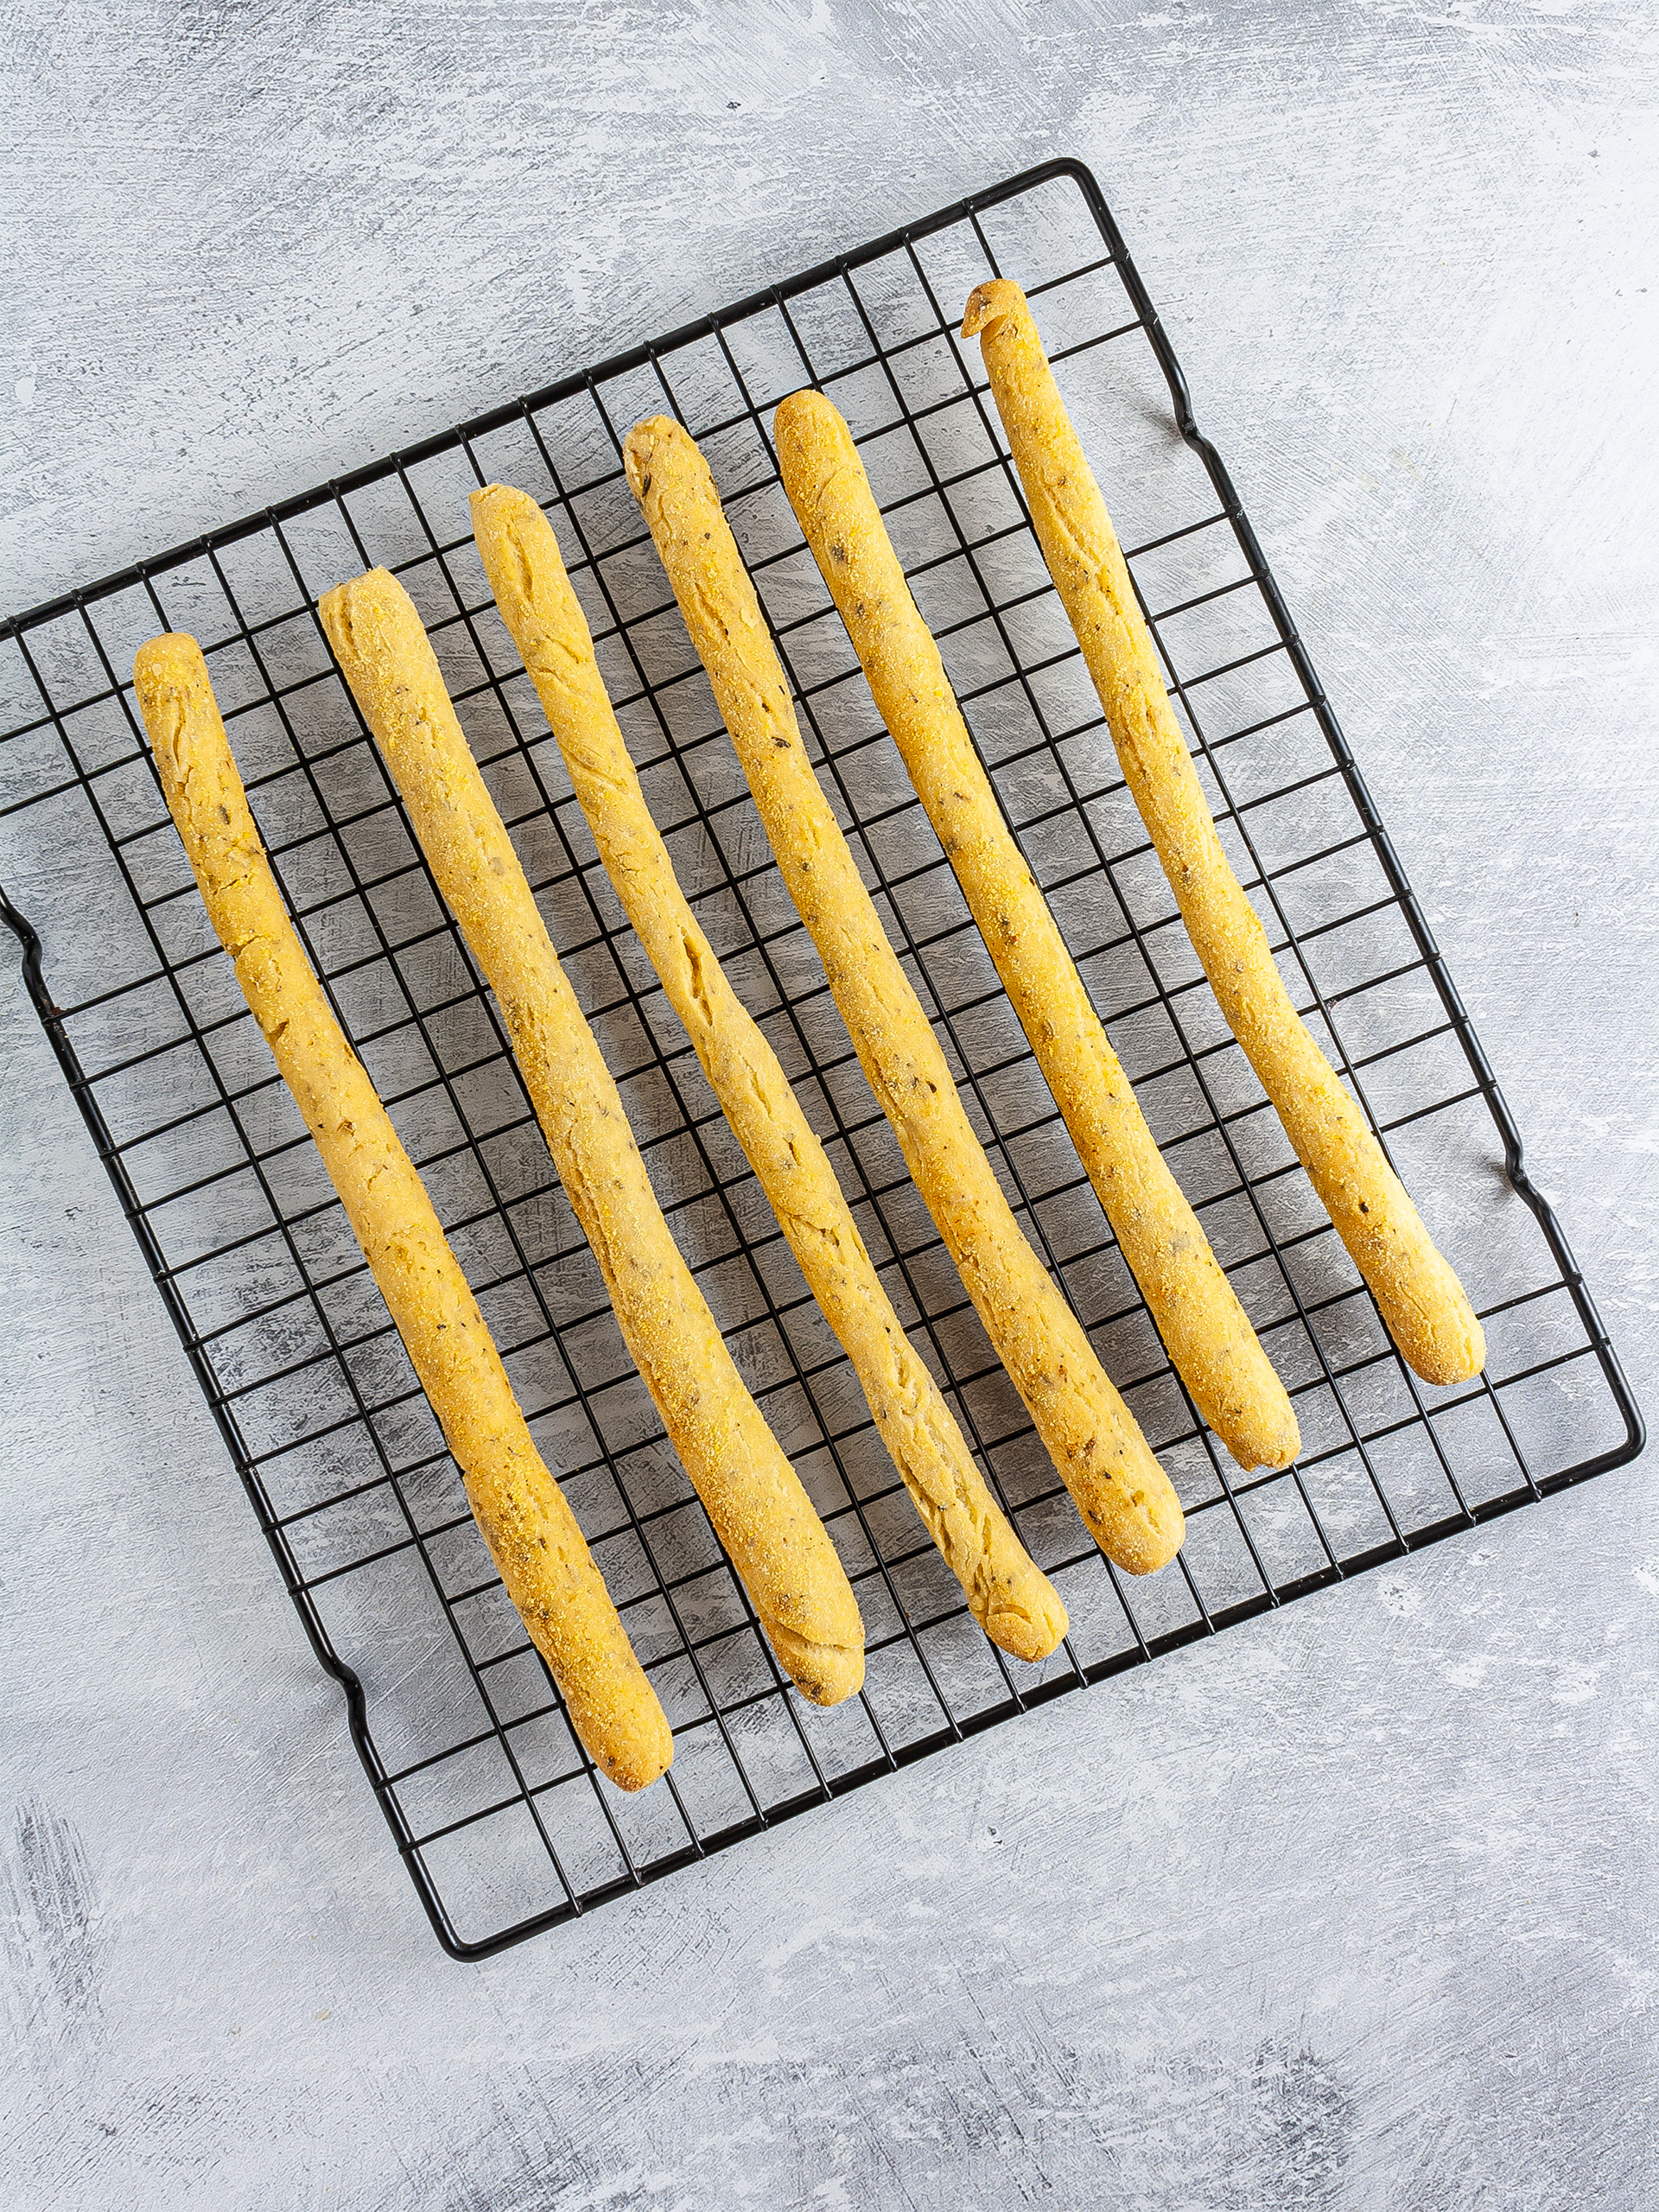
Bake the garlic breadsticks for 15-20 minutes at 230°C (445°F) for static ovens or at 210°C (410°F) for fan ovens.
Once they have a lovely golden crust, take them out of the oven and transfer them to a wire rack.
Leave them to cool down and crisp up for a few minutes before serving or storing away.
Tips
Don't overcook the sticks as they will get crunchier when they cool down on a wire rack.
