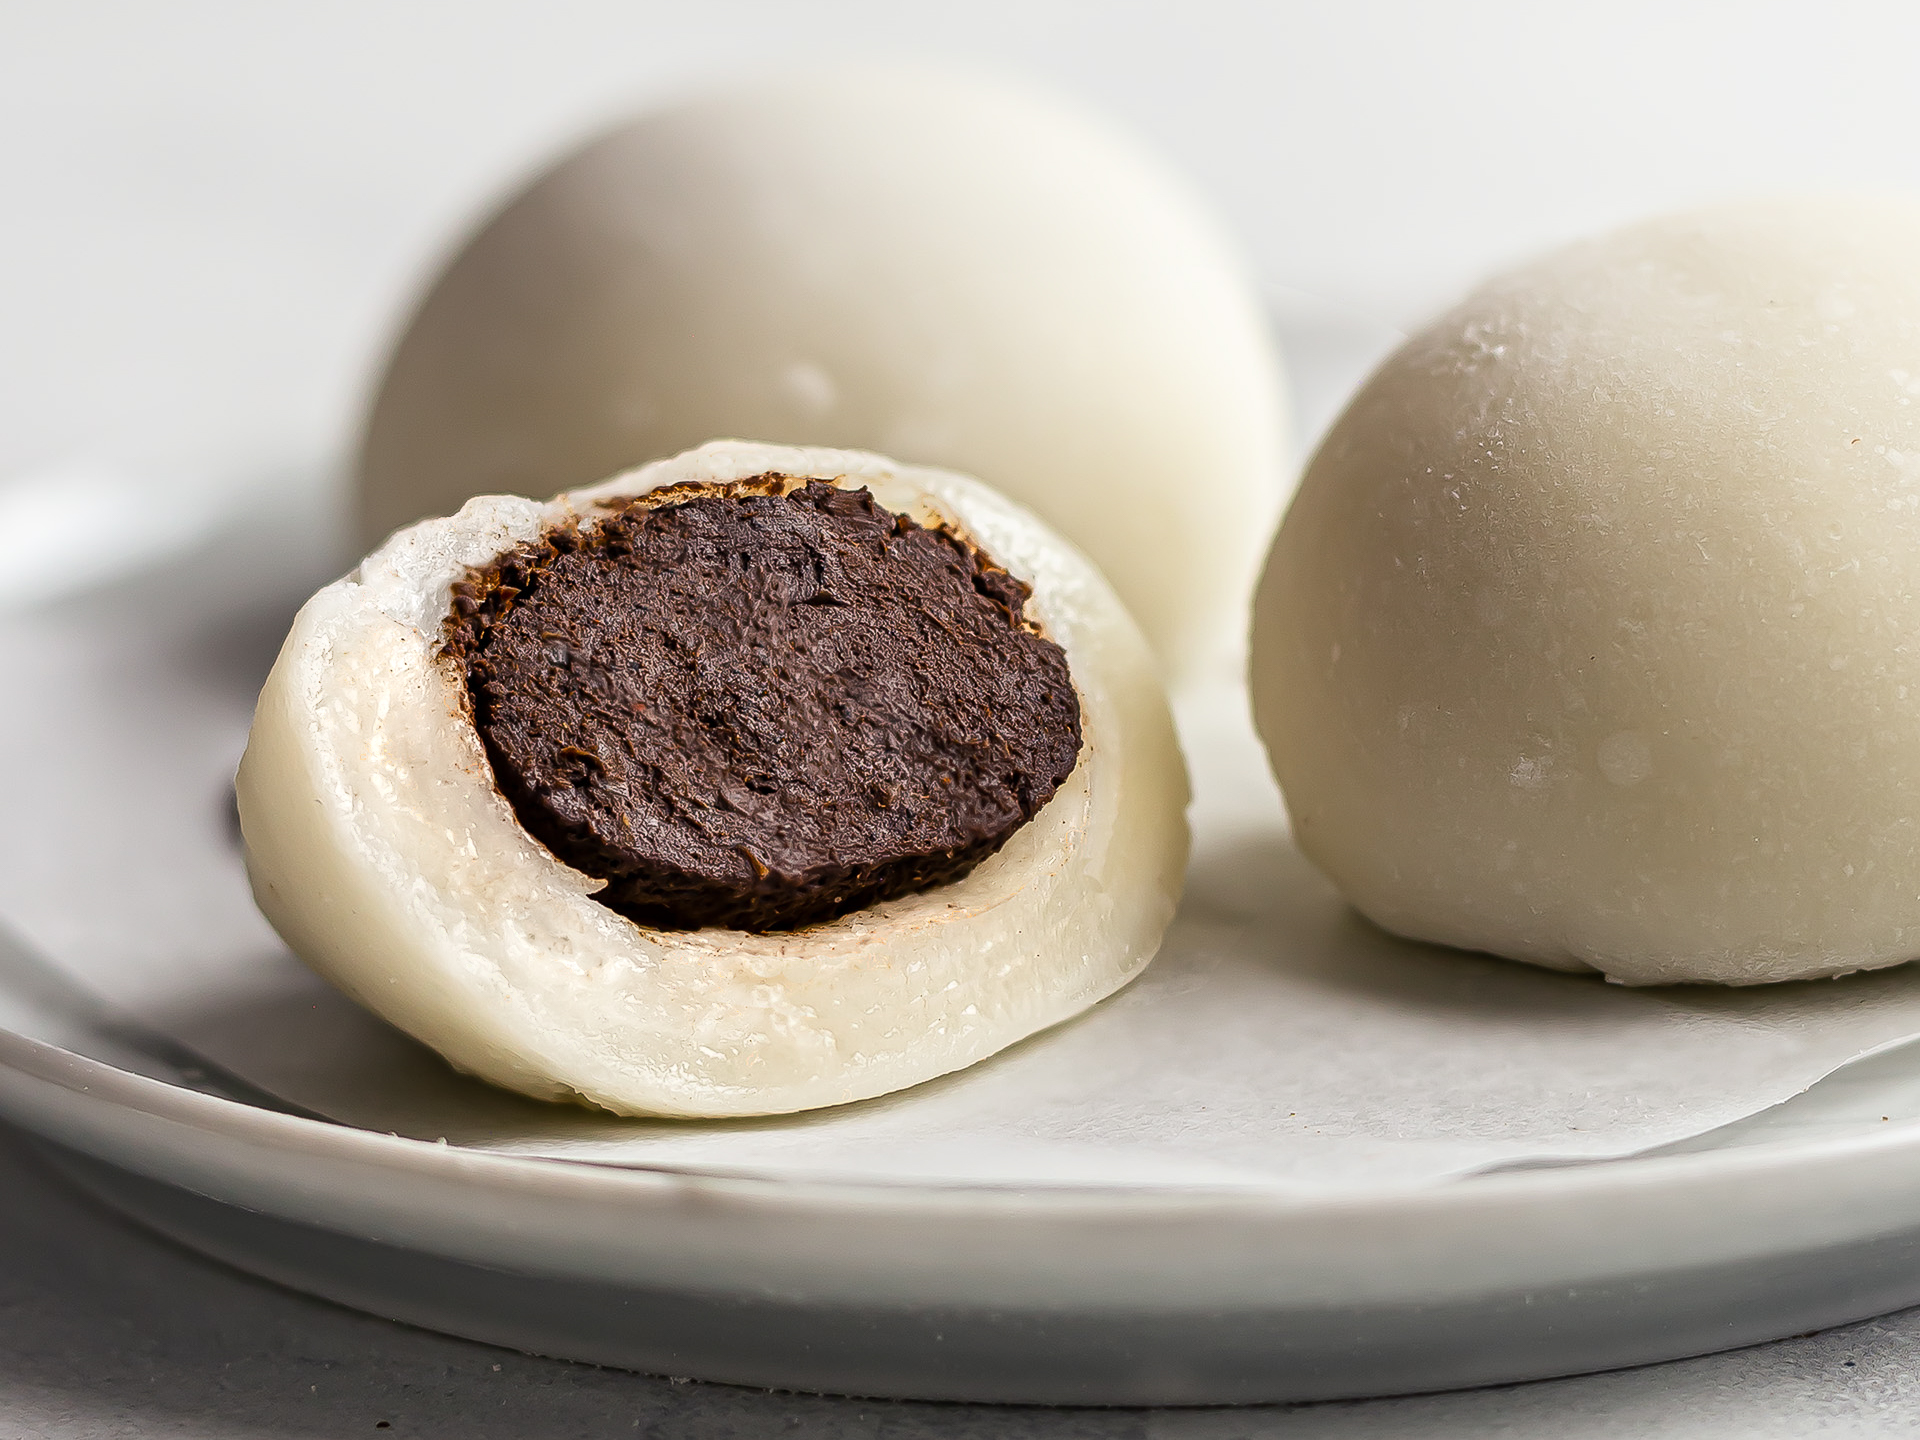
After trying mochi for the first time, we immediately knew we had to make these tiny Japanese rice cakes with many different fillings. So, after experimenting with creamy peanut butter mochi, exotic purple yam mochi, and tropical mango mochi, here's our latest filling idea: sweet and spicy chilli chocolate.
It's probably the best mochi filling we've had so far, and we're so happy to share it with you today. So, keep reading to discover how we made it — and it could soon be in your belly too!
Classic Japanese mochi balls are usually filled with sweet red bean paste (aka anko). But, there's a version made with chocolate instead of anko that's has become increasingly popular. And for a good reason! Who doesn't love chocolate in desserts?
Ok so, we knew we wanted to make mochis with chocolate, but then we thought: how could we make them even more special? Red chilli powder was our answer! Oh my, chilli and chocolate is a combo worth trying, especially if you're into spicy food like us.
But wait, we didn't stop there. Now that we had the perfect mochi filling idea, we had to make it healthier for you, Foodaciously-style. So we choose low-sugar dark chocolate, cocoa powder, and raw dates as our ingredients. That's it. No milk, no dairy, no nasties. It's 100% vegan. Hurray!
Combine these ingredients together, and you'll get a delicious paste that feels almost like a chocolate truffle. And when you pair it with the soft and chewy rice dough of the mochi, you've hit the jackpot!
If you're new to making mochi, we'll show you how to prepare them from scratch with step-by-step pictures — from making the dough with glutinous rice flour to shaping the wrappers and sealing the chocolate filling into perfect balls.
Sounds good? Let's do it!
Ingredients
| Dough | |
| Glutinous Rice Flour | 200 g |
| Icing Sugar (or sugar-free erythritol) | 75 g |
| Water | 290 mL |
| Filling | |
| Pitted Dates | 100 g |
| Cocoa | 20 g |
| Chilli Powder | 1/2 tsp |
| Dark Chocolate 70% | 80 g |
Step 1
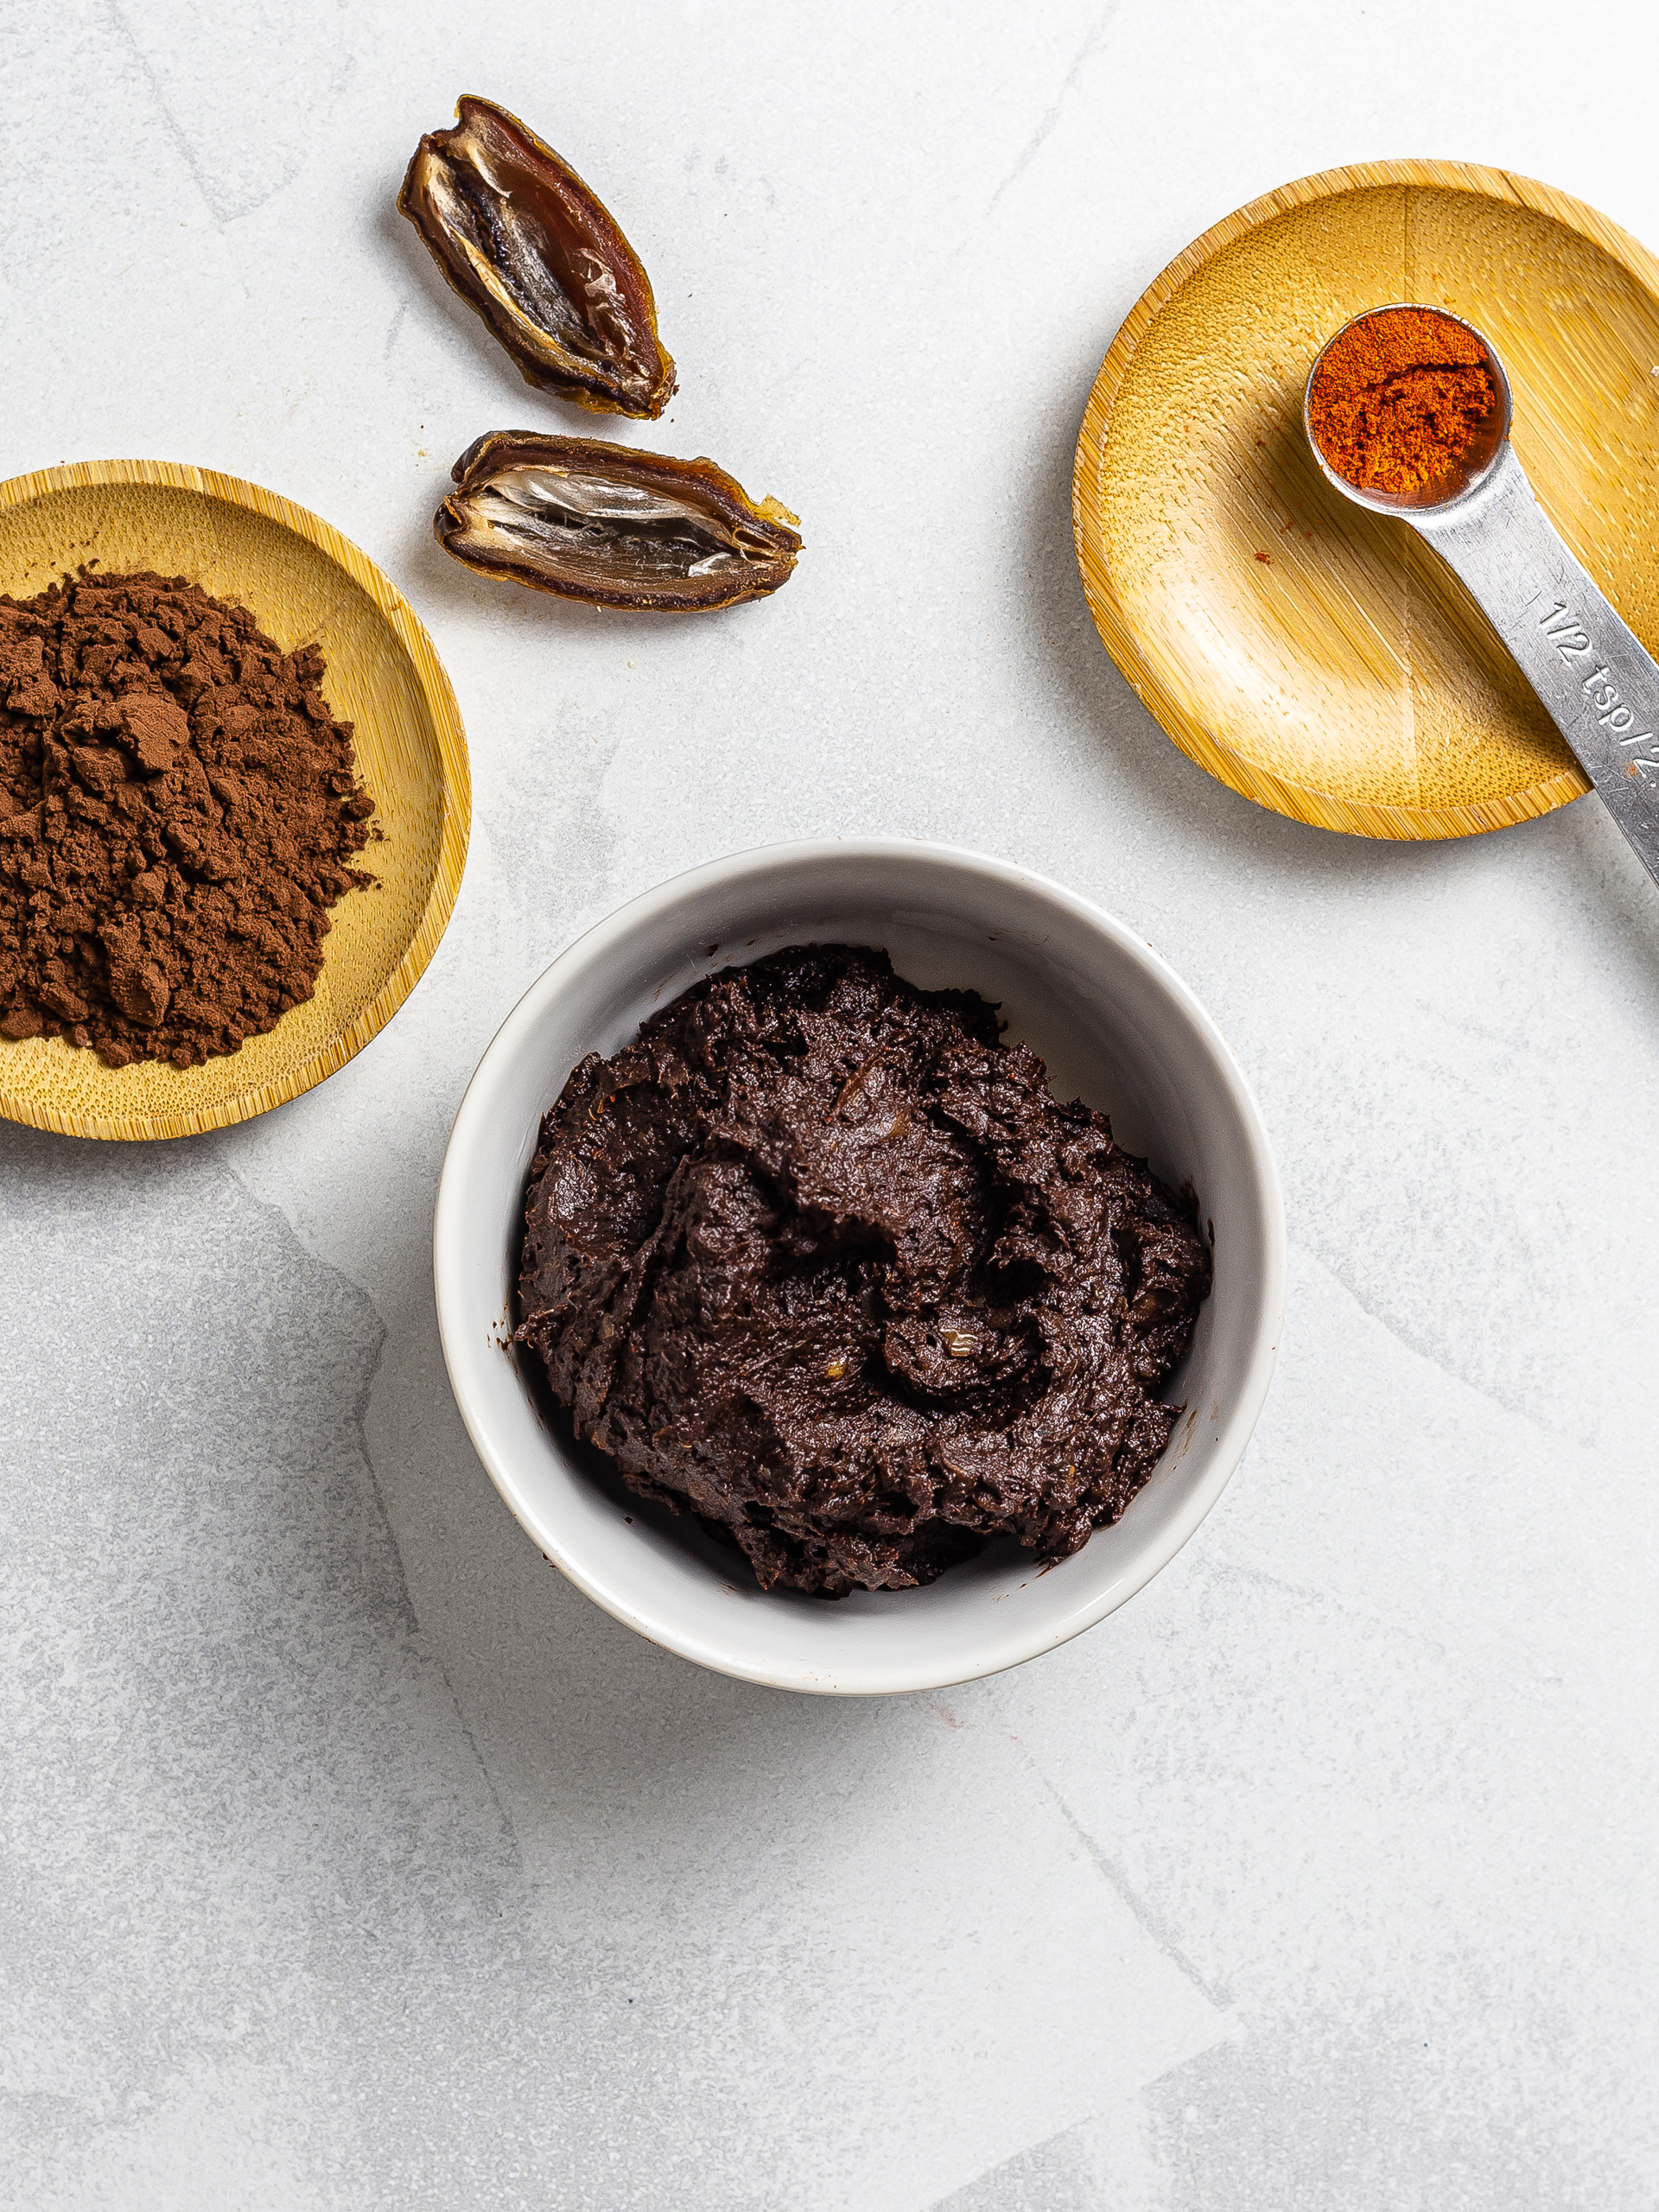
Soak the dates in a bowl of hot water for 1-2 hours or until they're very soft.
Then, drain them well and blitz them with cocoa powder and chilli powder in a food processor.
The date mixture will be a bit chunky at first, but keep blending it and scraping down the sides of the blender bowl until you have a dense paste.
Step 2
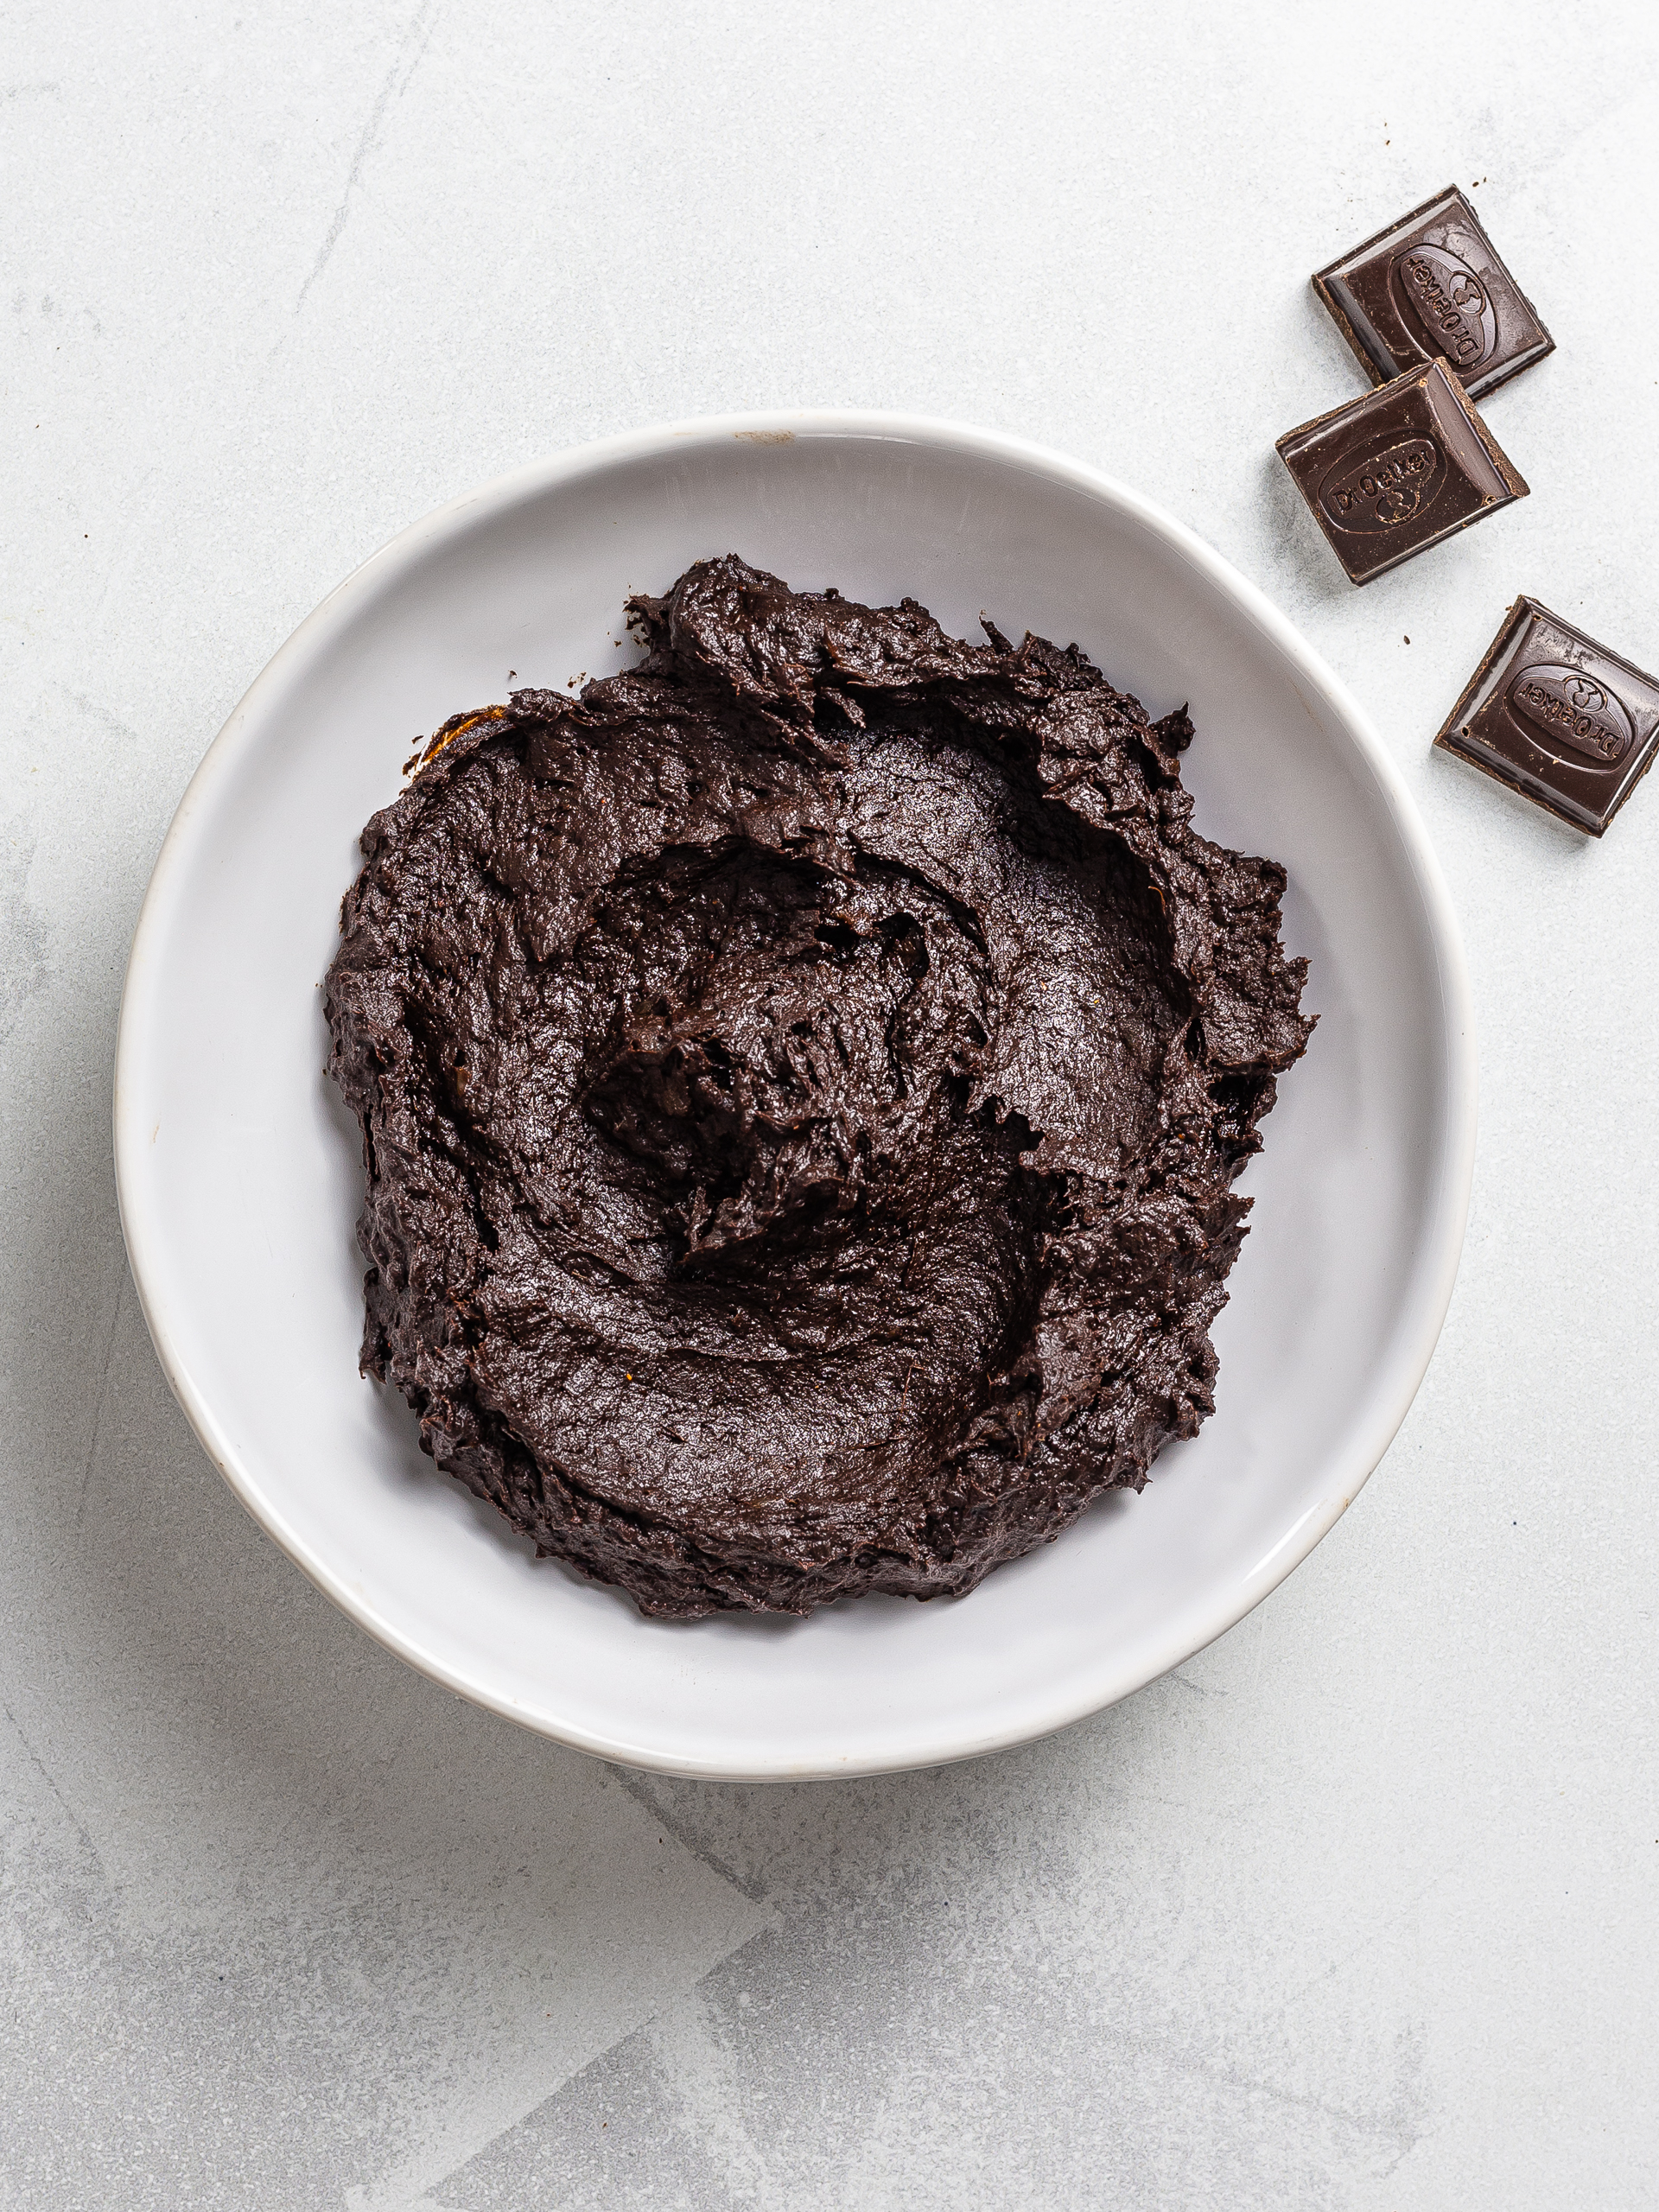
Melt the chocolate in the microwave or bain-marie.
Then, stir it into date paste until it's incorporated well (1).
Let the chocolate filling harden at room temperature while you prepare the mochi dough.
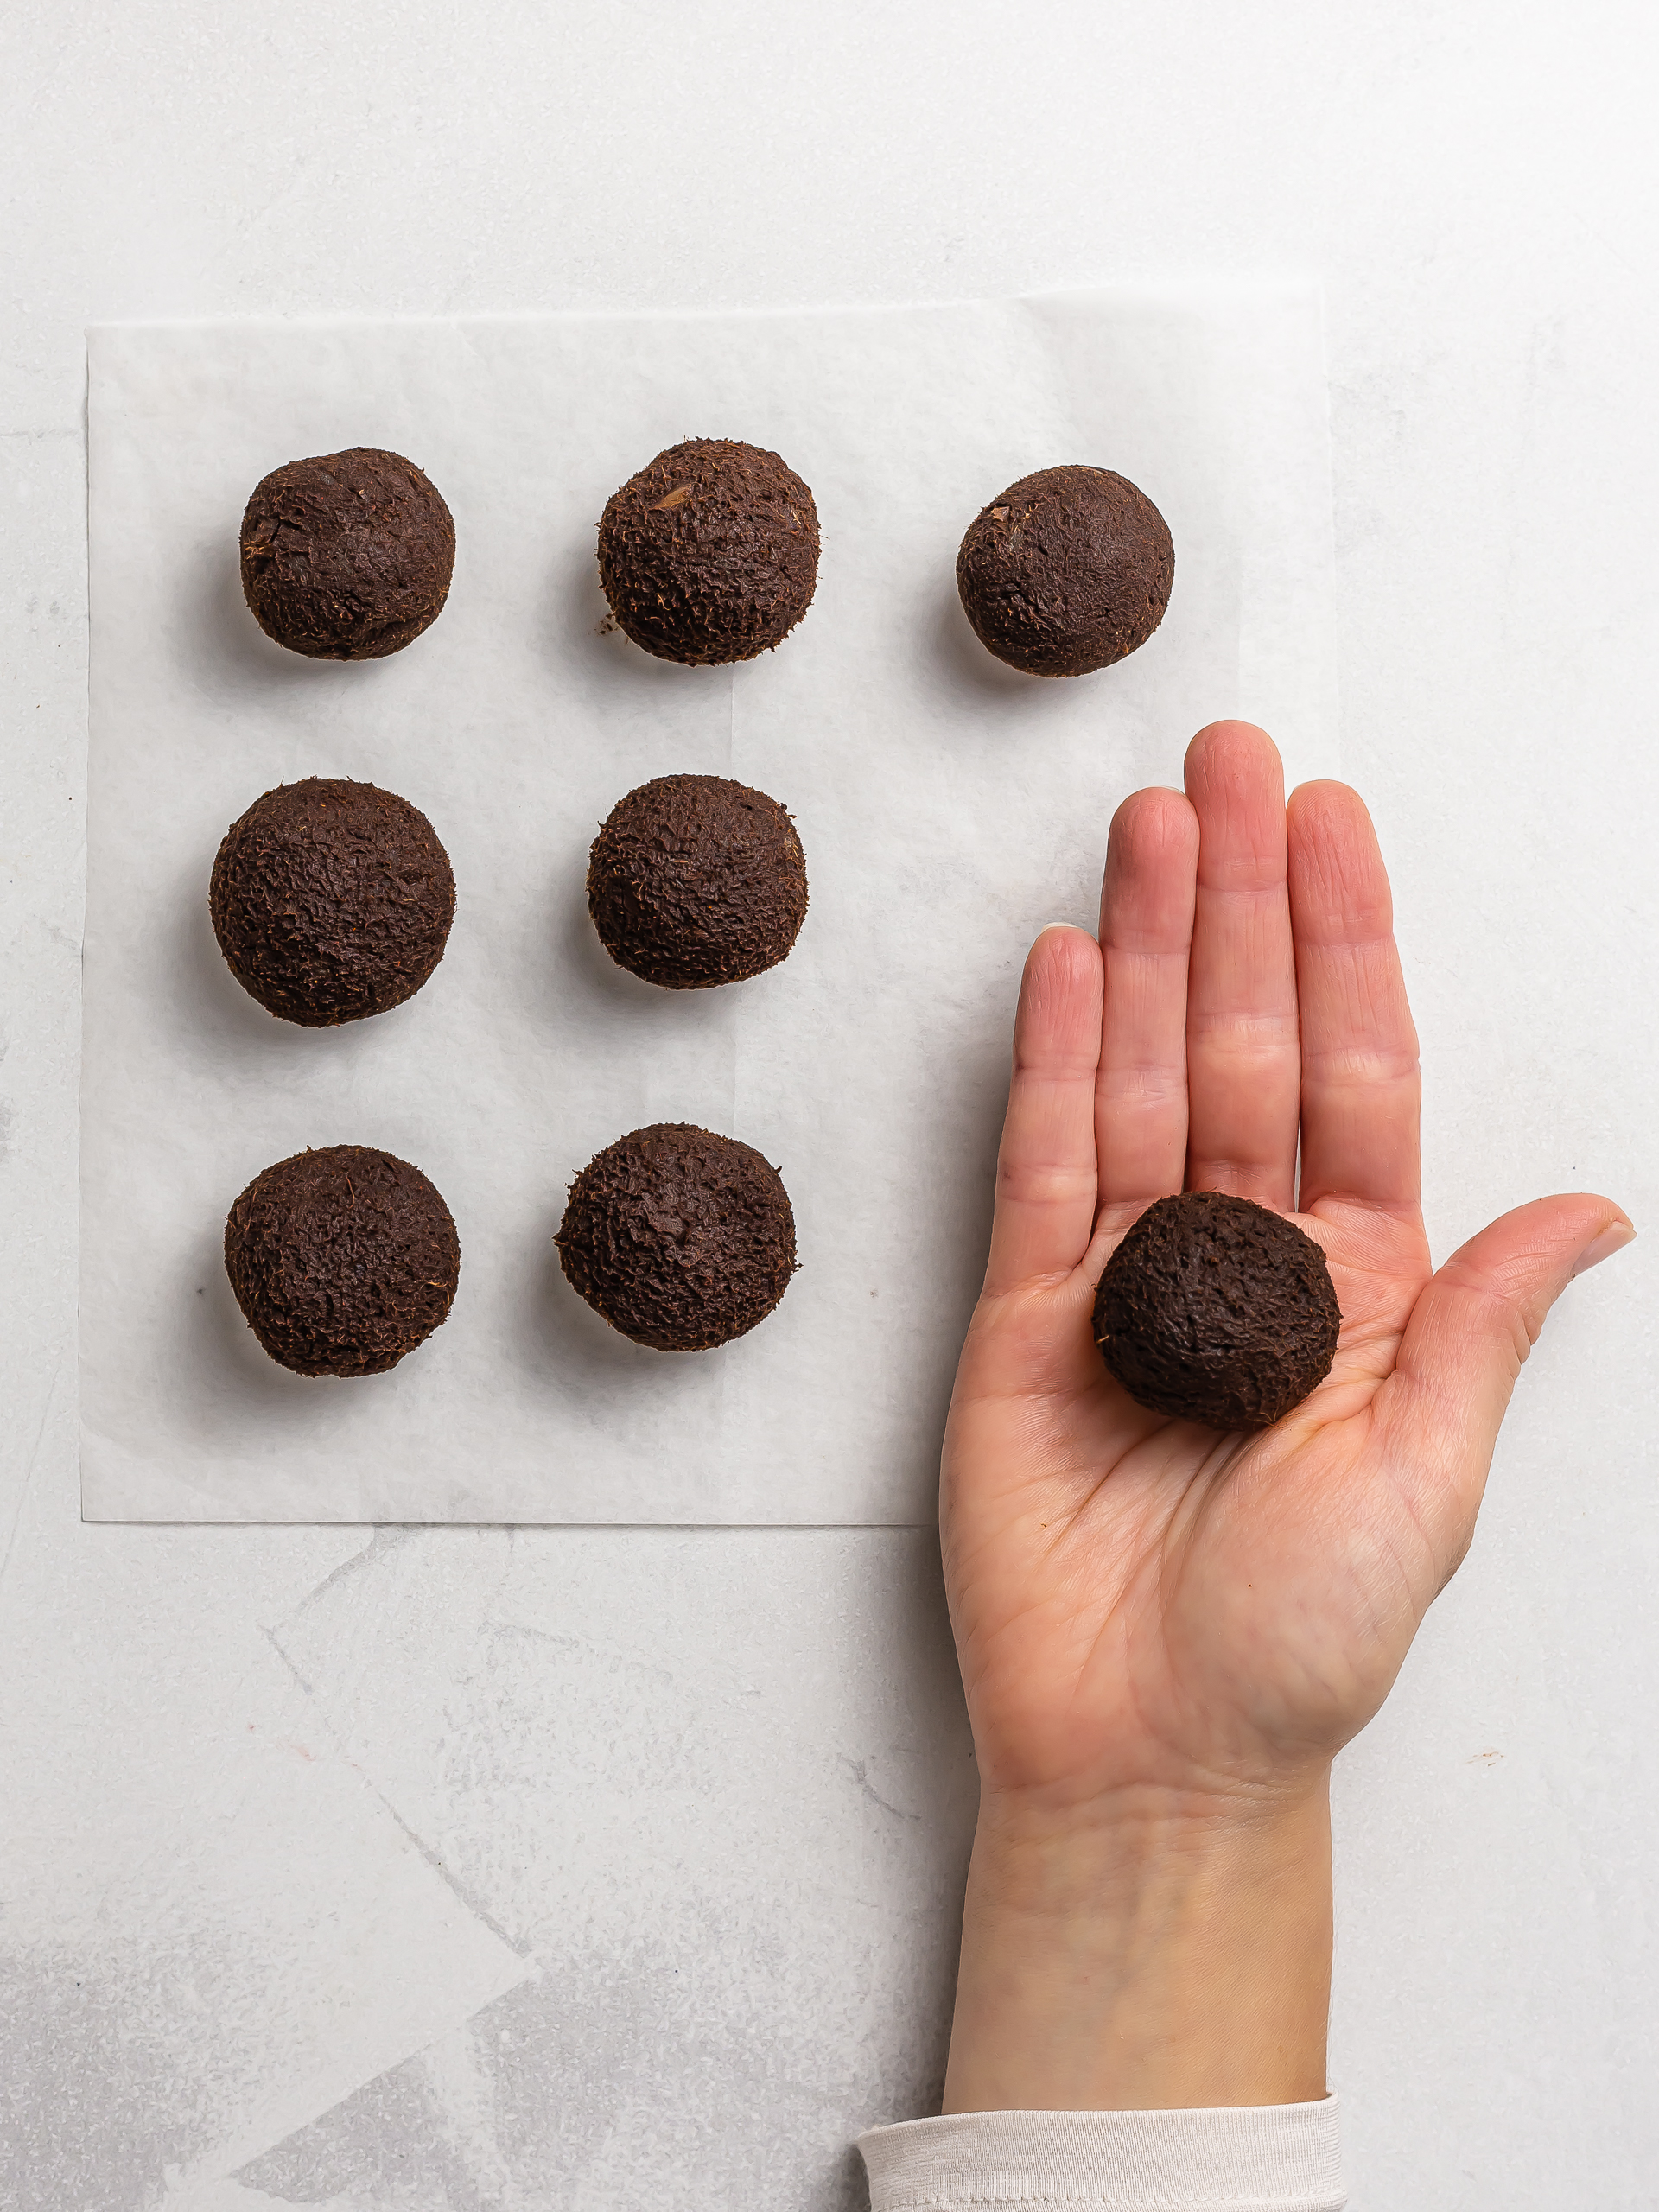
When the chocolate paste is hard enough, shape into as many balls as the number of servings - that is, 10 balls for the default ingredients (2).
Step 3
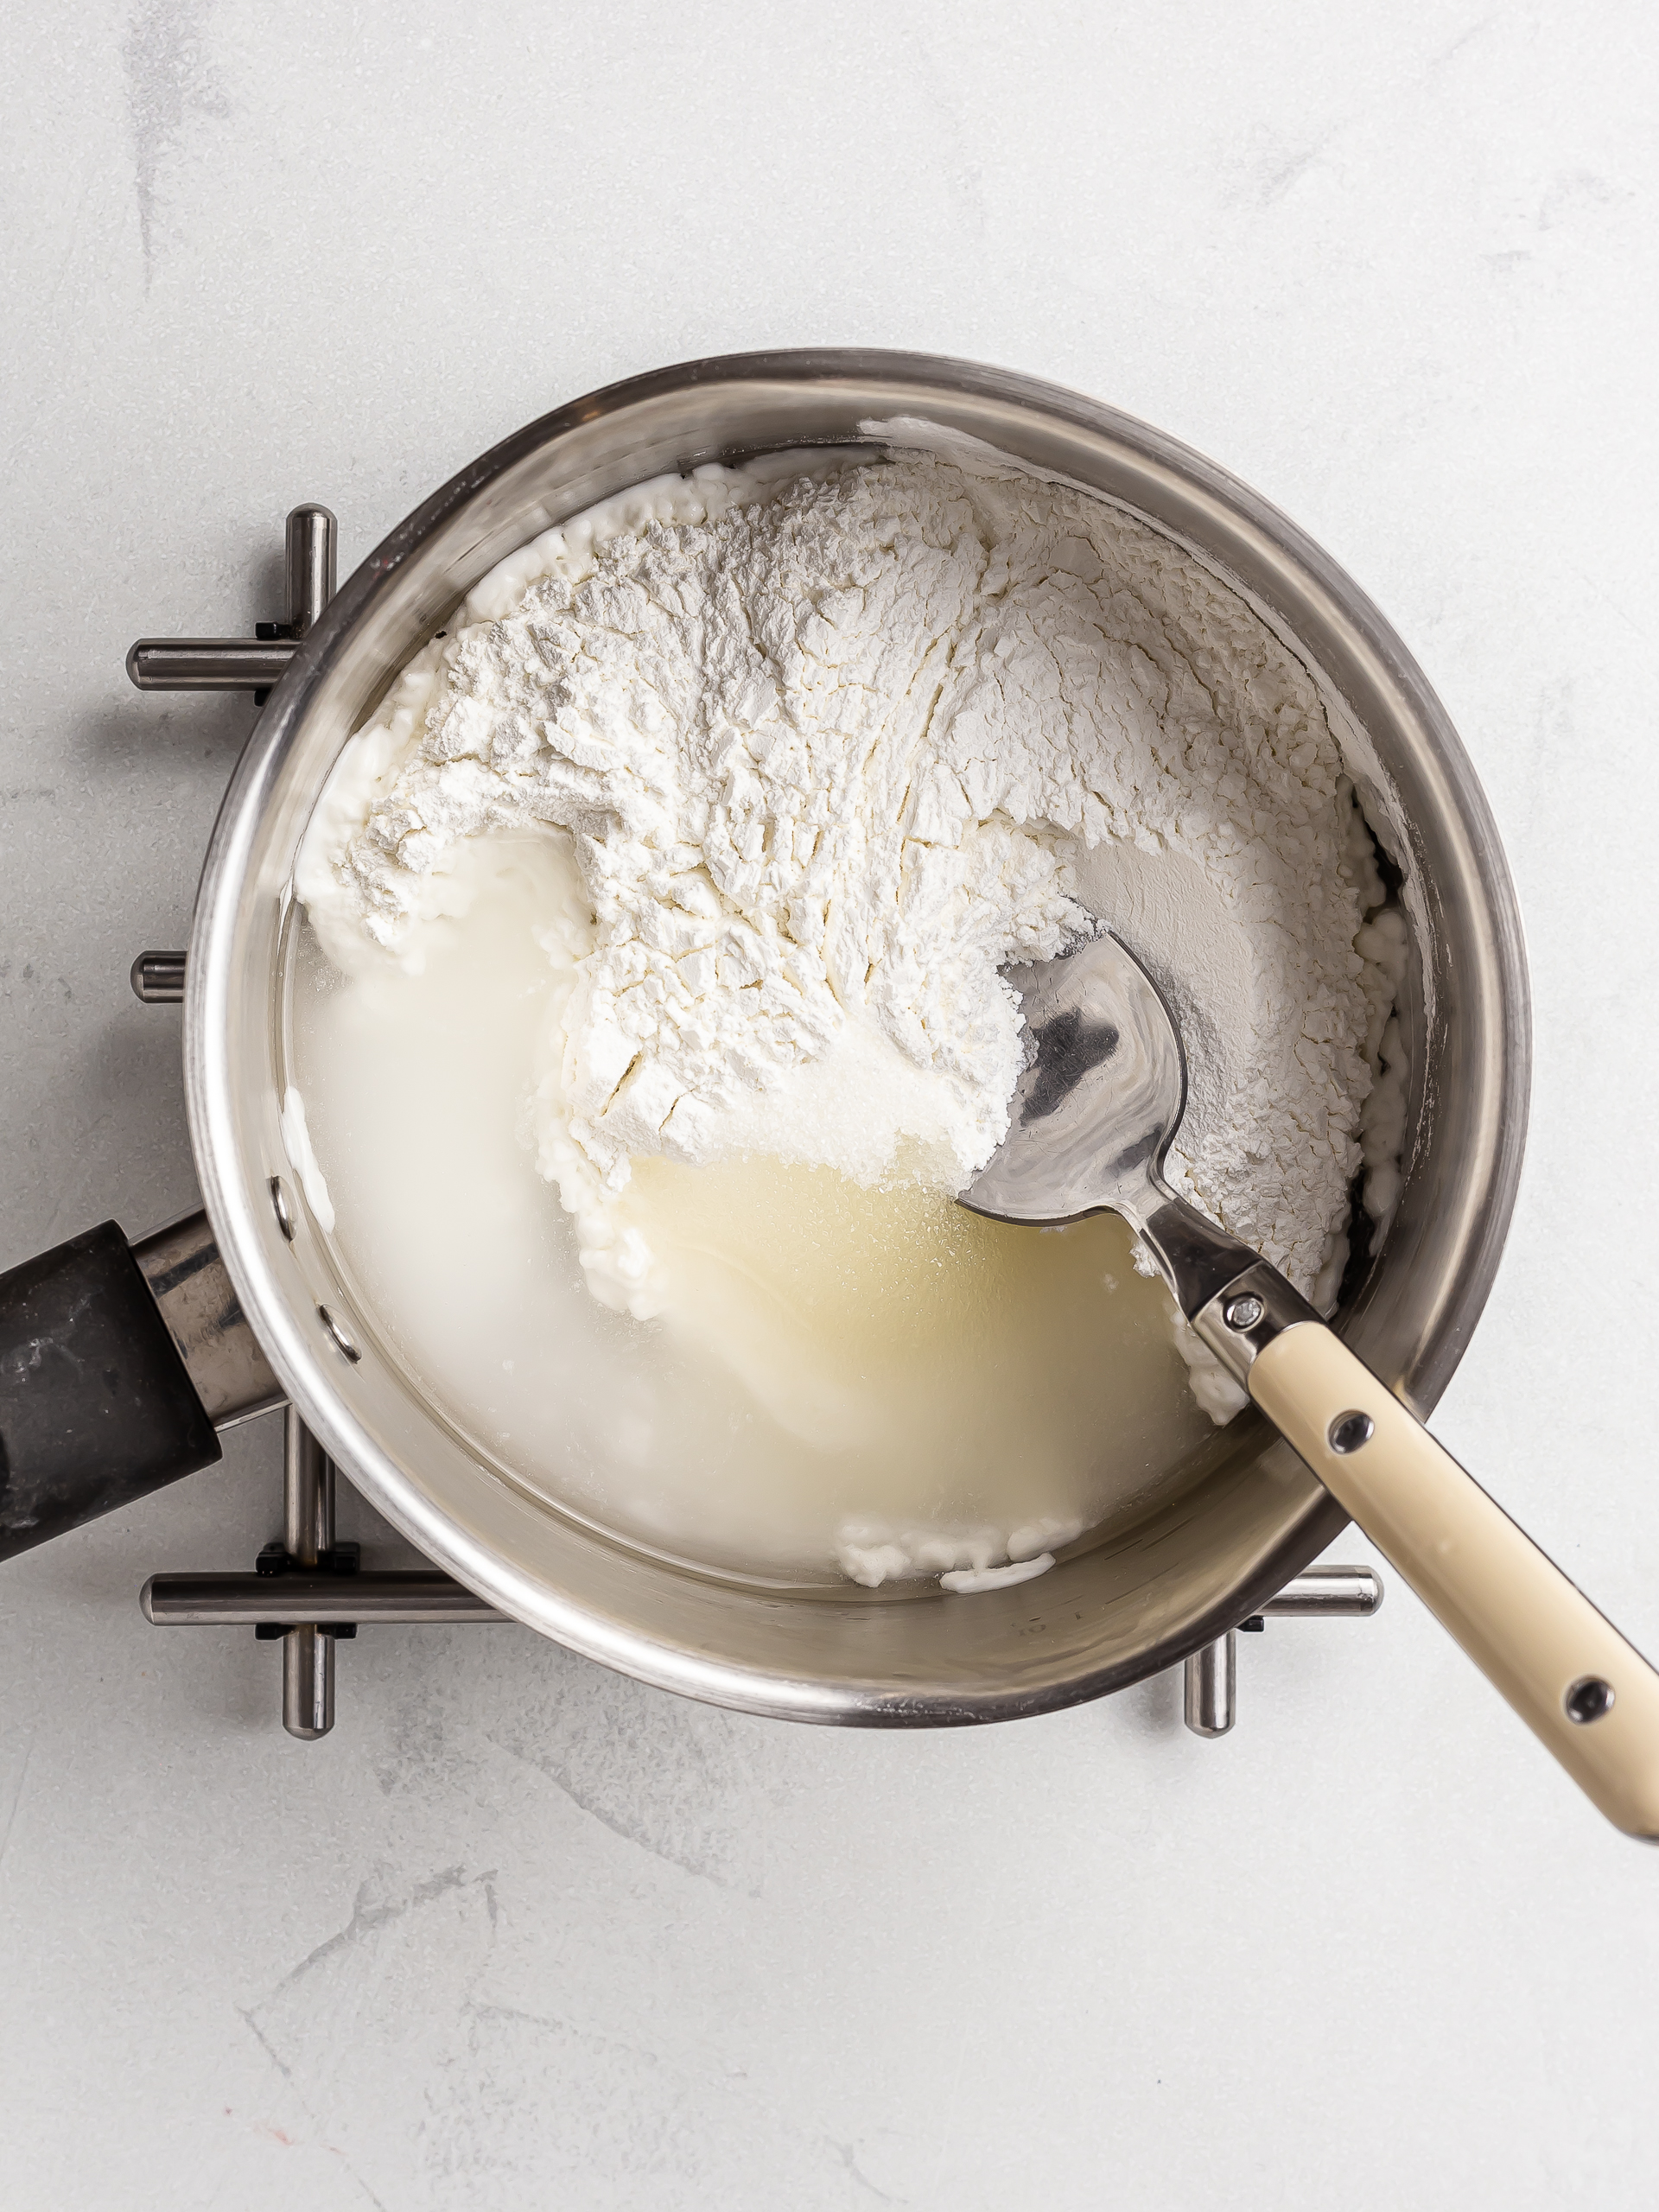
To make the mochi dough, make sure you're using glutinous rice flour, not standard rice flour, or it won't work.
Now, combine glutinous rice flour with icing sugar in a pot. If you want to use sugar-free erythritol, blitz it first into a fine powder in a food processor.
Then, pour in the given water and mix well until there are no lumps.
Step 4
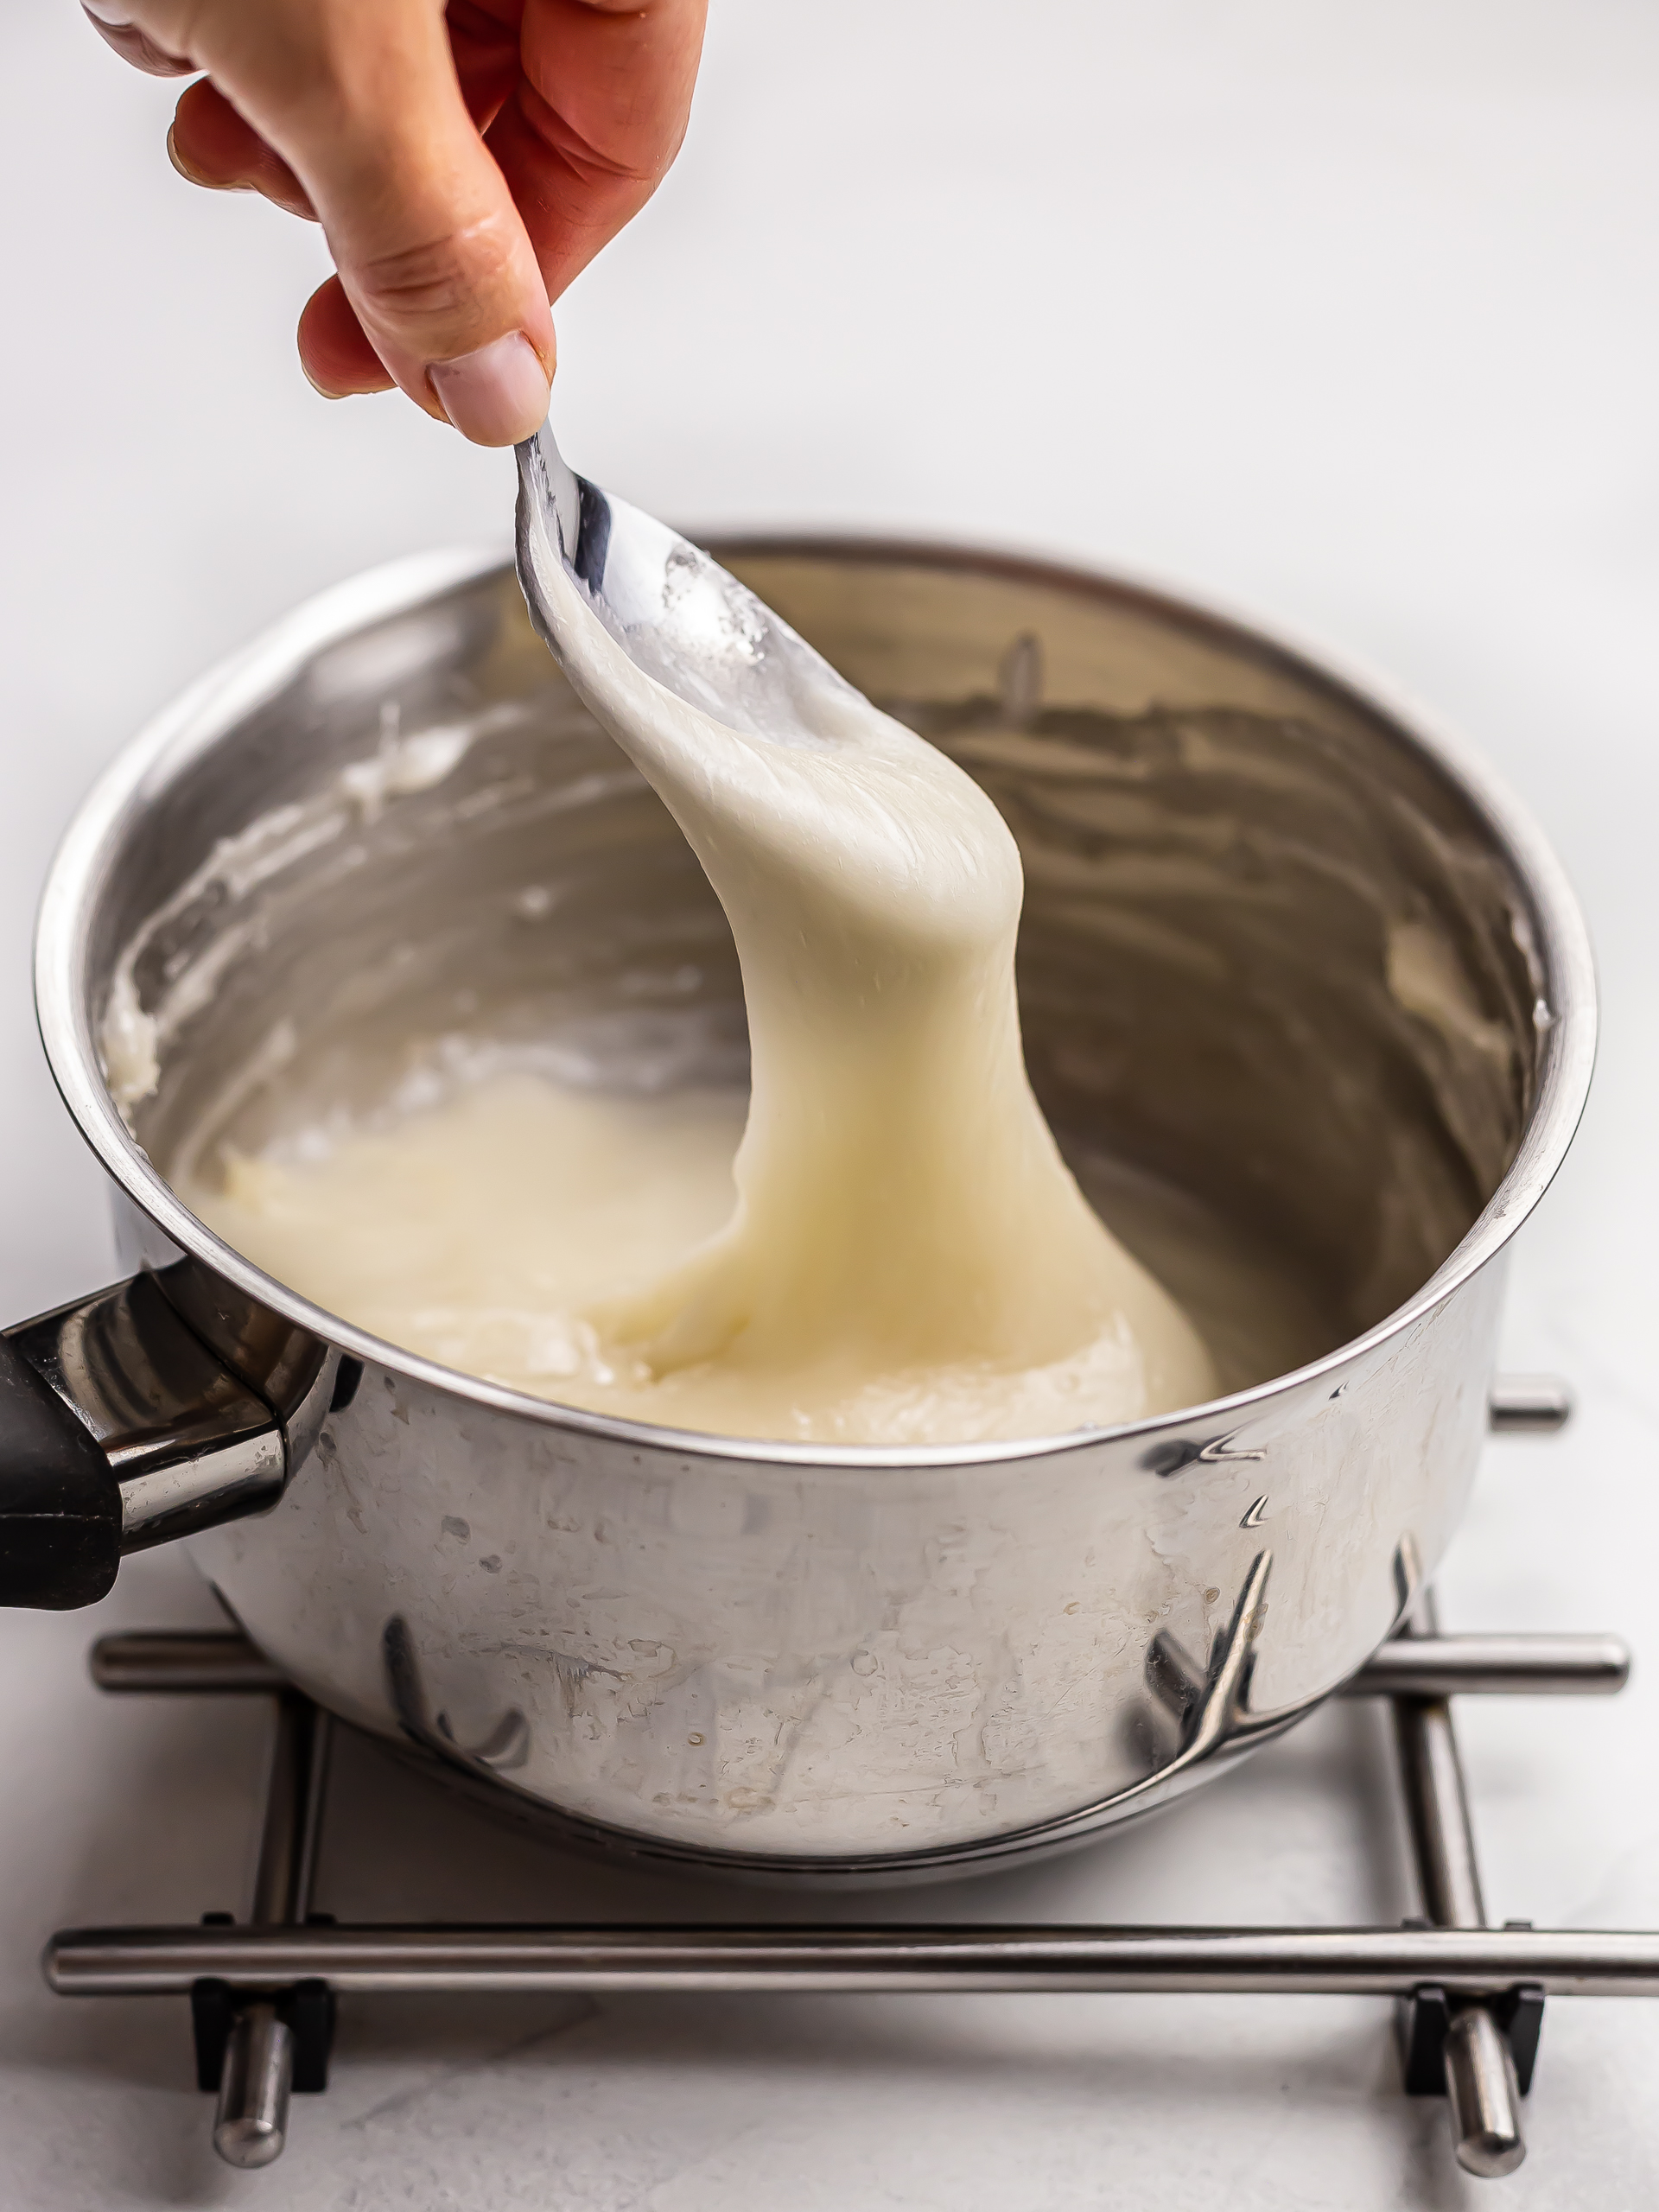
Turn the heat to low and constantly stir the rice mixture with a metal spoon as it warms up.
The rice mix will start to thicken and form lumps.
At this point, keep cooking it for 5 minutes, stirring it vigorously.
The dough will be very sticky, stretchy, and hard to stir, but keep at it to ensure it won't stick to the pot and burn.
At the end of cooking time, the dough should be smooth and uniform.
Step 5
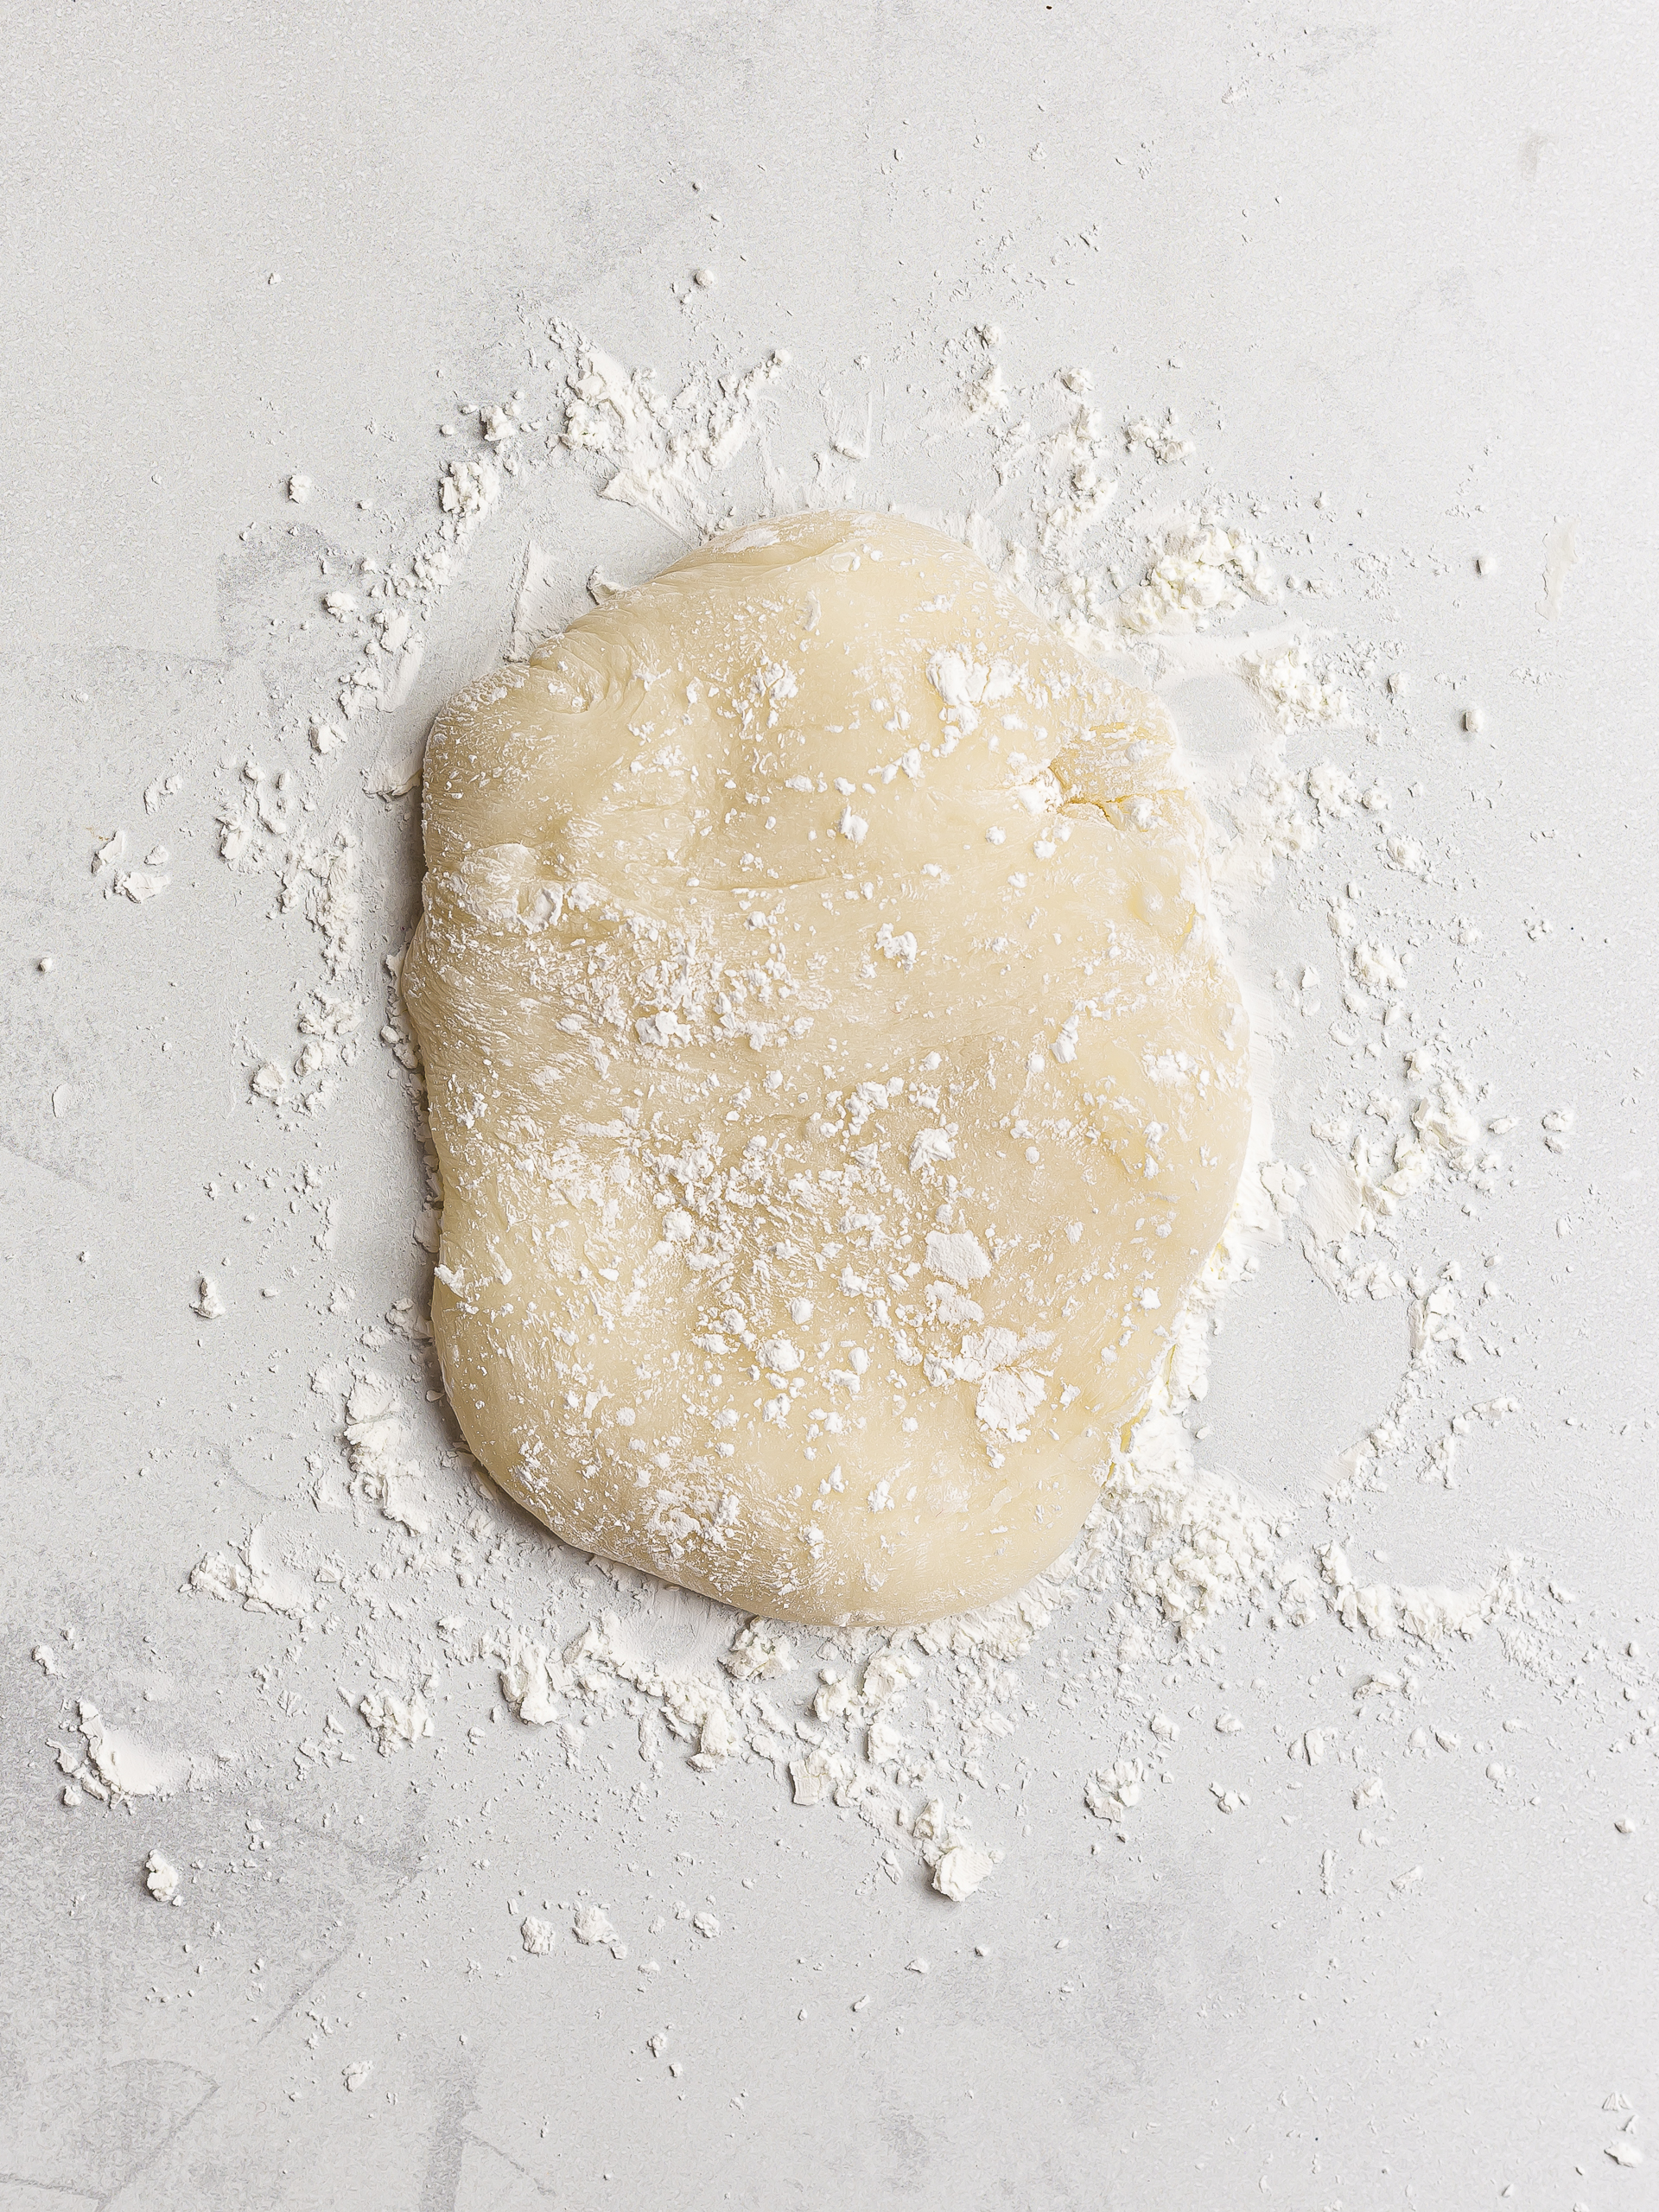
Dust your worktop thoroughly with cornstarch.
Then, transfer the hot mochi dough onto it and dust it with more starch (1).
The starch will make the dough less sticky, helping you handle it with ease.
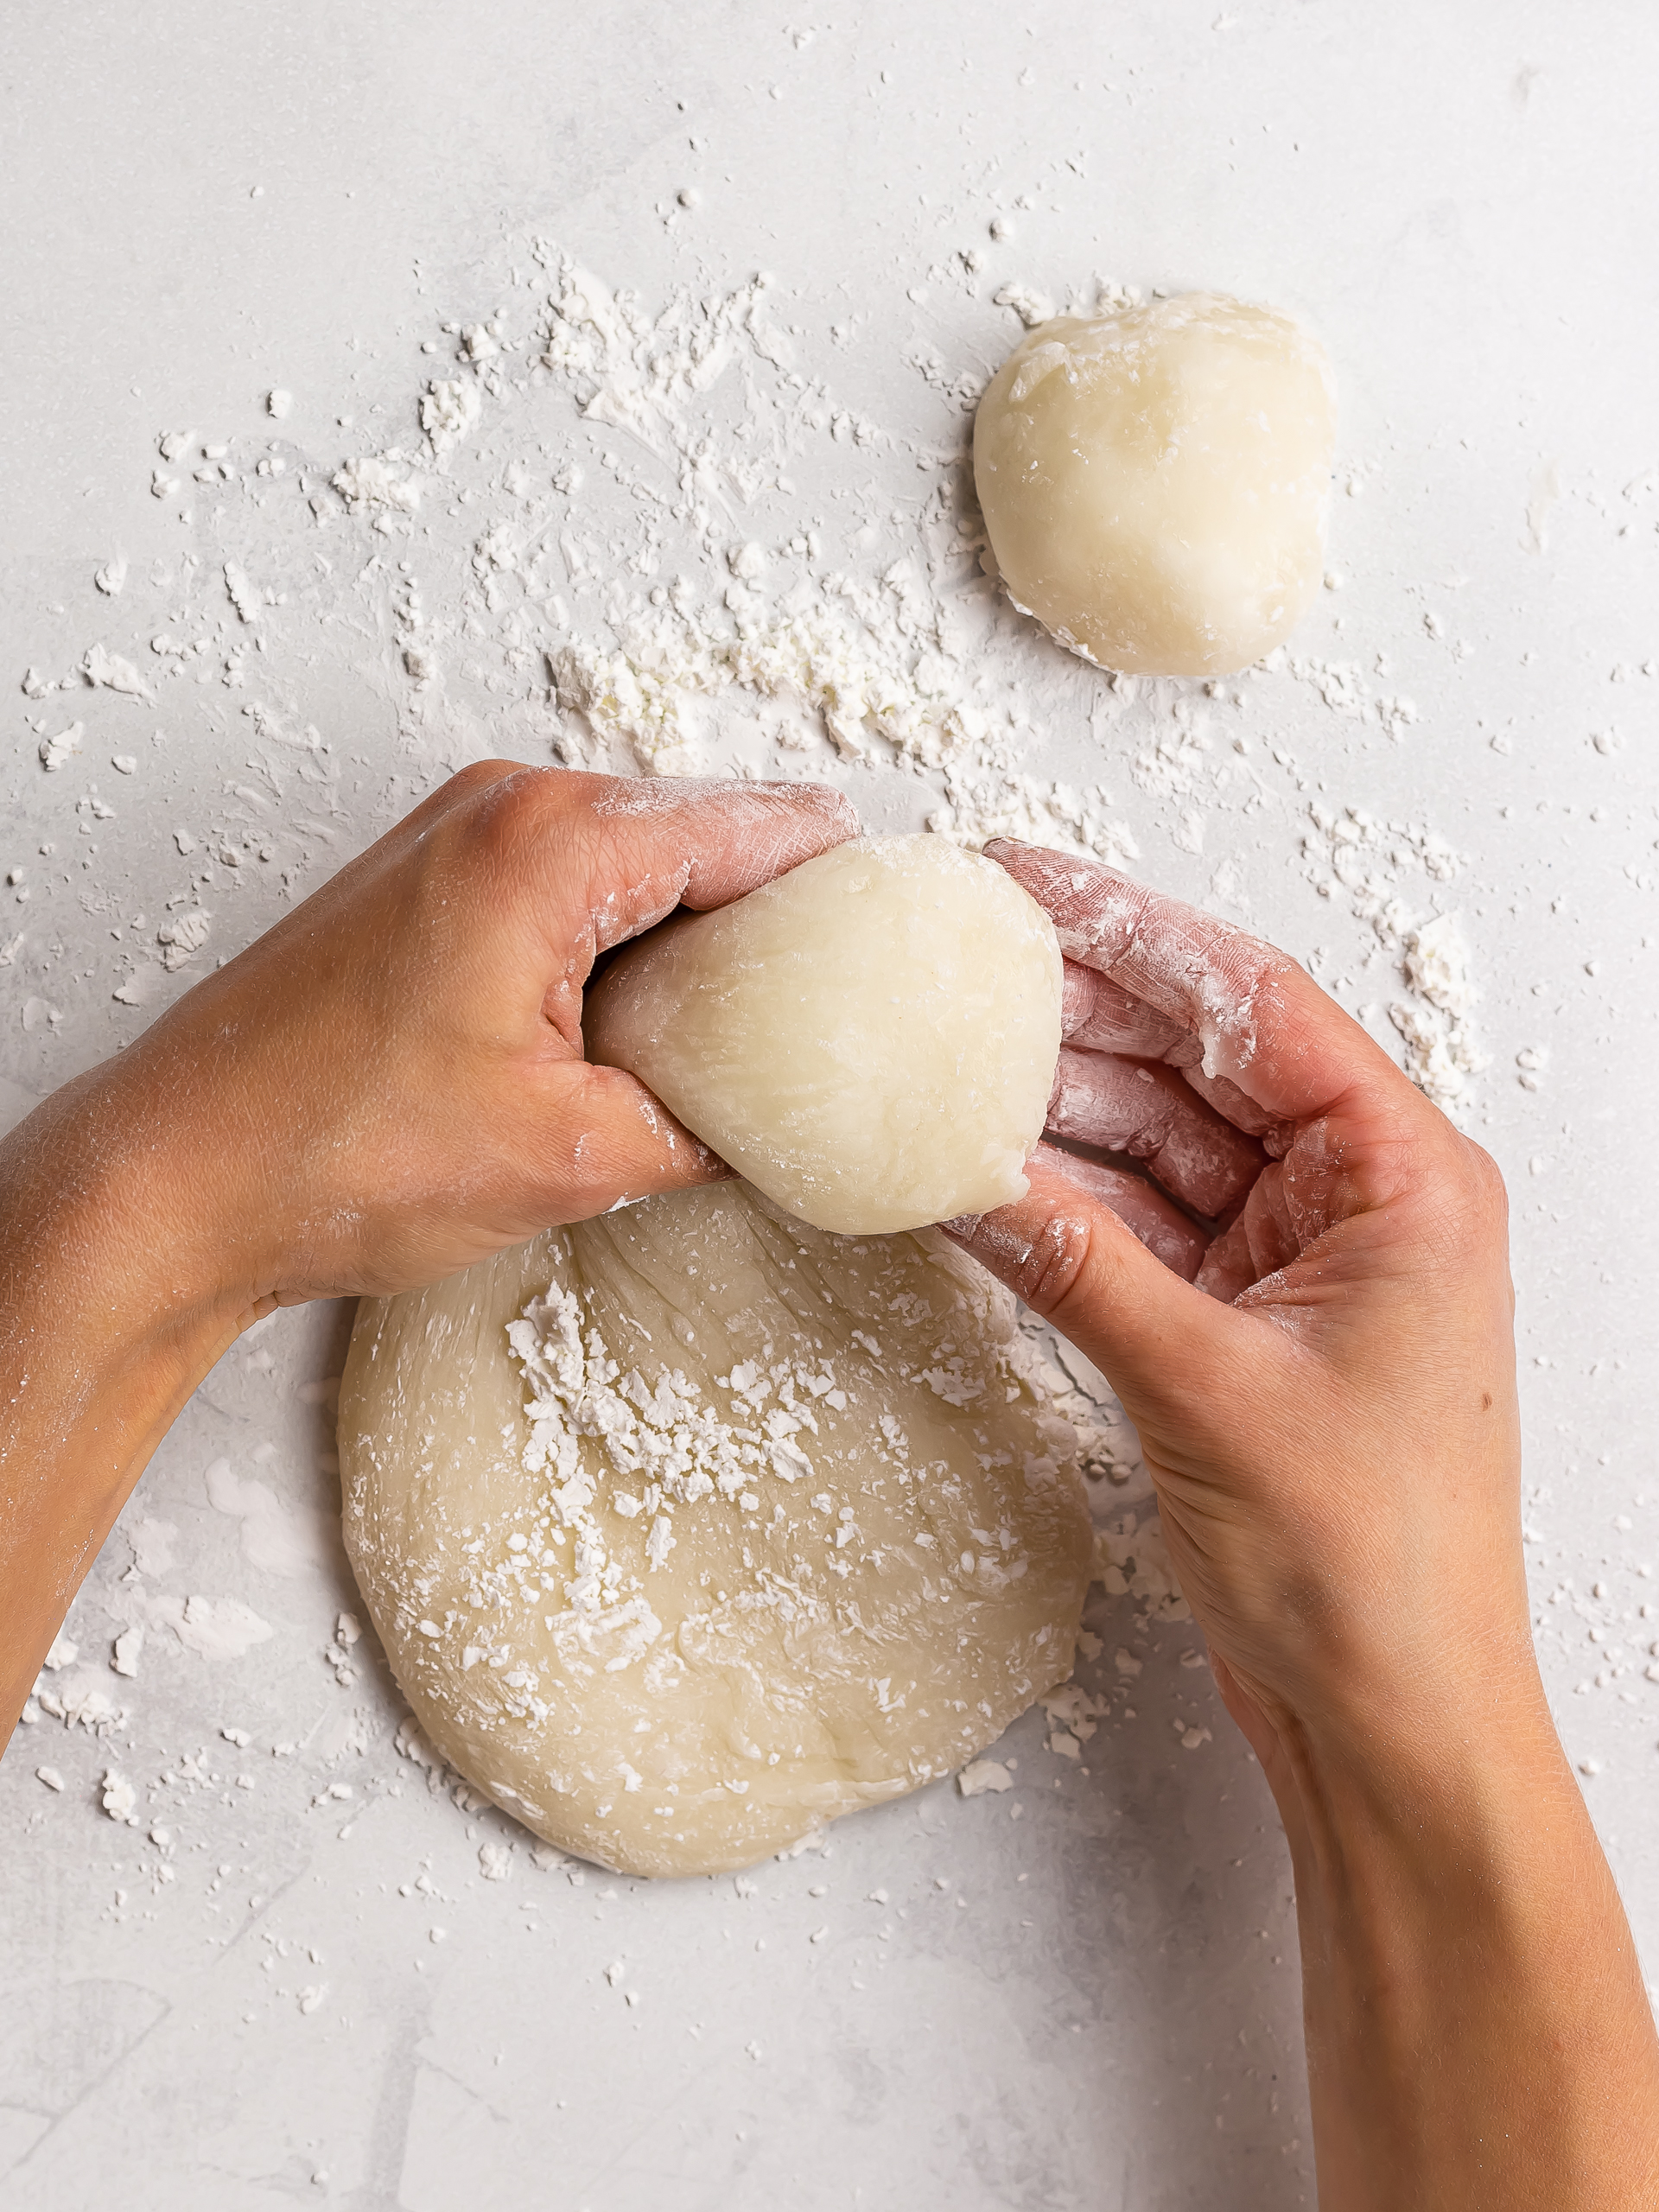
Now, pinch off a small handful of dough, roughly giving it a ball shape (2). Make as many balls as the number of servings.
Step 6
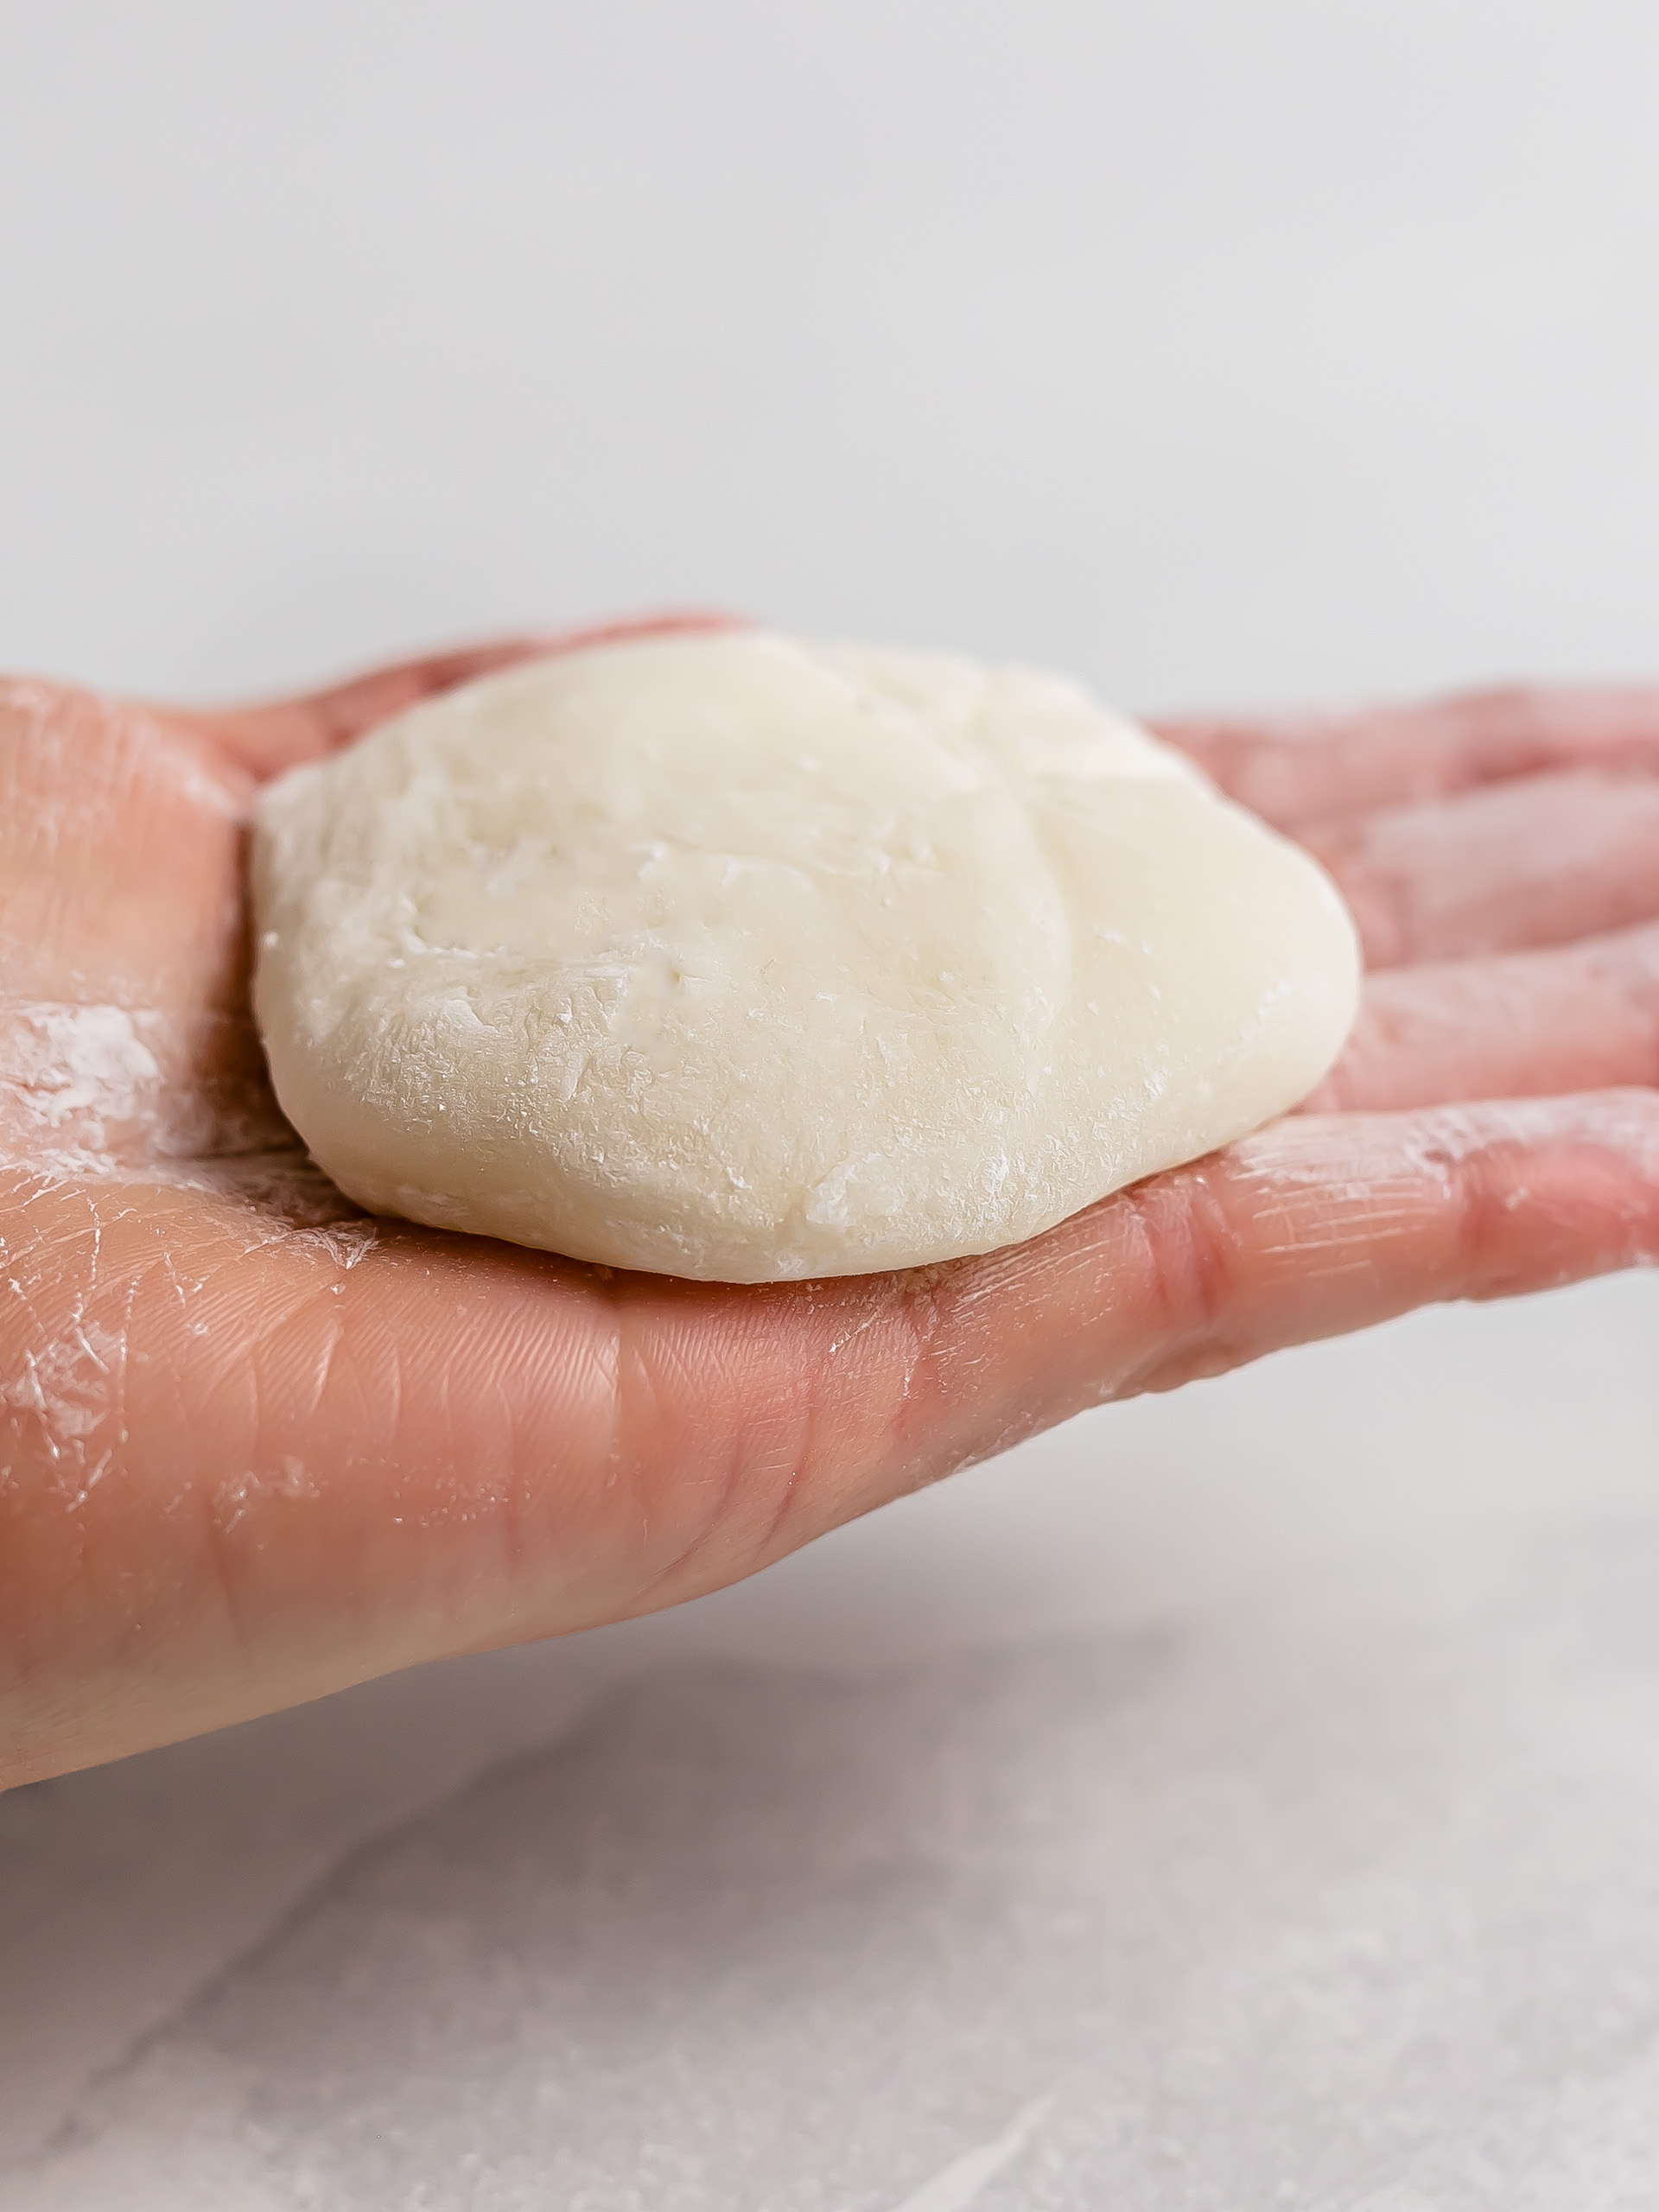
To shape one mochi, lightly flatten one dough ball into a thick disc (1).
Try to keep the edges thinner than the centre as they will overlap when you fold the dough over the filling.
Then, brush off excess starch on both sides of the disc using a pastry brush or with your fingers.
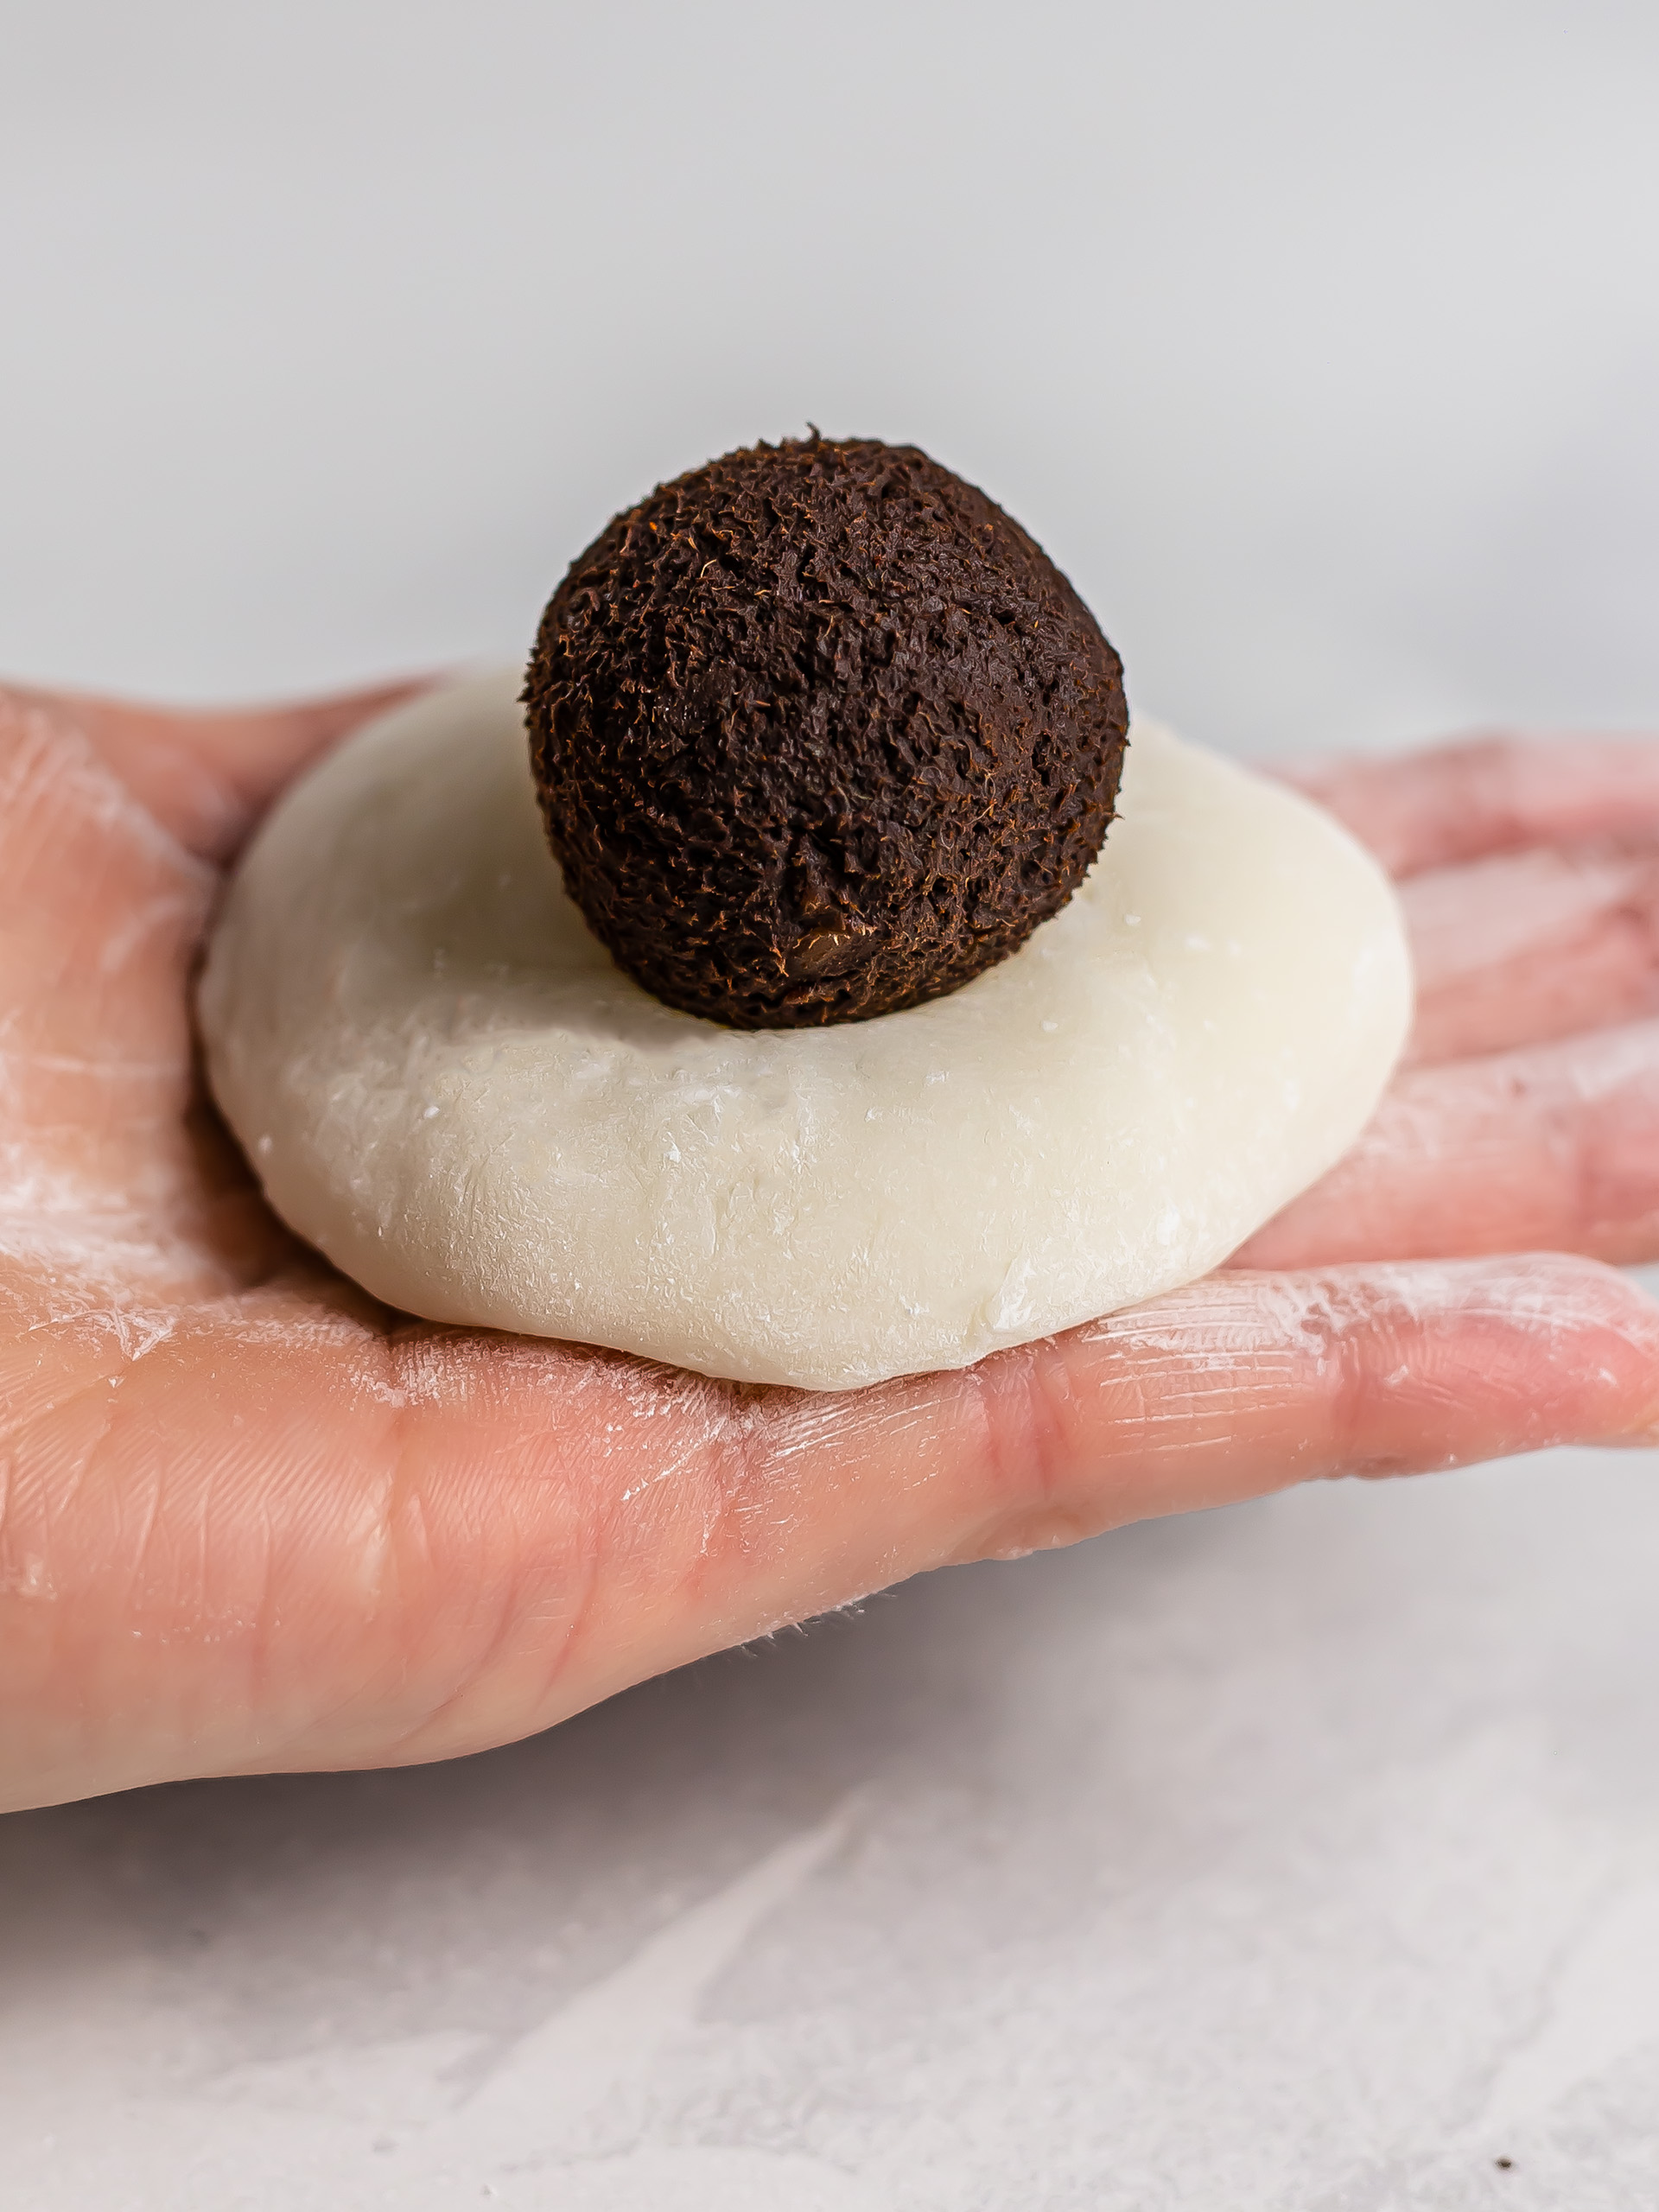
Next, place one chocolate ball filling in the centre of the prepared mochi wrapper (2).
Step 7
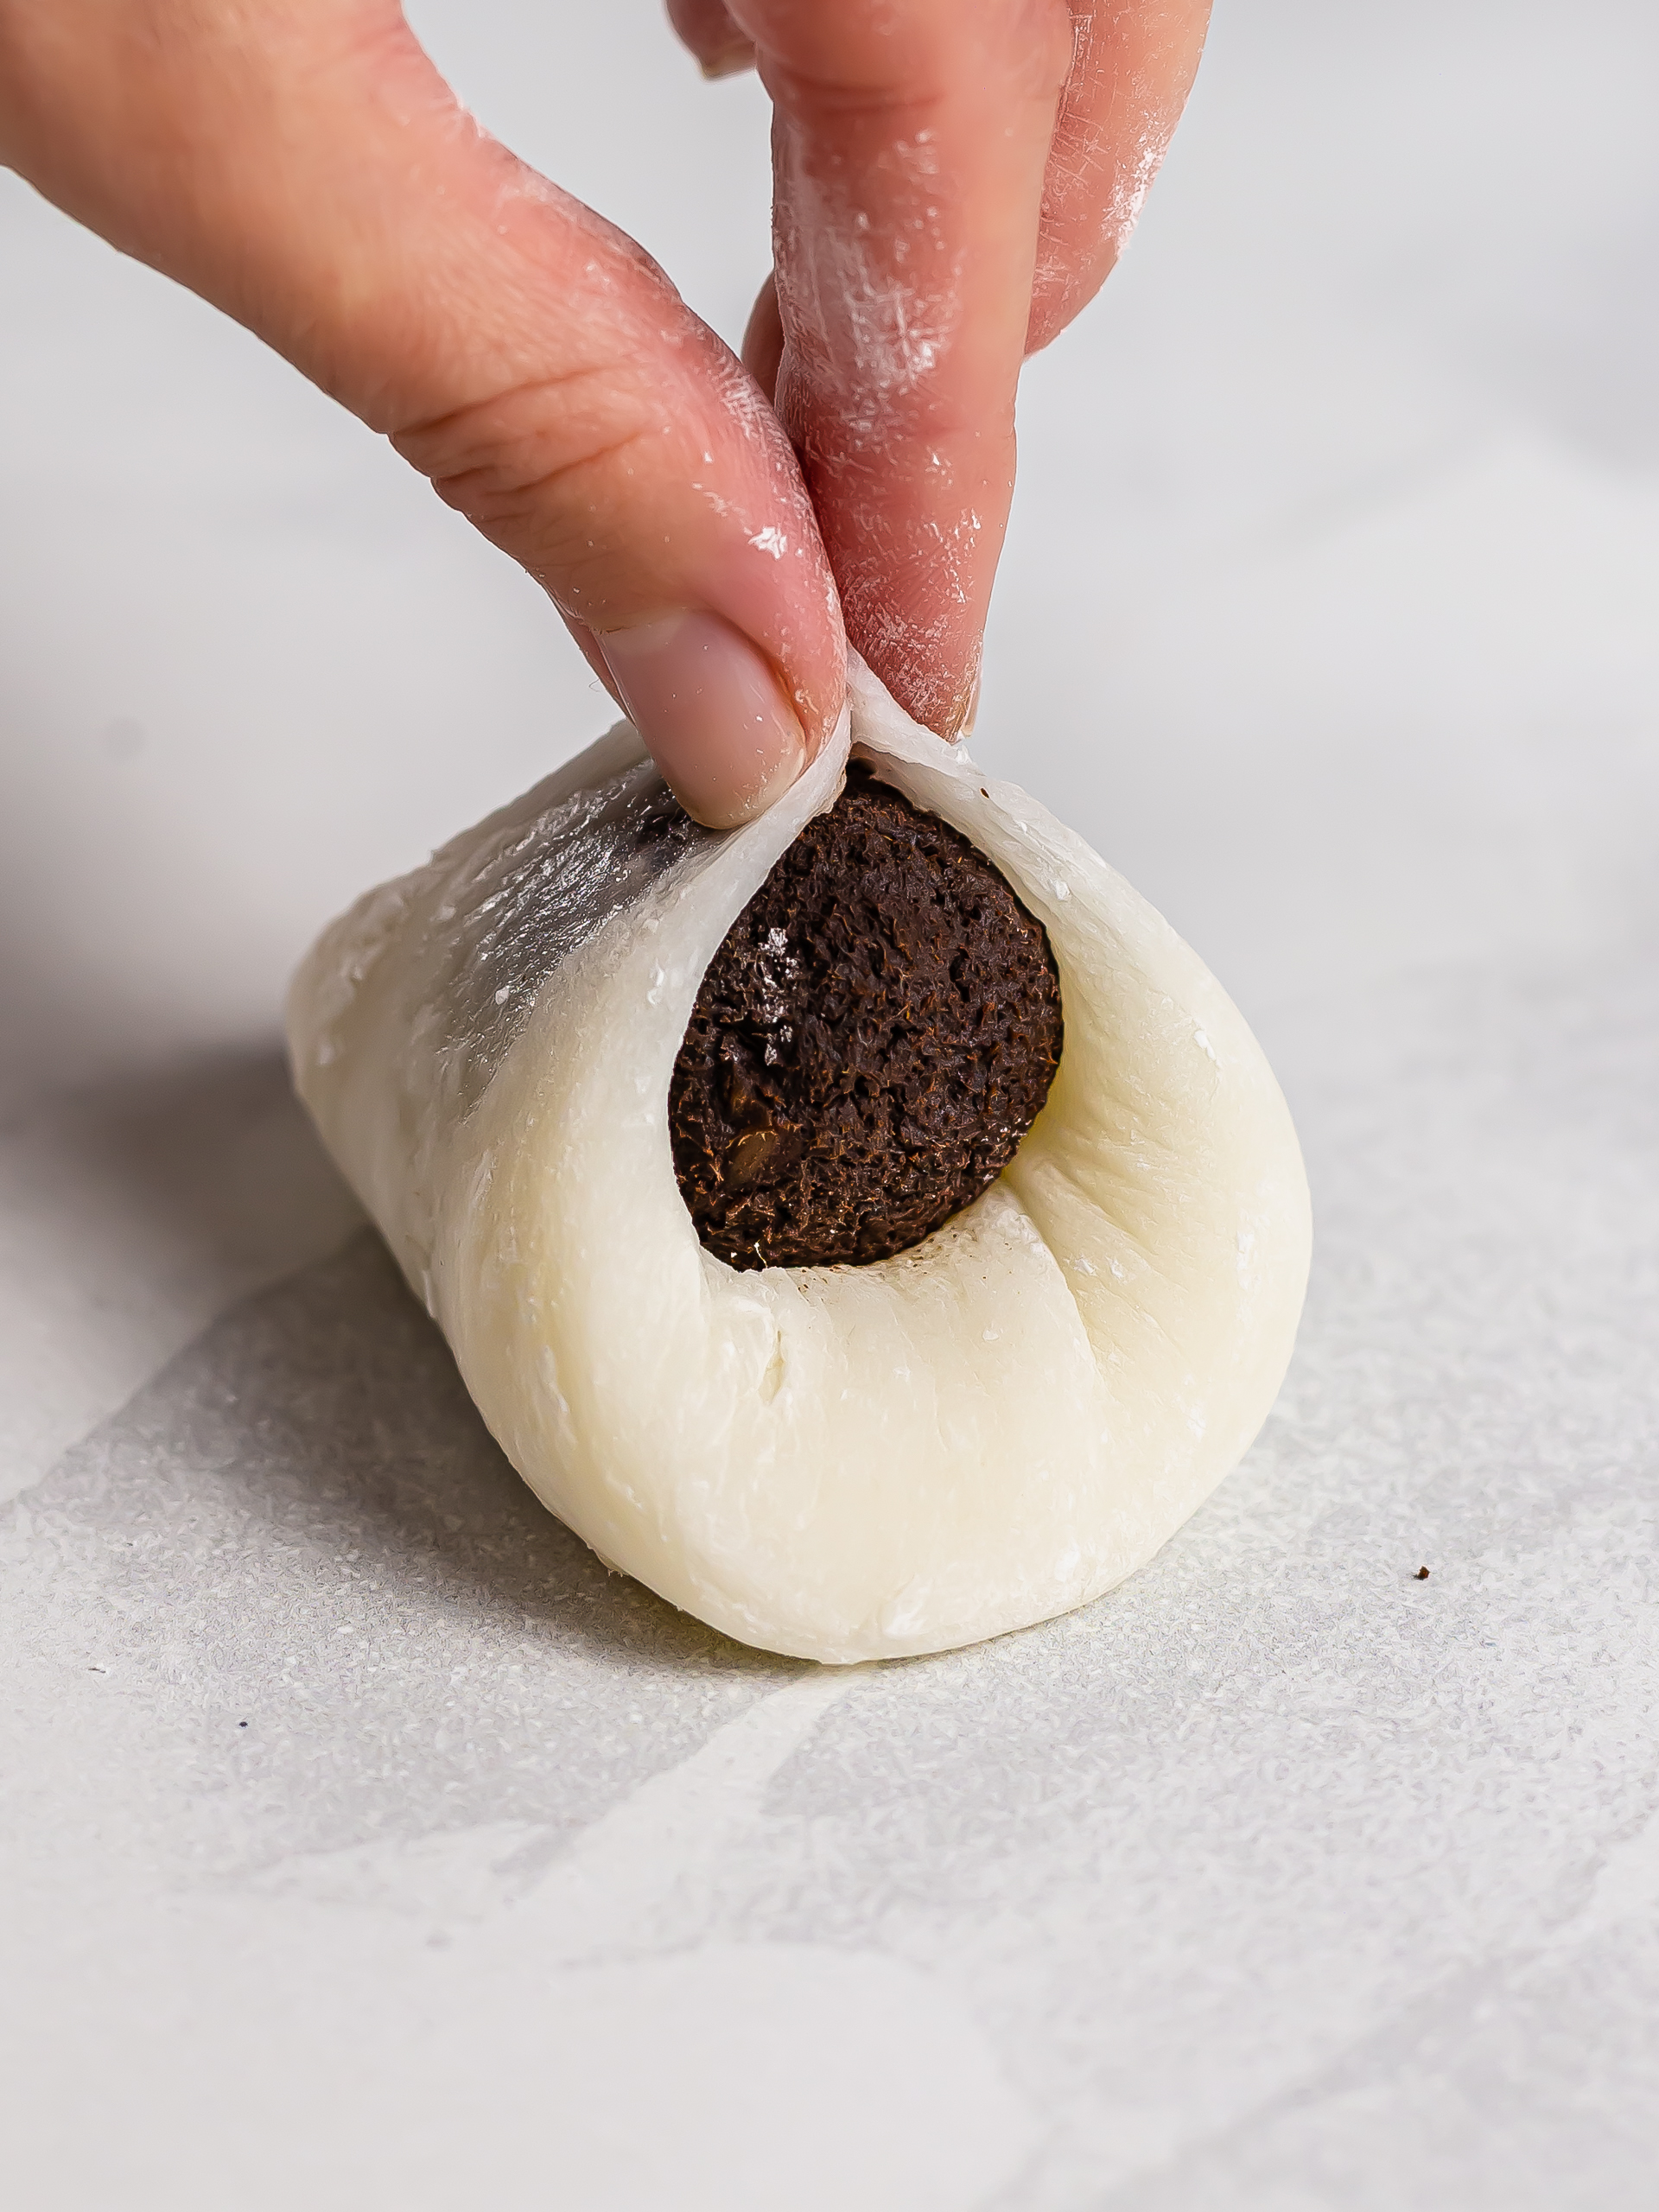
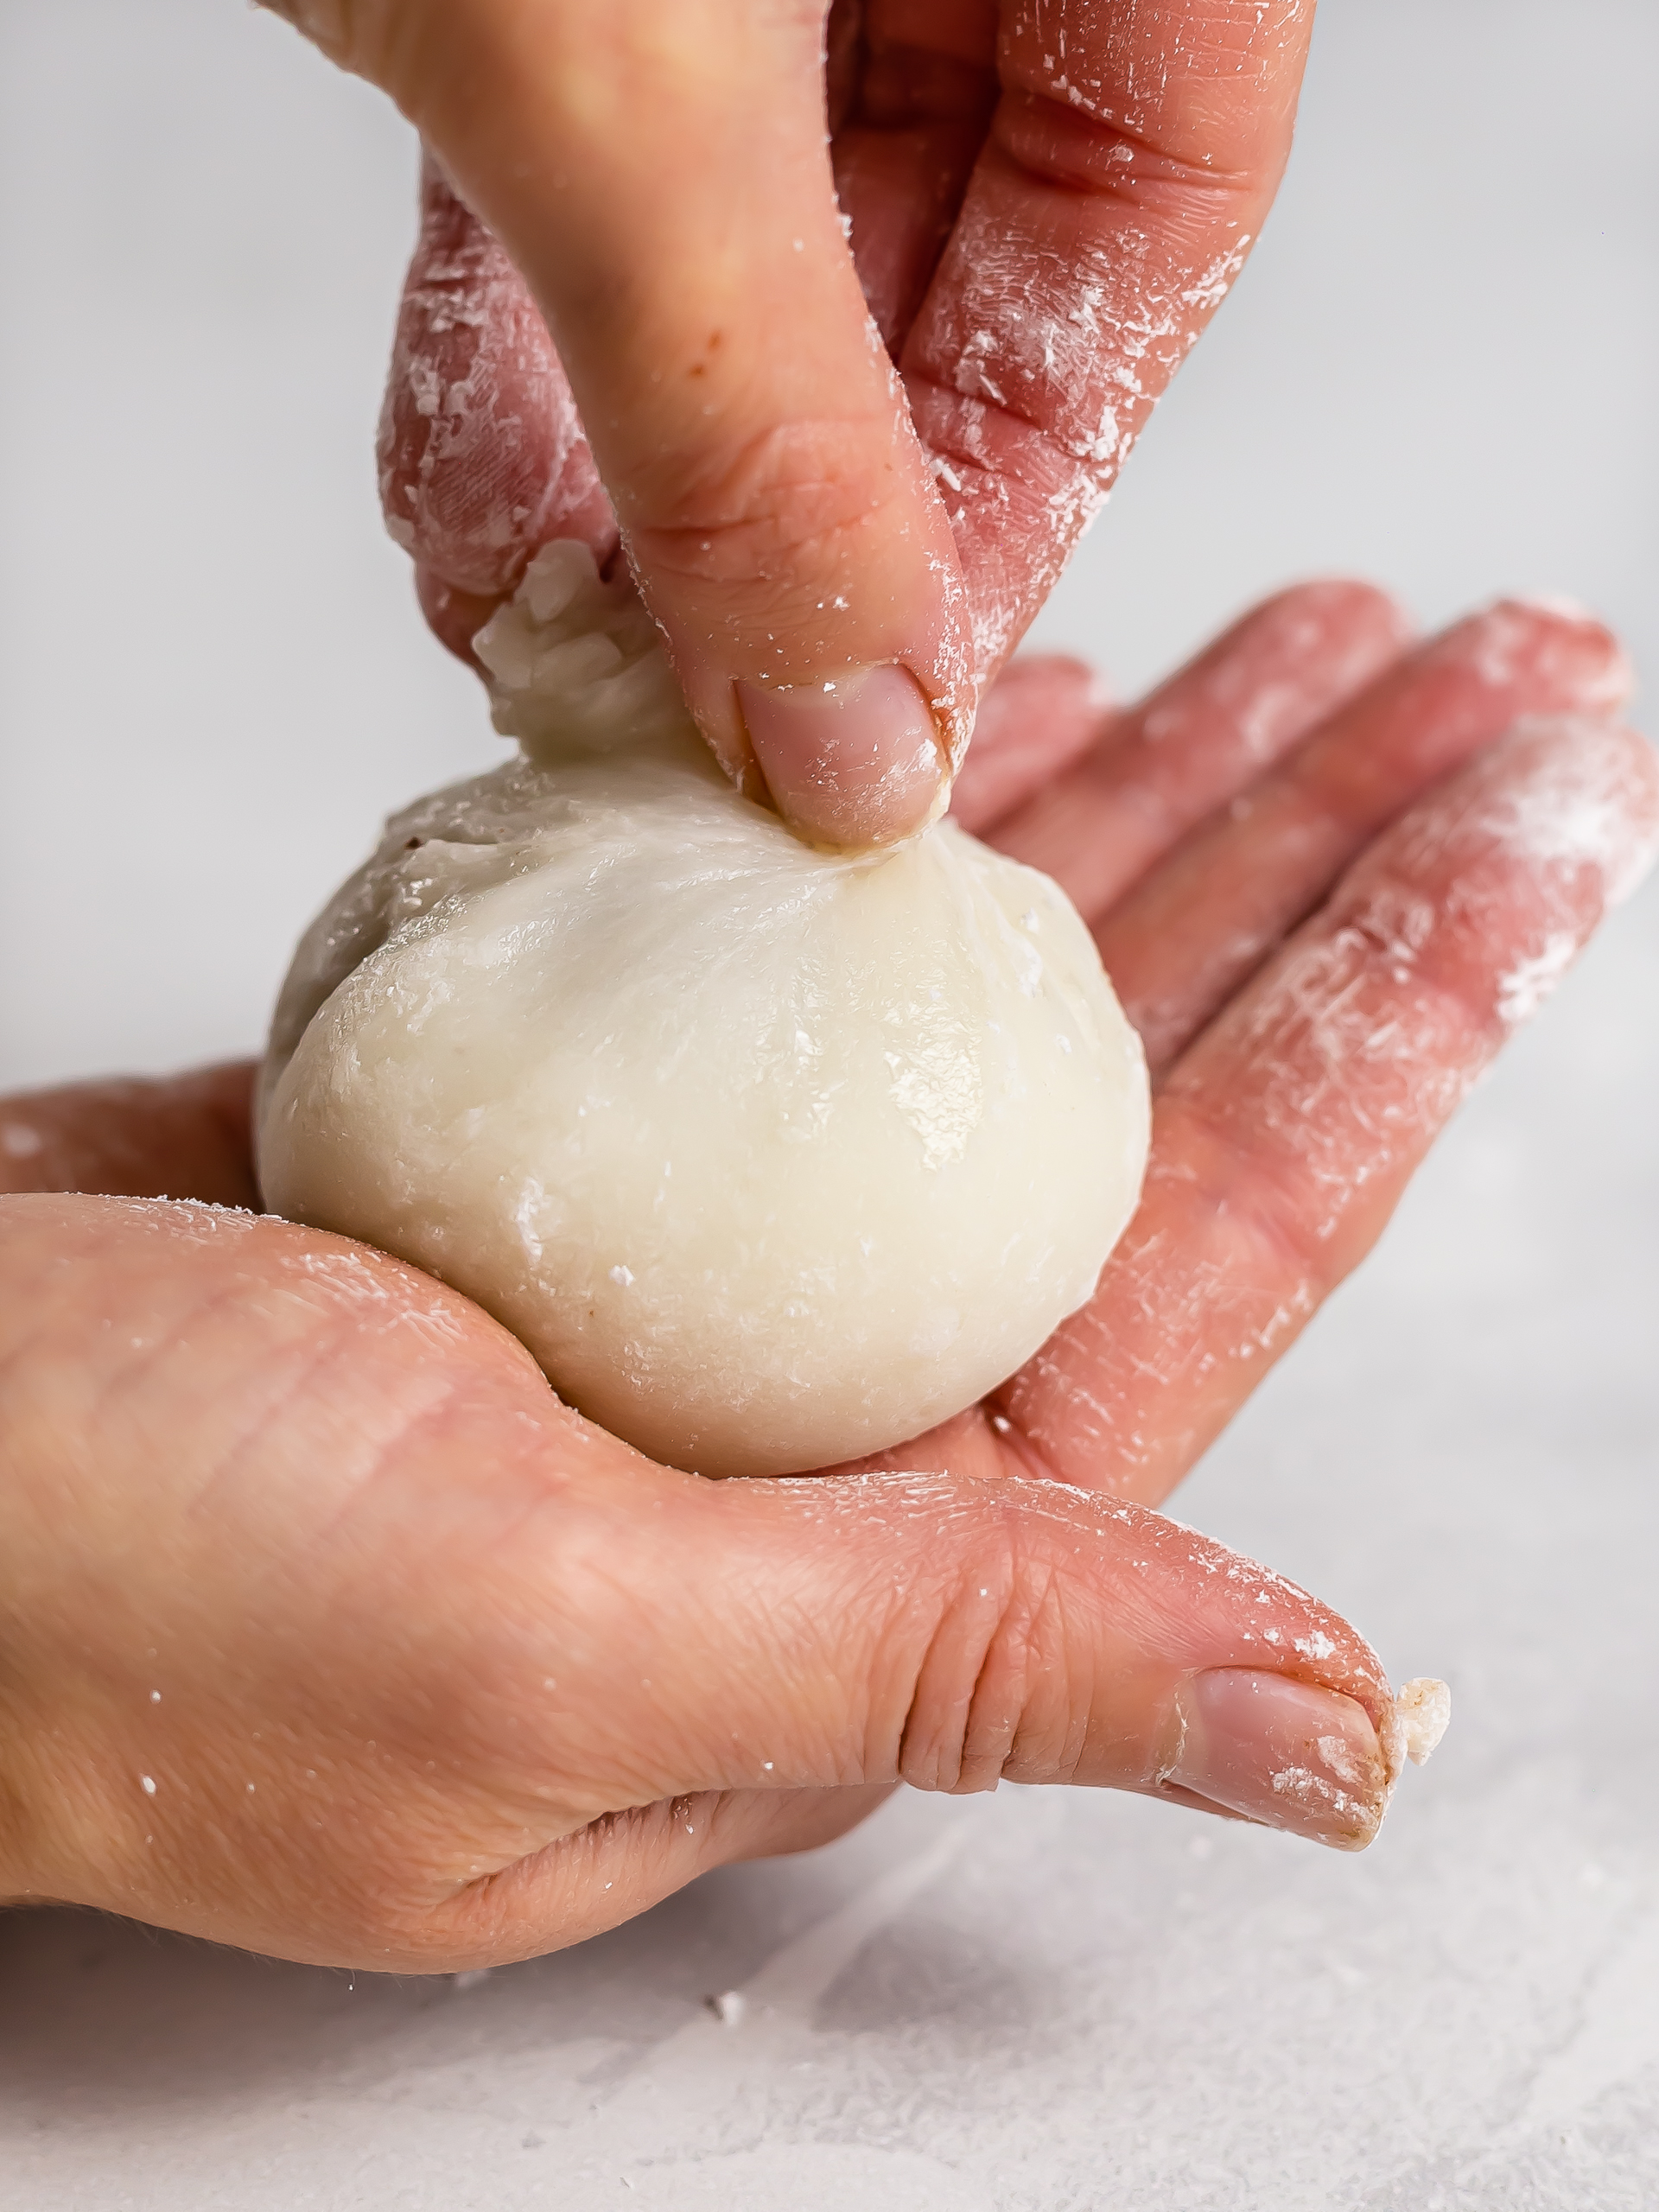
To seal the mochi, pinch two opposite edges of the dough and pull them towards the centre to cover the filling (1).
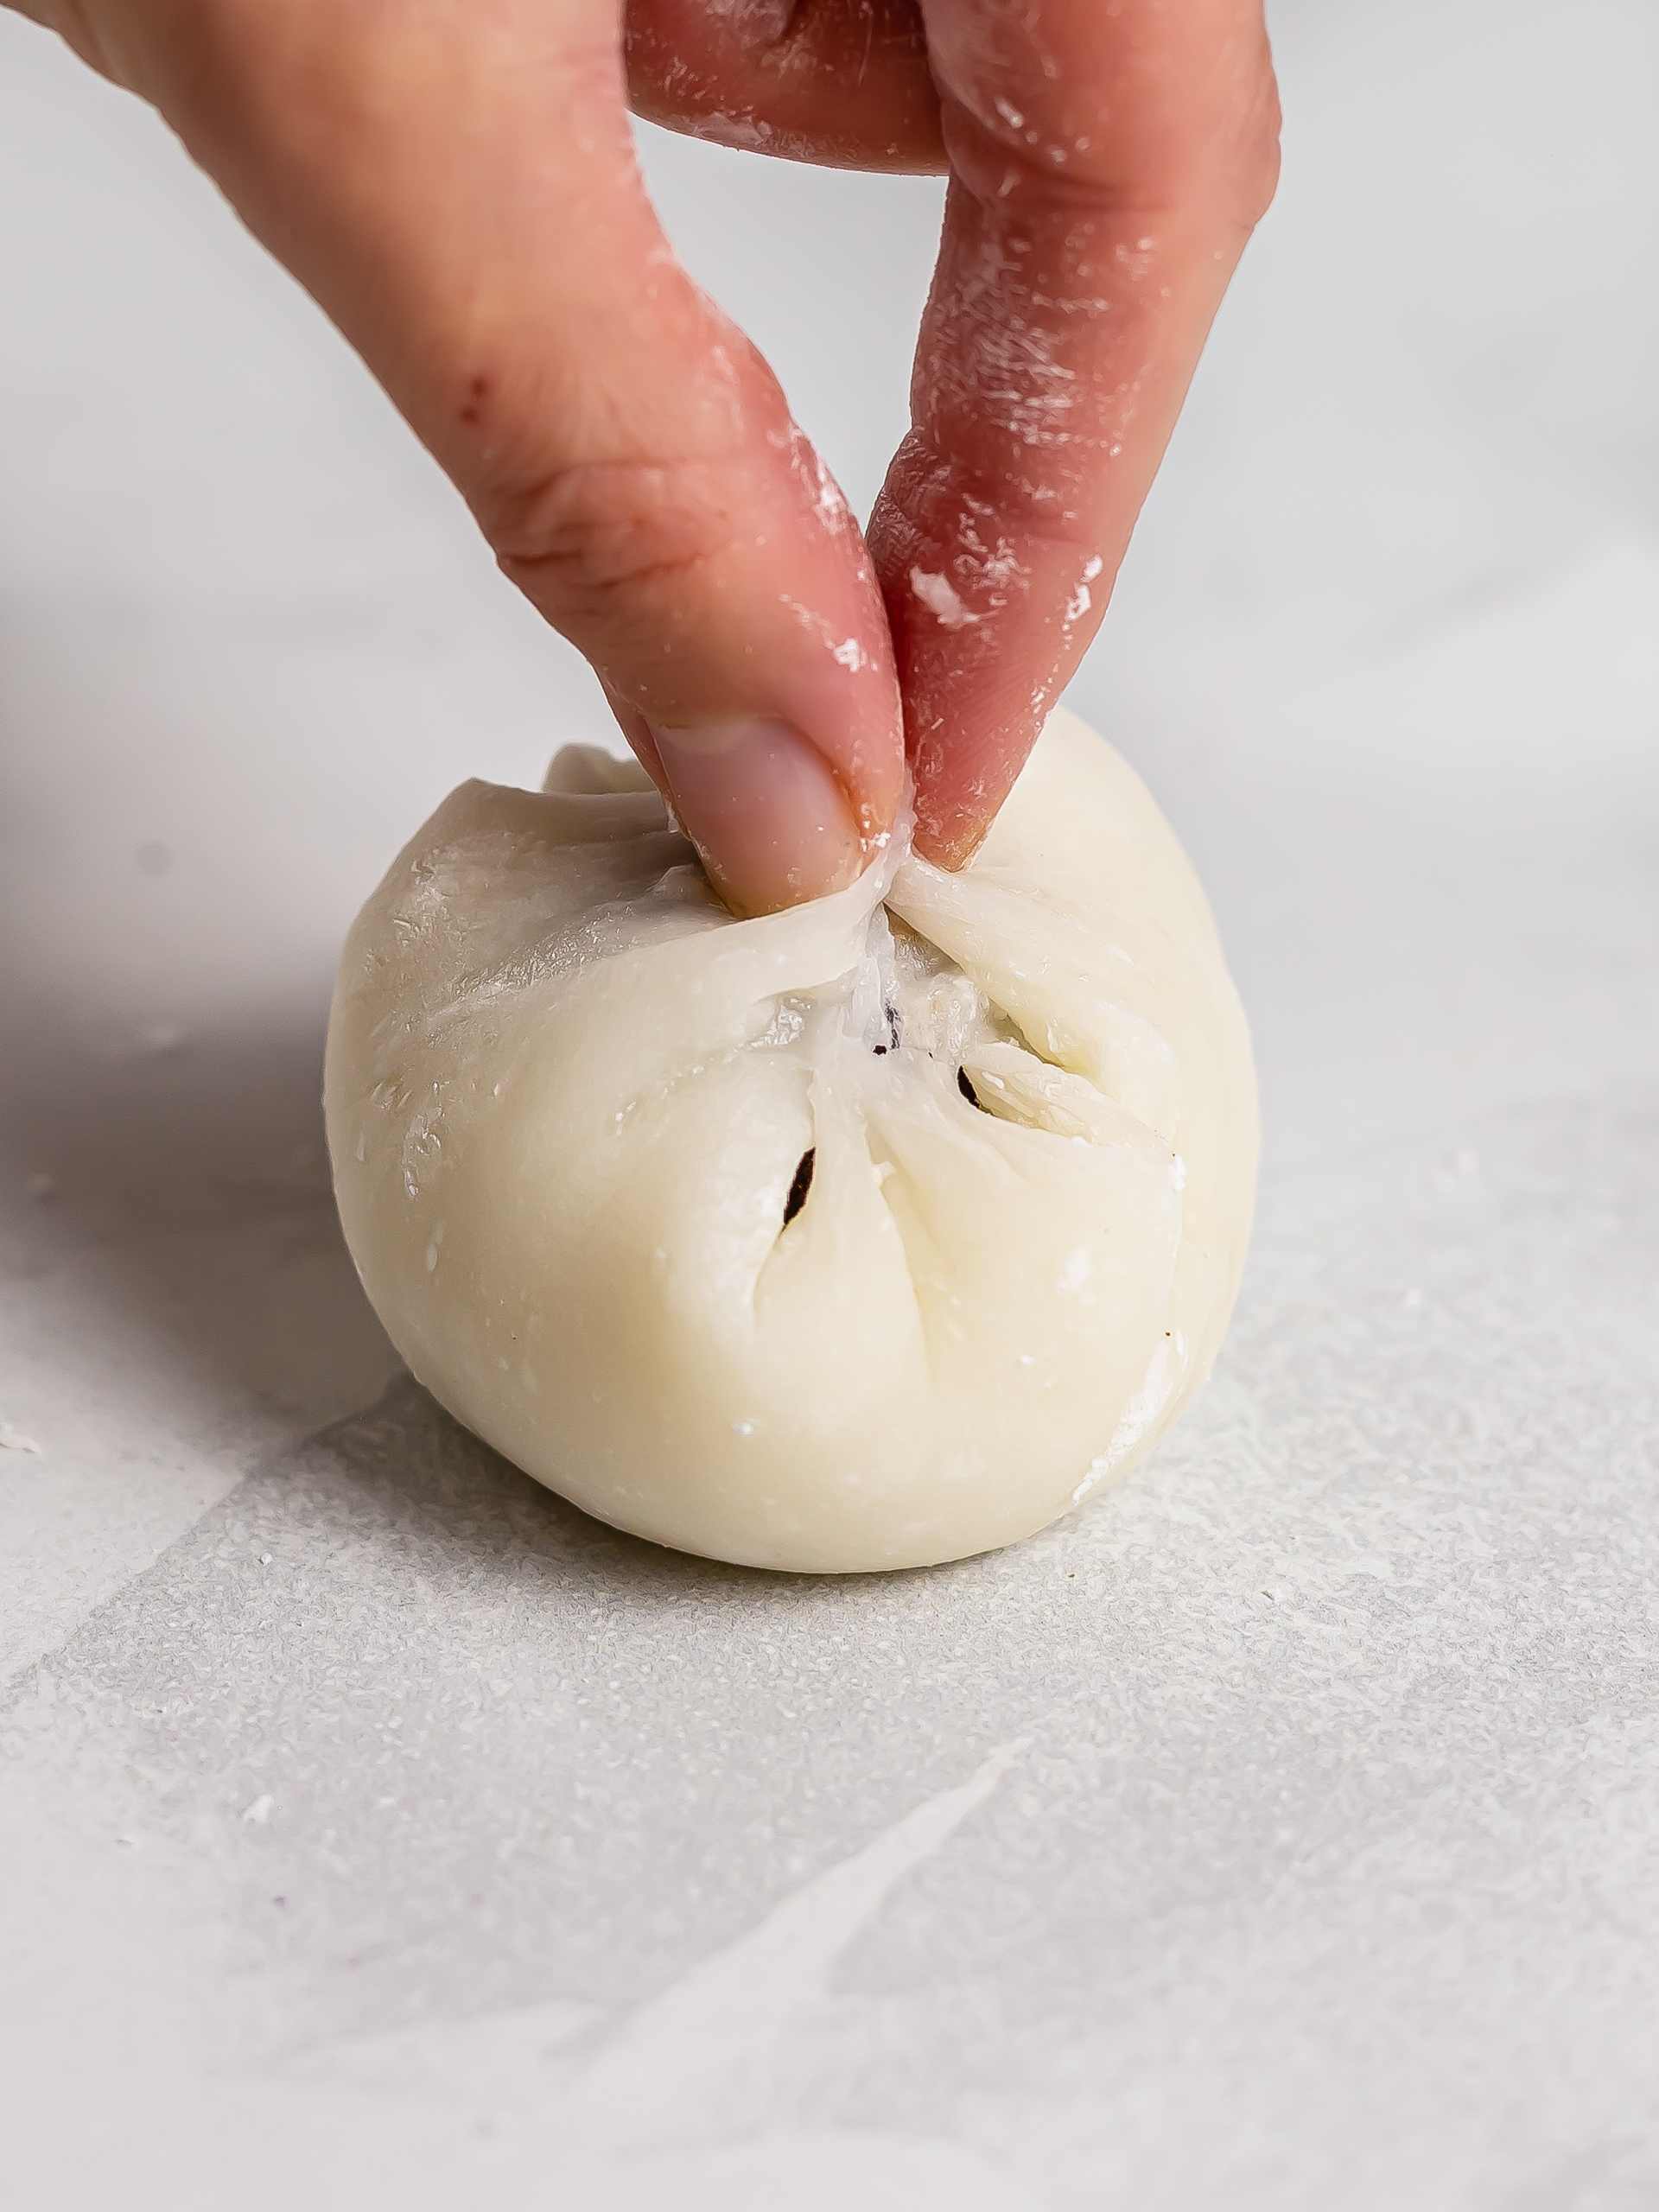
Then, pinch and pull the other two as you would do for a dumpling (2).
Step 8
Now, hold the mochi in your palm, keep pinching the edges together while you twist the mochi to make a tight ball (1).
If the dough gets sticky while you shape the mochi, dust your fingers with a bit of starch.
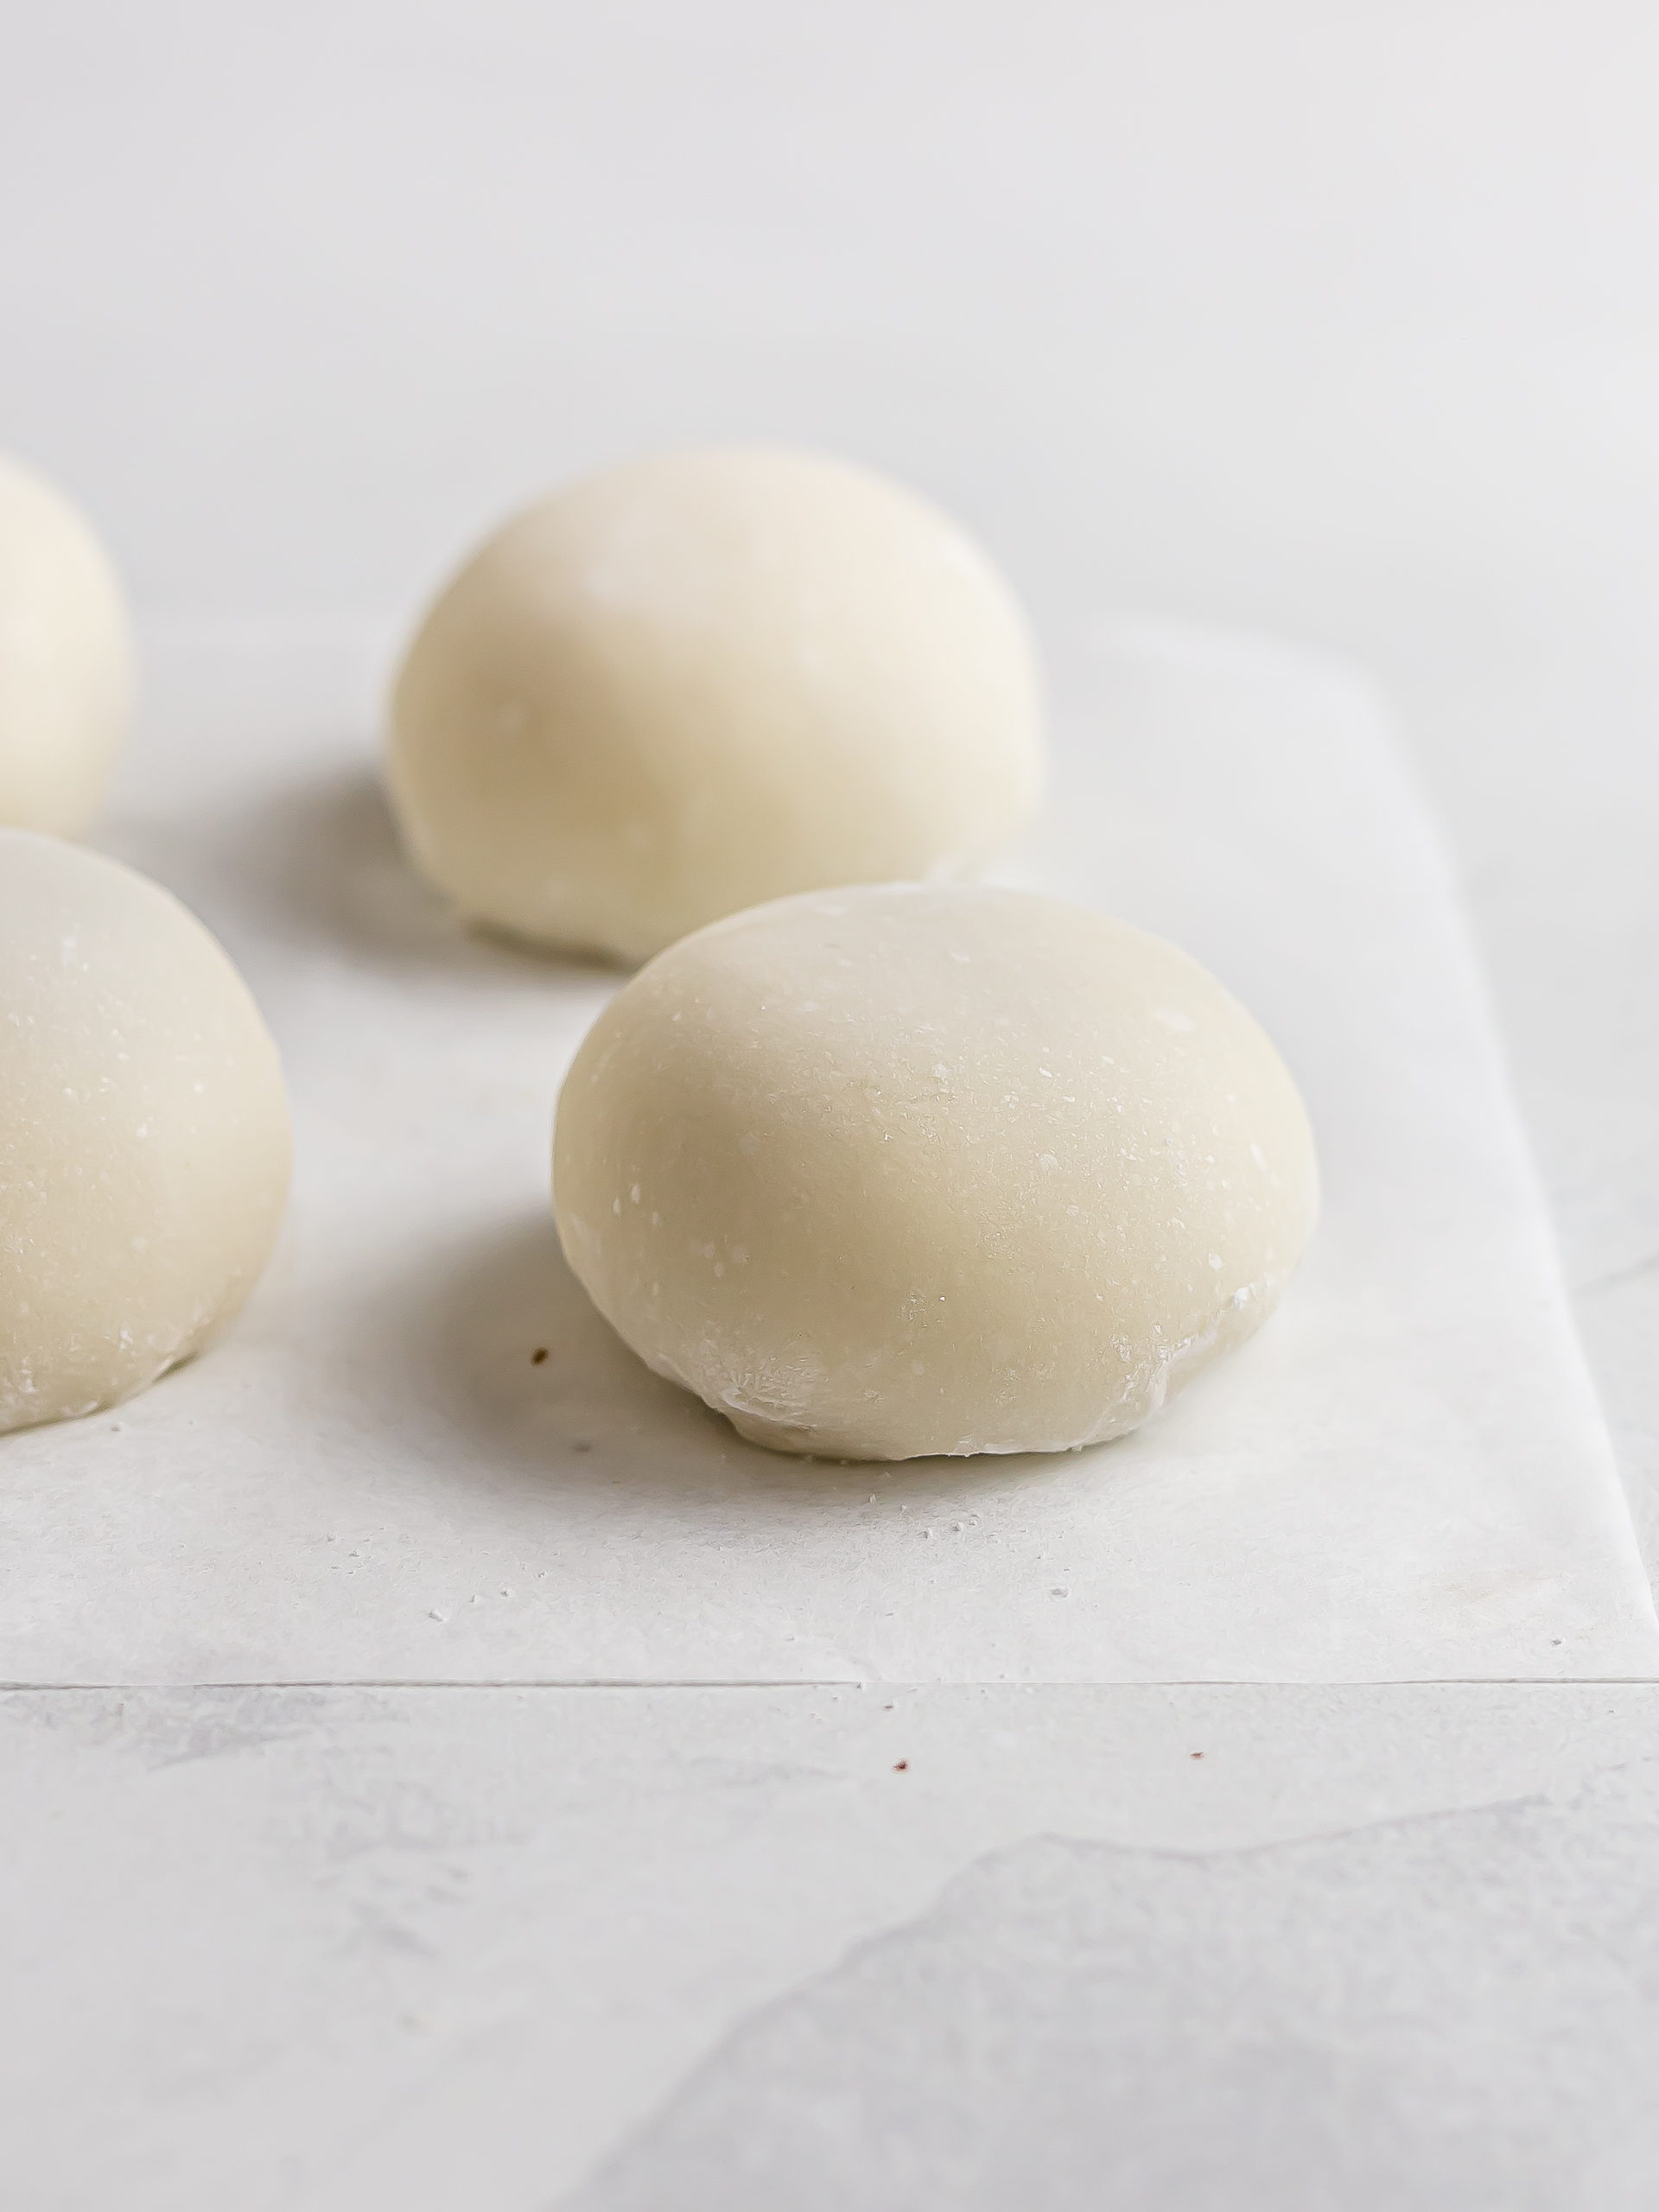
Finally, flip the mochi, seam-side down, onto a sheet of baking paper and lightly press it to give it a dome shape. Dust off any starch and finish preparing the other mochi until you have used all the dough and chocolate balls.
Your delicious vegan chilli chocolate mochi balls are ready.
Tips
Japanese mochis taste best on the same day. But you can store any leftovers by wrapping them in cling film and keeping them in an air-tight container in the fridge. They will keep for up to 4 days. Alternatively, you can freeze them and then let them thaw completely before eating.
