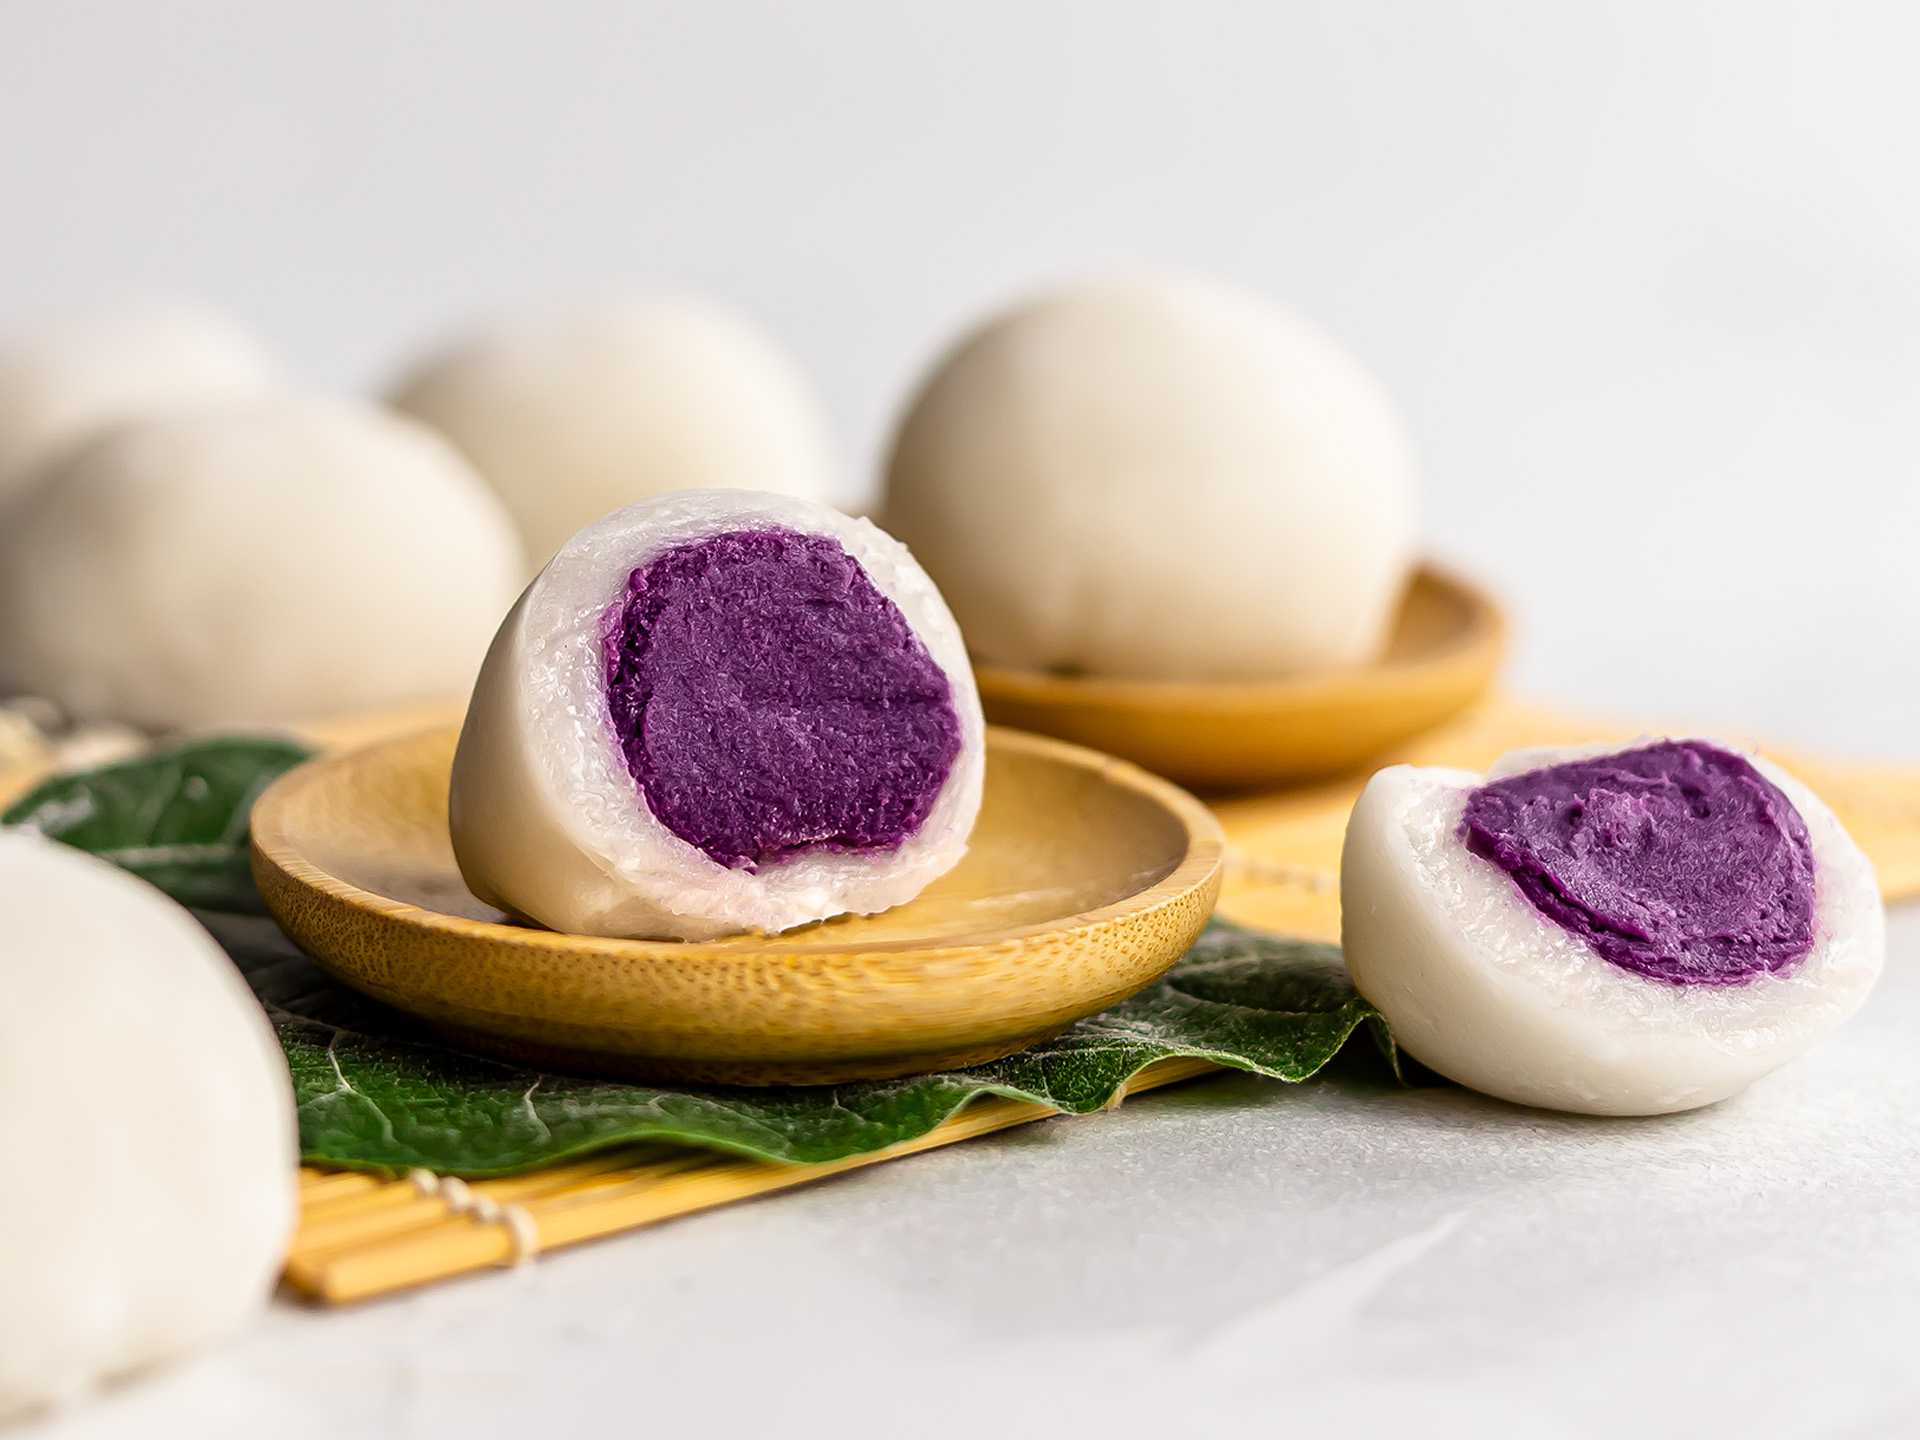
Today we want to show you how to make a super cute and tasty sweet treat: it's called ube butter mochi. It's a traditional Japanese rice cake with a delicious Filipino spin. It's sweet, soft and chewy — ready in 20 minutes!
Mochi is a small round Japanese treat made from mochigome, a type of glutinous short-grain rice. It's traditionally prepared in a ceremony called mochitsuki, where steamed glutinous rice is mashed and pounded with wooden mallets into a mortar. It's a classic New Year nibble, but it's also enjoyed all year round.
Preparing mochi from raw rice can be a lengthy and laborious process. But luckily for us, you can use glutinous rice flour instead. It's a life-saver! You should be able to find it at your local Asian food store or online. Make sure you buy glutinous rice flour, not standard rice flour, or the recipe won't come out.
Besides flour, you'll also need water and a sweetener. You can use caster sugar or opt for zero-calorie erythritol if you want sugar-free mochi. In our recipe, we thicken mochi dough on the stovetop, but you can also cook it in the microwave if you prefer.
Shaping mochi is much easier than you'd think. Just make sure you have plenty of starch (corn or potato) at hand, as the dough will be quite sticky. Mochi dough is nothing like you ever tasted before: it's gooey, chewy, sticky, soft, and sweet — really unique!
But wait until you taste the filling, oh my! We used homemade ube butter, a delicious violet spread made from Filipino purple yams. You can make it from scratch or use ready-made ube spread, also called ube halaya, which you should find online or at supermarkets.
The sweet and nutty notes of ube butter go wonderfully with the delicate flavour of the rice dough. We bet you'll fall in love with these ube mochi at first bite!
And if you're looking for mochi filling ideas, check out these peanut butter mochi, mango mochi, and chilli chocolate mochi recipes. Yum!
Ingredients
| Glutinous Rice Flour | 240 g |
| Water | 350 mL |
| Caster/Plain Sugar (or sugar-free erythritol) | 90 g |
| Ube Spreadrecipe | 180 g |
Step 1
Before you start, make sure you're using glutinous rice flour, not standard rice flour. It's made from short-grain, sweet glutinous rice, also called mochigome in Japanese.
As for the filling, you can use ready-made ube spread (ube halaya) or make ube butter from scratch with our easy recipe. We recommend keeping it in the freezer for 45 minutes, so it will be hard enough to shape it into balls.
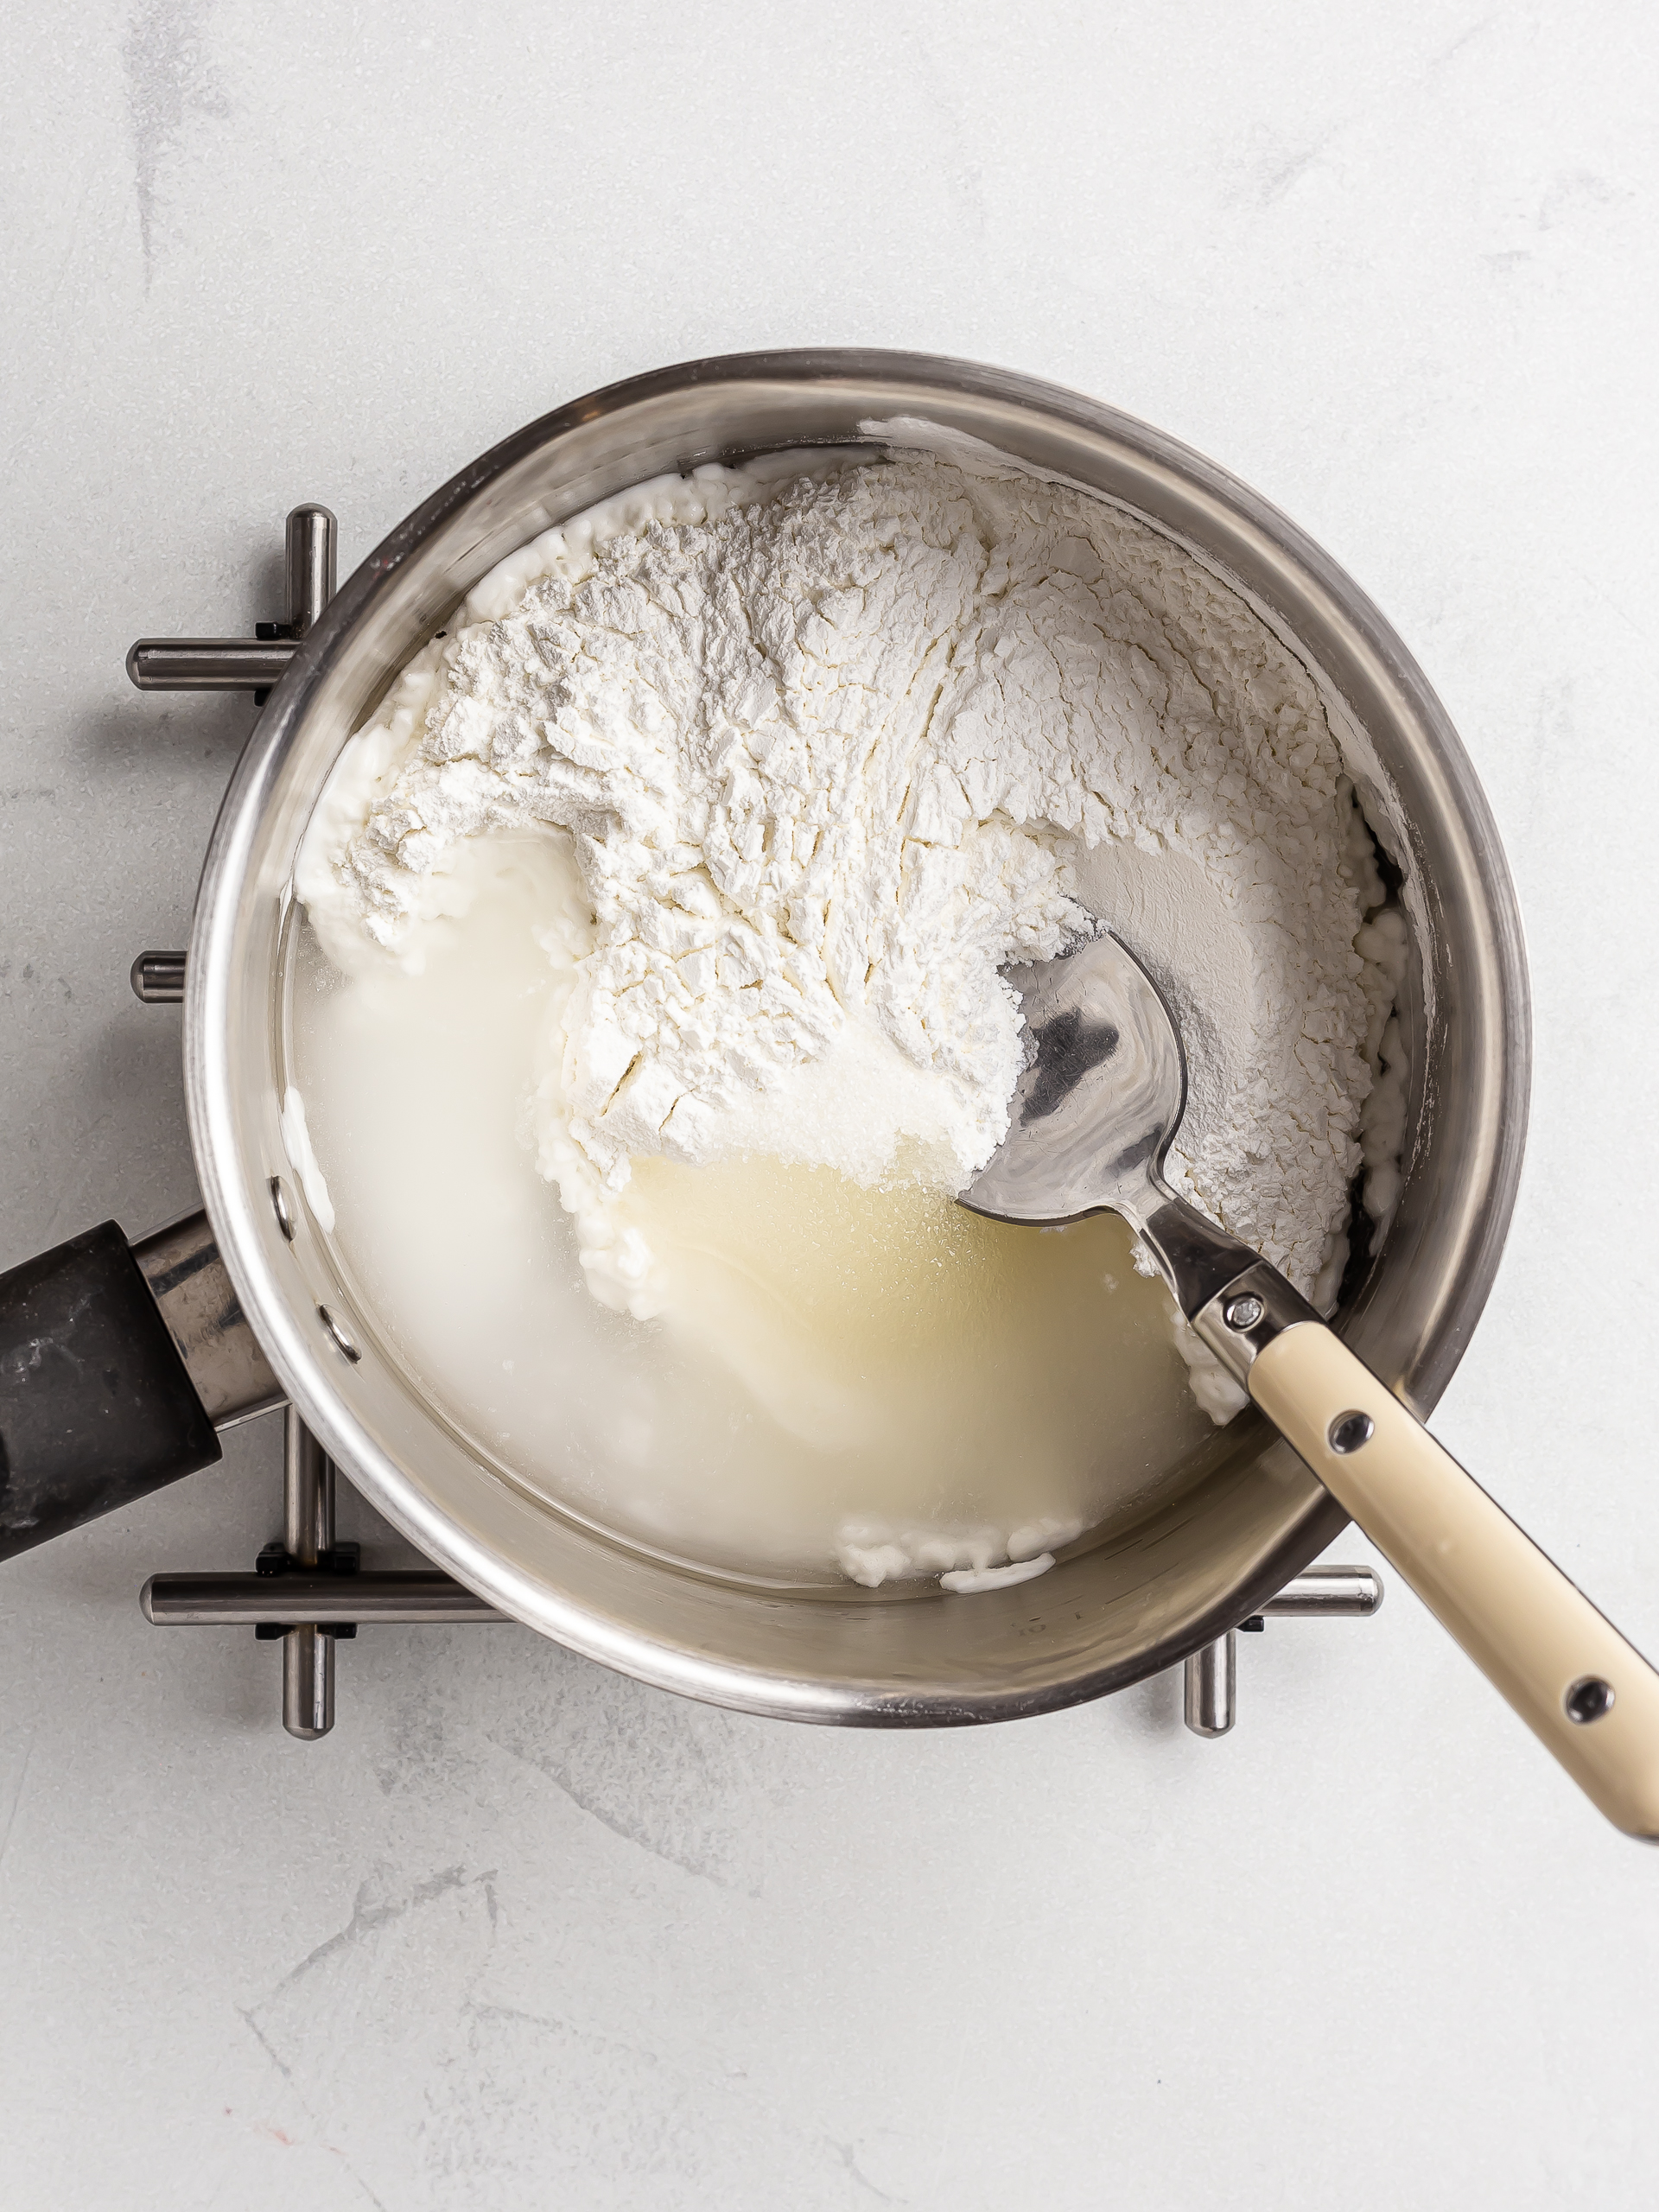
Add rice flour, caster sugar (or sugar-free erythritol), and water to a pot.
Mix the ingredients well until there are no lumps.
Step 2
Turn the heat to low and constantly stir the rice mixture with a metal spoon as it warms up.
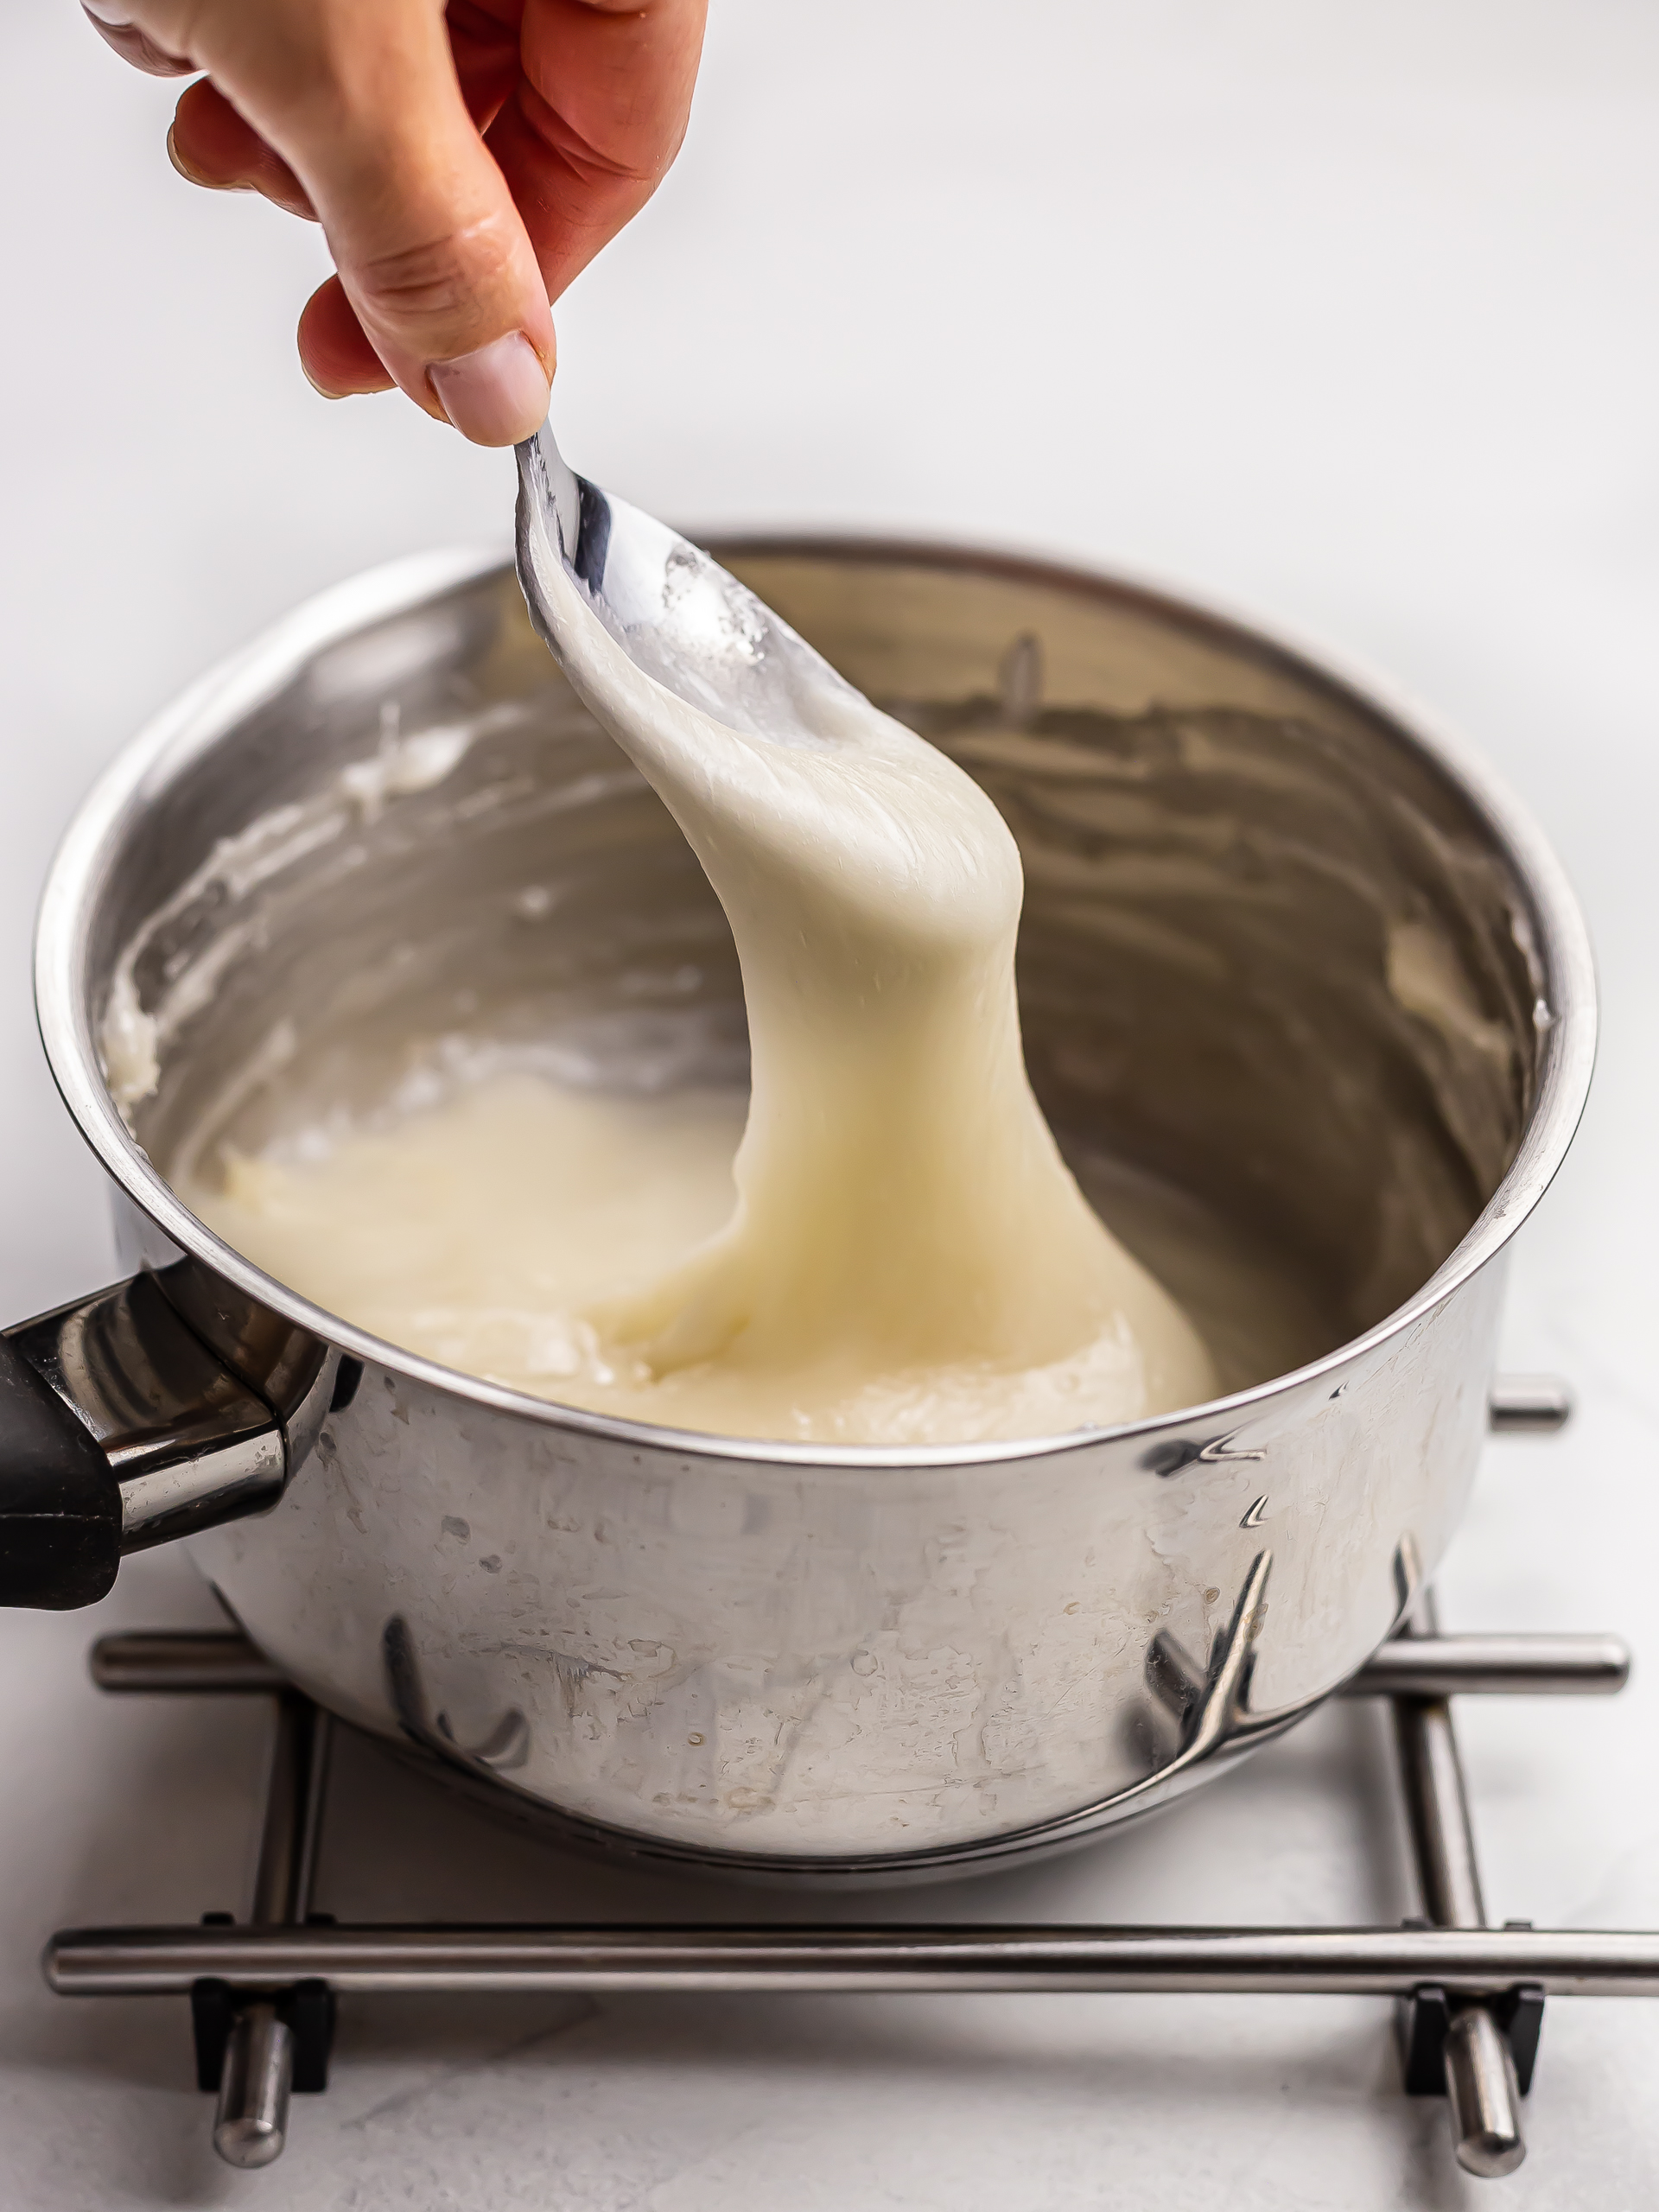
The rice mix will start to thicken and form lumps.
At this point, keep cooking it for 5 minutes, stirring it vigorously.
The dough will be very sticky, stretchy, and hard to stir, but keep at it to ensure it won't stick to the pot and burn.
At the end of cooking time, the dough should be smooth and uniform.
Step 3
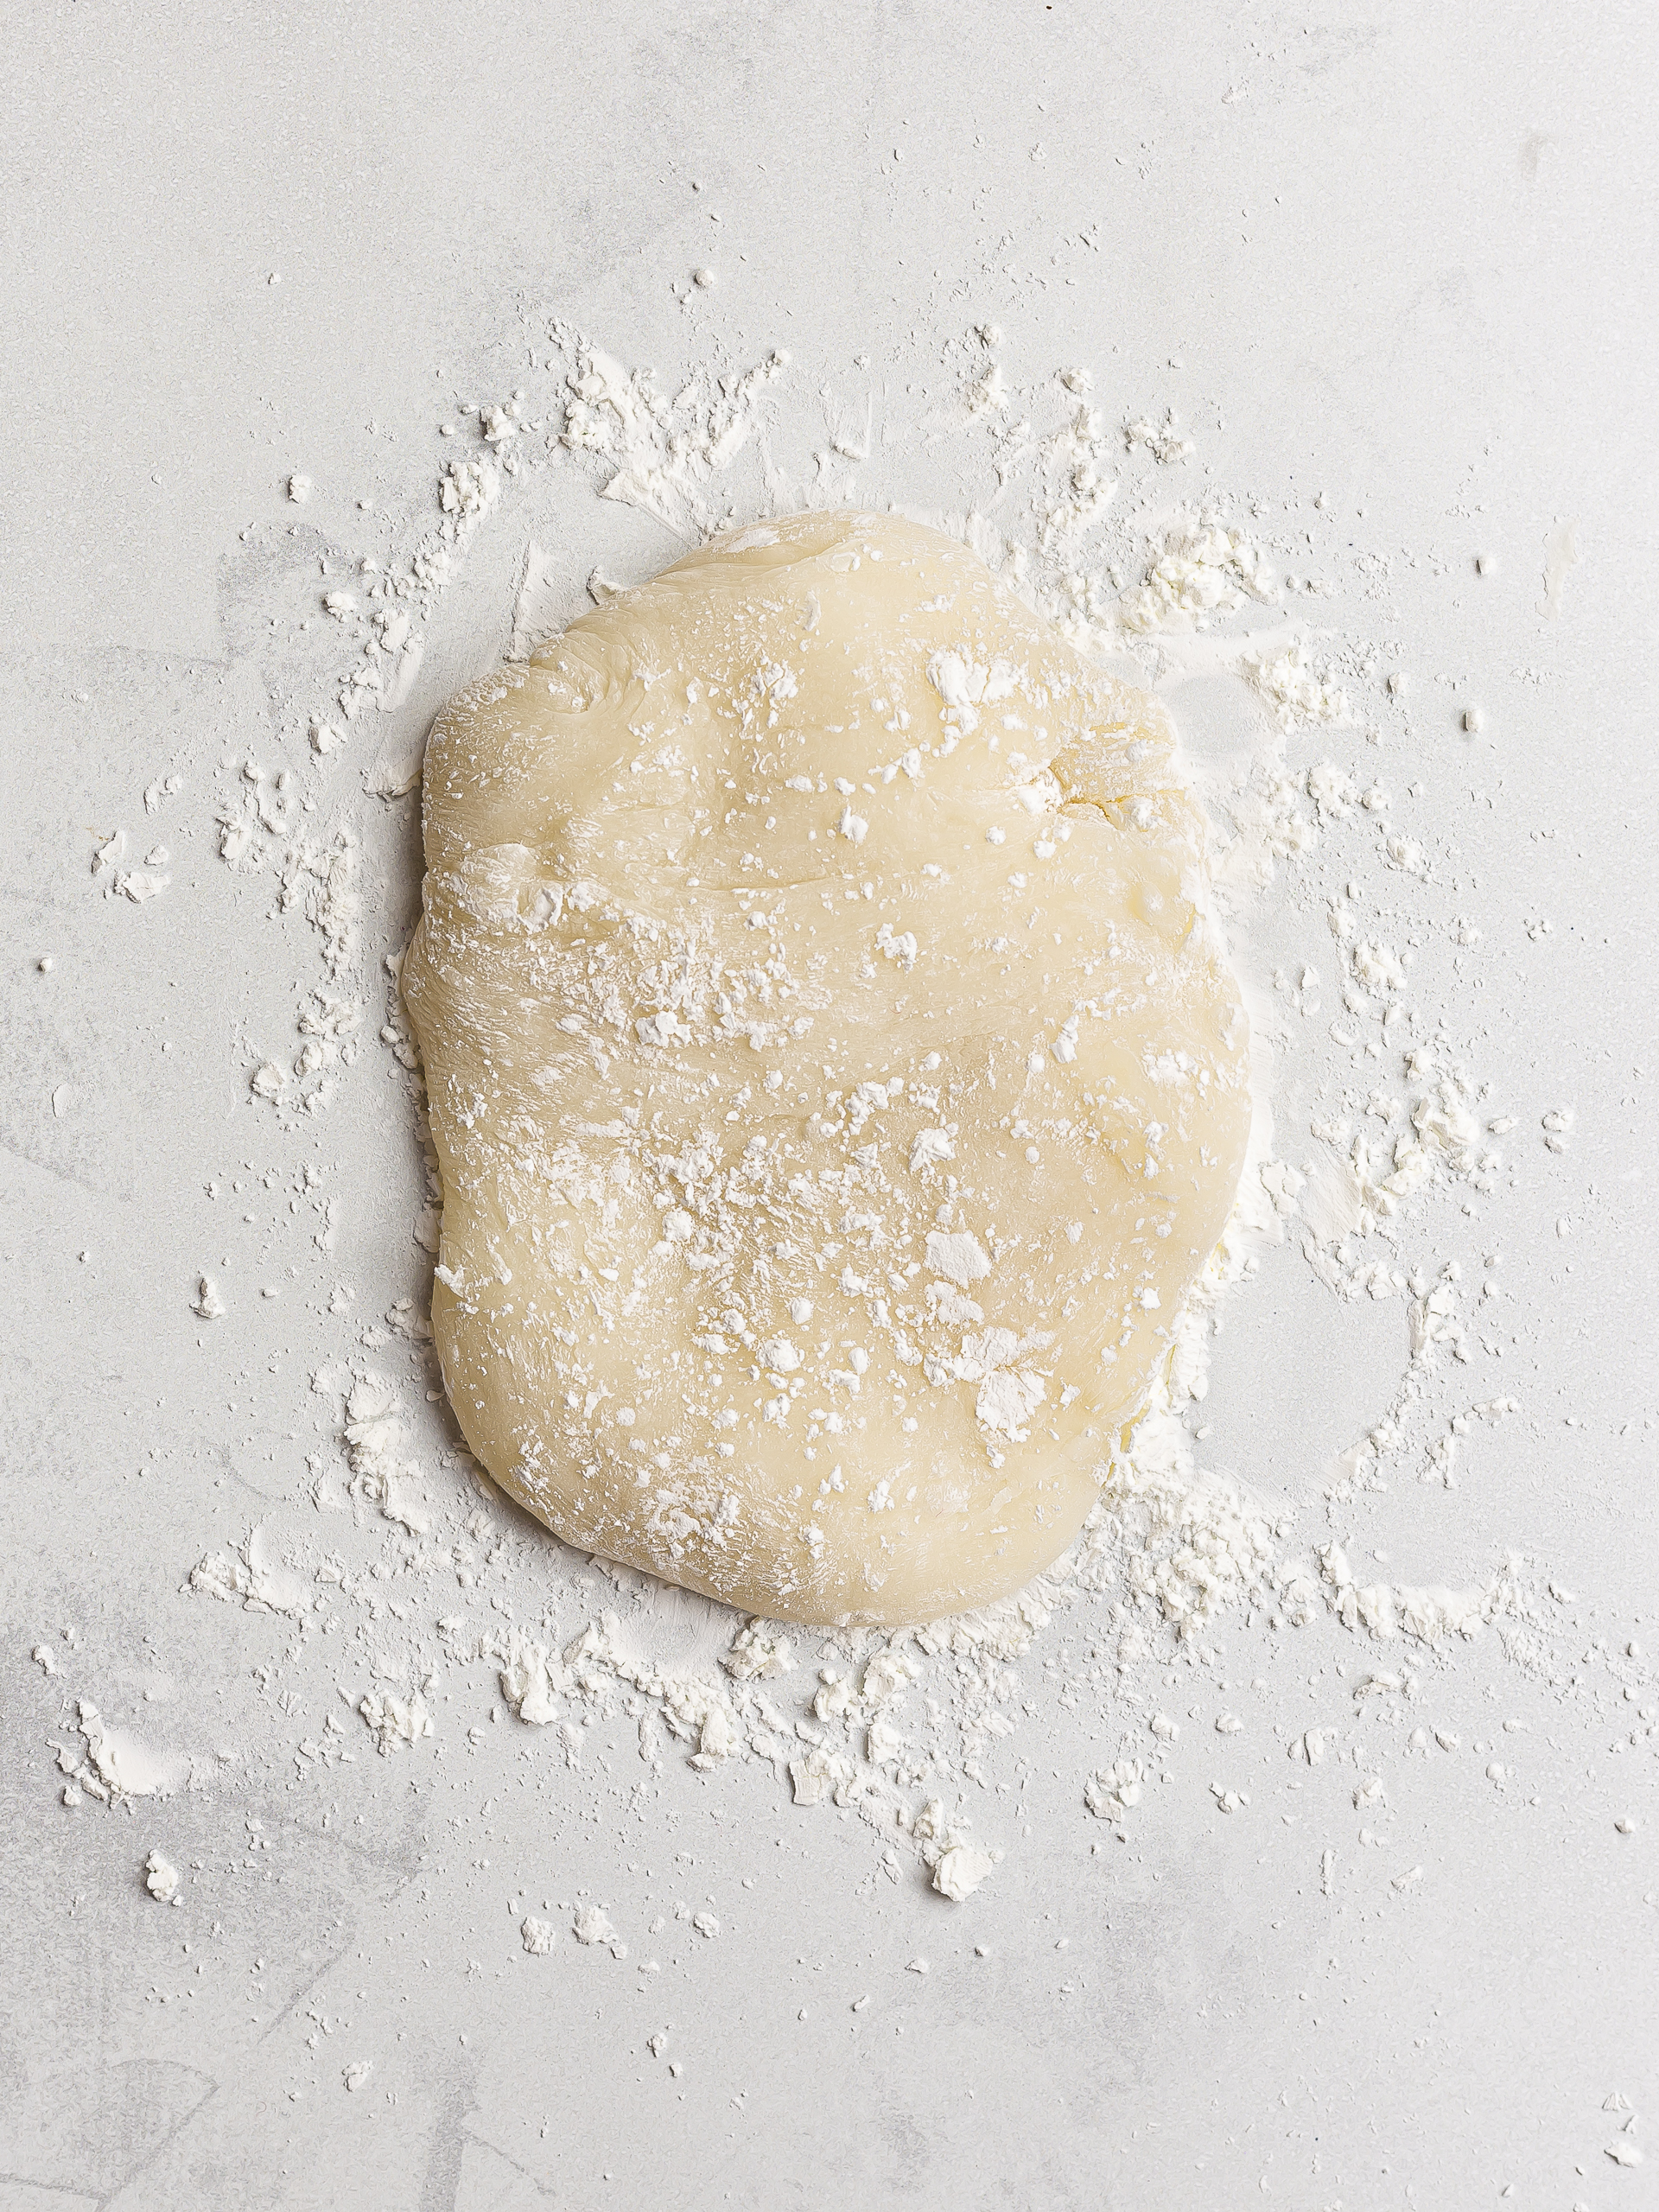
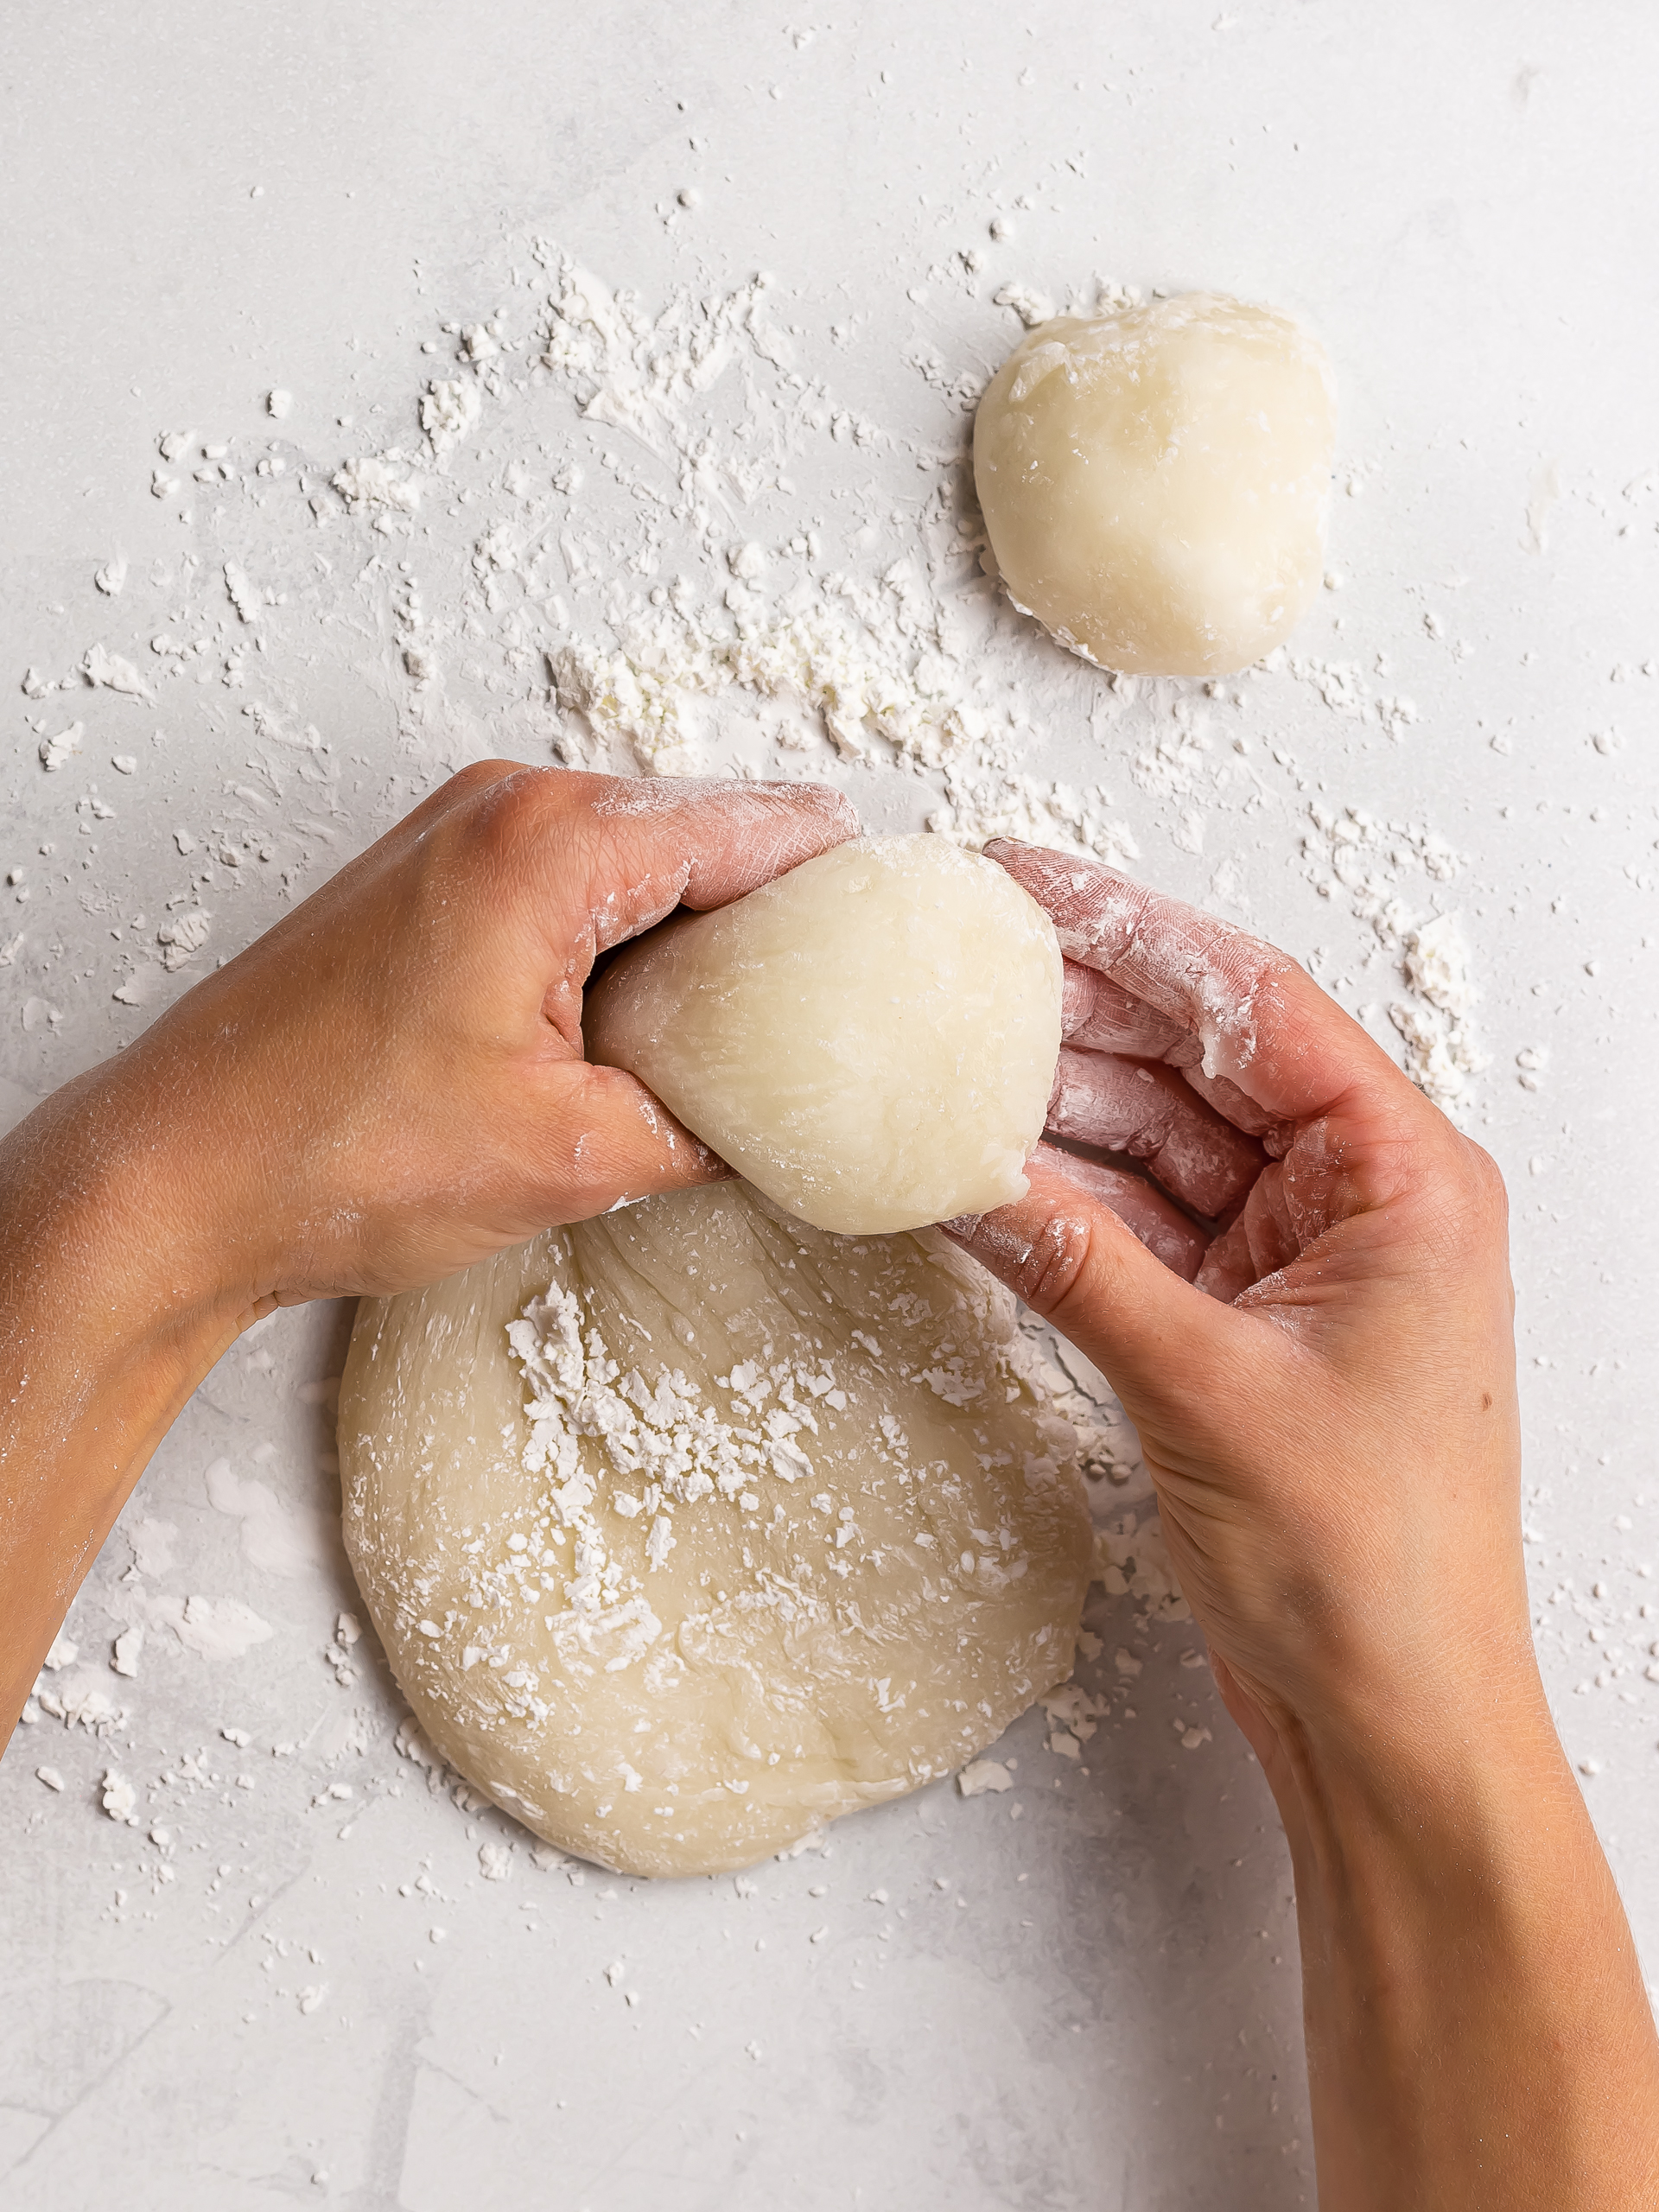
Dust your worktop thoroughly with cornstarch.
Then, transfer the hot mochi dough onto it and dust it with more starch (1).
The starch will make the dough less sticky, helping you handle it with ease.
Now, pinch off a small handful of dough and roughly give it a ball shape (2). Make as many balls as the number of servings — that is, 12 for the default ingredients.
Step 4
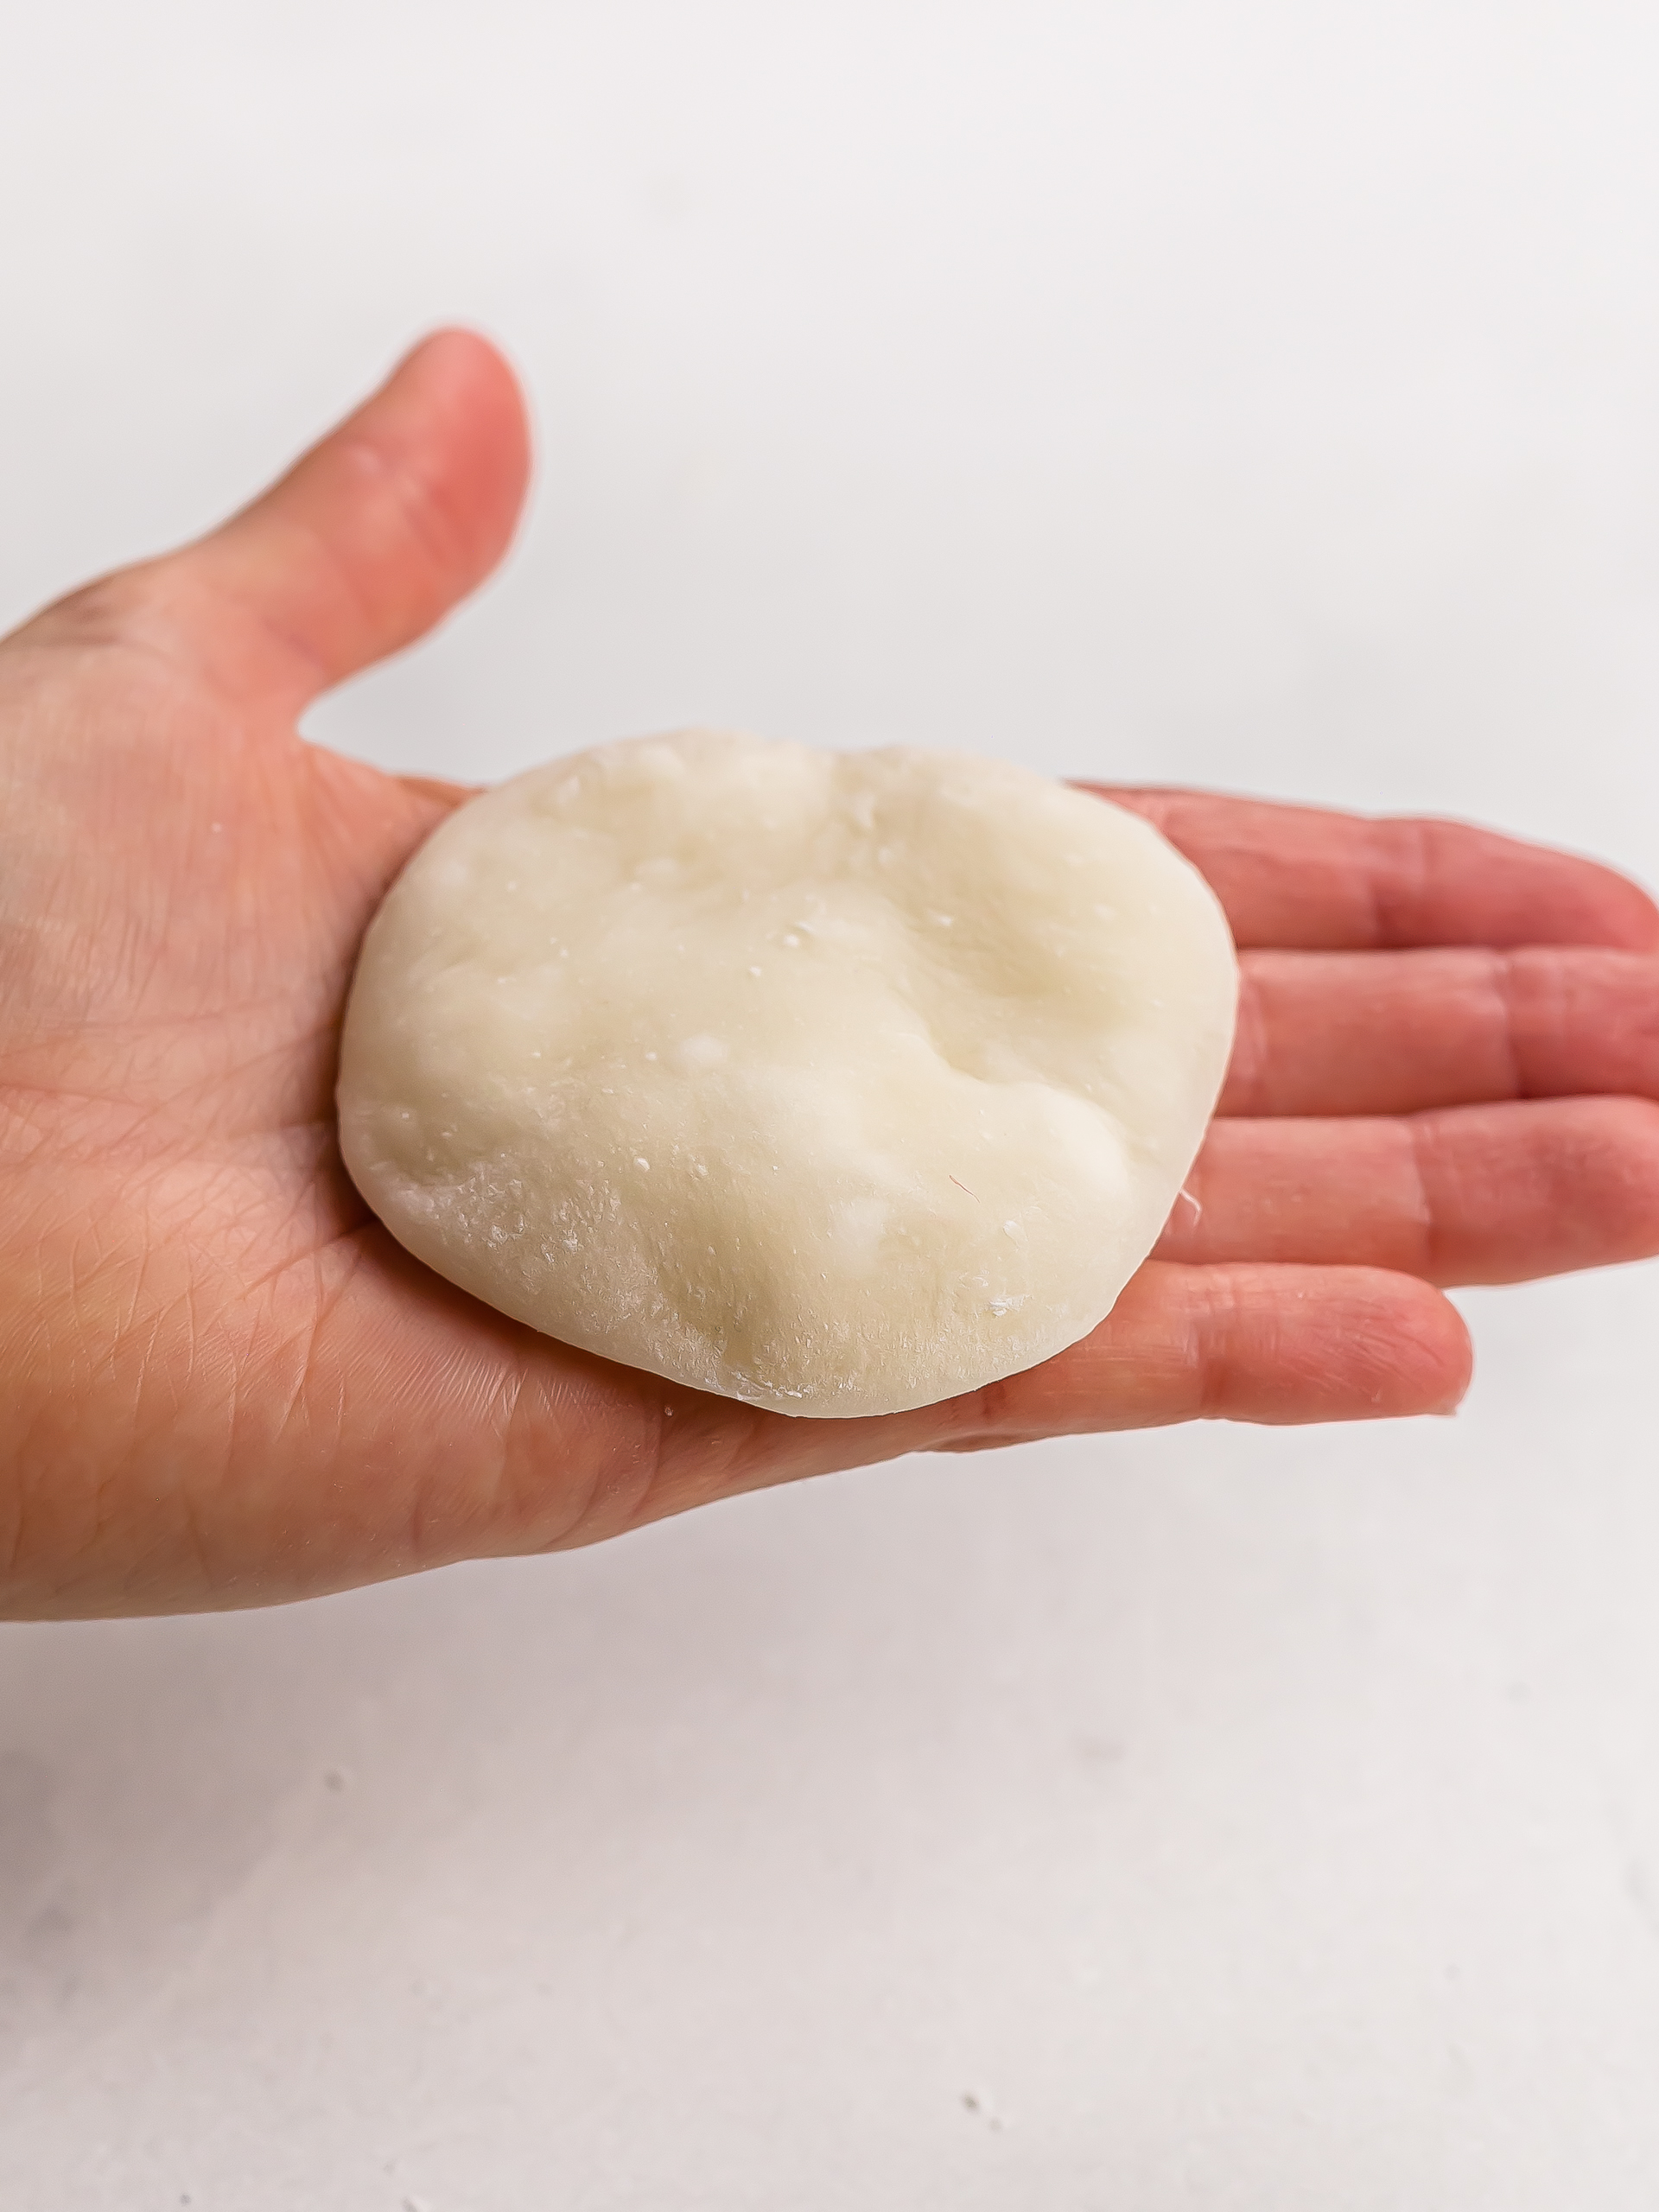
To shape one mochi, flatten one dough ball into a thick disc, about 7cm (2.5 inches) in diameter (1).
Try to keep the edges thinner than the centre as they will overlap when you fold the dough over the filling.
Then, brush off excess starch on both sides of the disc using a pastry brush or with your fingers.
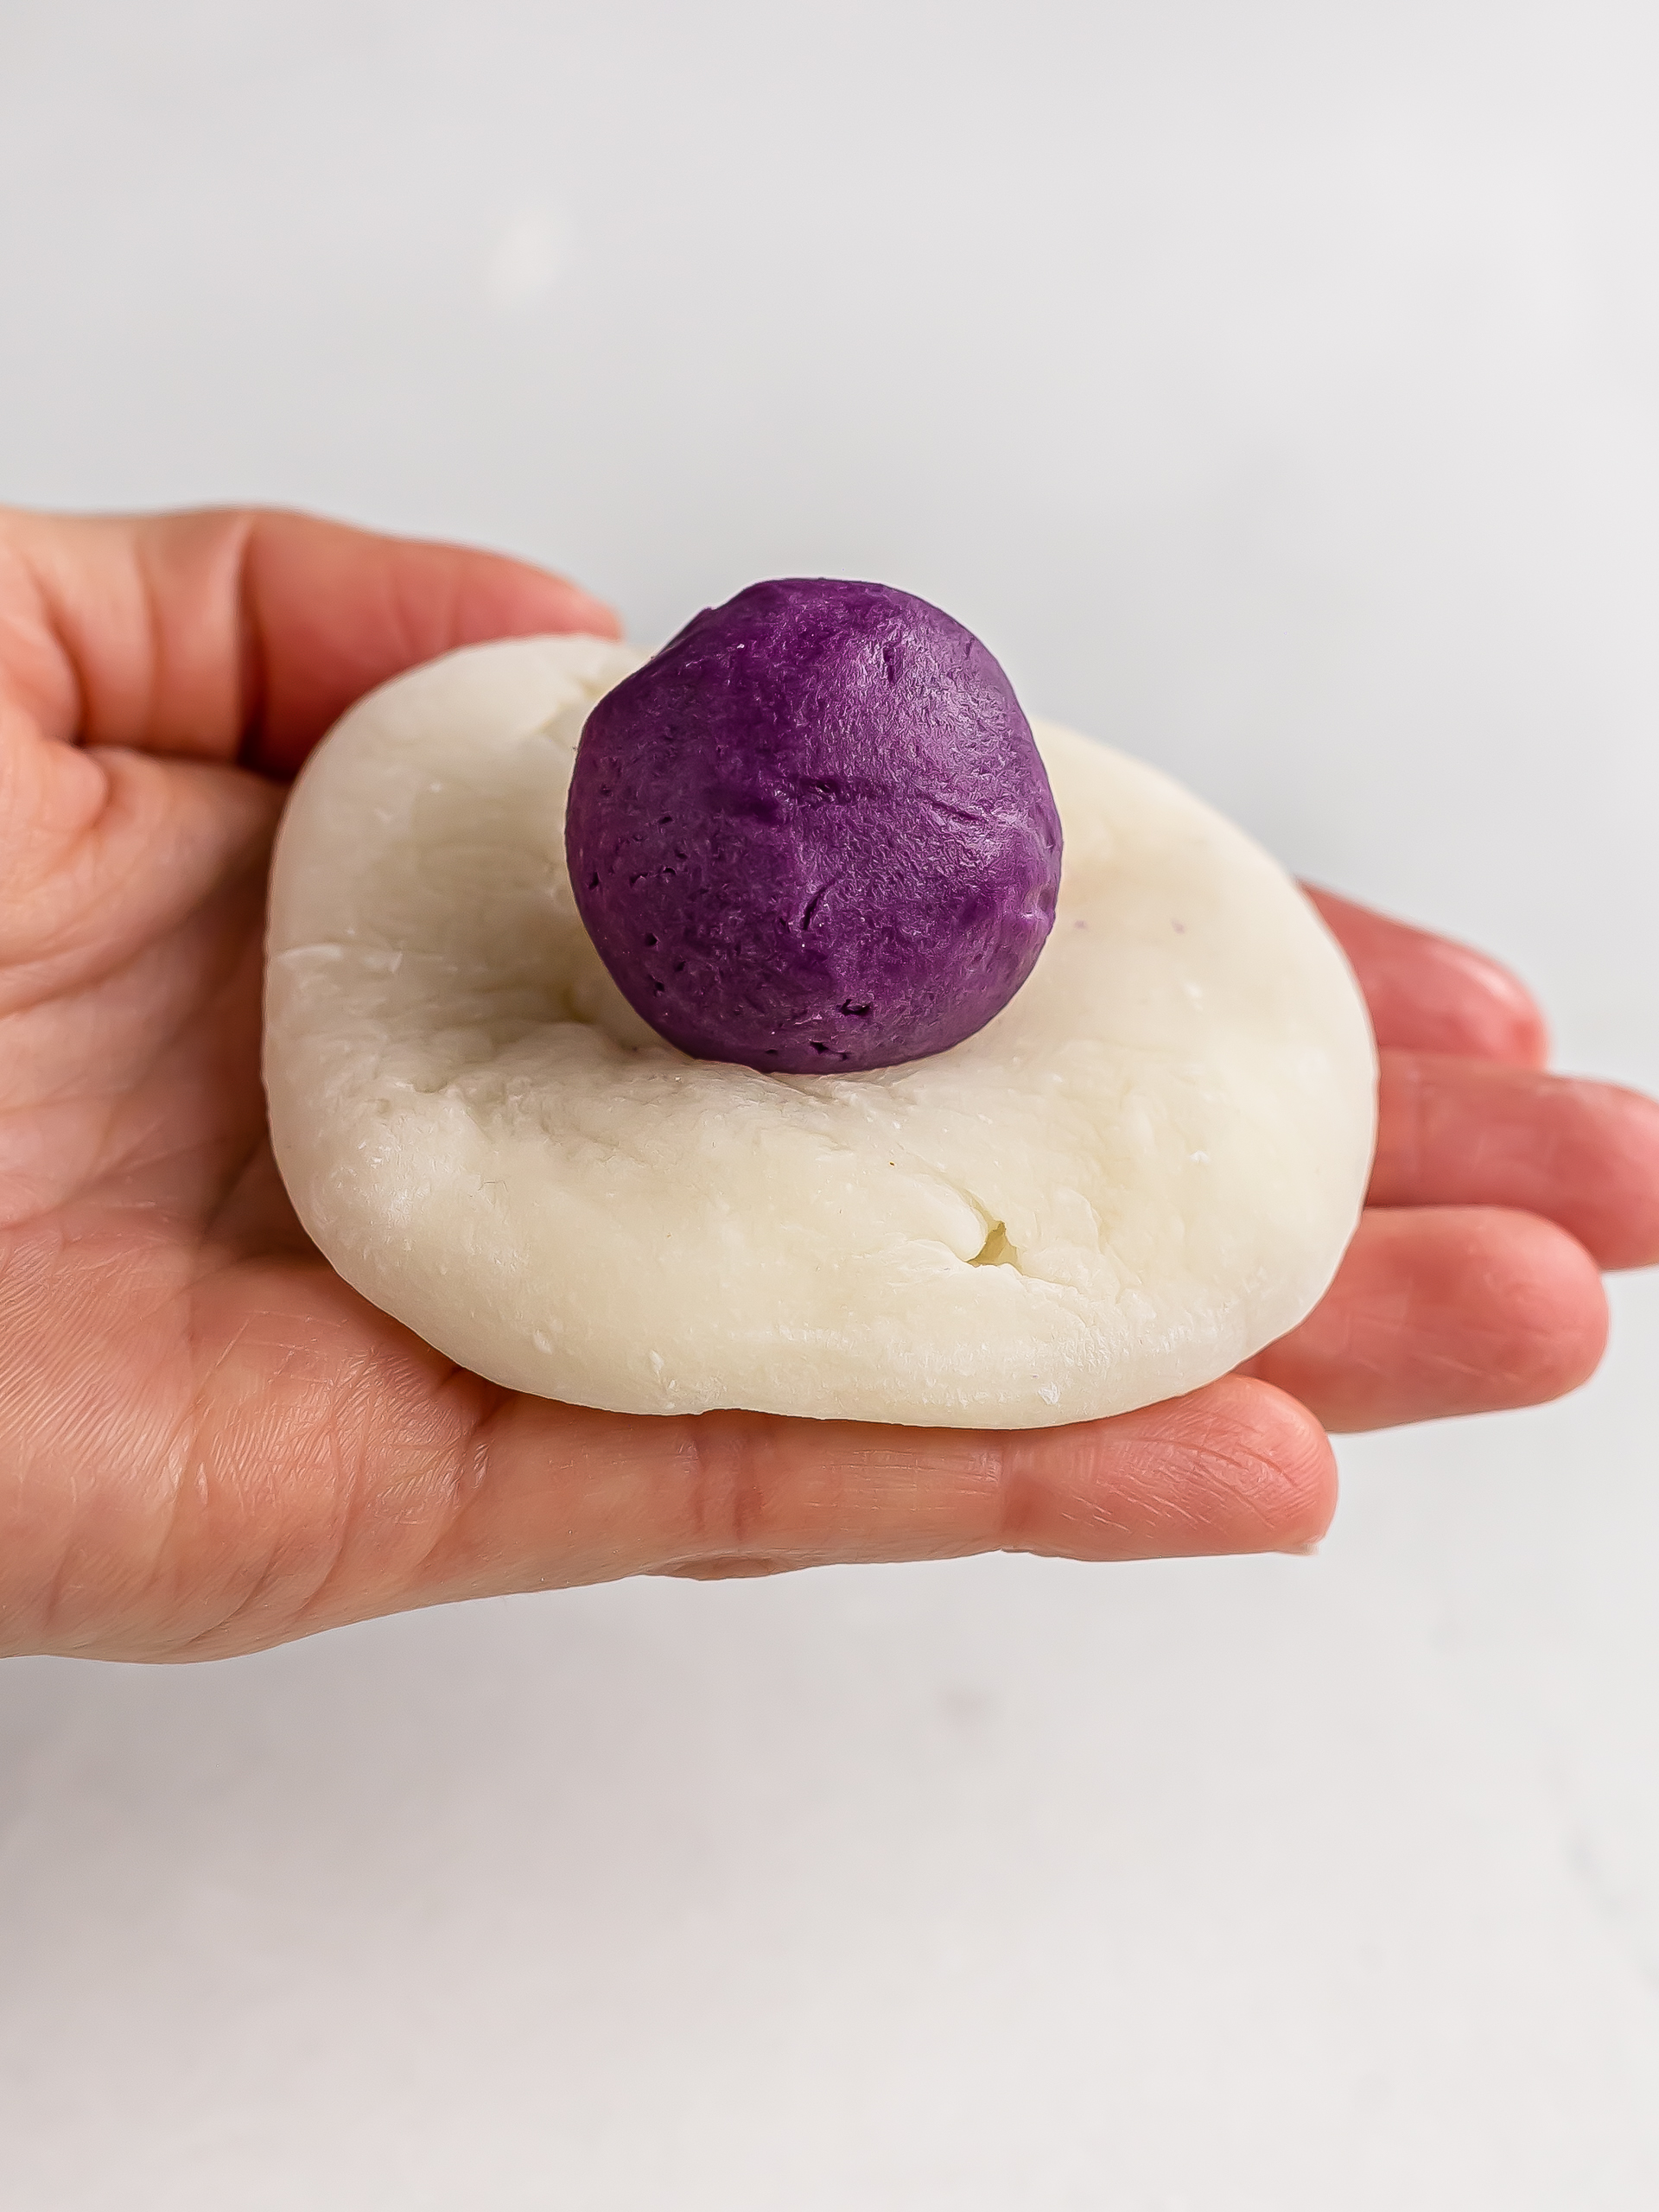
Next, scoop a spoonful of cold ube butter, roll it into a ball, and place it in the centre of the prepared mochi wrapper (2).
Step 5
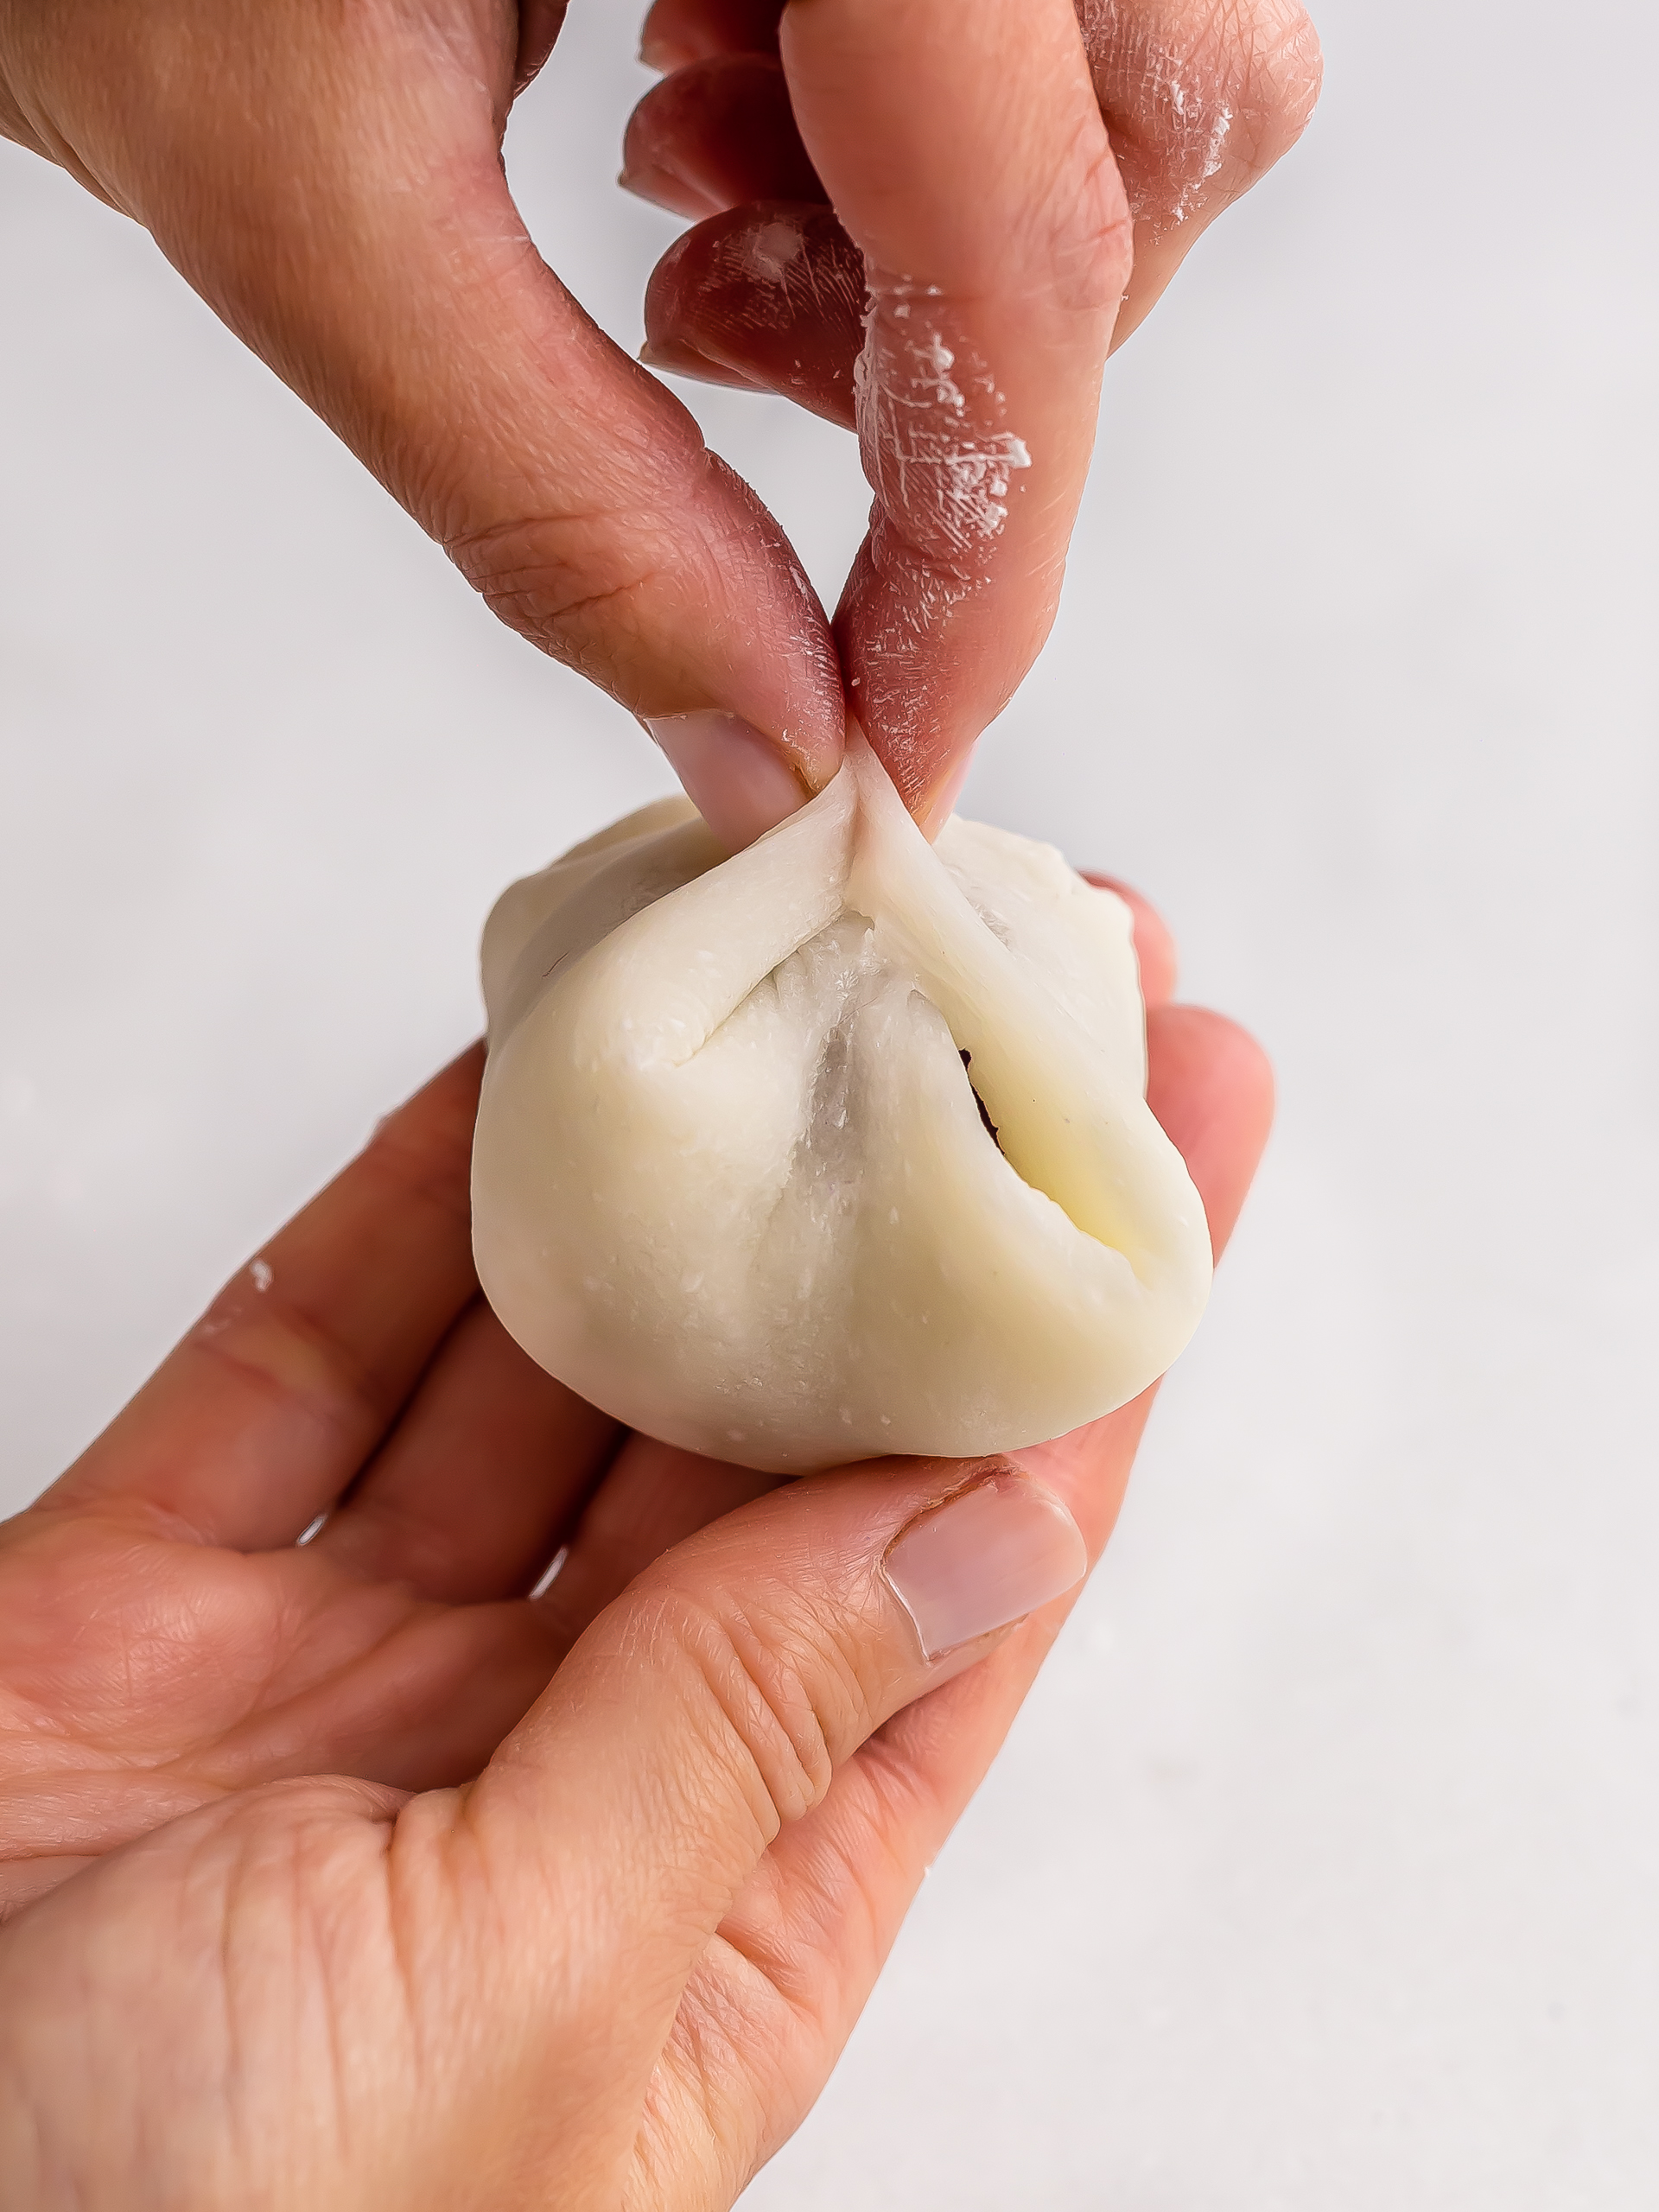
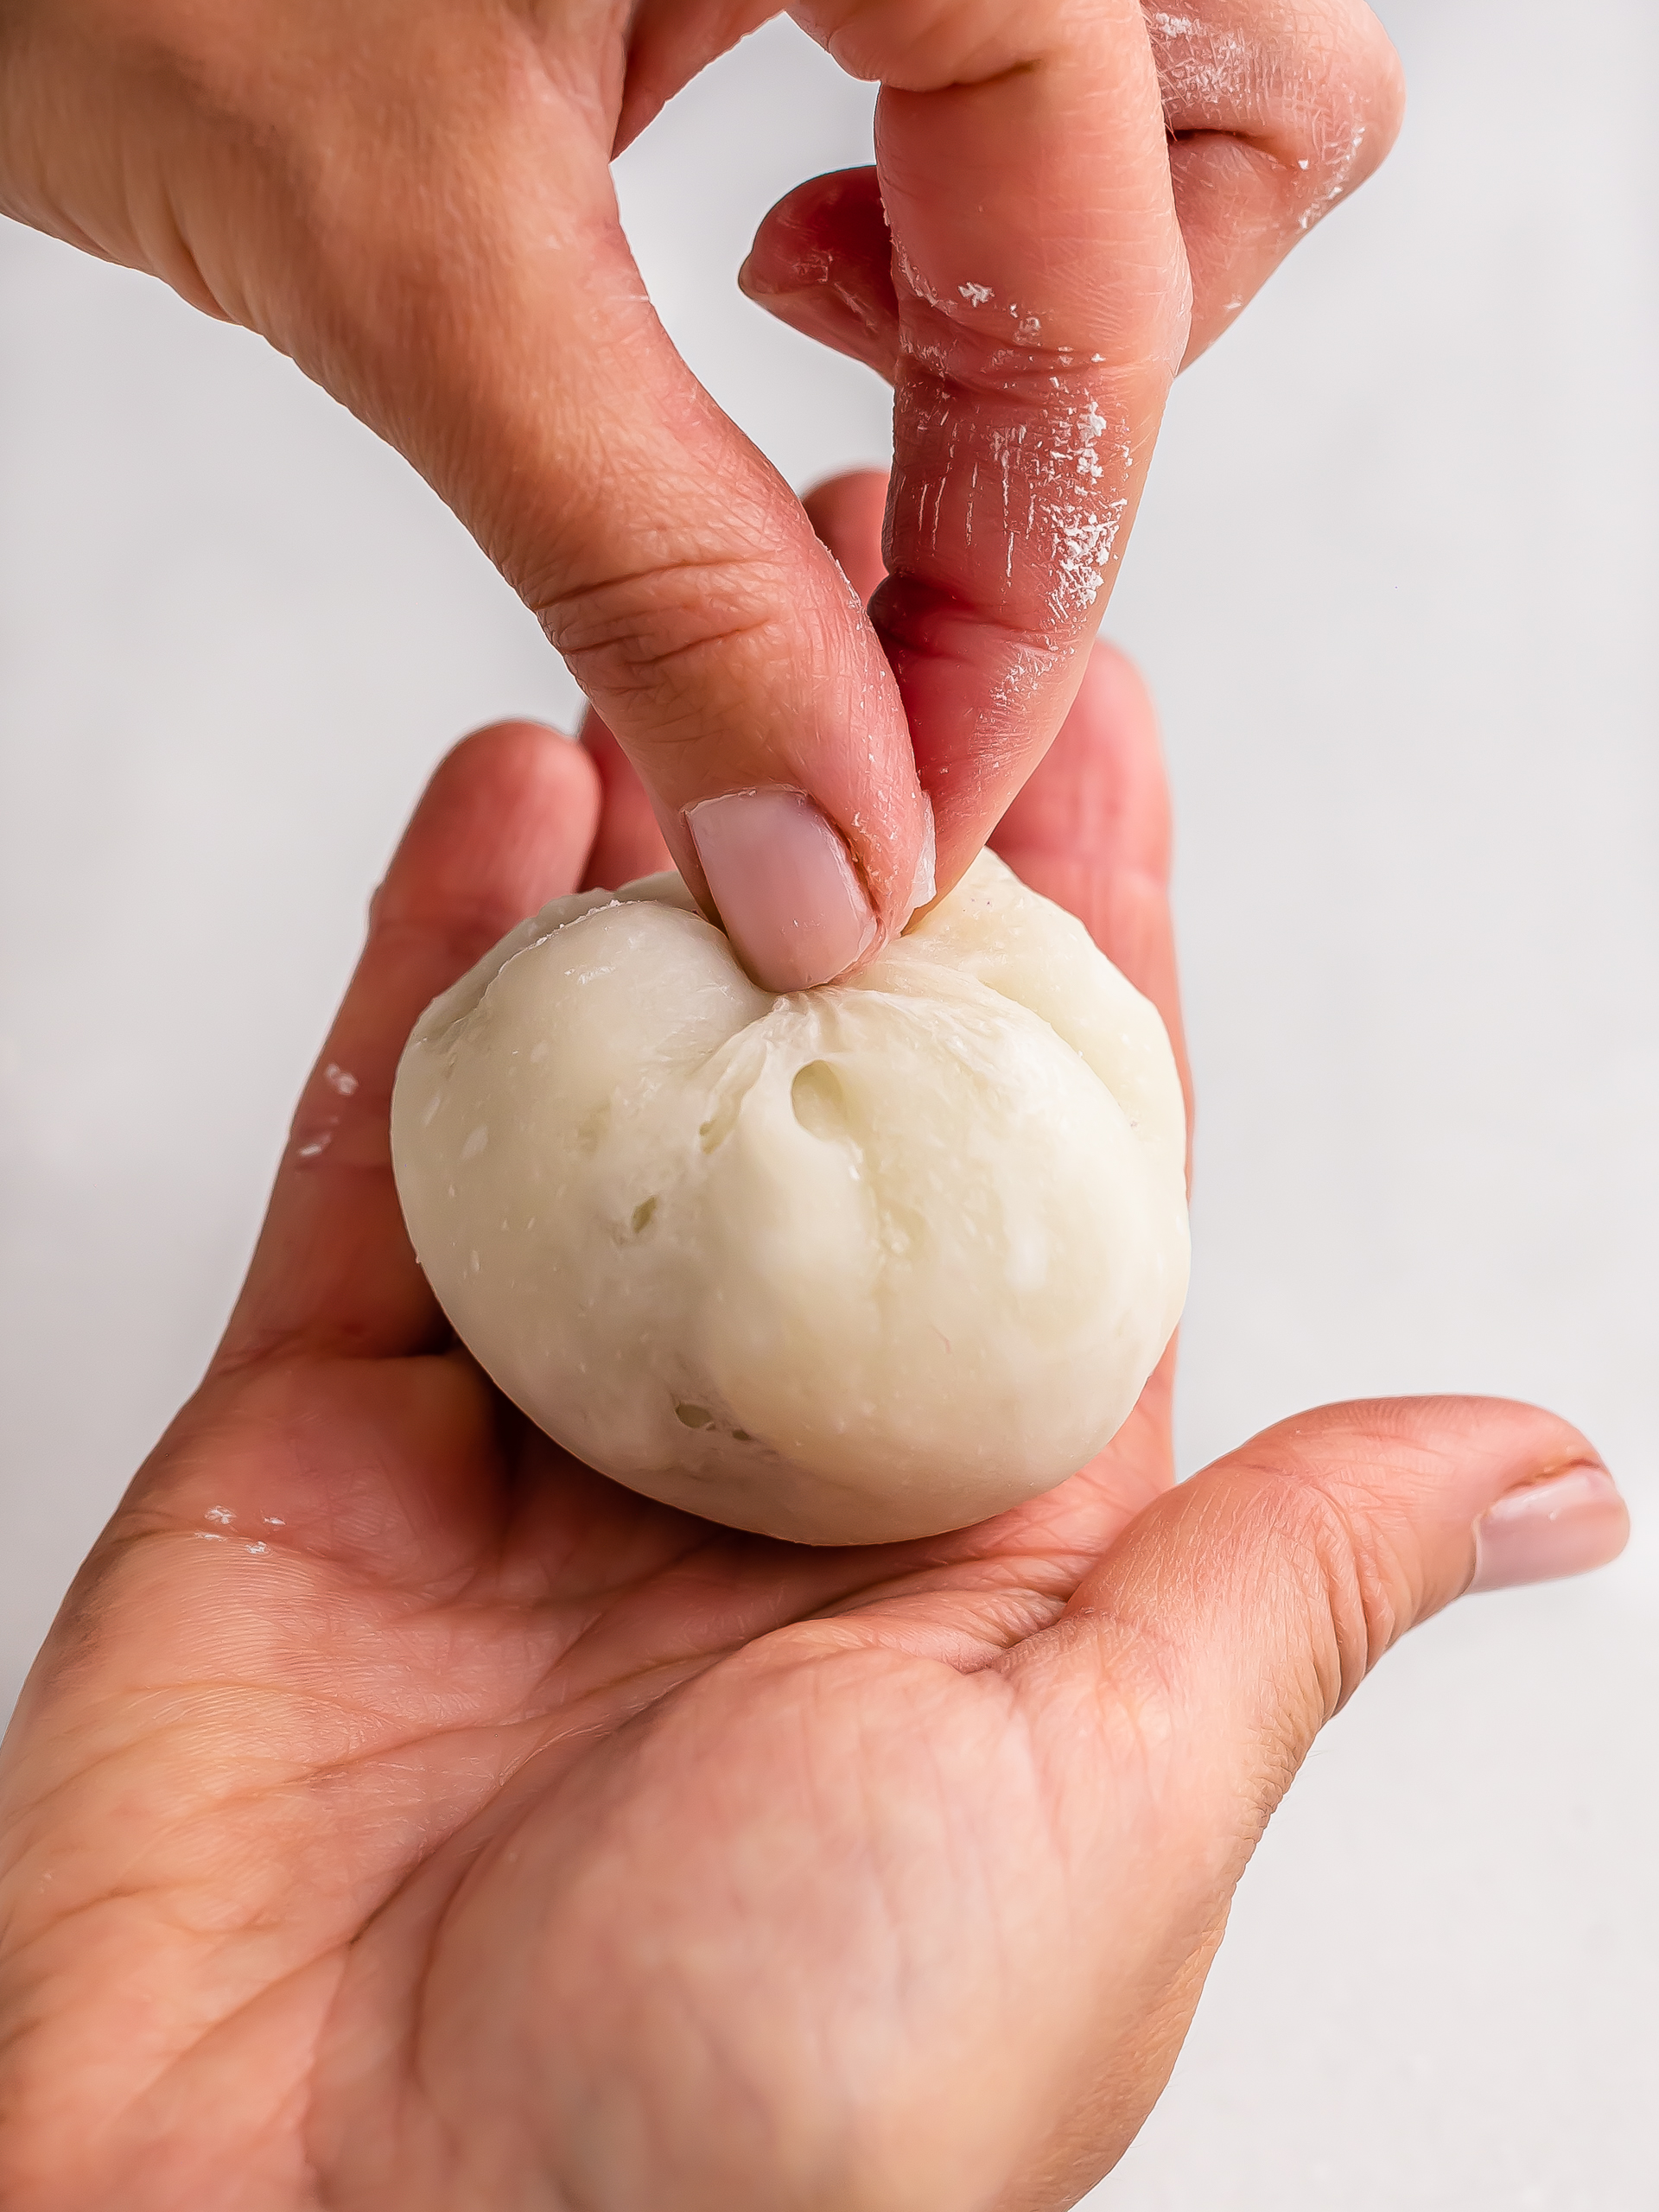
To seal the mochi, pull the edges of the dough towards the centre to cover the filling, as you would do for a dumpling.
Then, pinch them together at the top the seal them (1).
Holding the mochi in your palm, keep pinching the edges together while you twist the mochi to make a tight ball (2).
If the dough gets sticky while you shape the mochi, dust your fingers with a bit of starch.
Step 6
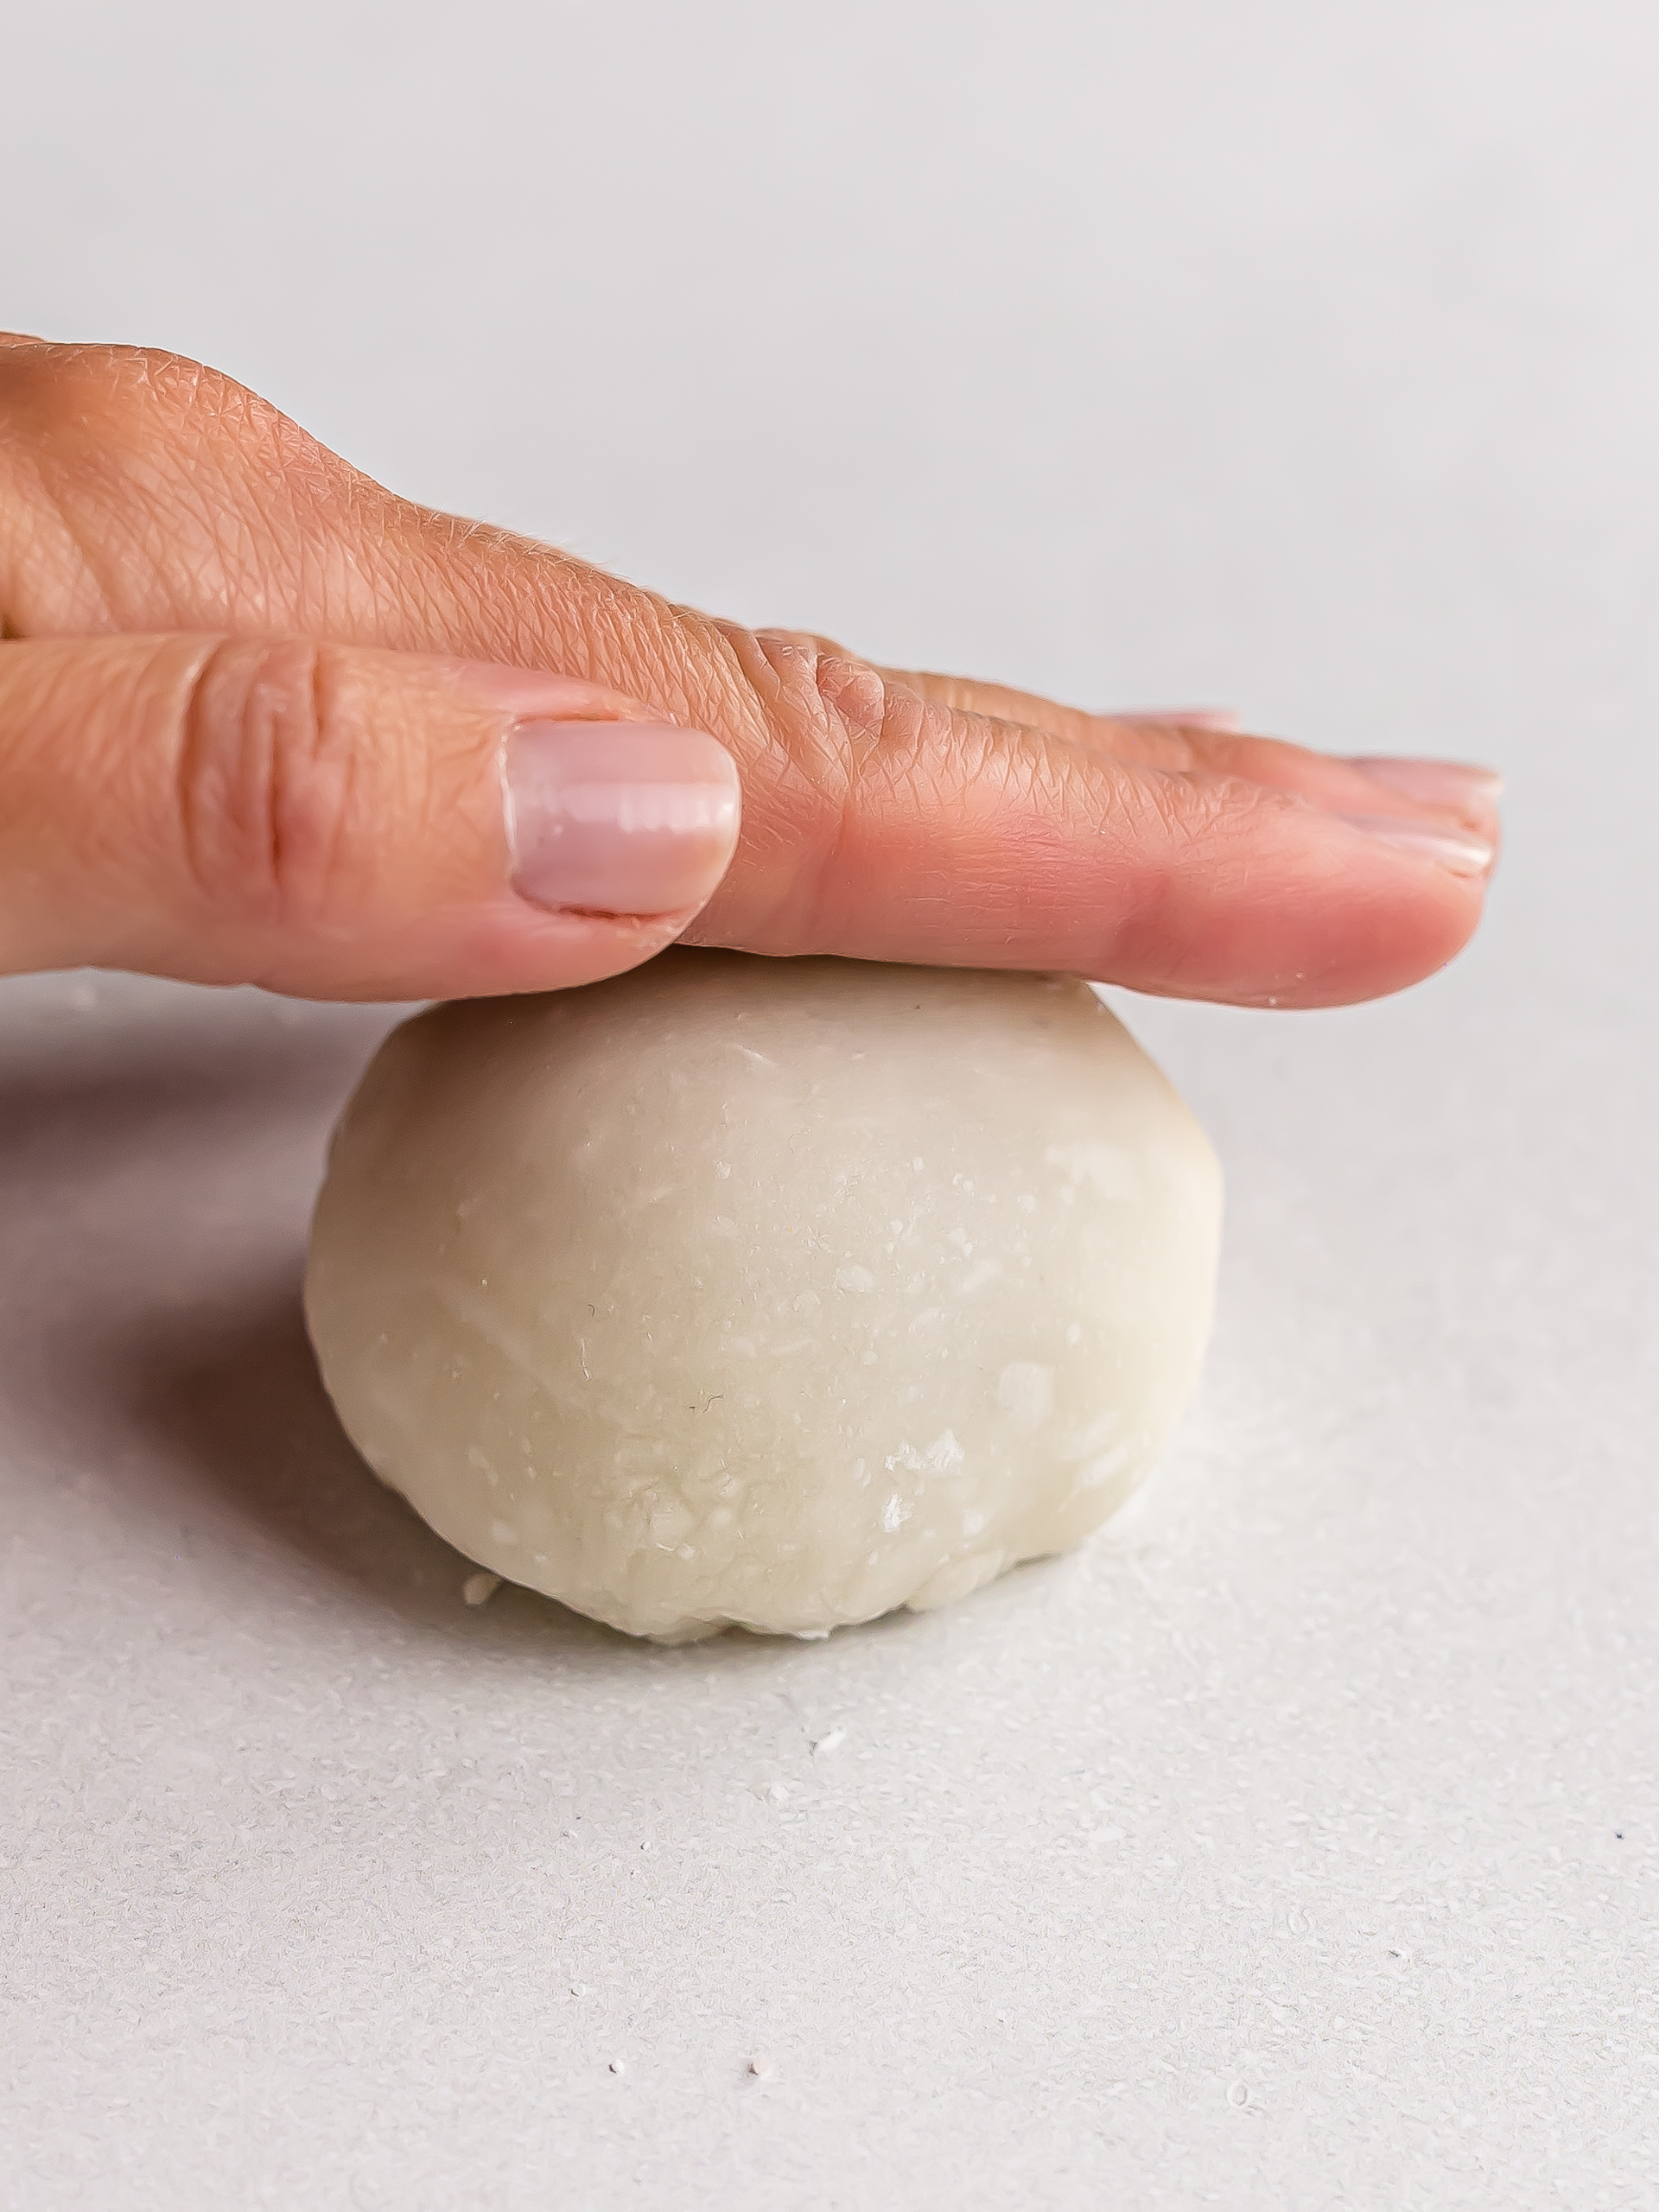
Finally, flip the mochi, seam-side down, onto your worktop and lightly press it to give it a dome shape.
Your vegan ube butter mochi balls are ready. Enjoy!
Tips
These mochi are best when consumed on the same day as they tend to dry out. If you want to store them for longer, wrap each mochi with cling film and keep it in the fridge for up to a week. Alternatively, freeze it for a couple of months. To eat it, let it thaw slightly in the refrigerator.
