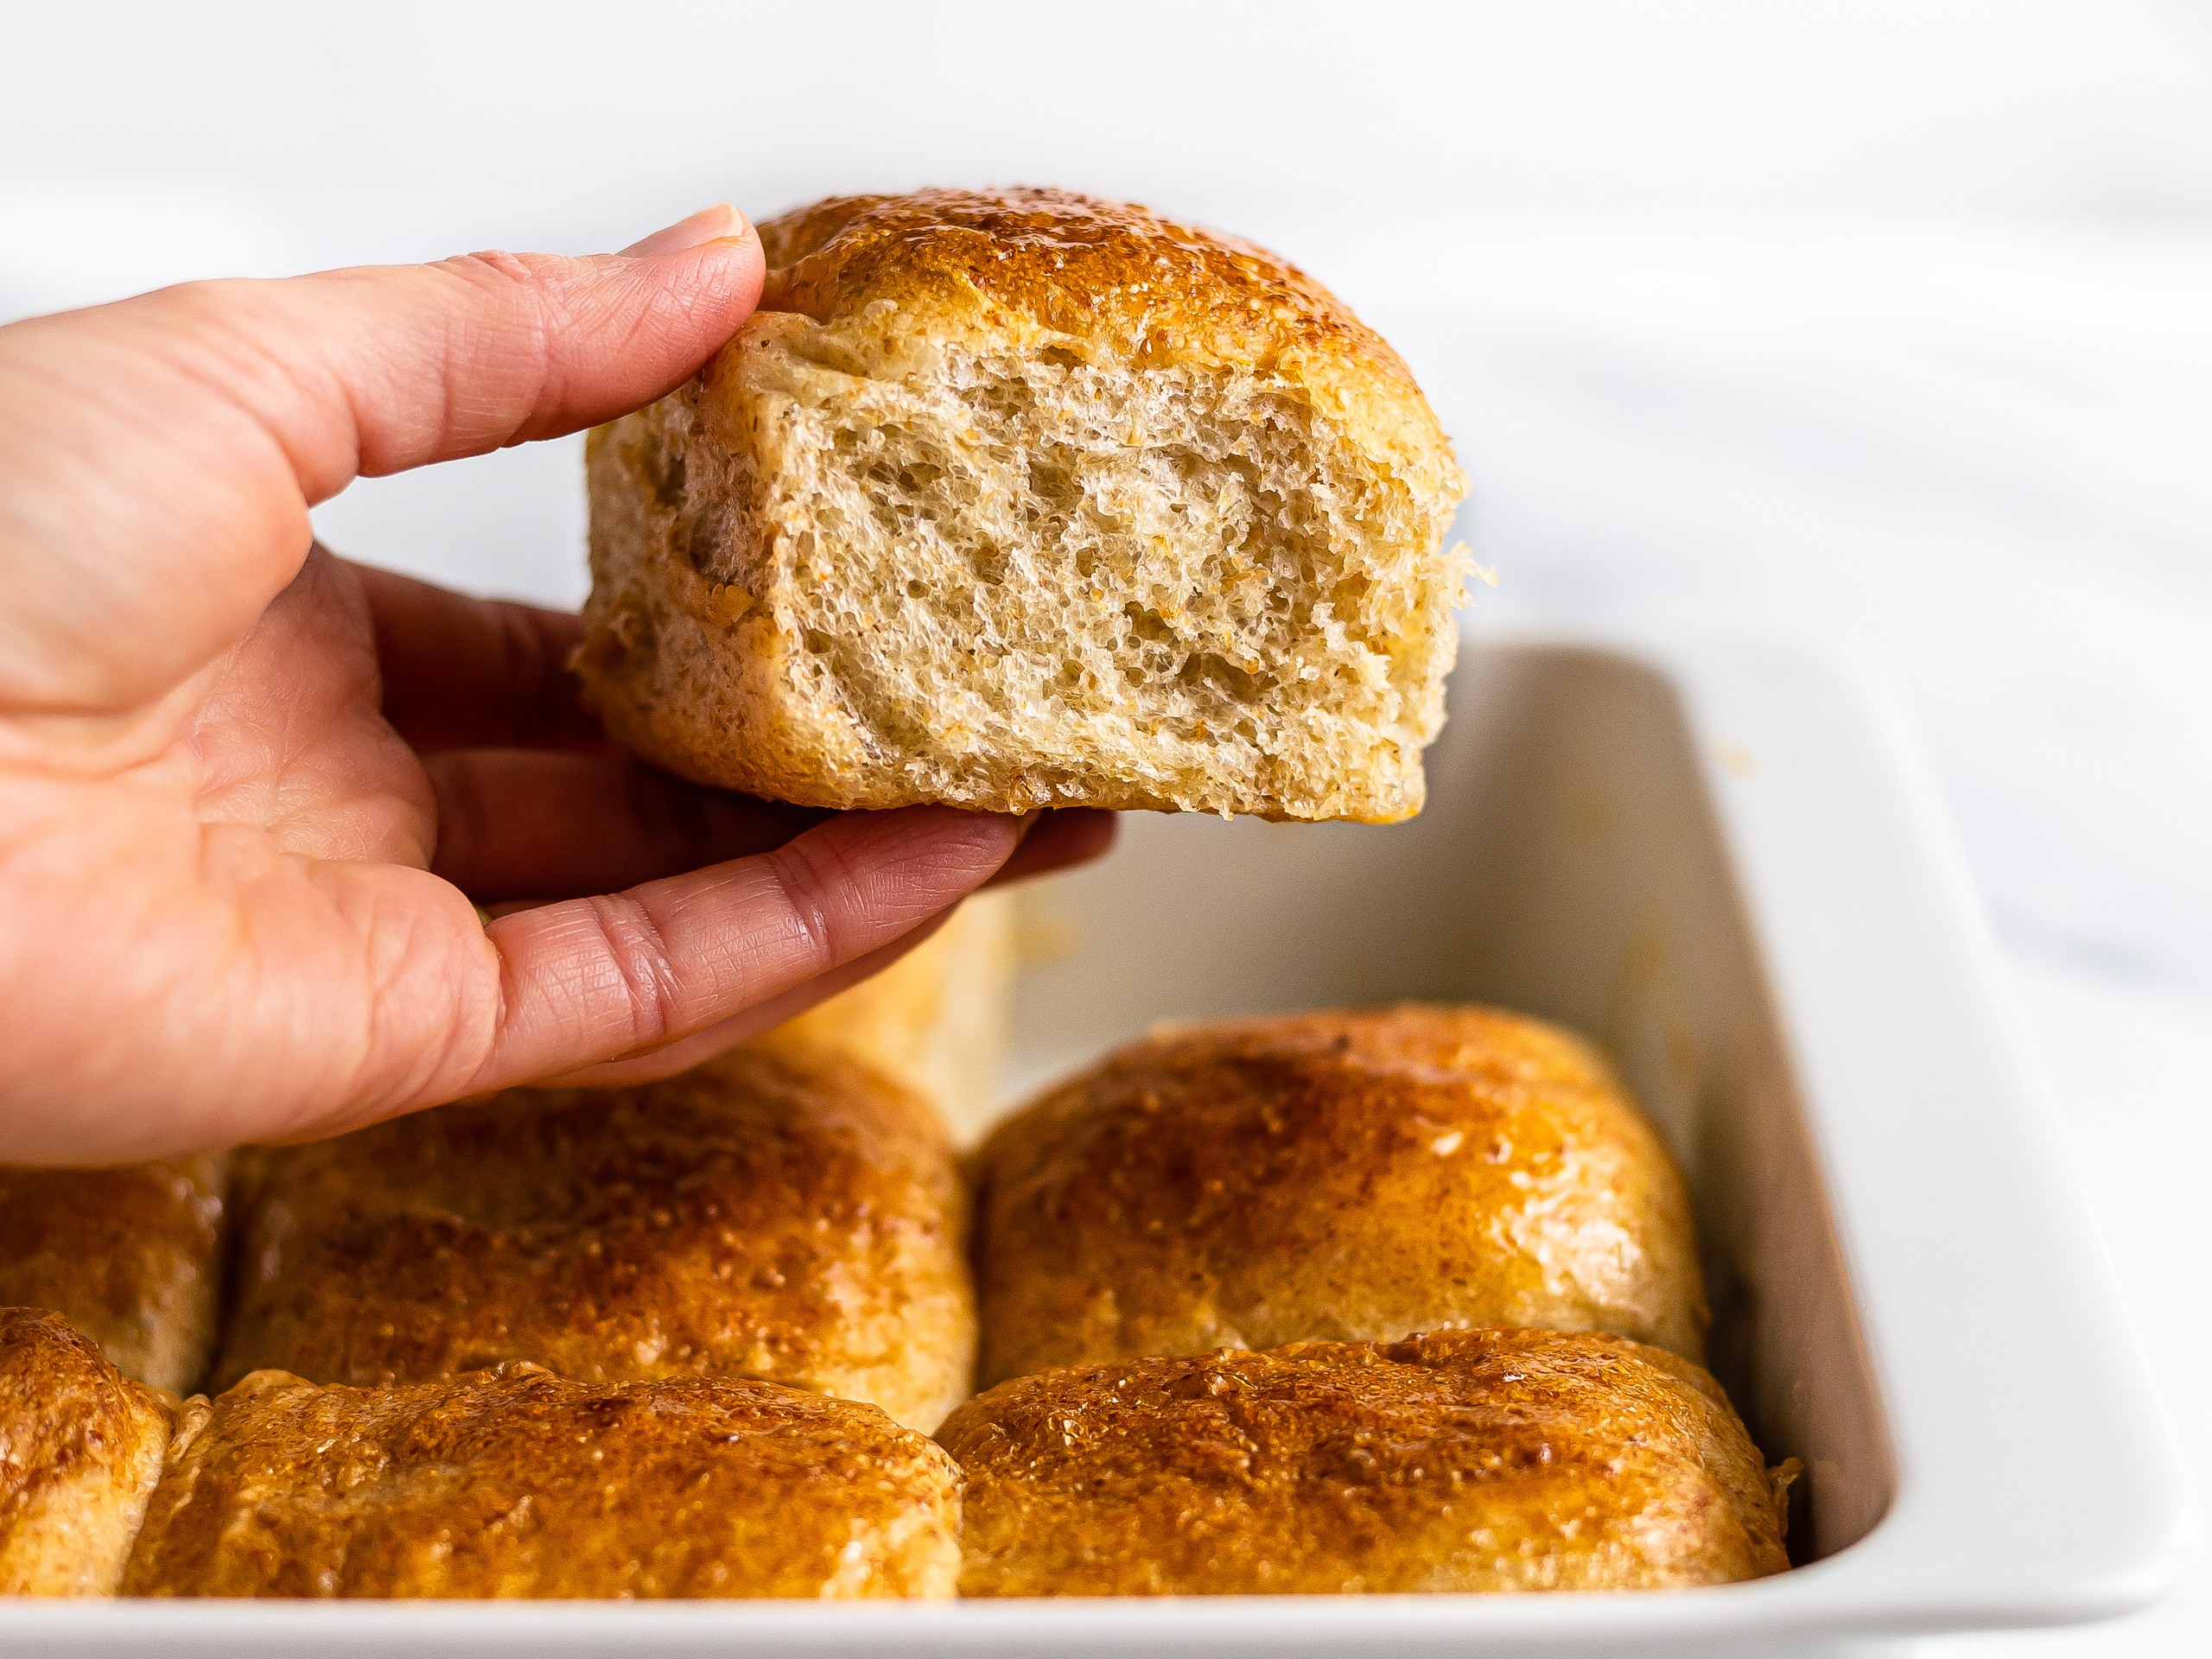
Have you ever tried Hawaiian rolls? You're in for a treat, friend! Today, we'll show you how to turn the classic recipe into a much healthier one. Our Hawaiian rolls are both vegan (dairy-free, eggless) and sugar-free, with extra fibres.
As the name implies, these rolls are famous in Hawaii. They are very similar to Portuguese sweet bread, and in fact, it was the Portuguese that brought the recipe to Hawaii when they settled there around the 19th century. What is this sweet roll like? Hawaiian bread is soft and pillowy, like a brioche.
What's special about them is the use of pineapple juice as a sweetener. That's what gives the rolls that sweet tropical hint that makes you think of happy holidays! But to get that soft and fluffy consistency, the classic recipe makes heavy use of eggs and butter. Guess what? We will show you how to make equally delicious rolls without using any butter, refined sugar, or eggs!
To do that, we will replace sugars with extra pineapple juice. Because sugar melts during baking, it behaves similarly to a liquid ingredient. Moreover, pineapple juice is naturally sweet. So swapping out sugars for more pineapple won't alter the recipe structure, but it will make it healthier.
Then, we will swap eggs with coconut yoghurt and use oil instead of butter. These last two alterations made our Hawaiian rolls completely vegan, extra-tropical, and without all those nasty saturated fats and cholesterol.
Finally, we'll use a combo of plain and wholemeal flour instead of just white flour. This way, we increase the number of fibres in the recipe. More fibres equal more health, as the fibres counteract the absorption of sugars into your bloodstream.
We are so proud of these buns. They are delicious, wholesome, and truly fun to prepare. Compared to what you get from the traditional recipe, our vegan Hawaiian rolls have 4 times fewer saturated fats, 50% more fibres, and three times fewer sugars. Just follow the steps below and enjoy!
Can I use fresh pineapple juice instead of the canned one?
Canned pineapple juice is perfect for preparing this sweet bread recipe. During the canning process, the enzymes naturally found in the juice are inactivated. This way, they won't interfere with the leavening process.
However, if you can't find canned pineapple juice, you can still make these buns with fresh pineapple juice. Before using it, just heat the juice on the stovetop or in the microwave and then leave it to cool down.
What are classic Hawaiian rolls made of?
The classic recipe for Hawaiian sweet bread includes butter, milk, eggs, and sugar. Butter and eggs give these rolls a fine and fluffy crumb, while the sugar is paired with pineapple juice to add a hint of sweetness.
We made our Hawaiian-style bread rolls 100% plant-based, instead. We swapped butter with oil and eggs with yogurt. The result is incredibly soft buns, perfectly suitable for those following a vegan diet.
Which type of flour should I use for these sweet buns?
We recommend using plain, all-purpose flour to make these rolls light, soft, fluffy.
Using bread flour, instead, will result in a heavier, denser crumb. This type of flour is higher in proteins than all-purpose one as it's meant to be used in bread loaves where a strong gluten complex is needed.
How do you eat Hawaiian sweet bread?
Soft, spongy, and with a hint of sweetness, these bread rolls are perfect with both sweet and savoury fillings. You can slice them in half and fill with:
Nut butter and homemade jam
Avocado mash
Salad and falafels
You can also have them on their own or serve them with soups, stews, and curries.
Ingredients
| All-Purpose Flour | 250 g |
| Instant Dry Yeast | 10 g |
| Almond Milk | 130 mL |
| Wholemeal Flour | 150 g |
| Starch (Potato or Corn) | 20 g |
| Salt | 5 g |
| Canned Pineapple Juice | 130 mL |
| Canola Oil | 50 mL |
| Vanilla Extract | 2 tsp |
| Coconut Yogurt | 100 g |
Step 1
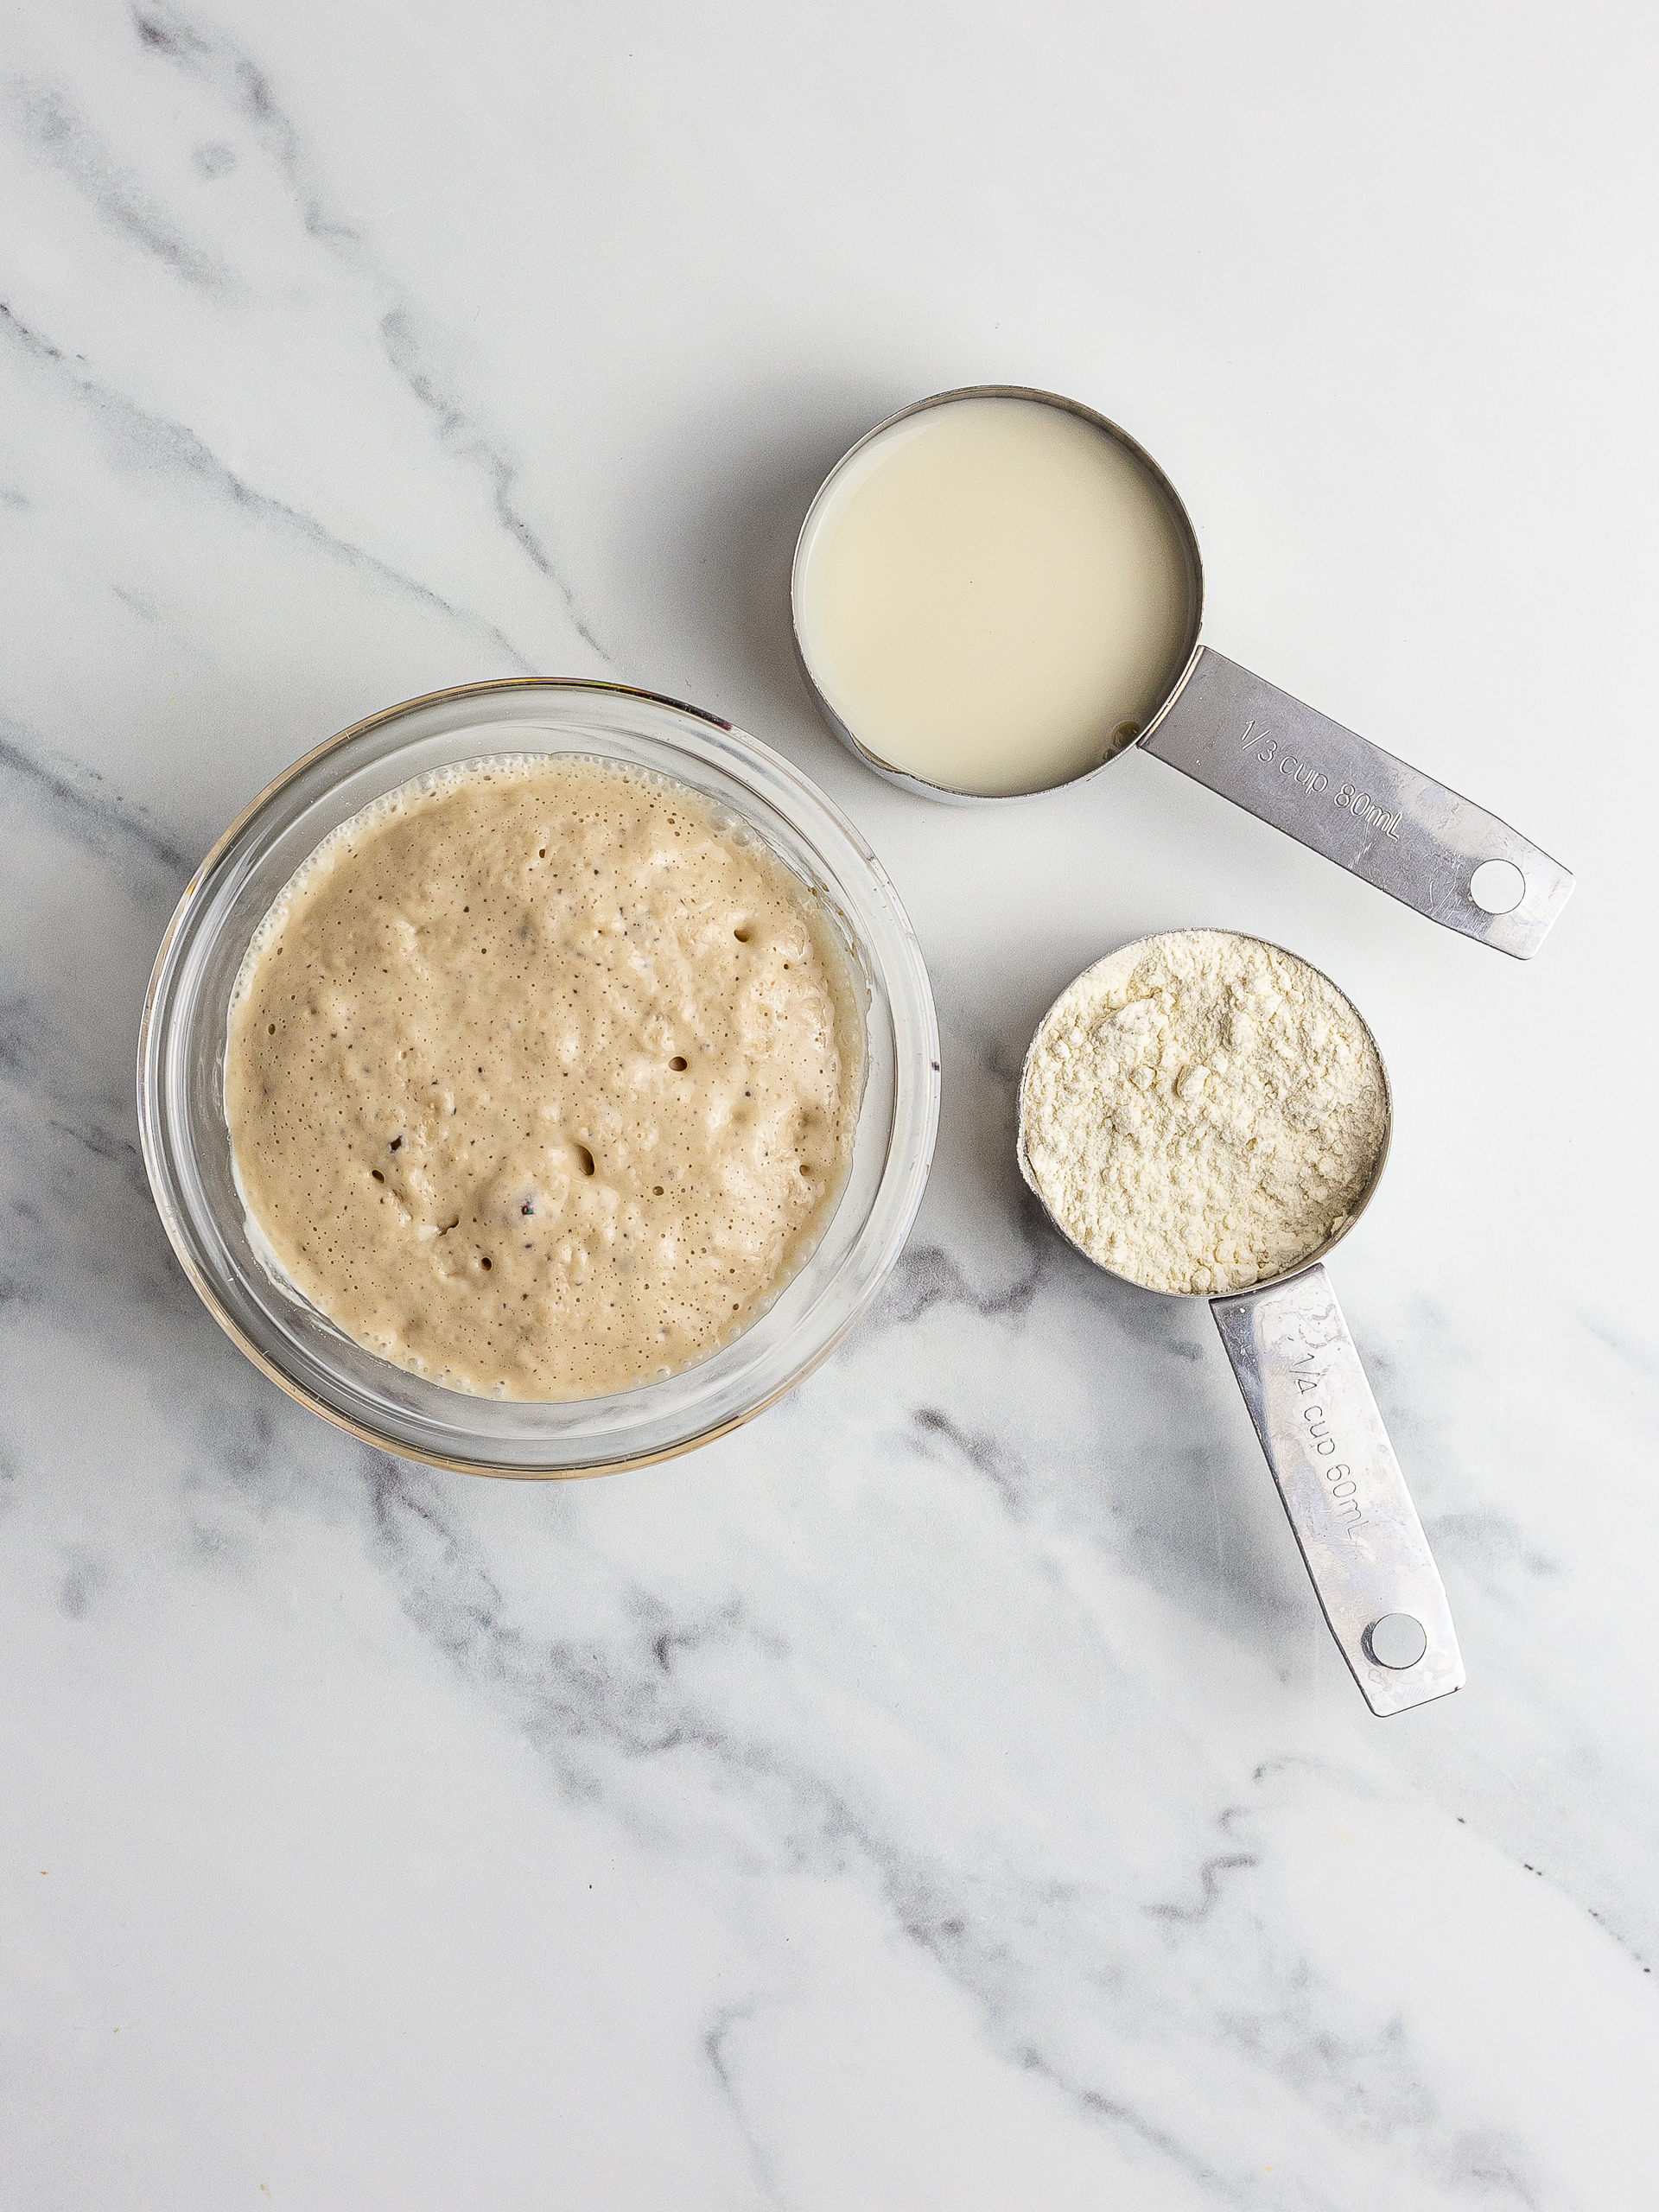
In a bowl, whisk 15 g of plain flour with the dry yeast and 30 mL of lukewarm almond milk.
Then, leave the mixture to sit undisturbed for 5 minutes.
As the yeast gets activated, the mix will bubble and increase in volume.
Step 2
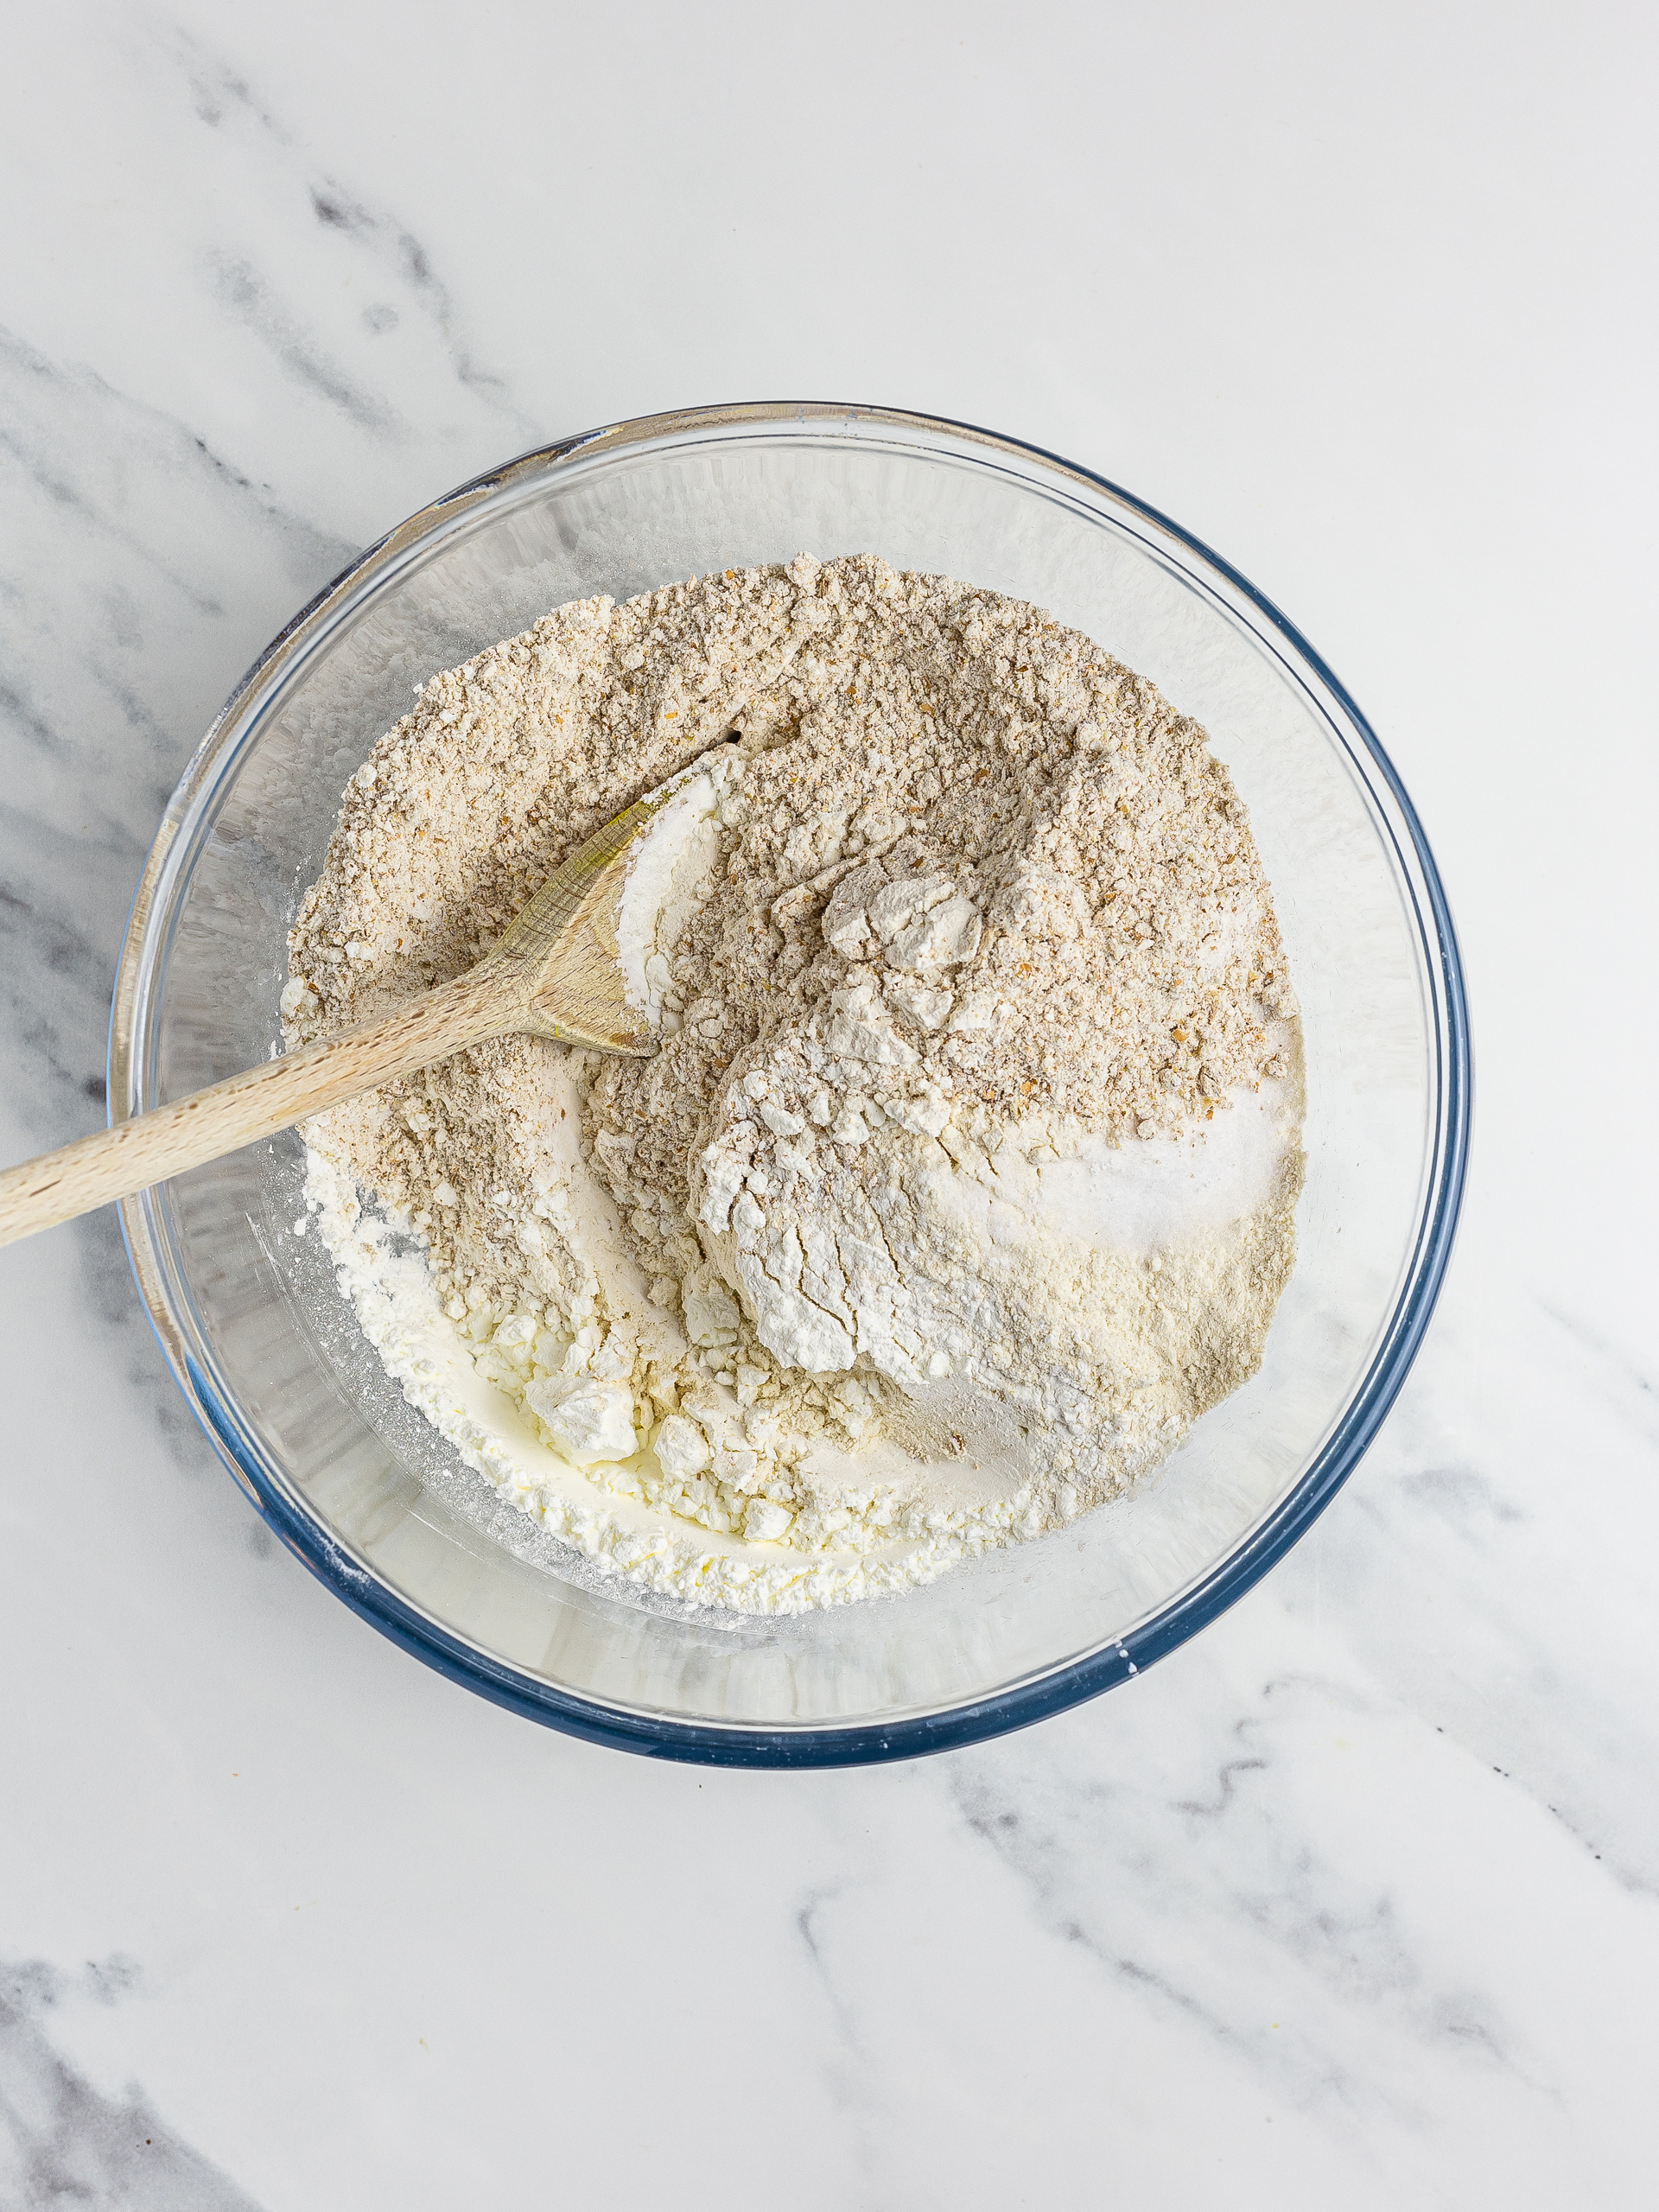
Meanwhile, combine the remaining plain flour with wholemeal flour, potato starch, and salt in another bowl (1).
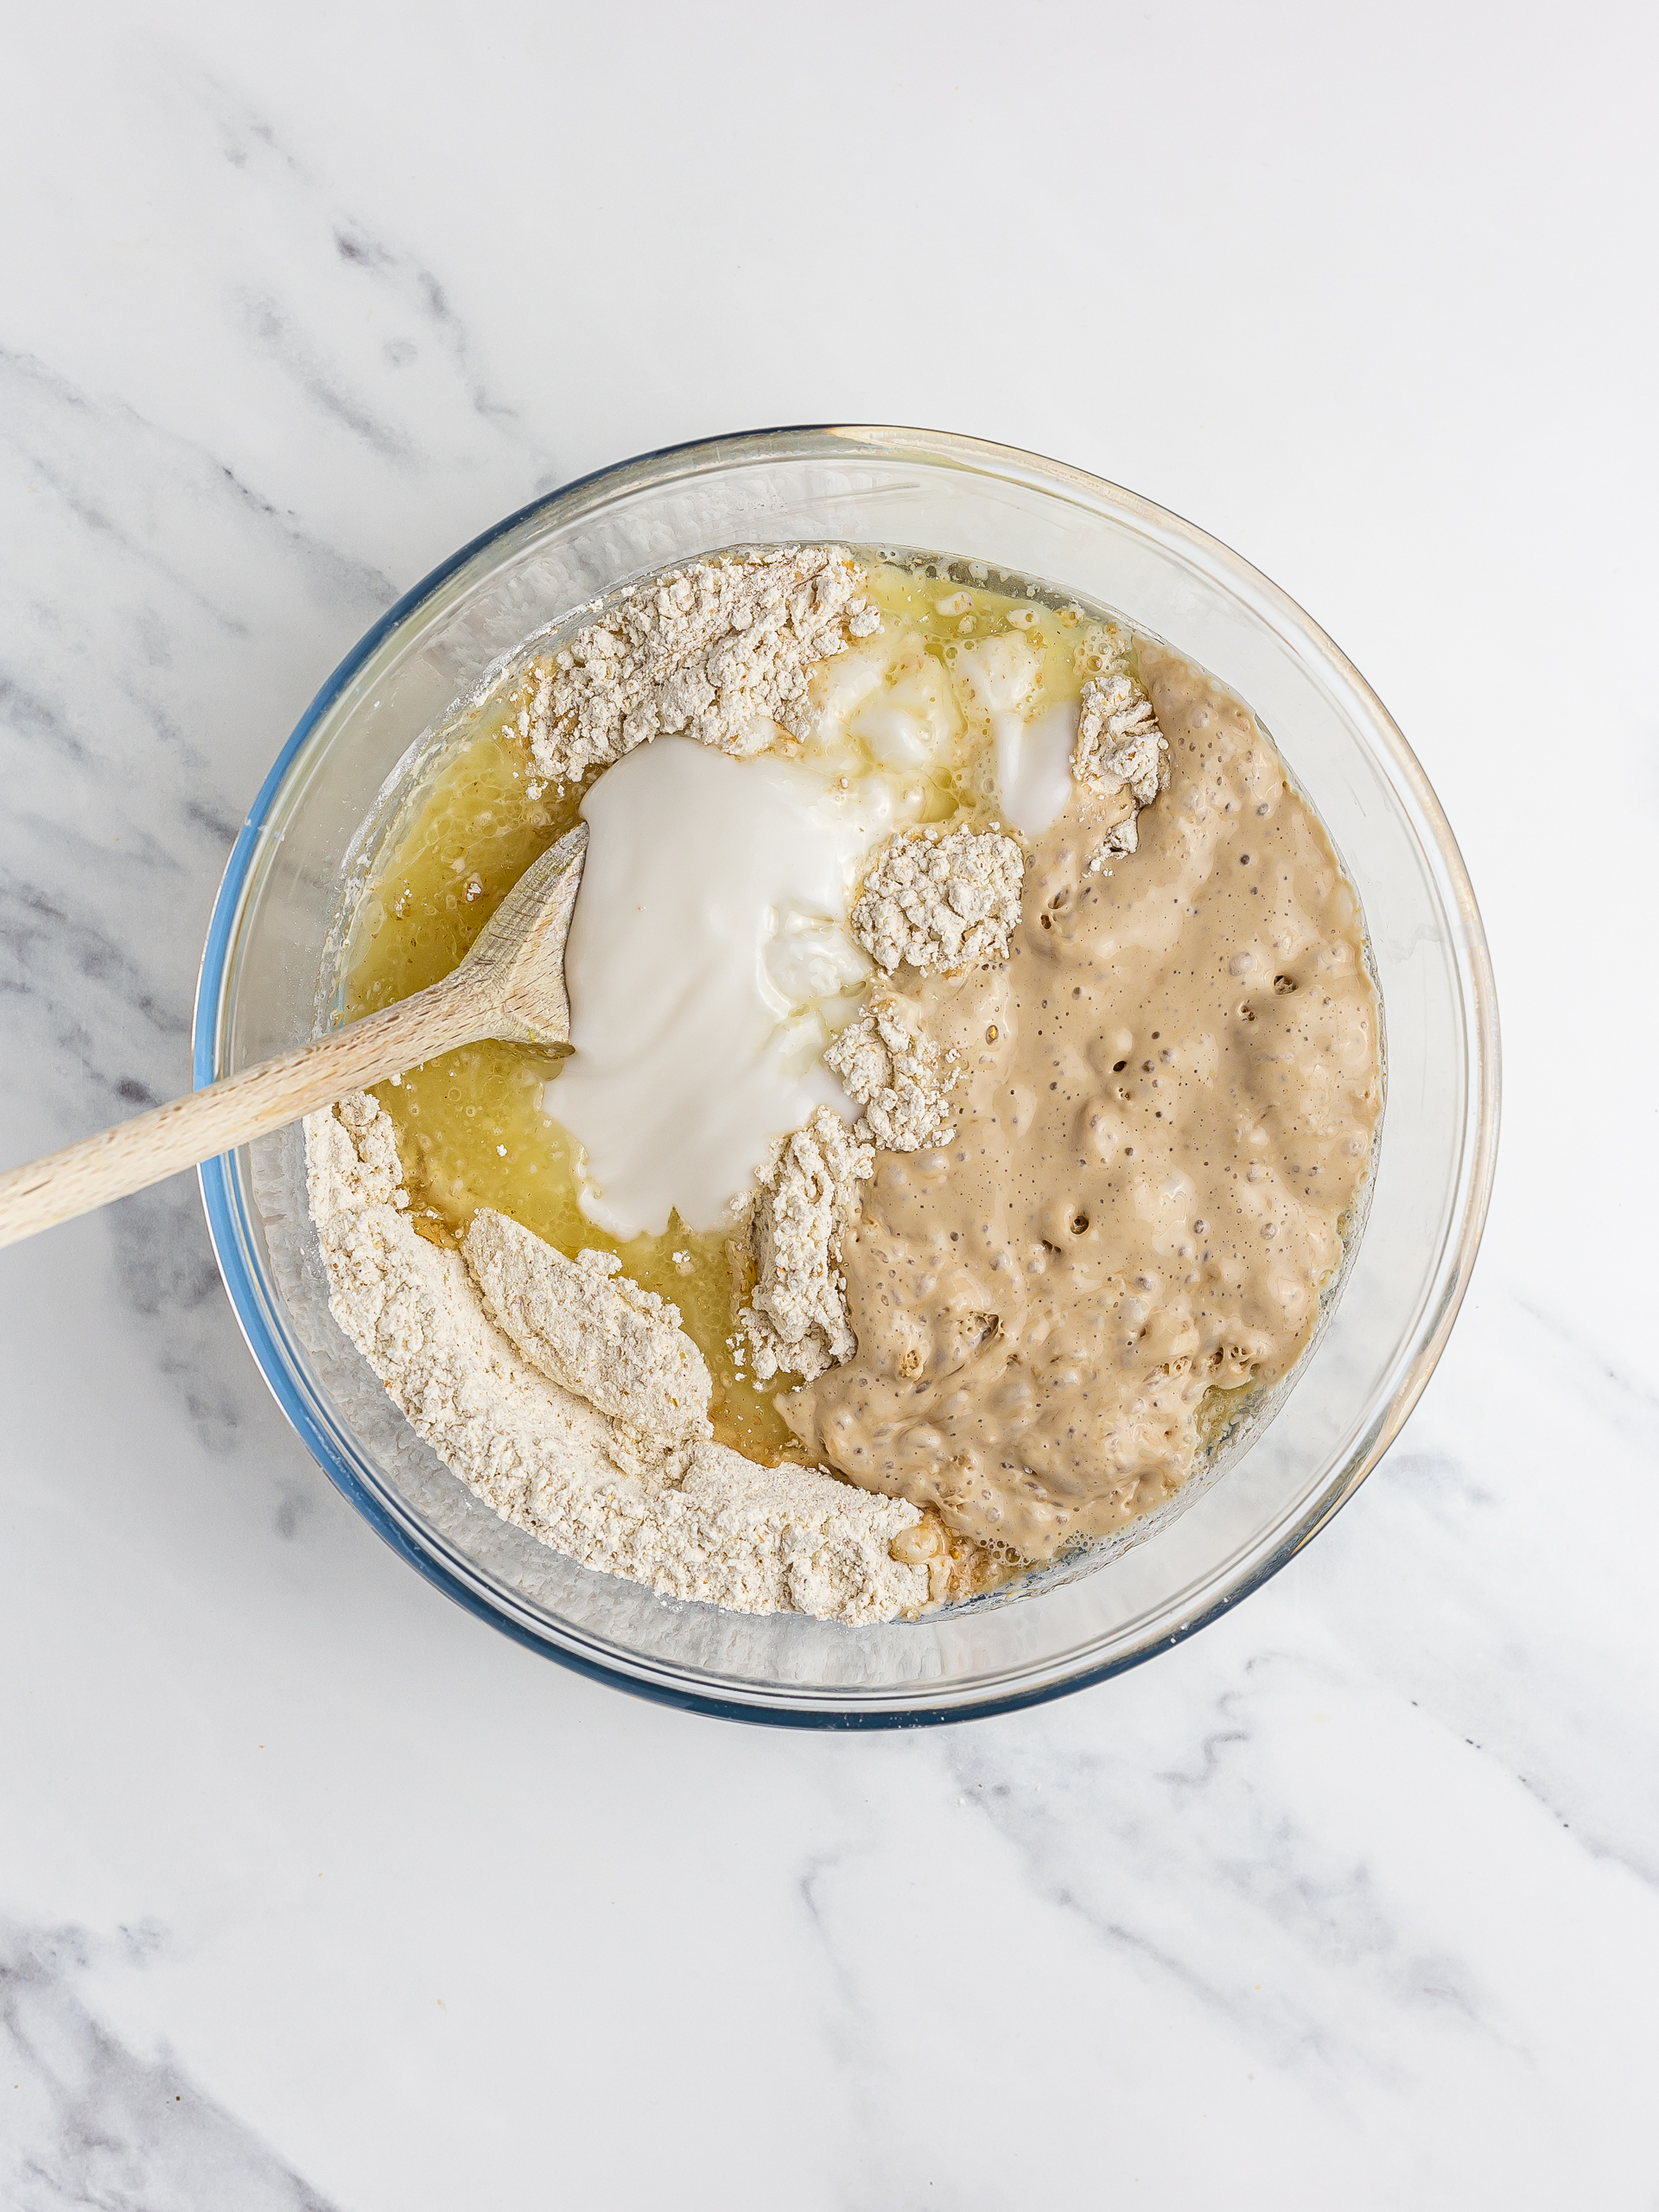
Next, add canned pineapple juice, oil, yogurt, vanilla extract, and the remaining 100 mL of lukewarm almond milk. Then, add the yeast mixture (2).
If you're opting for fresh pineapple juice make sure to check our FAQ section below for advice on how to use it.
Step 3
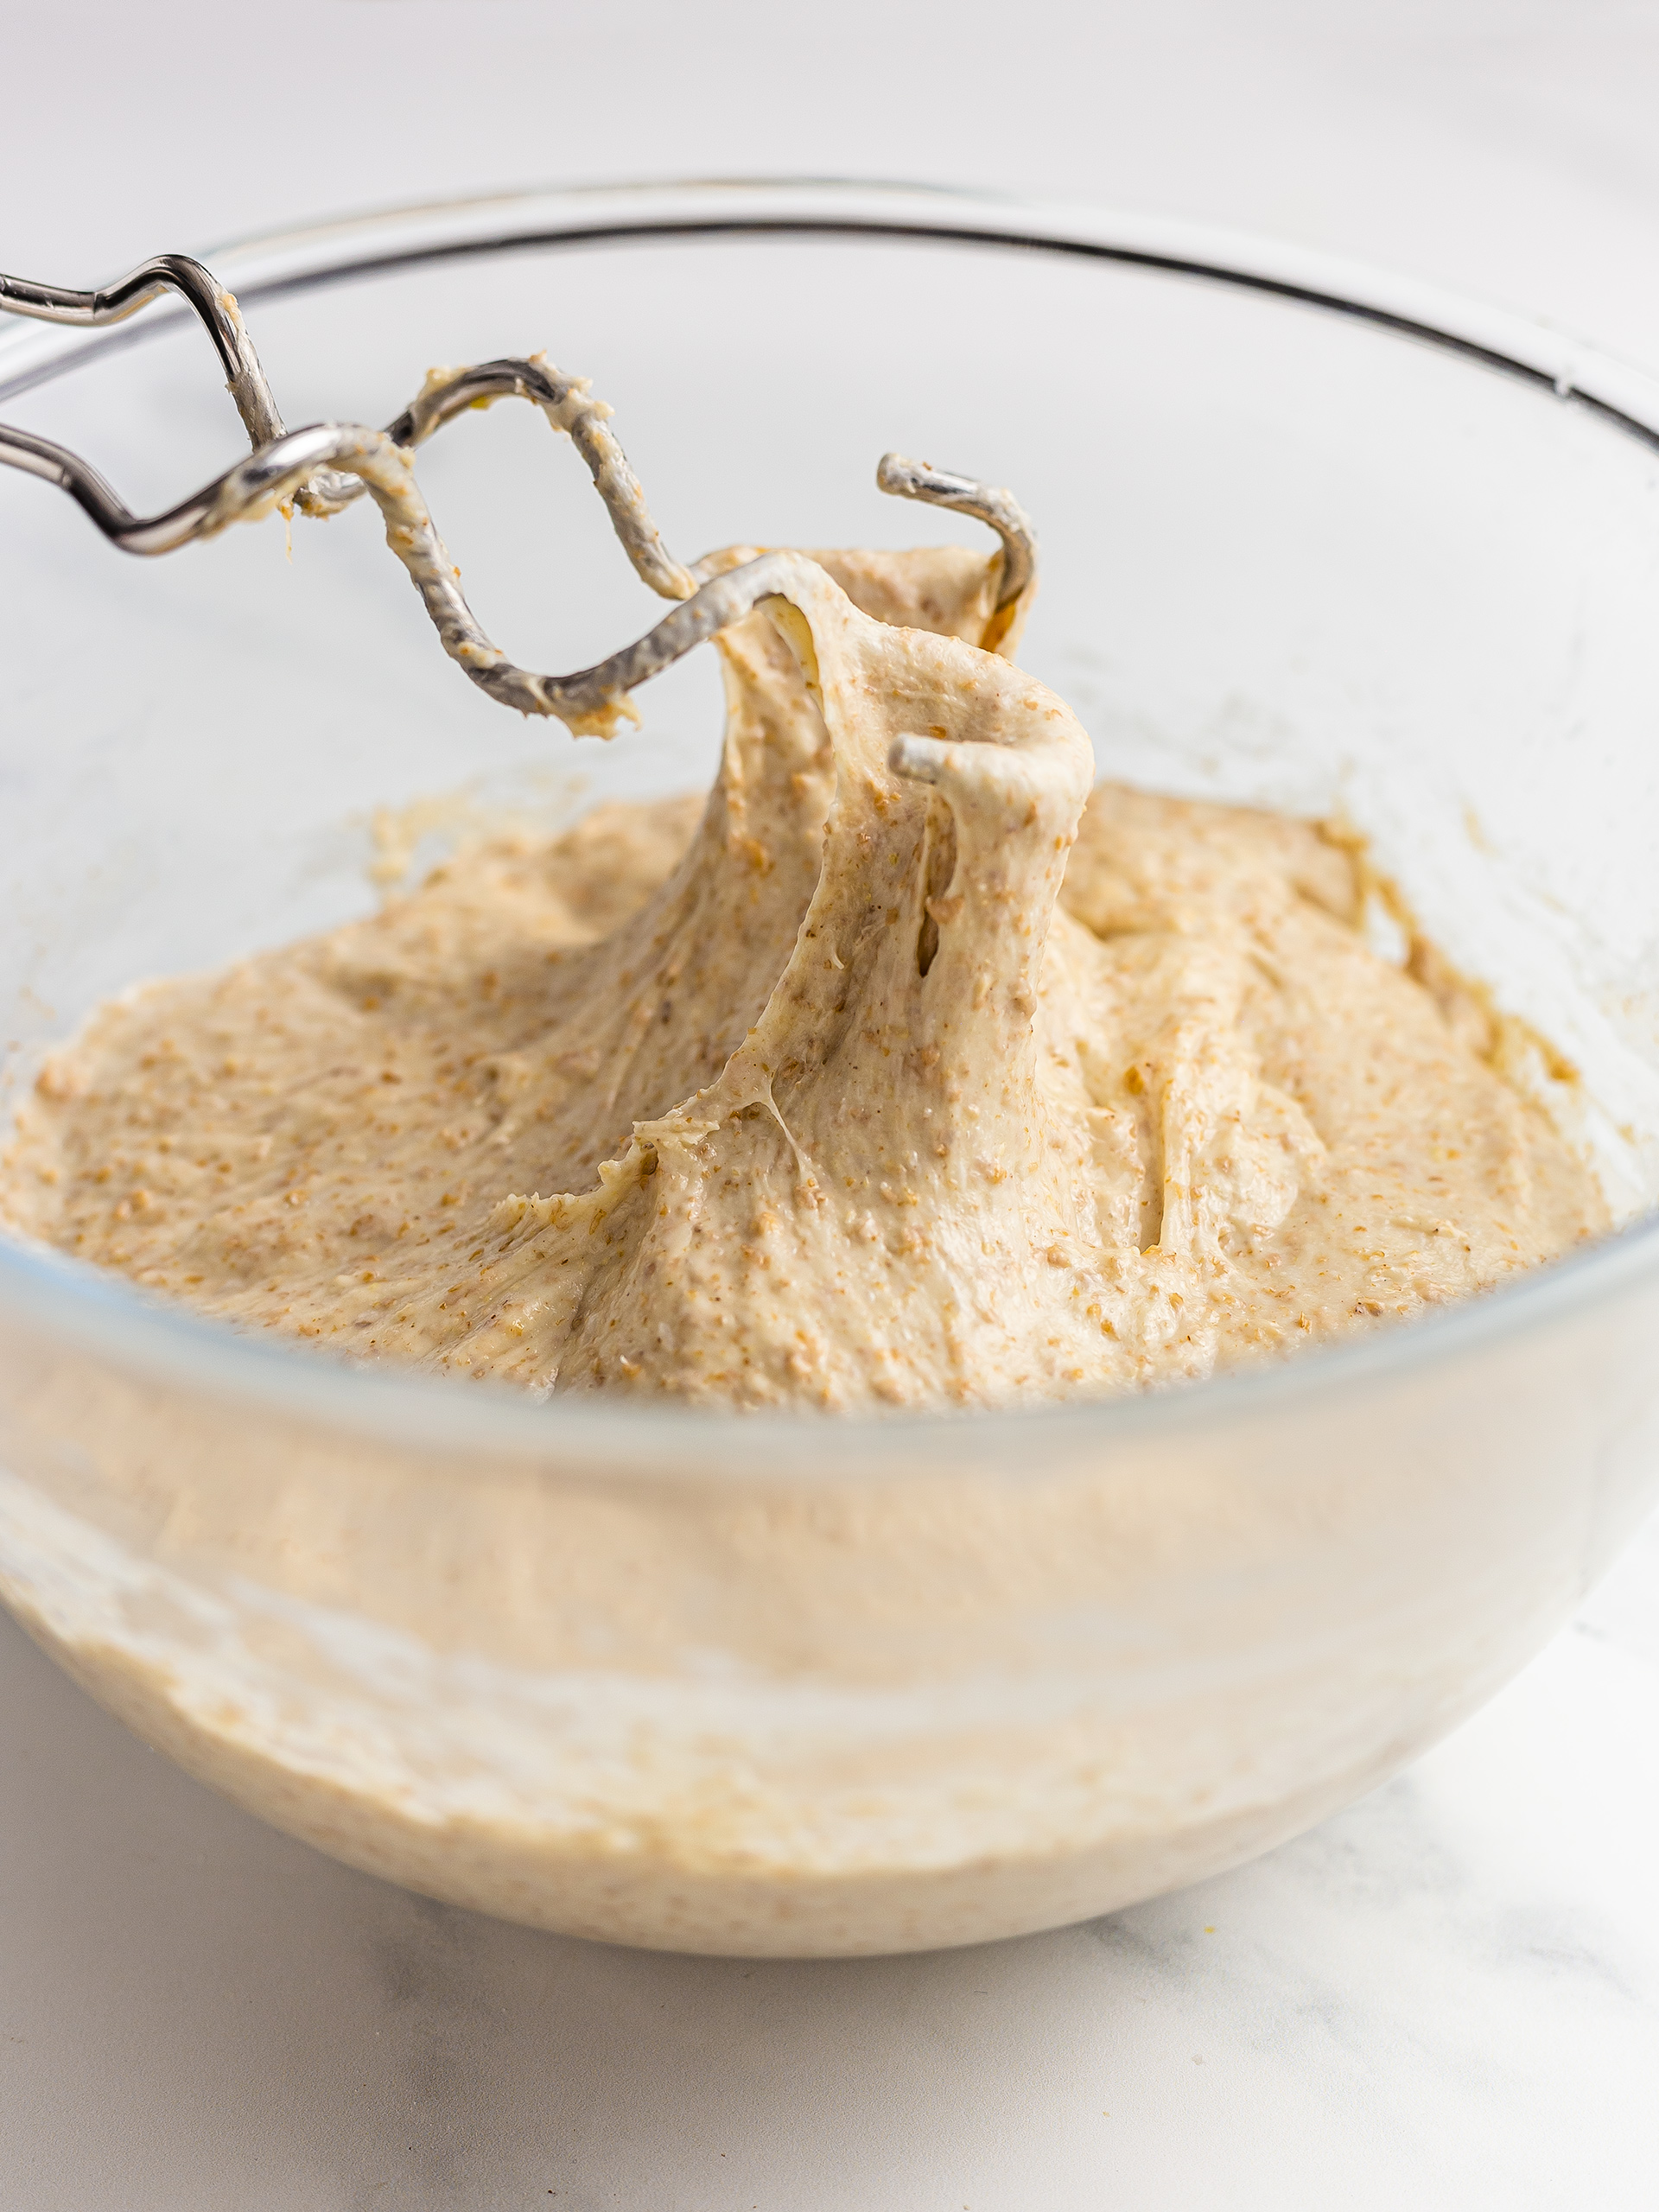
Work the ingredients with a hand or stand mixer fitted with a dough hook for 8 minutes or until you have a smooth, sticky, and elastic dough.
If you don't have the dough hooks, we strongly recommend not to knead the dough by hand as the mixture is very sticky. Instead, keep it in the bowl and use a wooden spoon or spatula.
Step 4
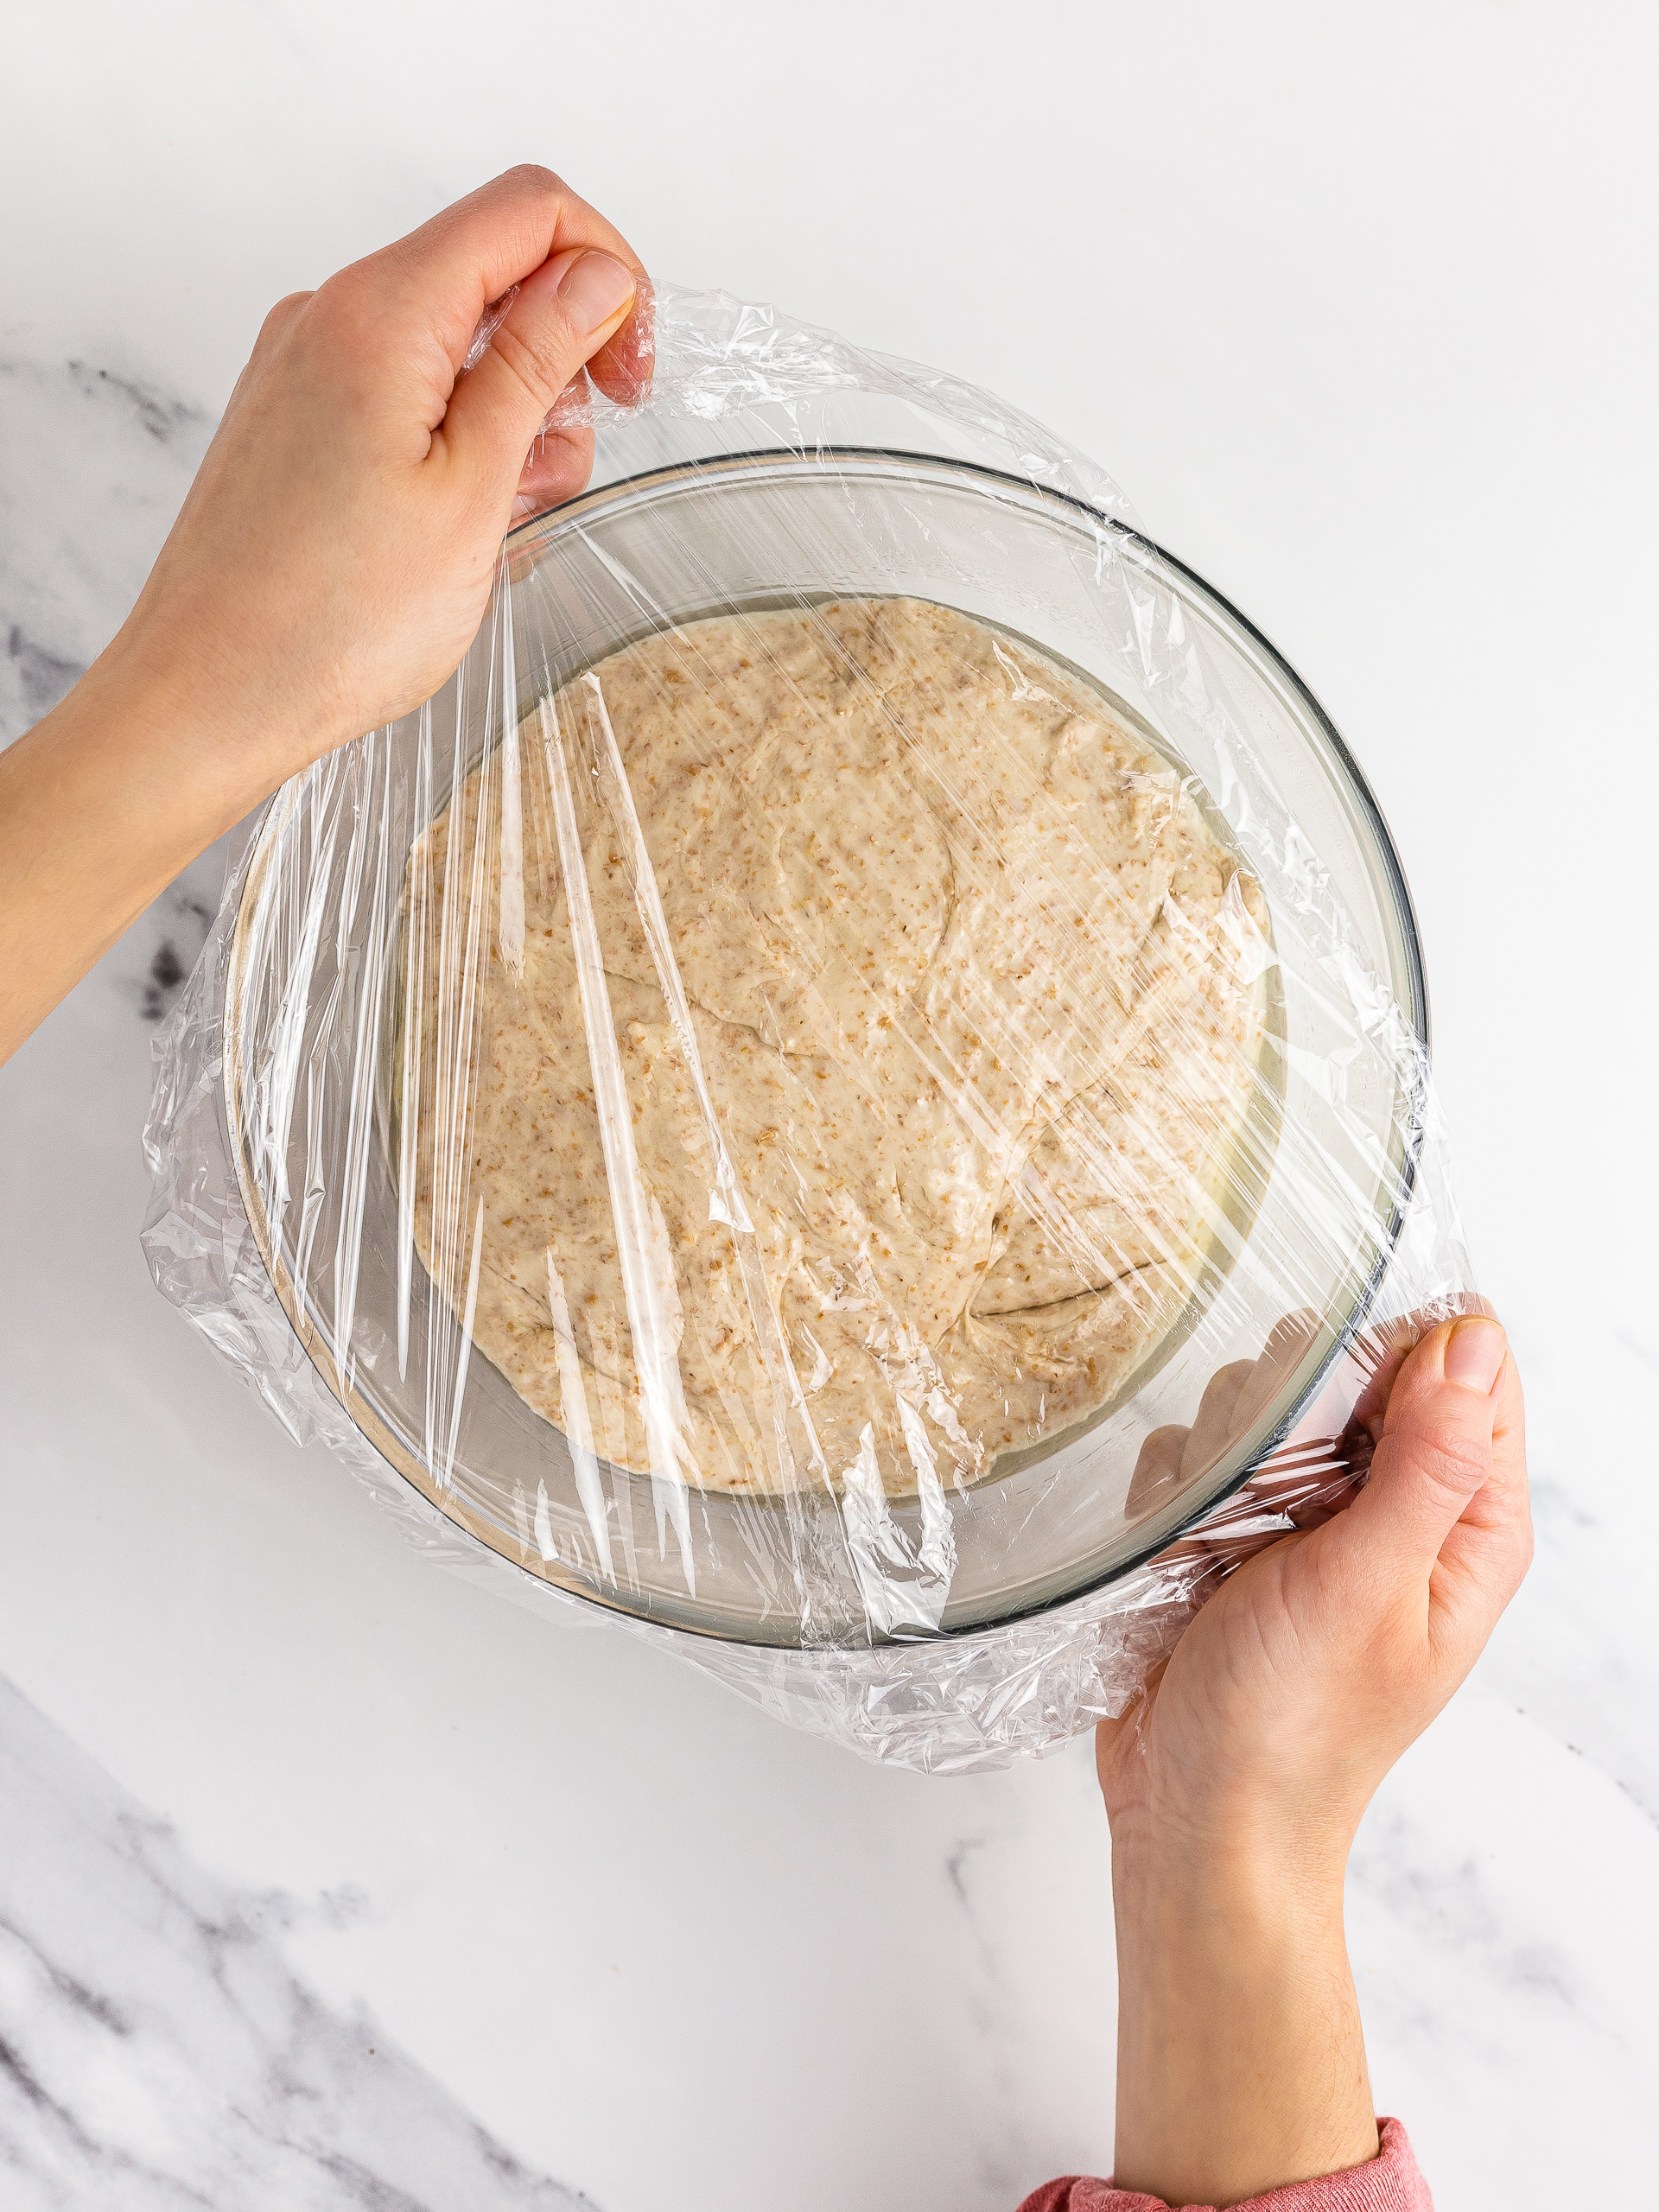
Now, transfer the Hawaiian rolls dough into a large bowl greased with a little bit of oil. Then, wrap the bowl with cling film (1).
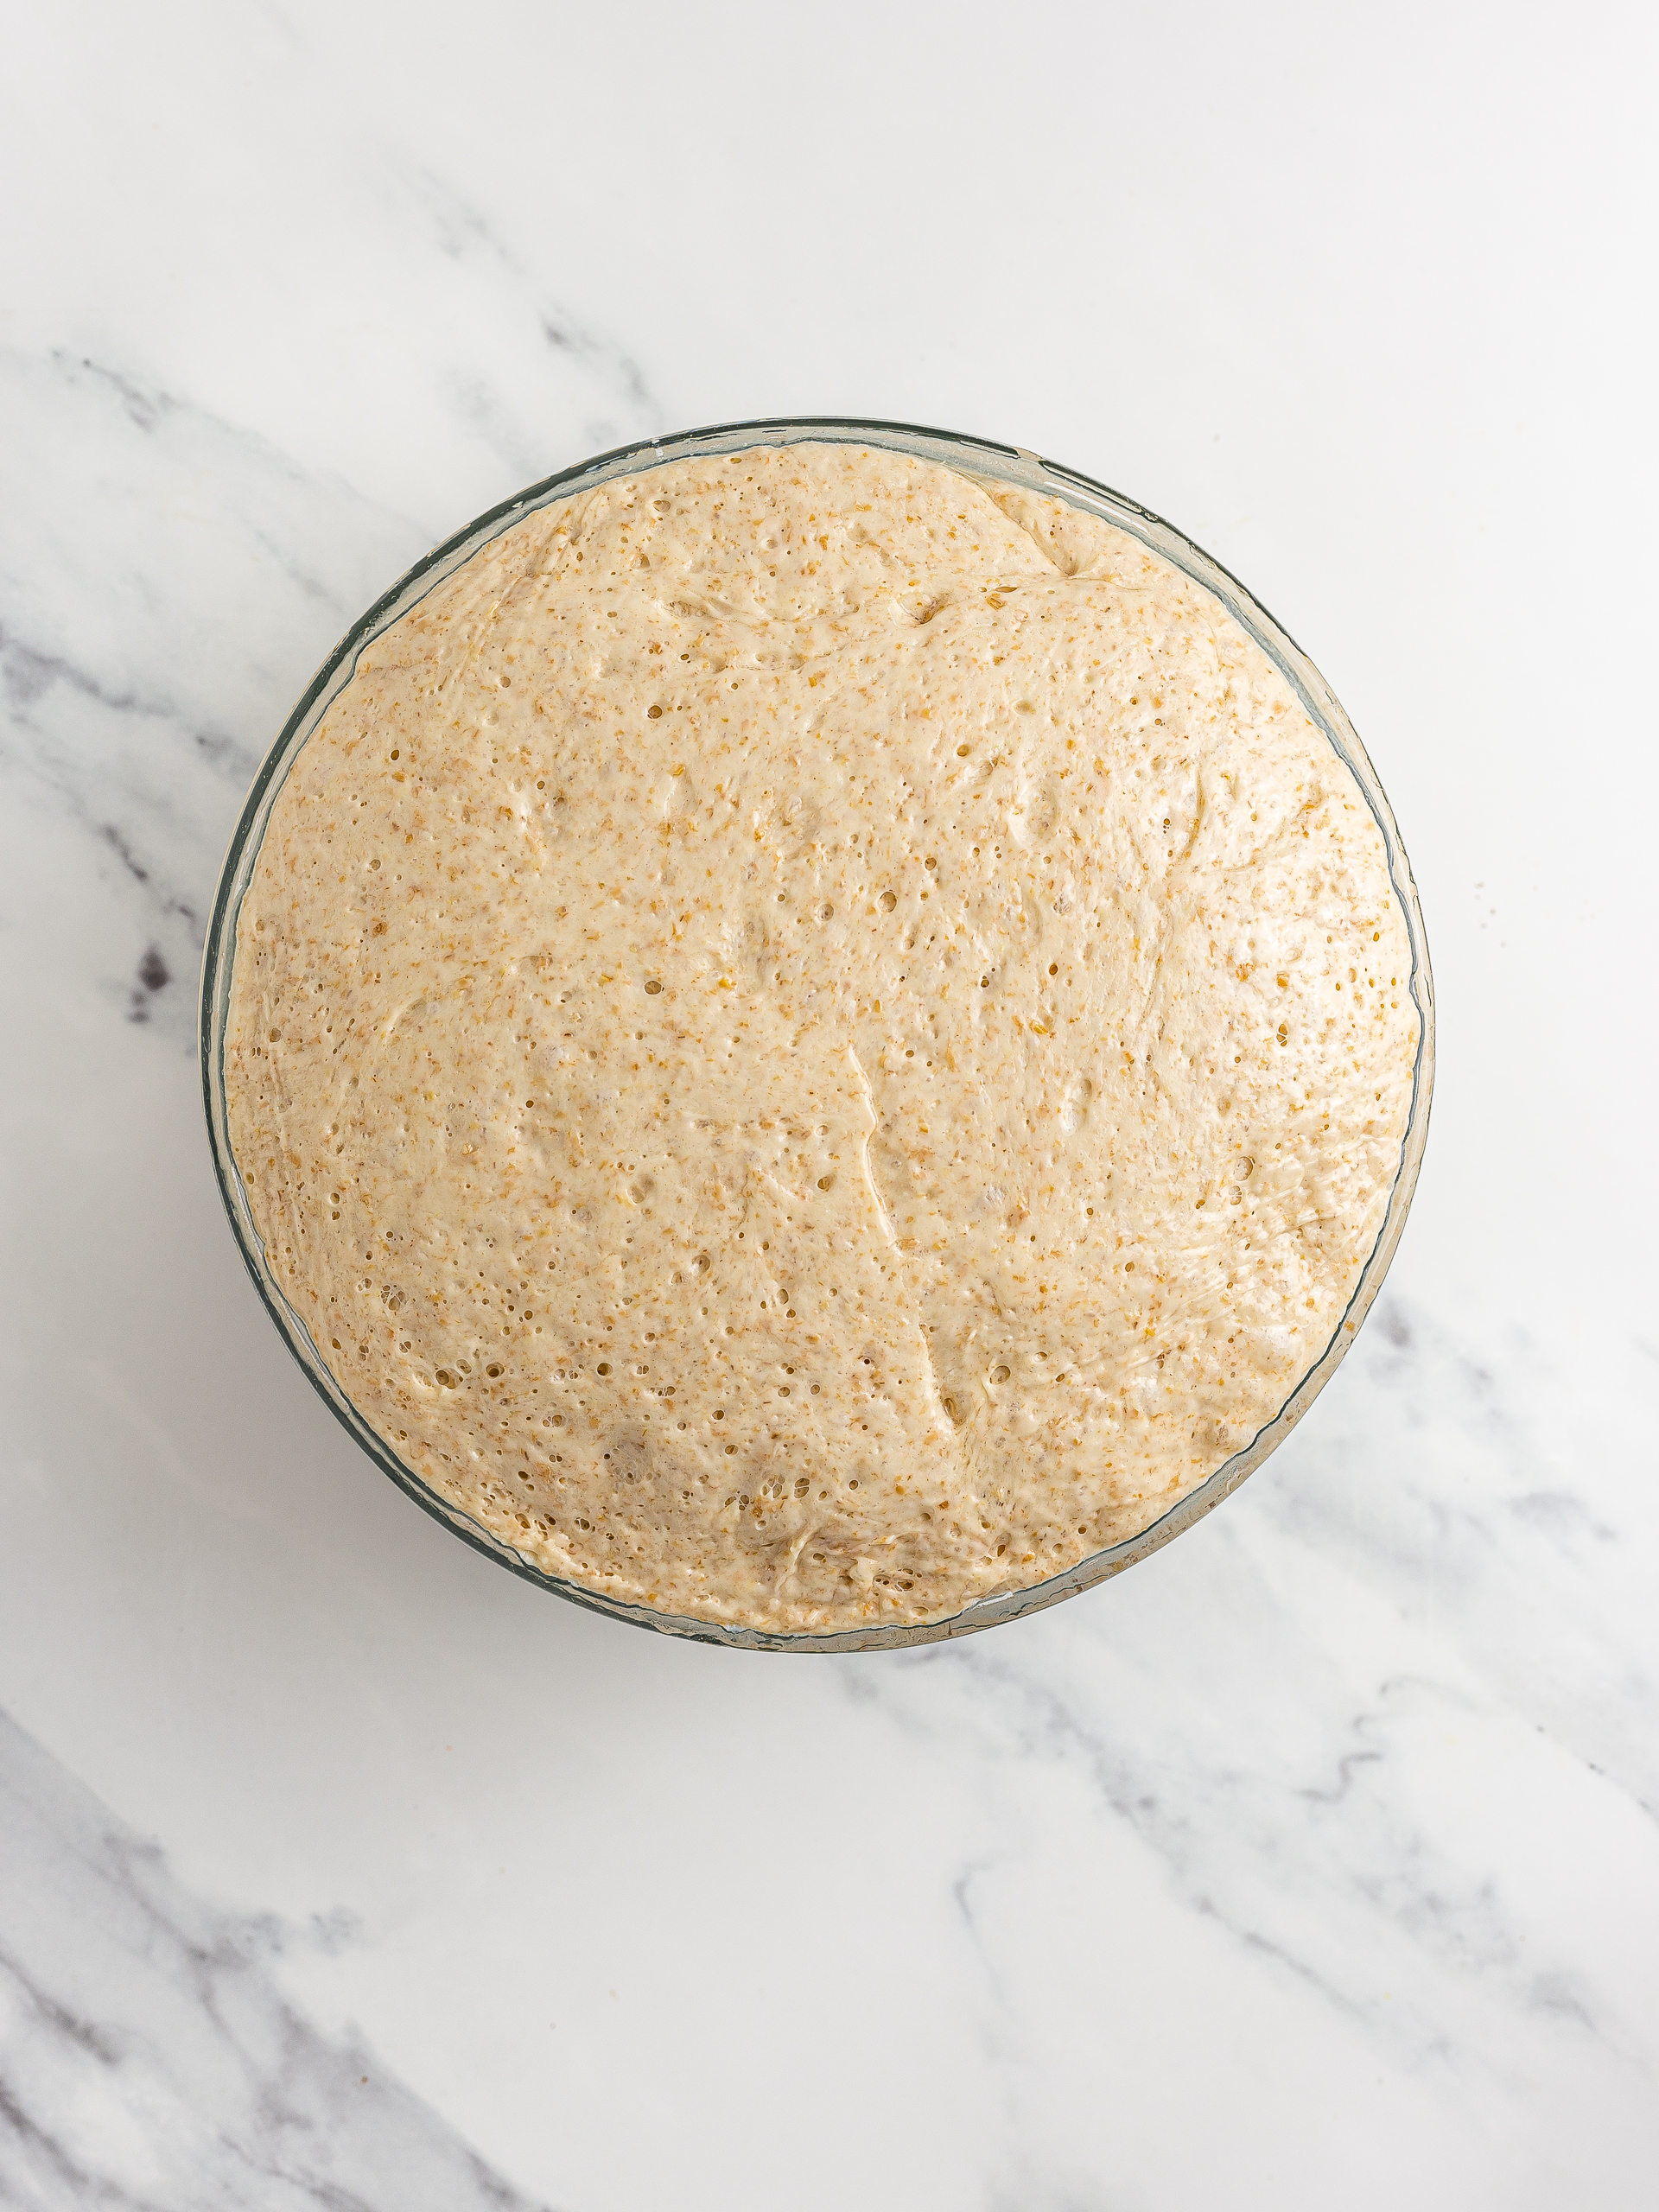
Leave the dough to prove in a warm place for at least 1 hour or until it has doubled in volume (2)
For example, you can keep it next to a heater or wrapped in a wool blanket. The warmer the environment, the faster the dough will grow.
Step 5
Grease your hands thoroughly with oil and then transfer the proved dough onto your kitchen worktop.
Use a baker blade or sharp knife to divide the dough into 16 pieces or as many pieces as the number of servings.
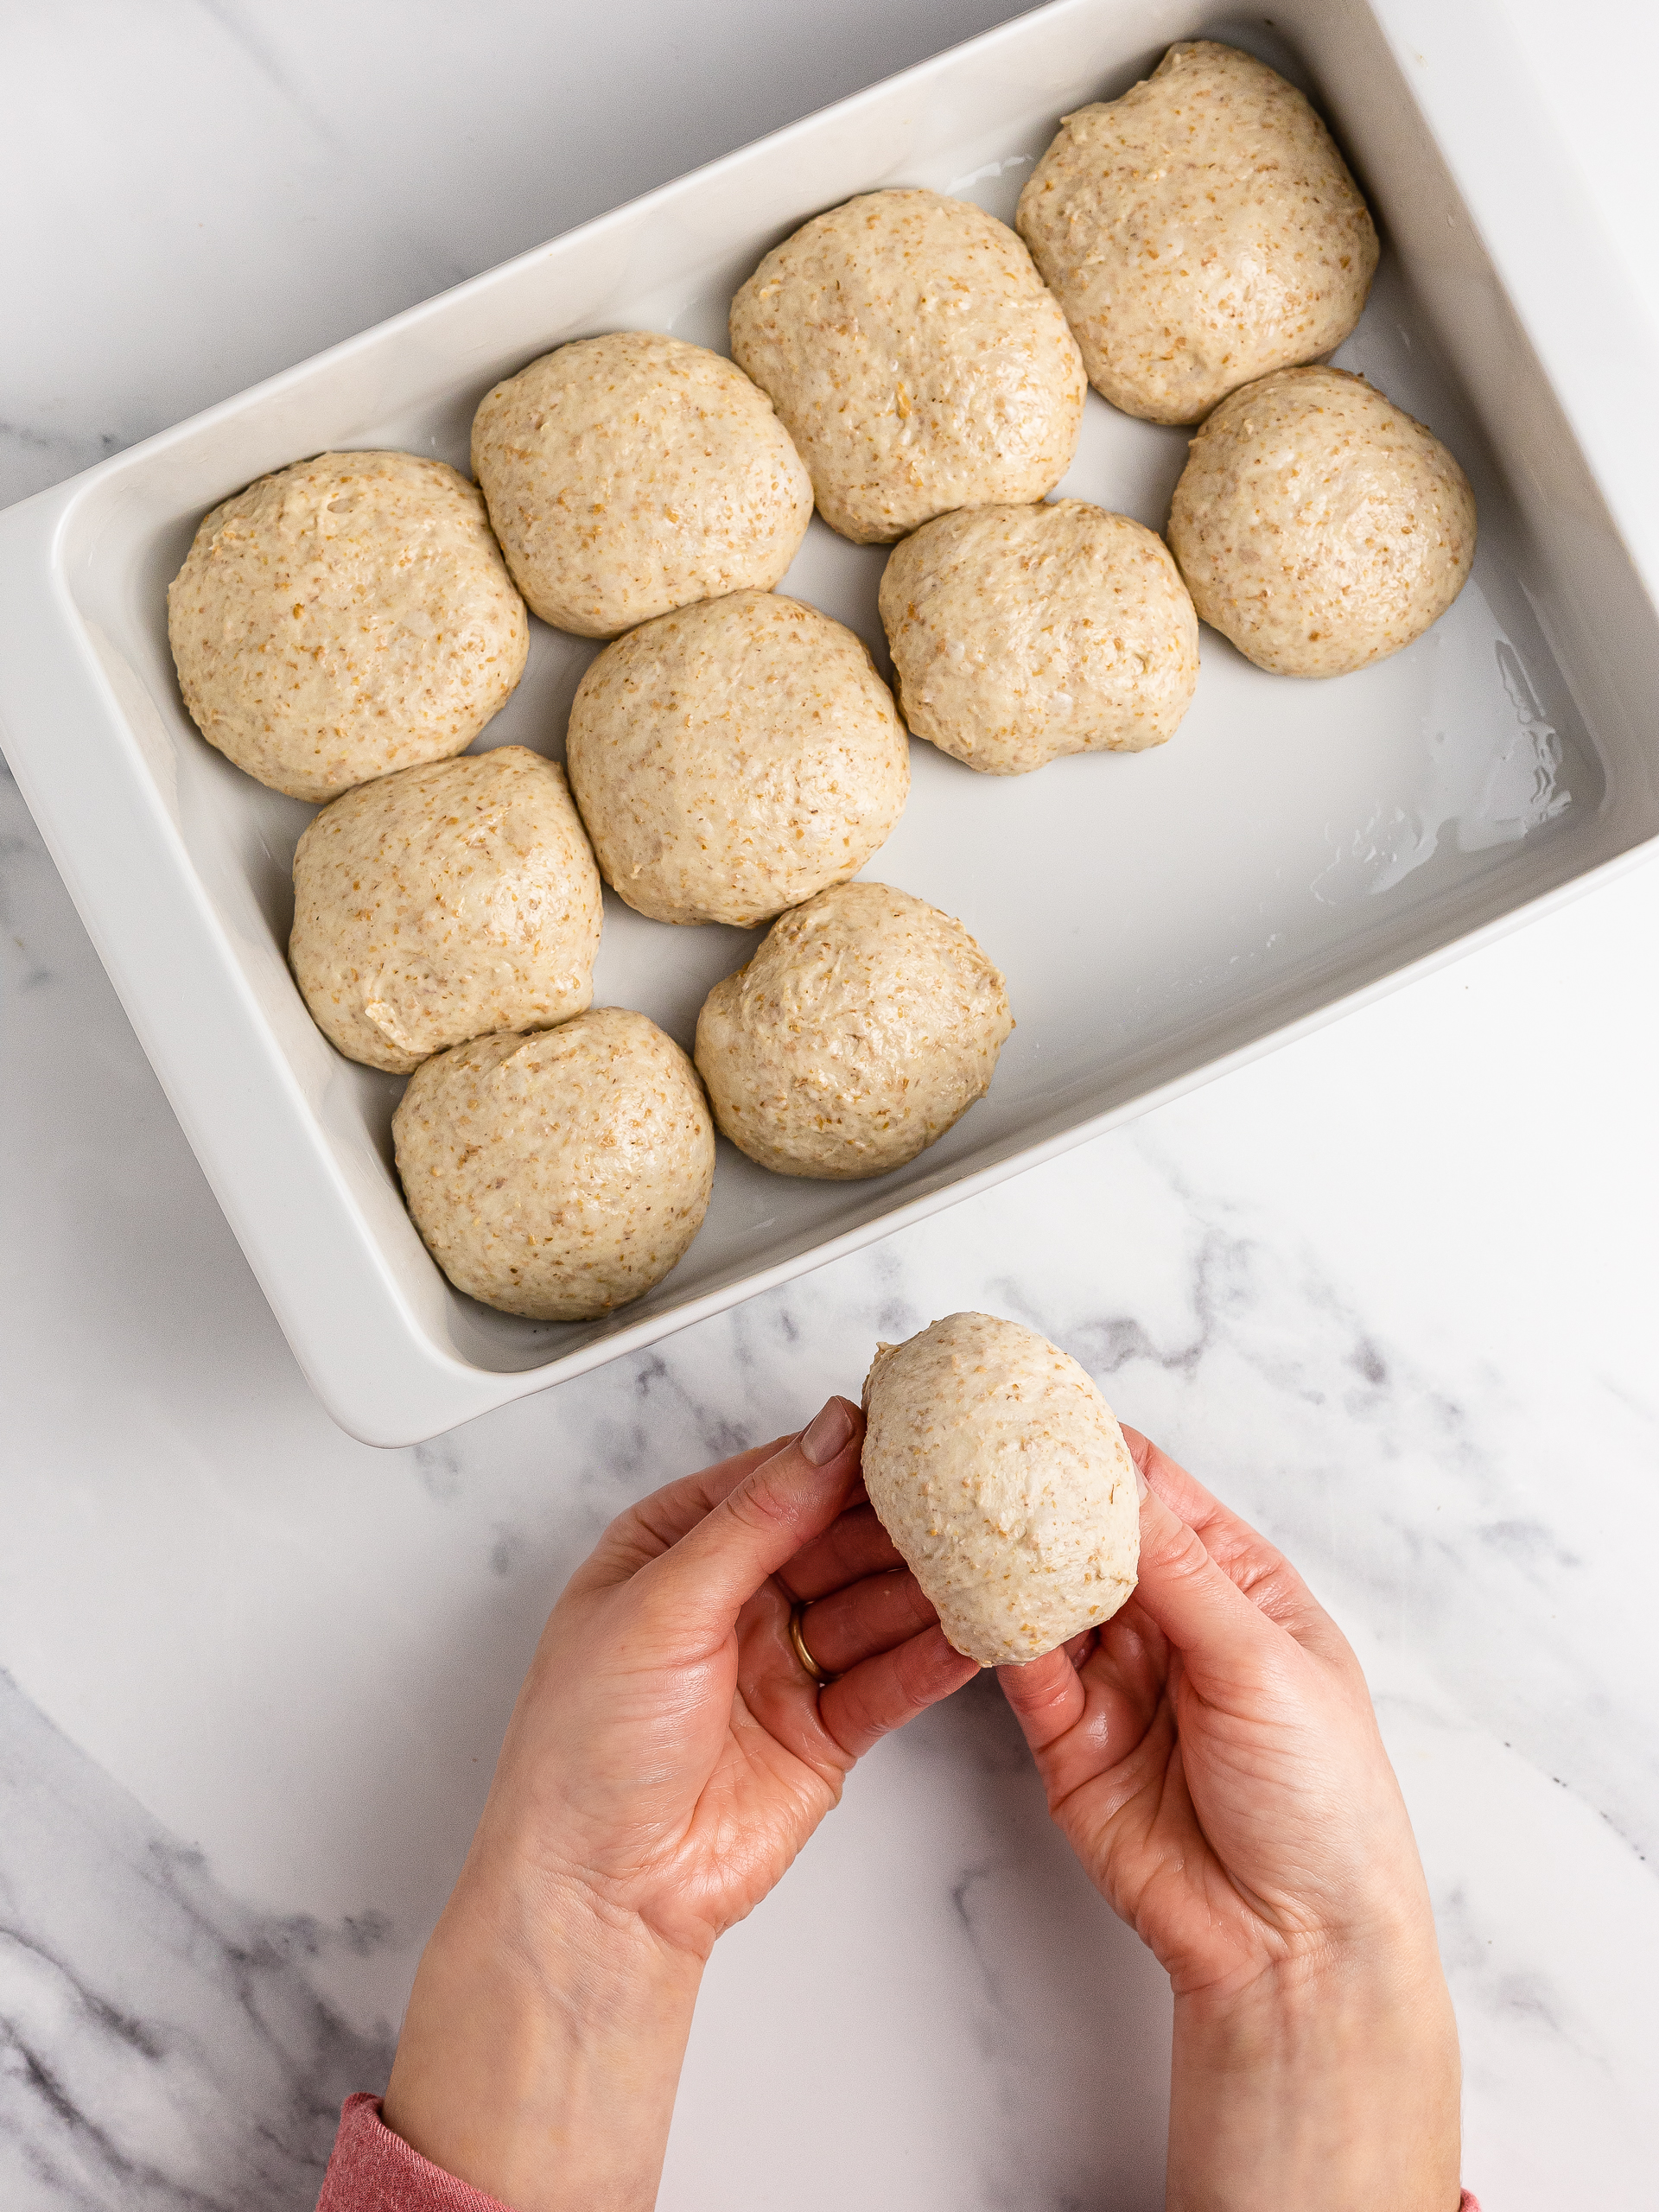
For each piece, stretch the dough and then fold the edges into the middle a few times without pressing too hard. Then flip it, pull and tuck the sides of the dough underneath to form a tight and smooth ball.
Don't stress too much about shaping the dough balls, as they will later expand in the tray. Just do your best to try and make them smooth and round.
The dough will be very soft and sticky, so we recommend keeping your hands greased throughout the shaping process.
Step 6
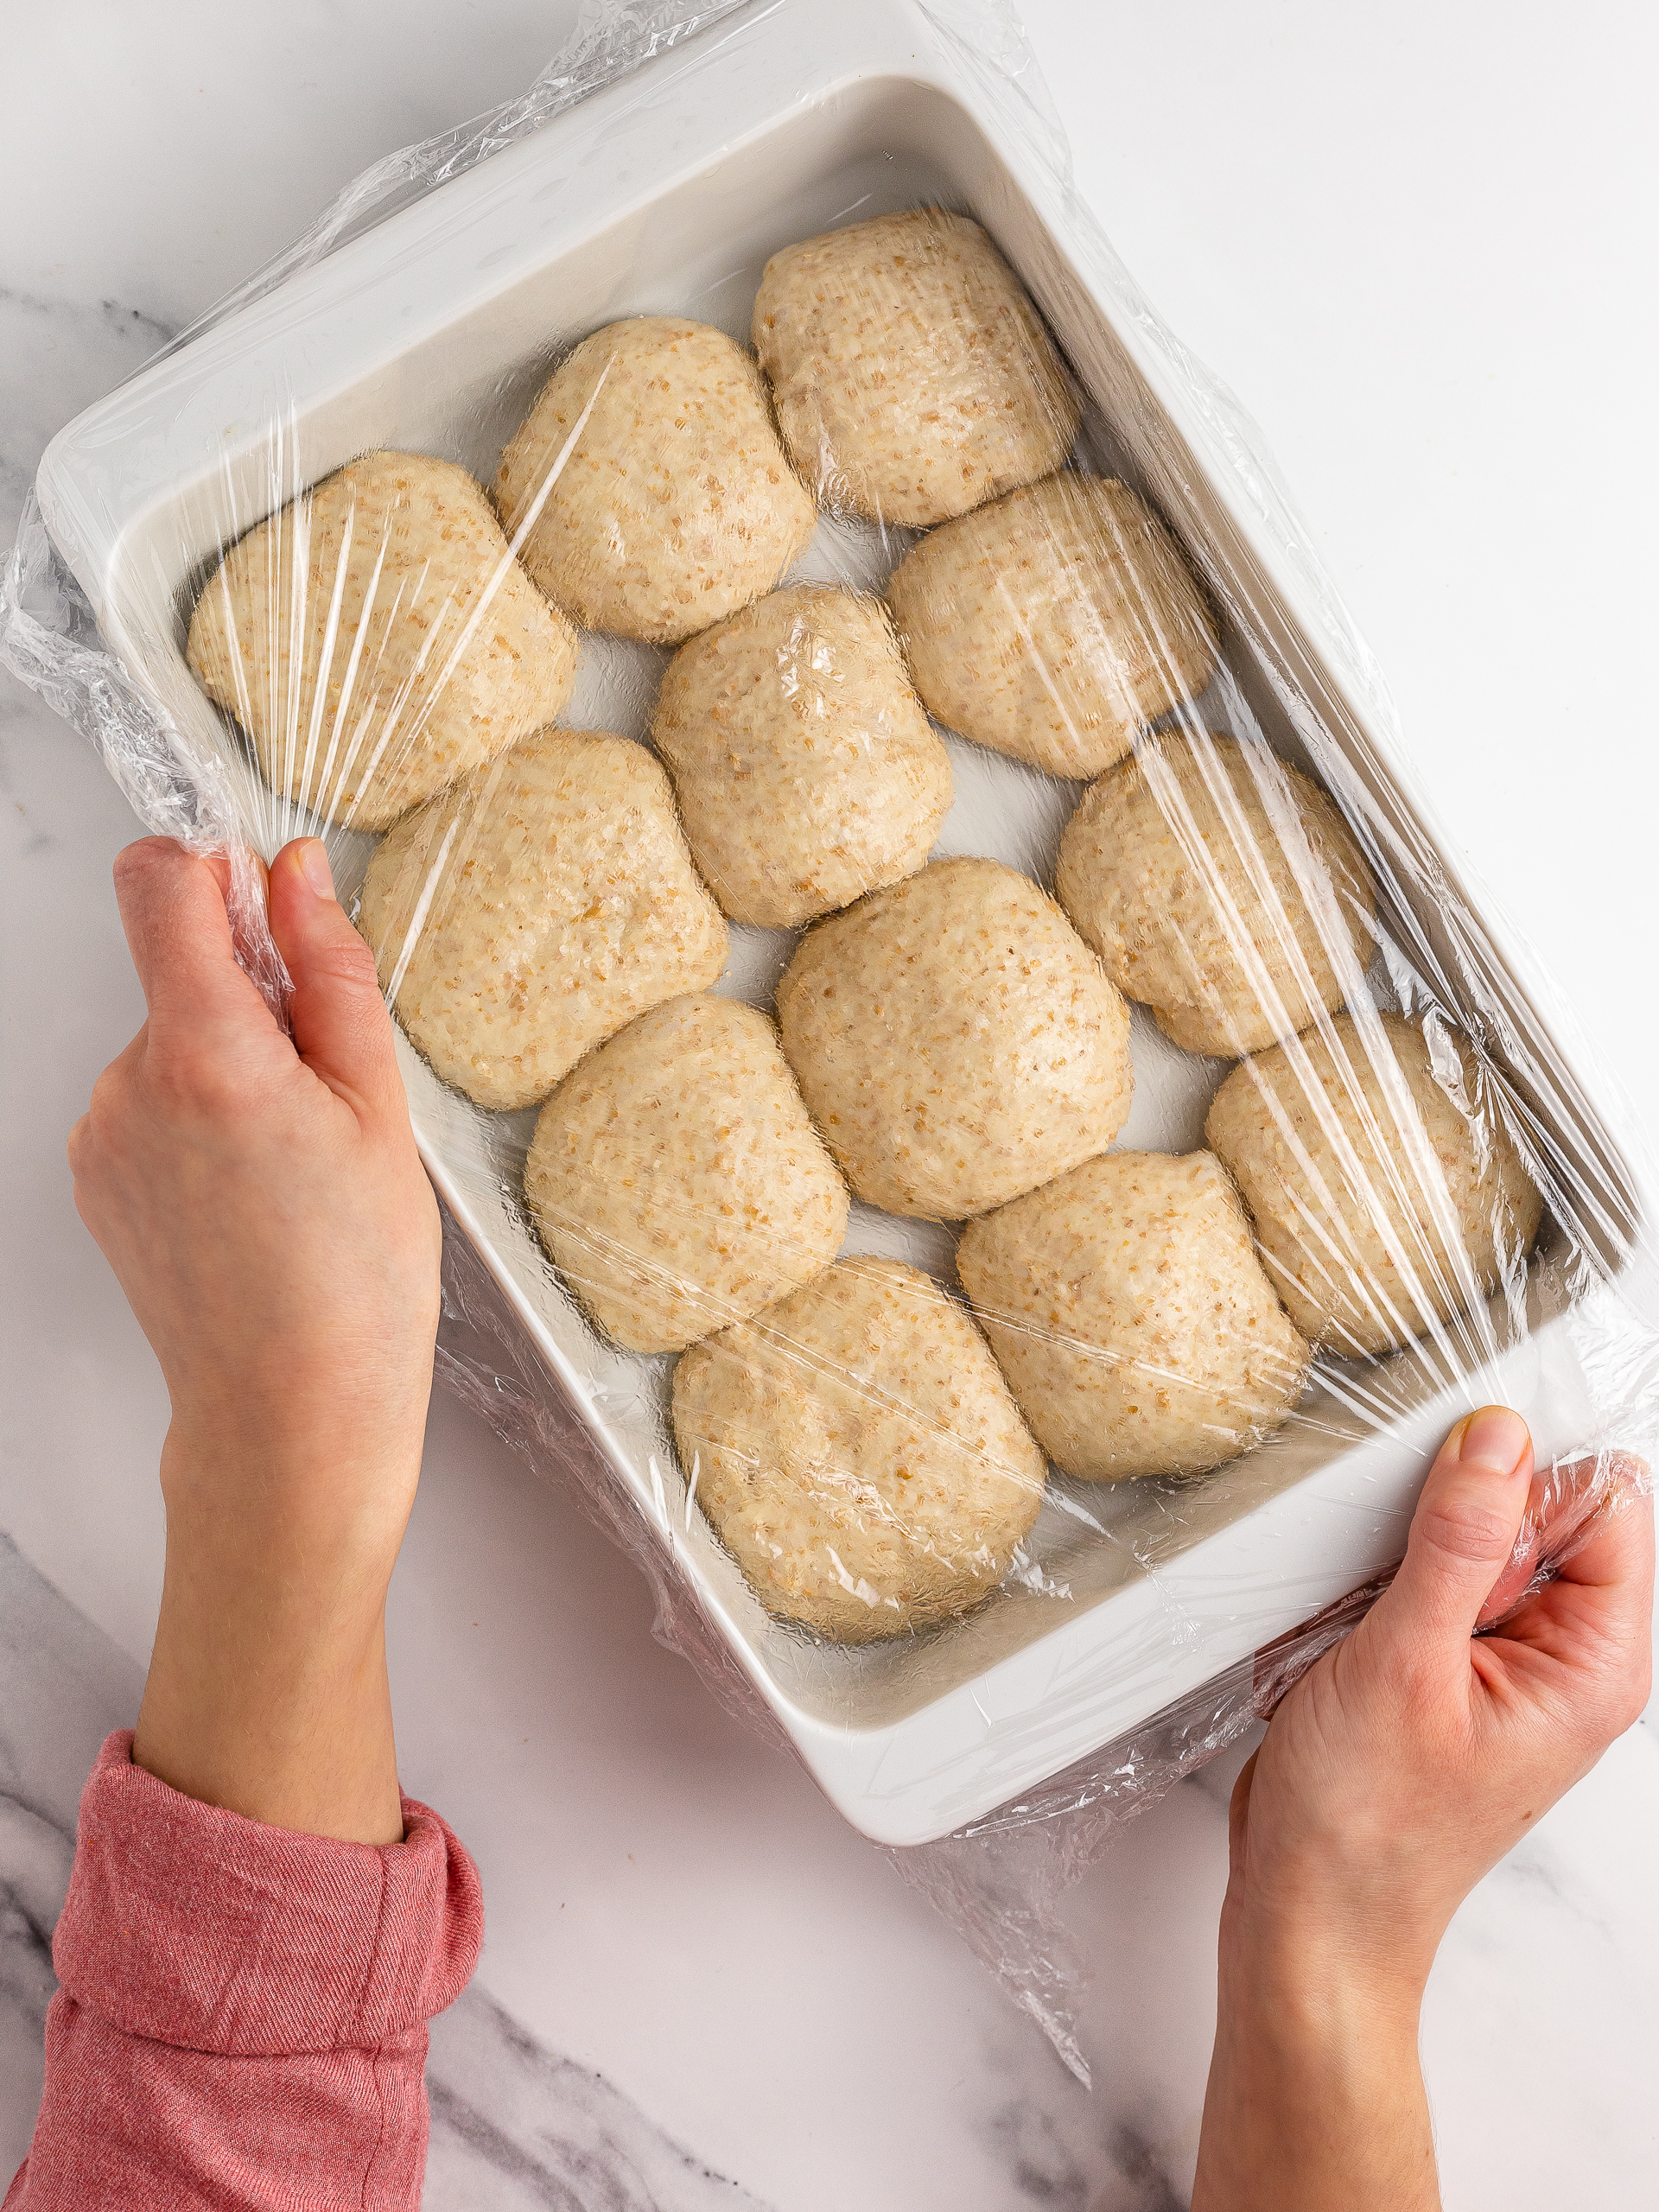
Transfer the shaped buns into a deep baking dish, making sure you fill the whole space and then wrap it with cling film (1).
Depending on the size of your tray, you might not be able to fit all of them at once. In this case, we recommend using a second baking tray.
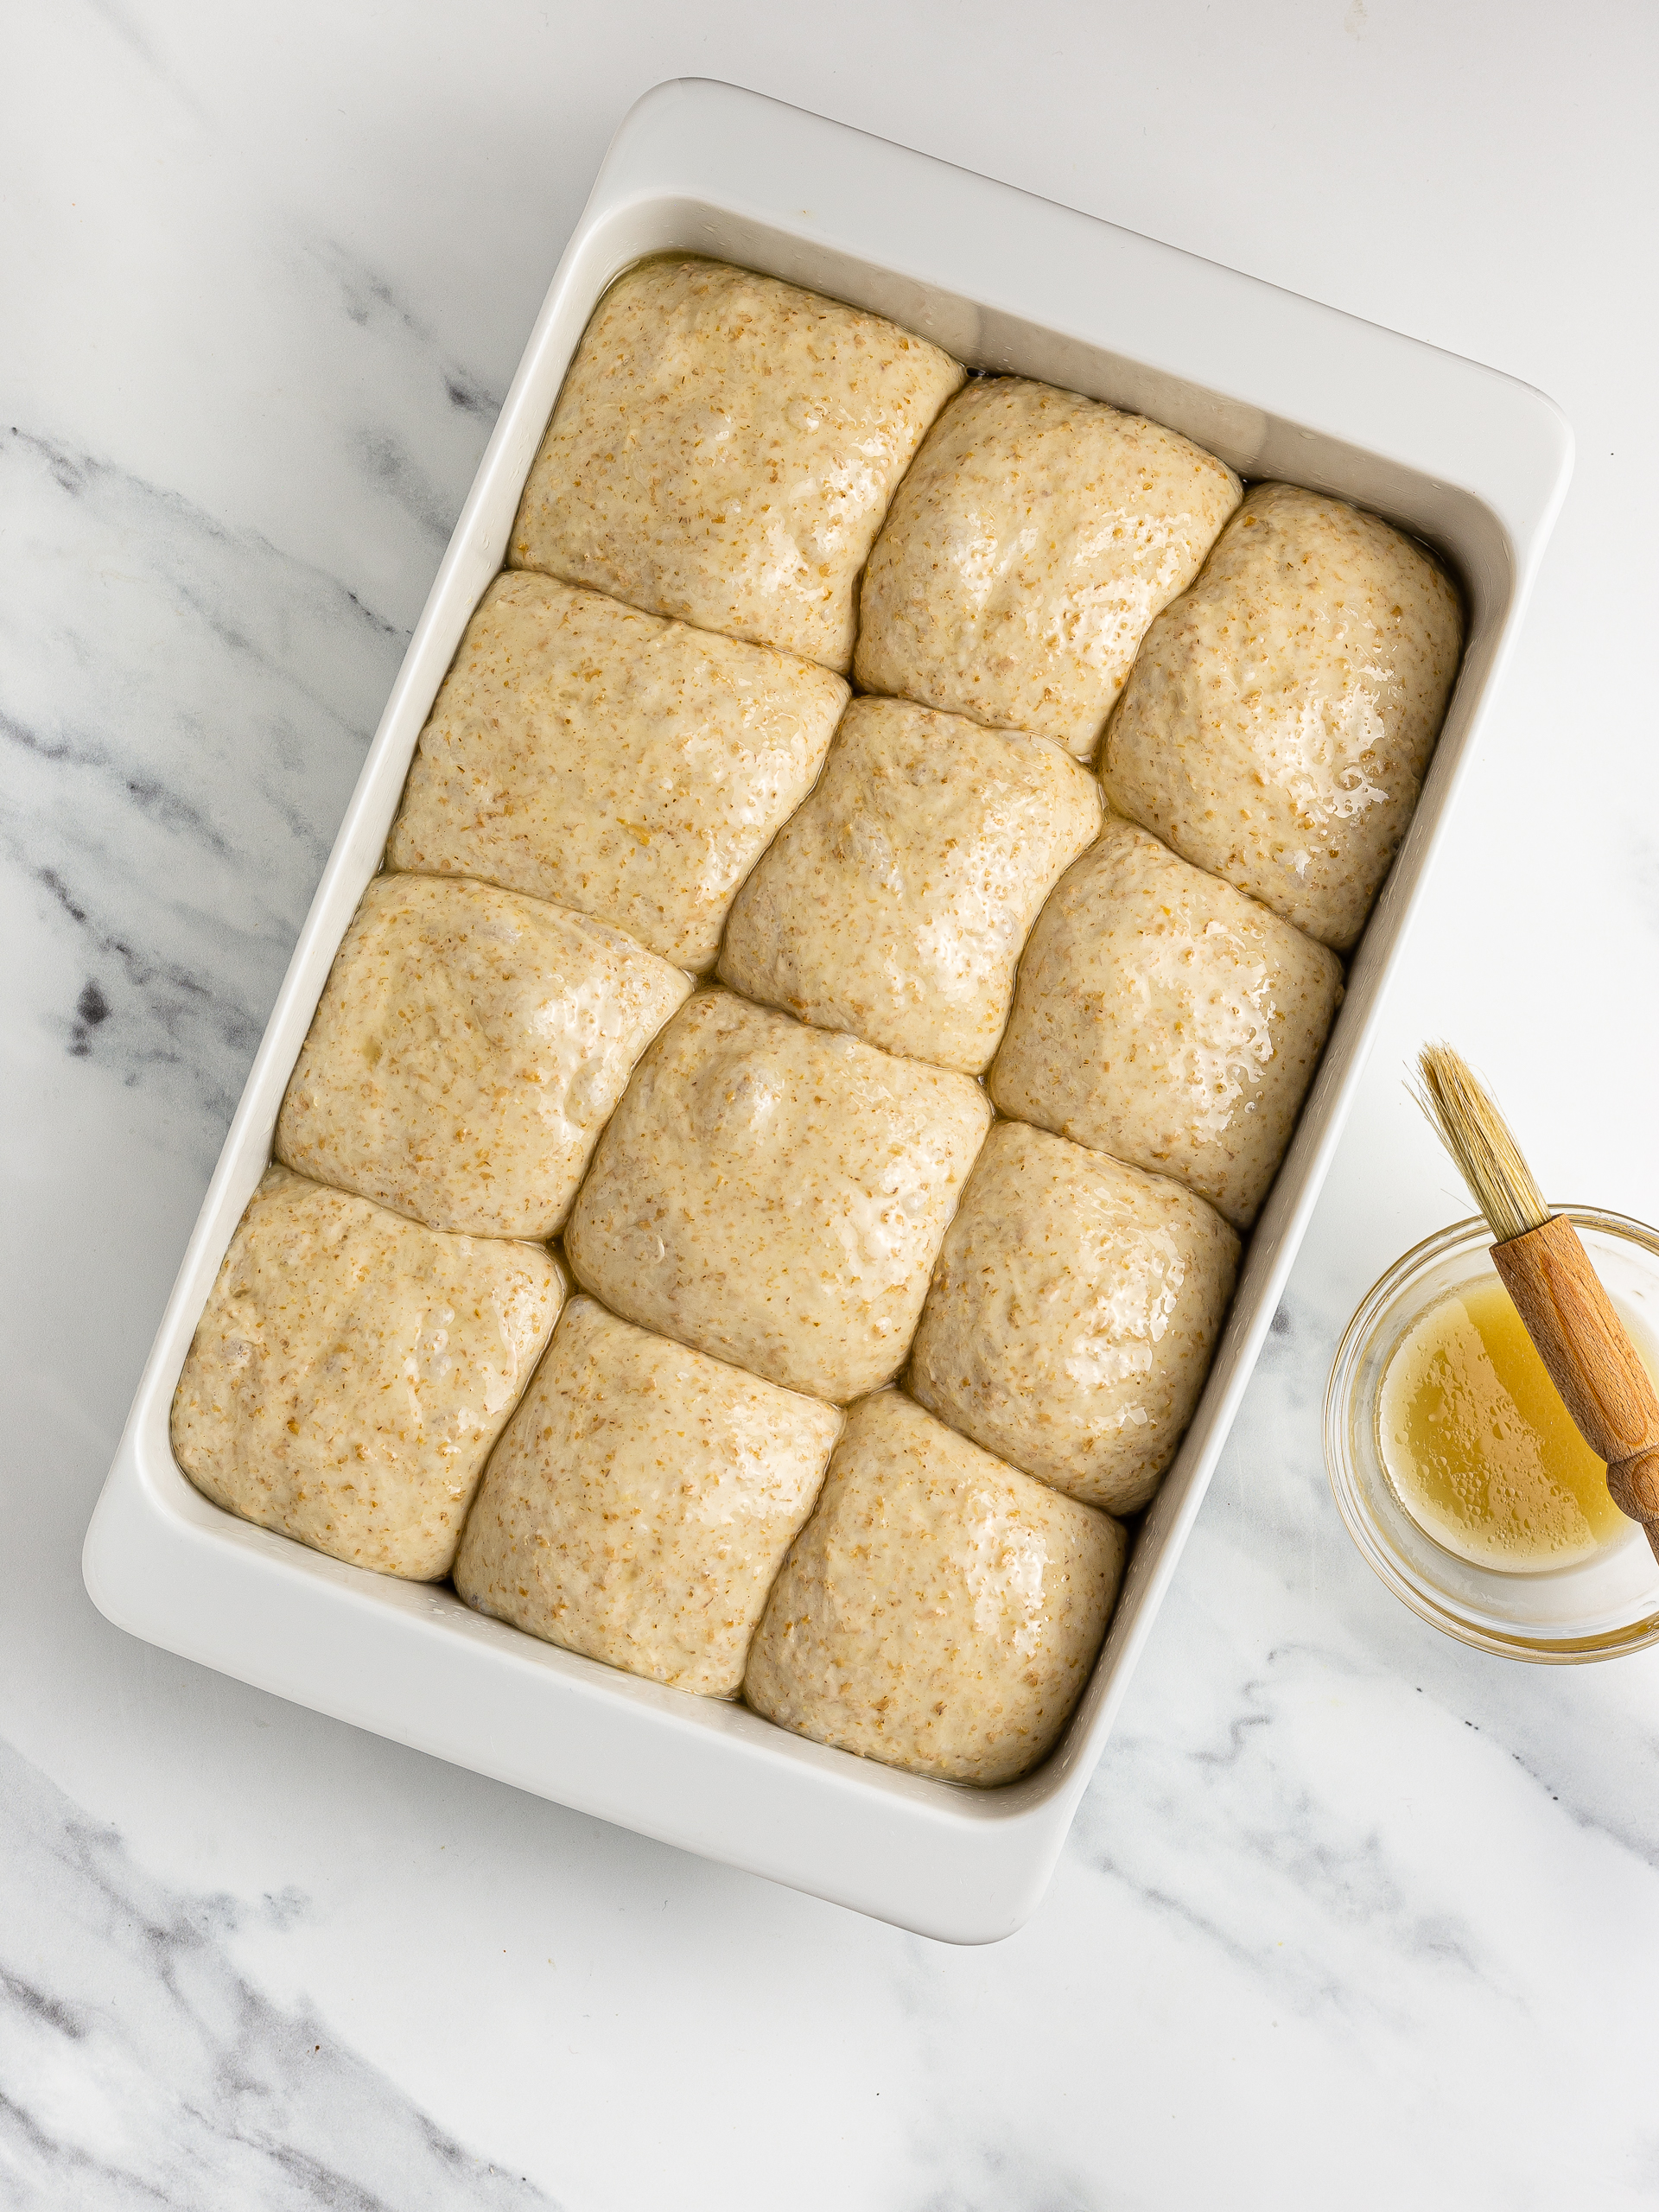
Now, leave the rolls to prove in a warm place for 30-40 minutes or until they have doubled in volume (2).
At this point, you can brush them with a little bit of oil or a mixture of milk and maple to get a crusty, browned look. Check out our TIPS section below for more info.
Step 7
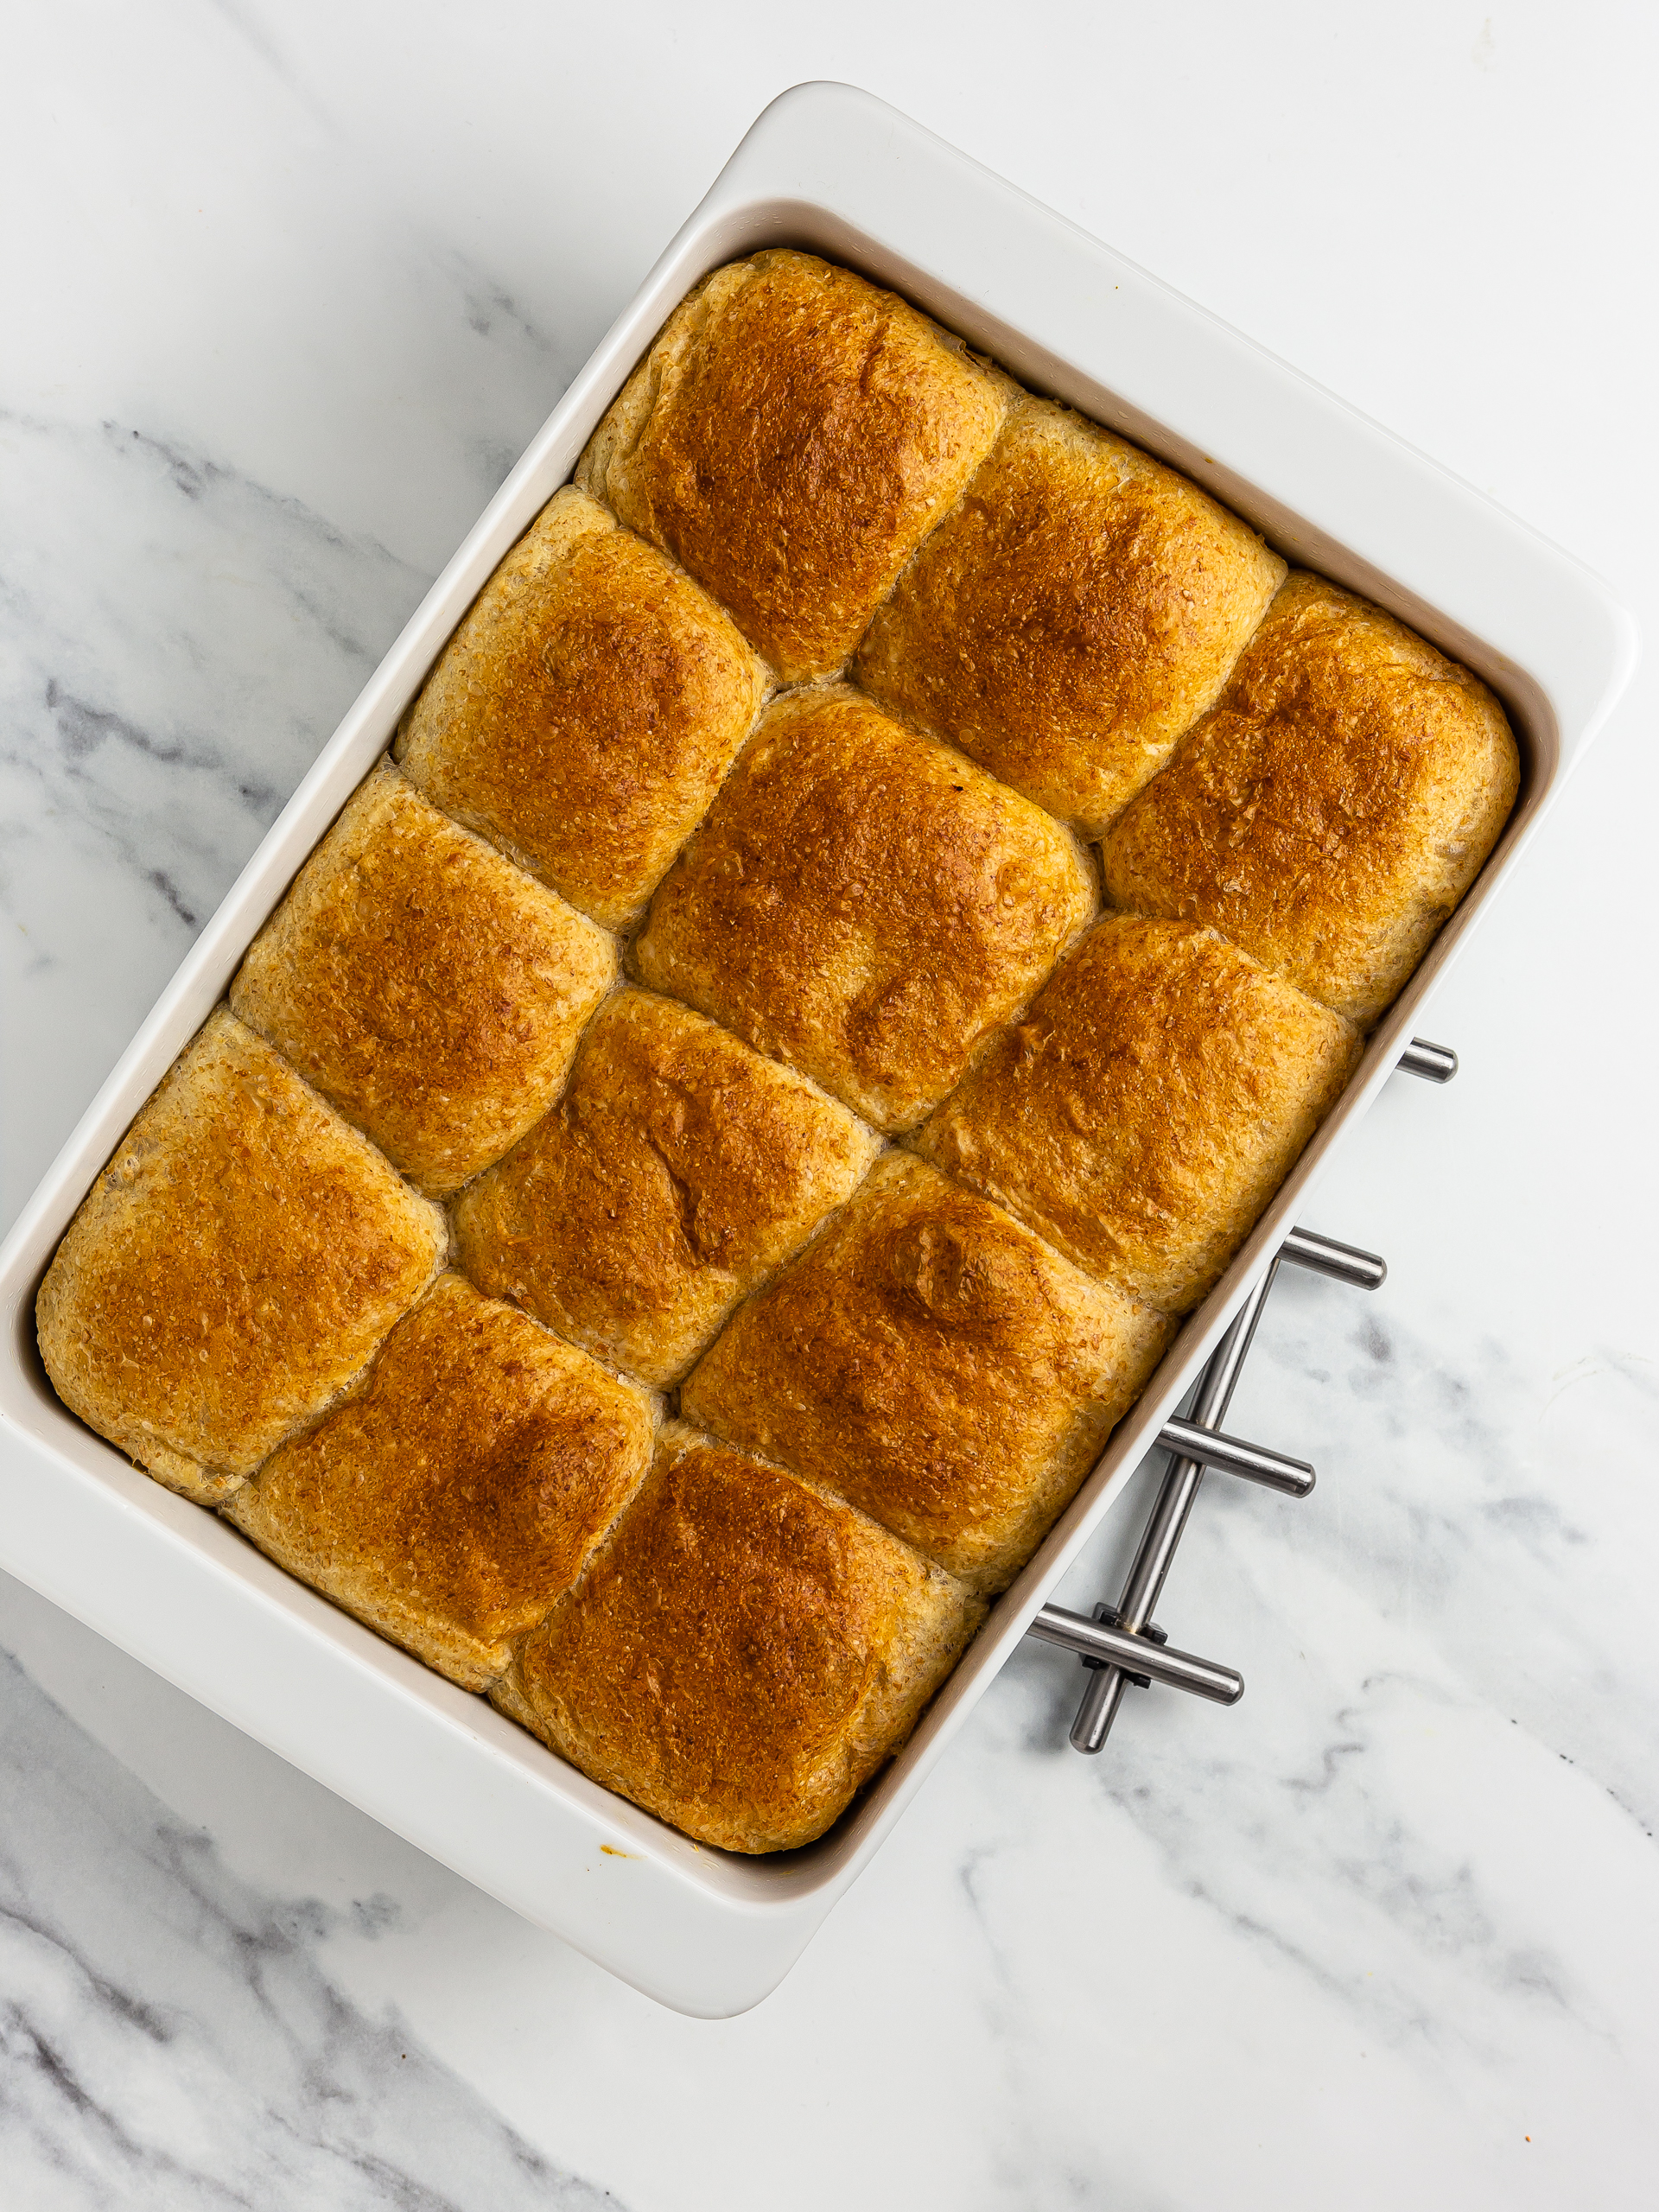
Finally, bake the Hawaiian buns for 20-25 minutes in the preheated oven at 180°C (355°F) in static mode.
Once they're nicely browned, remove the dish from the oven and leave the rolls to cool down a bit before eating them.
Tips
To make the vegan eggwash, combine 1 tbsp of almond milk with 1 tbsp of maple and 1/2 tbsp of vegetable oil. Whisk it well, and then brush the mixture over the buns.
Once they have completely cooled down, store these Hawaiian rolls away in an airtight container. Then, keep them in a cupboard for up to 4 days.
