Jams jellies and marmalade you buy in a store are delicious. Sadly, they are also packed with added sugars, which are the natural enemies of people on a diet or those suffering from diabetes. If you stick with us, we will teach you how to make a healthy plum jam without using any added sugars. This recipe is super easy to follow along, and the results are remarkable!
Inspired to the classic Italian plum preserve, we made our jam only with ripe red plums - or prunes - apples and lemons. You can spice the jelly with cinnamon, ginger, and star anise if desired.
Ripe plums and apples are a rich source of natural pectin, so we won't need any extra to make this jelly thick and glossy. Also, because fruit contains its own natural sugars, we'll hold on to our sweet tooth without compromising our waistline. Awesome!
So if you were hoping to find a healthy jam or one suitable for diabetics, you are in the right place. We have experimented with different ways to make healthy sugar free jams and compotes. If you are curious, check out our blueberry jam with flaxseeds, blackberry jam with chia seeds, and sugar-free strawberry jam.
And if you share our passion for healthy food and easy recipes subscribe to our newsletter. You'll have our newest recipes sent straight into your inbox, together with our beautiful free ebook.
NOTE: The default ingredients yield two 300 grams (0.6 lbs) jars of jam, and we calculated that one serving is 30 g (1 oz).
How long does homemade sugar-free jam without pectin last?
A well-canned jam, jelly or marmalade made with pectin and added sugars, can last up to 2 years when stored properly.
Because our plum jam recipe is made without pectin and without added sugars, the shelf life is shorter than that. You can give this jam a good 4 months shelf life by properly canning it and storing it in a cool and dry place.
Does sugar-free jam need to be refrigerated once opened?
It is a good idea to keep the jam in the fridge once opened. Once you break the seal of the can or jar, the bacteria in the air will make their way into the jam and start the process of food deterioration. You can slow down this process by keeping the jam refrigerated.
Storing the jam in a cool place is crucial for homemade jam made without pectin and added sugars, which would otherwise help preserve the jam. So we do recommend you store our plum jam in the fridge.
How to seal and preserve homemade jam without a canner?
Let's look at two ways to preserve and seal a jar of jam: the flip method and the water-bath method. We have used the flip method here, but we will describe both below.
Whatever the method, you must sterilise the container thoroughly before using it to avoid dangerous toxins to spoil the food.
Sterilise the jam jars and lids by first cleaning them with soap and rinsing thoroughly. Now dip them in a deep pan filled with water and turn on the heat. Bring the water almost to the boil and keep the jars well covered for 15 minutes. Do make sure you submerge the pots before the water is hot, to prevent the glass from shattering from thermal shock.
Let the lids dry on a rack and transfer the jars in the oven preheated at 160°C (320°F). Do not touch the inside of the jar and bottom of the lid with your bare hands to avoid contamination.
Now let's take a look at the two methods proposed earlier.
Flip Method. This method is the fastest of the two and requires no special equipment. It is the one we went with for our sugar-free plum jam.
Get the hot jar out of the oven and wait for it to cool down just enough for you to handle it. Fill the jar with jam leaving 3 cm (1 inch) headspace and using a clean non-metallic spatula, give a little stir to the jelly to get rid of any air pockets. Clean the rim of any jam residue. Now seal the jar screwing the lid firmly and very quickly flip the jar, almost simultaneously.
Water-Bath Method. This method basically consists of putting the filled jars into boiling water to pressurise them. It is ideal to use a jar rack to help keep the jars straight in the water, and jar lifter clamps to pick them up.
We will start by filling the hot jars with jam, leaving 3 cm (1 inch) headspace. While the jars are still warm, we will hand-tighten the lid firmly and submerge them in boiling water for 15 minutes, with the top facing up. Once again, it is essential that the jars are not cold or they risk shattering in boiling water due to thermal shock.
Now lift the jars out of the water and allow them to cool down for at least an hour. Finally, check that the jars are sealed by pushing on the lid with your thumb. If the lid clicks and bends, then the jam isn't sealed well, and you should consume it first, keeping it in the fridge. If the lid is firm and doesn't bend inward, then you have a secure seal and can keep your sugar-free jam stored for months.
What is the best place to keep homemade jam?
An excellent place to store canned jam or jelly is in a kitchen shelf - away from any radiator or boilers - or in a dedicated food pantry storage.
Your cellar may also be suitable for storage if the environment is not too humid. Humidity encourages mould and bacteria to thrive and spoil food. Although a well-sealed jar would minimise such risk, it is still better to keep your jam in a dry place.
Can I make this jam using prunes instead of plums?
Although some folks call plums that have been dried "prunes", the Prune is a different tree than the Plum, but they do belong to the same "family" of trees, and their taste is somewhat similar. Prunes are usually consumed dried, but if you get them nice and ripe, you can use them for this recipe just as well.
Use the same ratios of ingredients, but if you find the taste of prunes to be sour, you can add a bit of bicarbonate to the jam while it cooks.
How ripe should plums be to make jam and how to tell when they are ready?
It's best to use plums and prunes that are well ripe to make jam, especially if sugar-free. This is because plums and prunes taste a bit acidic when they are green or not yet at their peak. When ripe, they are juicier and sweet, which is ideal for us as we don't want to use added sugars for this recipe.
You can tell if a plum is ripe by touching it. If it's soft to the touch, and you can dent the fruit by gently squeezing it with your fingertips, then it's perfect. If the plum cracks when lightly pressed and if the flesh smells sour, then you waited too long! Get rid of the pit and turn the flesh into compost for your plants, or give it back to nature.
Fruits that ripen on the tree taste best. But we aren't all so lucky to always find ripe fruit at the local market. If you can't find on ripe plums, you can ripen them at home by following one of these simple techniques below.
Place the plums or prunes inside a paper bag. Now seal the bag and store it at room temperature. The ethylene gas released during ripening will stay inside the bag and hasten the overall ripening process. Open the bag occasionally to check for ripeness.
Some fruits release more ethylene than others while ripening. One such fruit is the banana. Take one or more bananas that are turning brown and place them among the plums.
Combine the techniques above by putting both plums and a browning banana inside a paper bag for maximum speed.
Ingredients
| Very Ripe Plums | 1000 g |
| Apple | 1 |
| Water | 100 mL |
| Lemon Juice | 1 tbsp |
| Cinnamon | 1/2 tsp |
| Ginger | 1/2 tsp |
Step 1
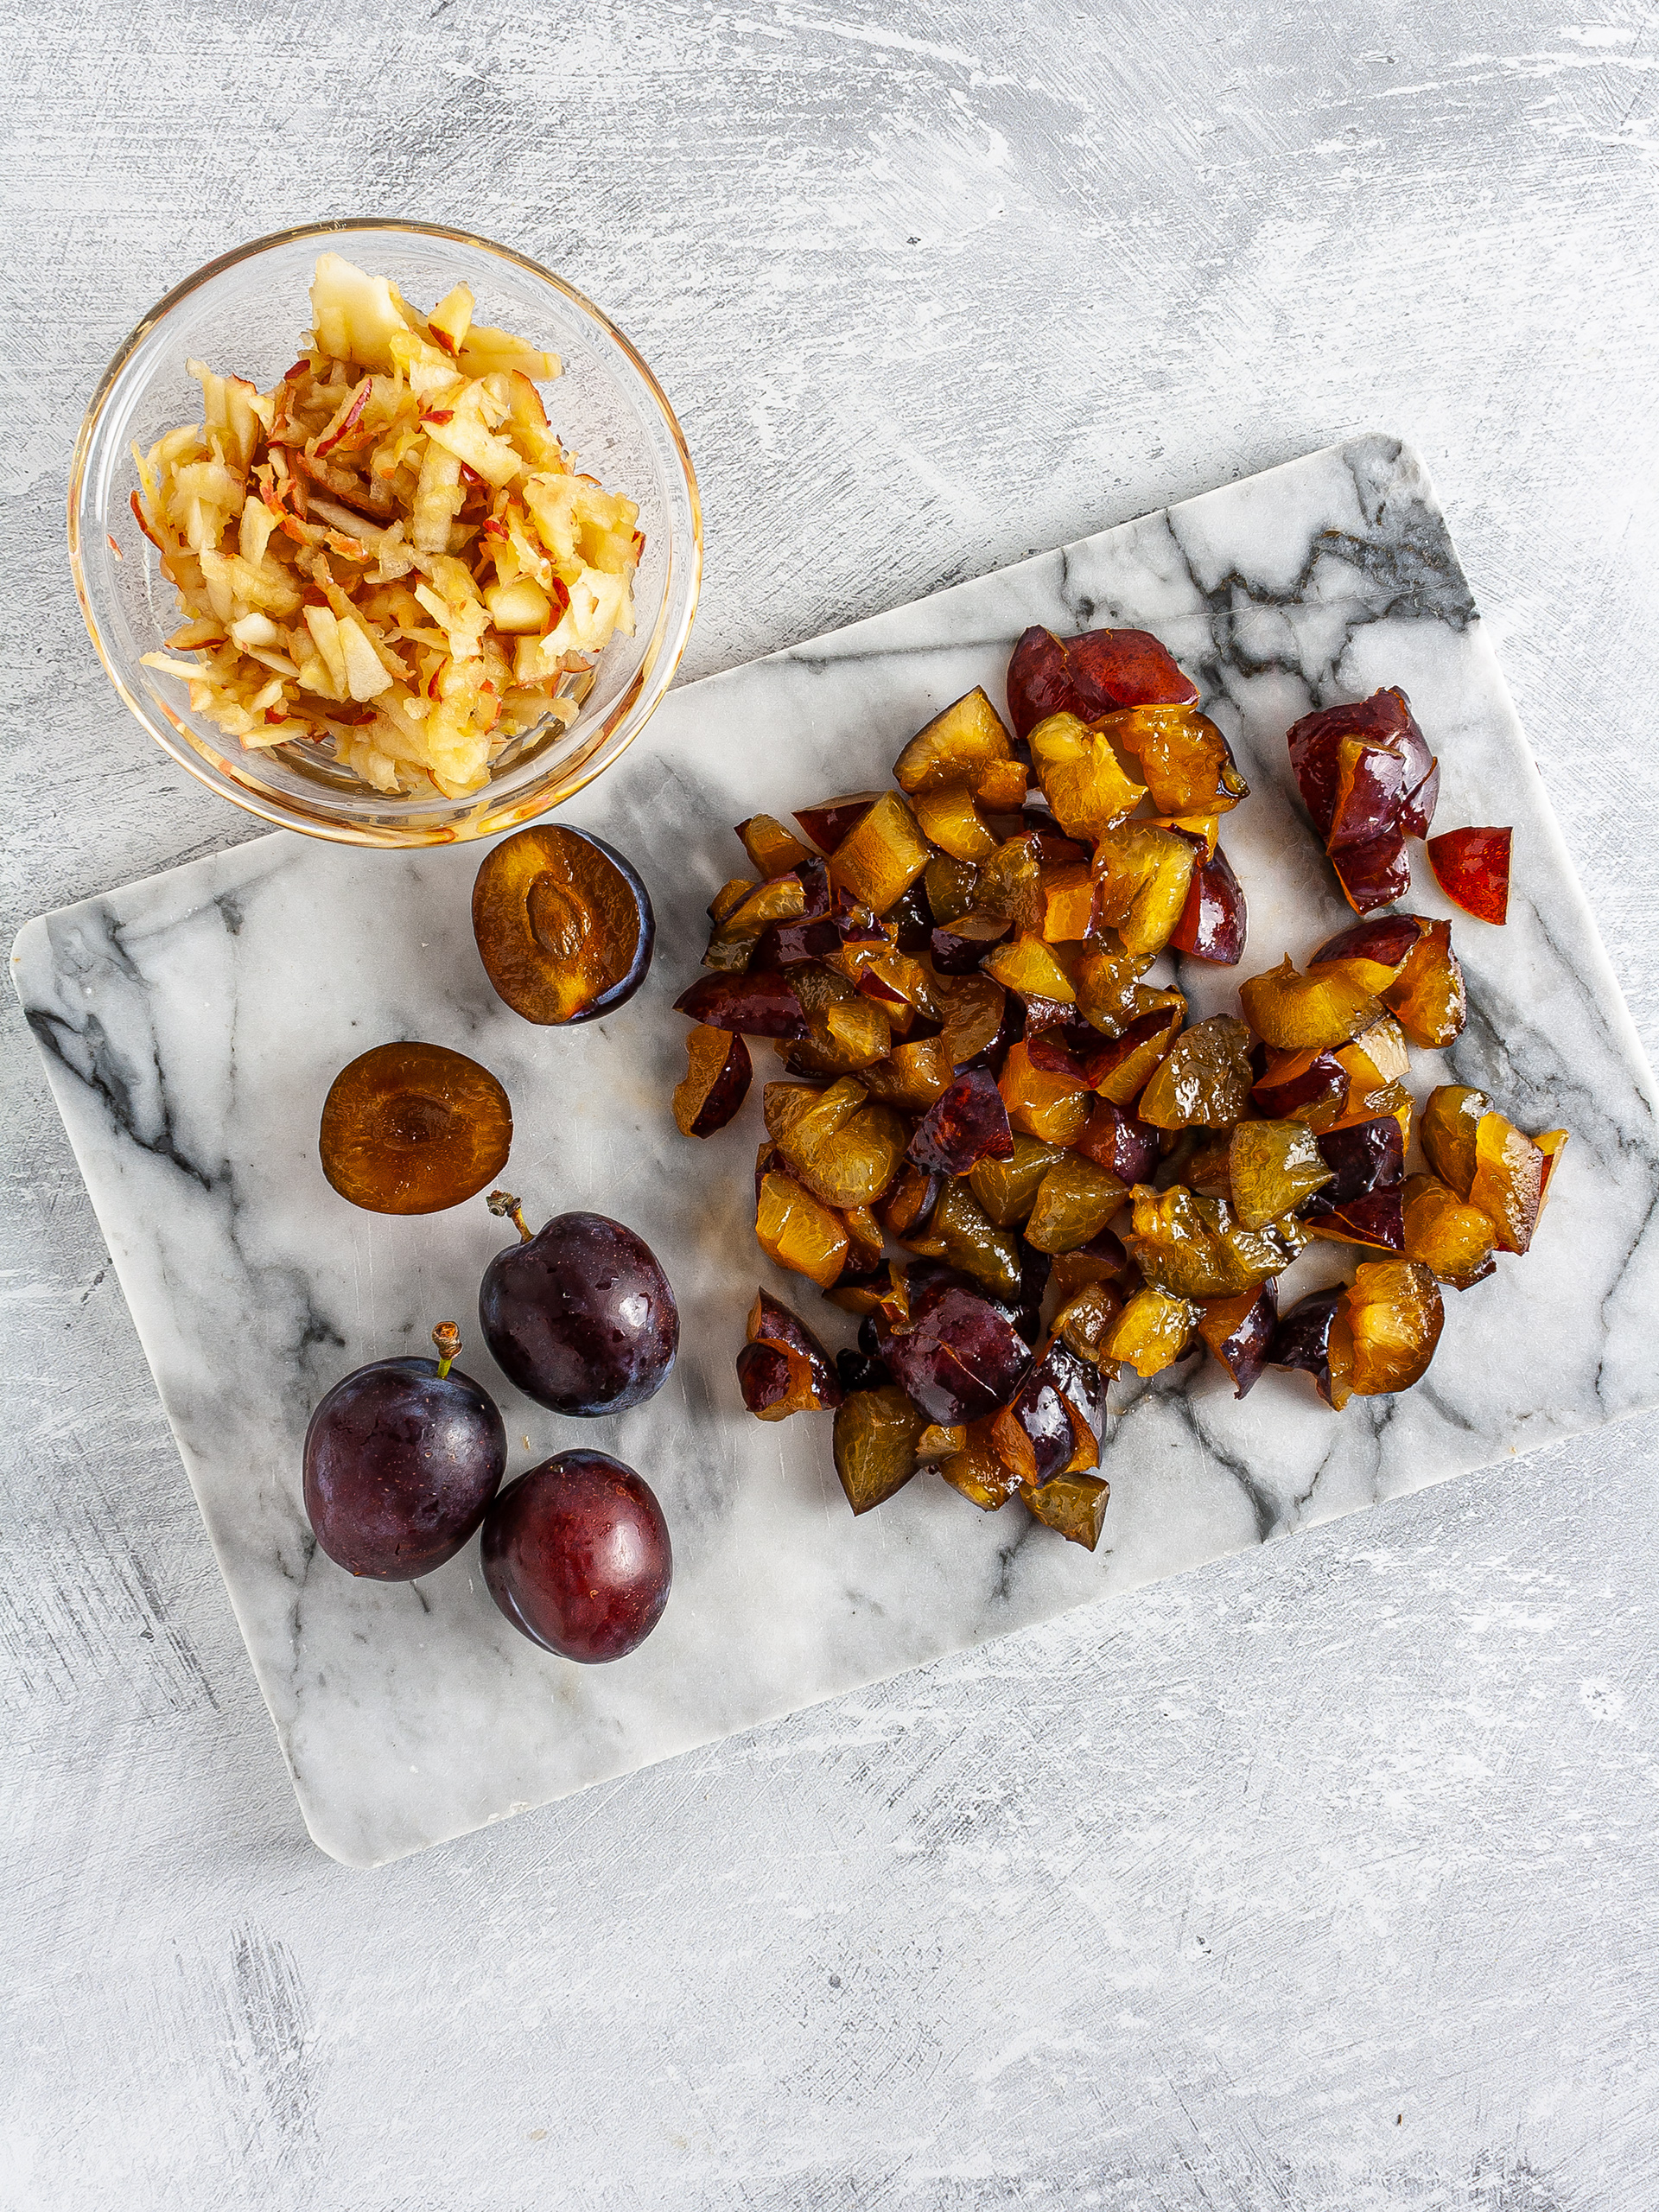
Let's start by getting the fruit ready.
Make sure the plums are ripe, they should feel very soft to the touch.
Rinse and chop the plums removing the pit, then thinly grate the apple.

Step 2
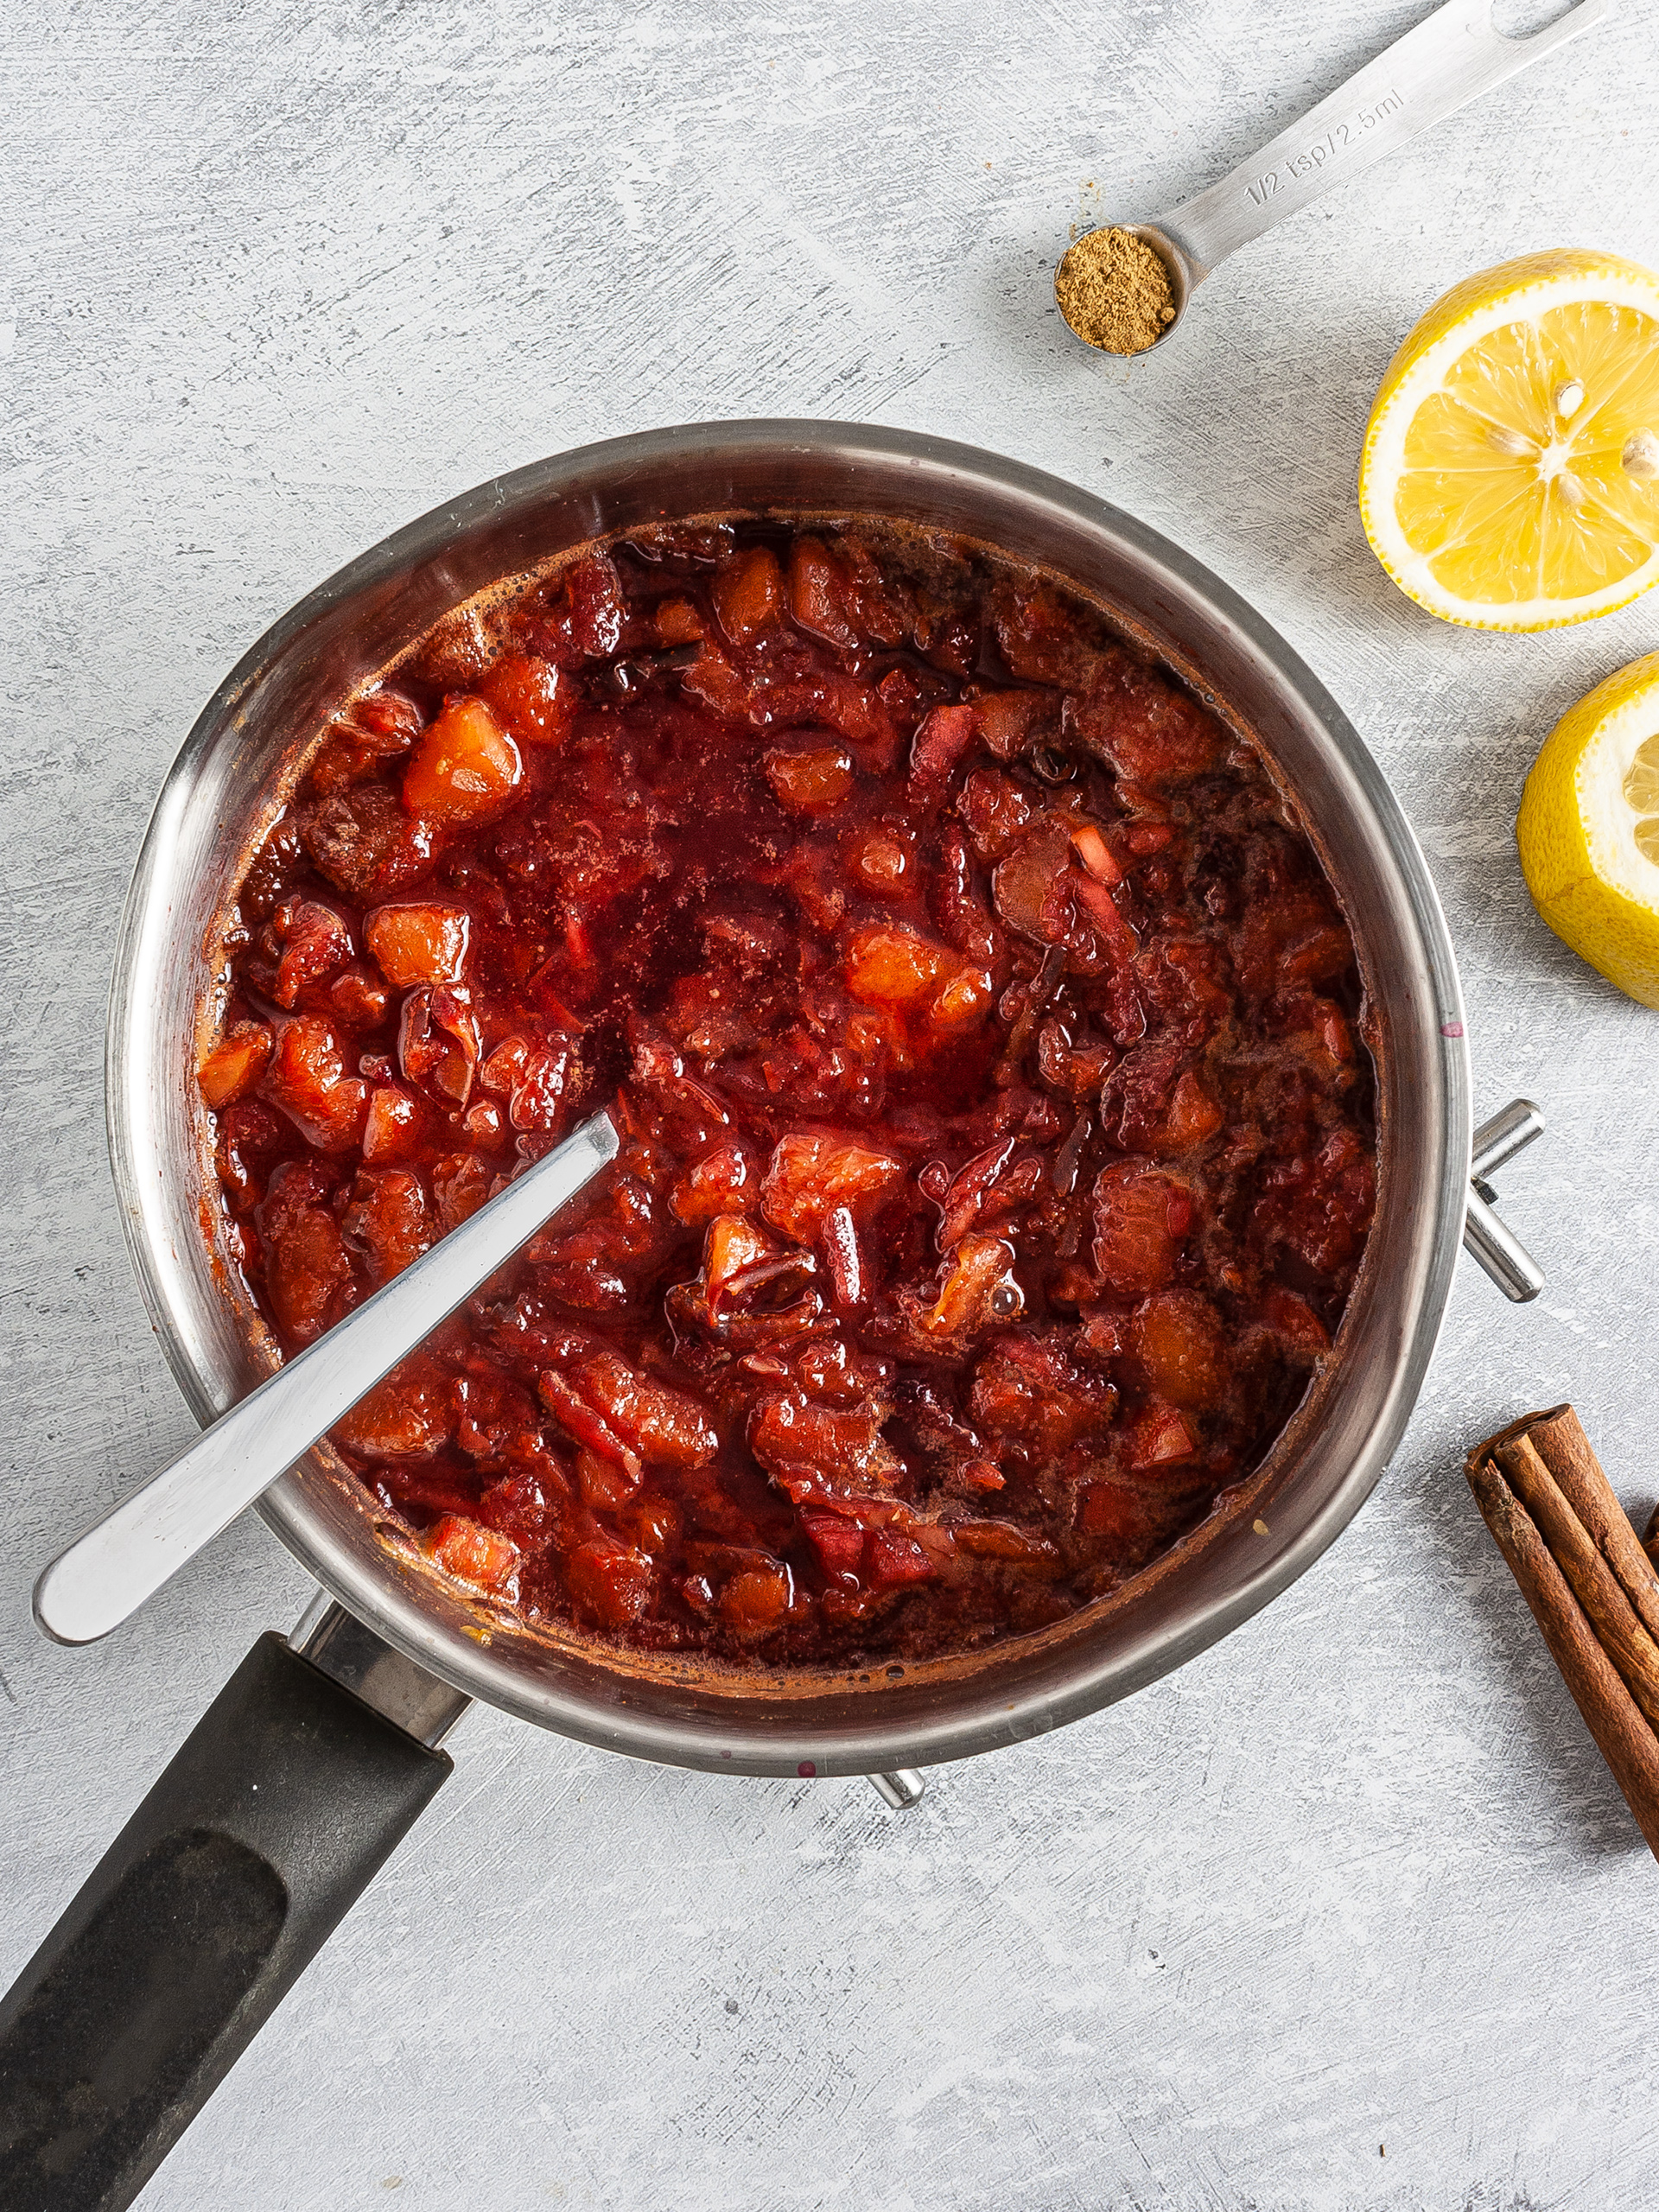
In a deep saucepan, add the prepared fruit with lemon juice. Then, stir in ground cinnamon and ginger.
Add the water to prevent the fruit from sticking to the bottom of the pan.
Cook the ingredients on a very gentle simmering for 30 minutes occasionally stirring with a spoon.

Step 3
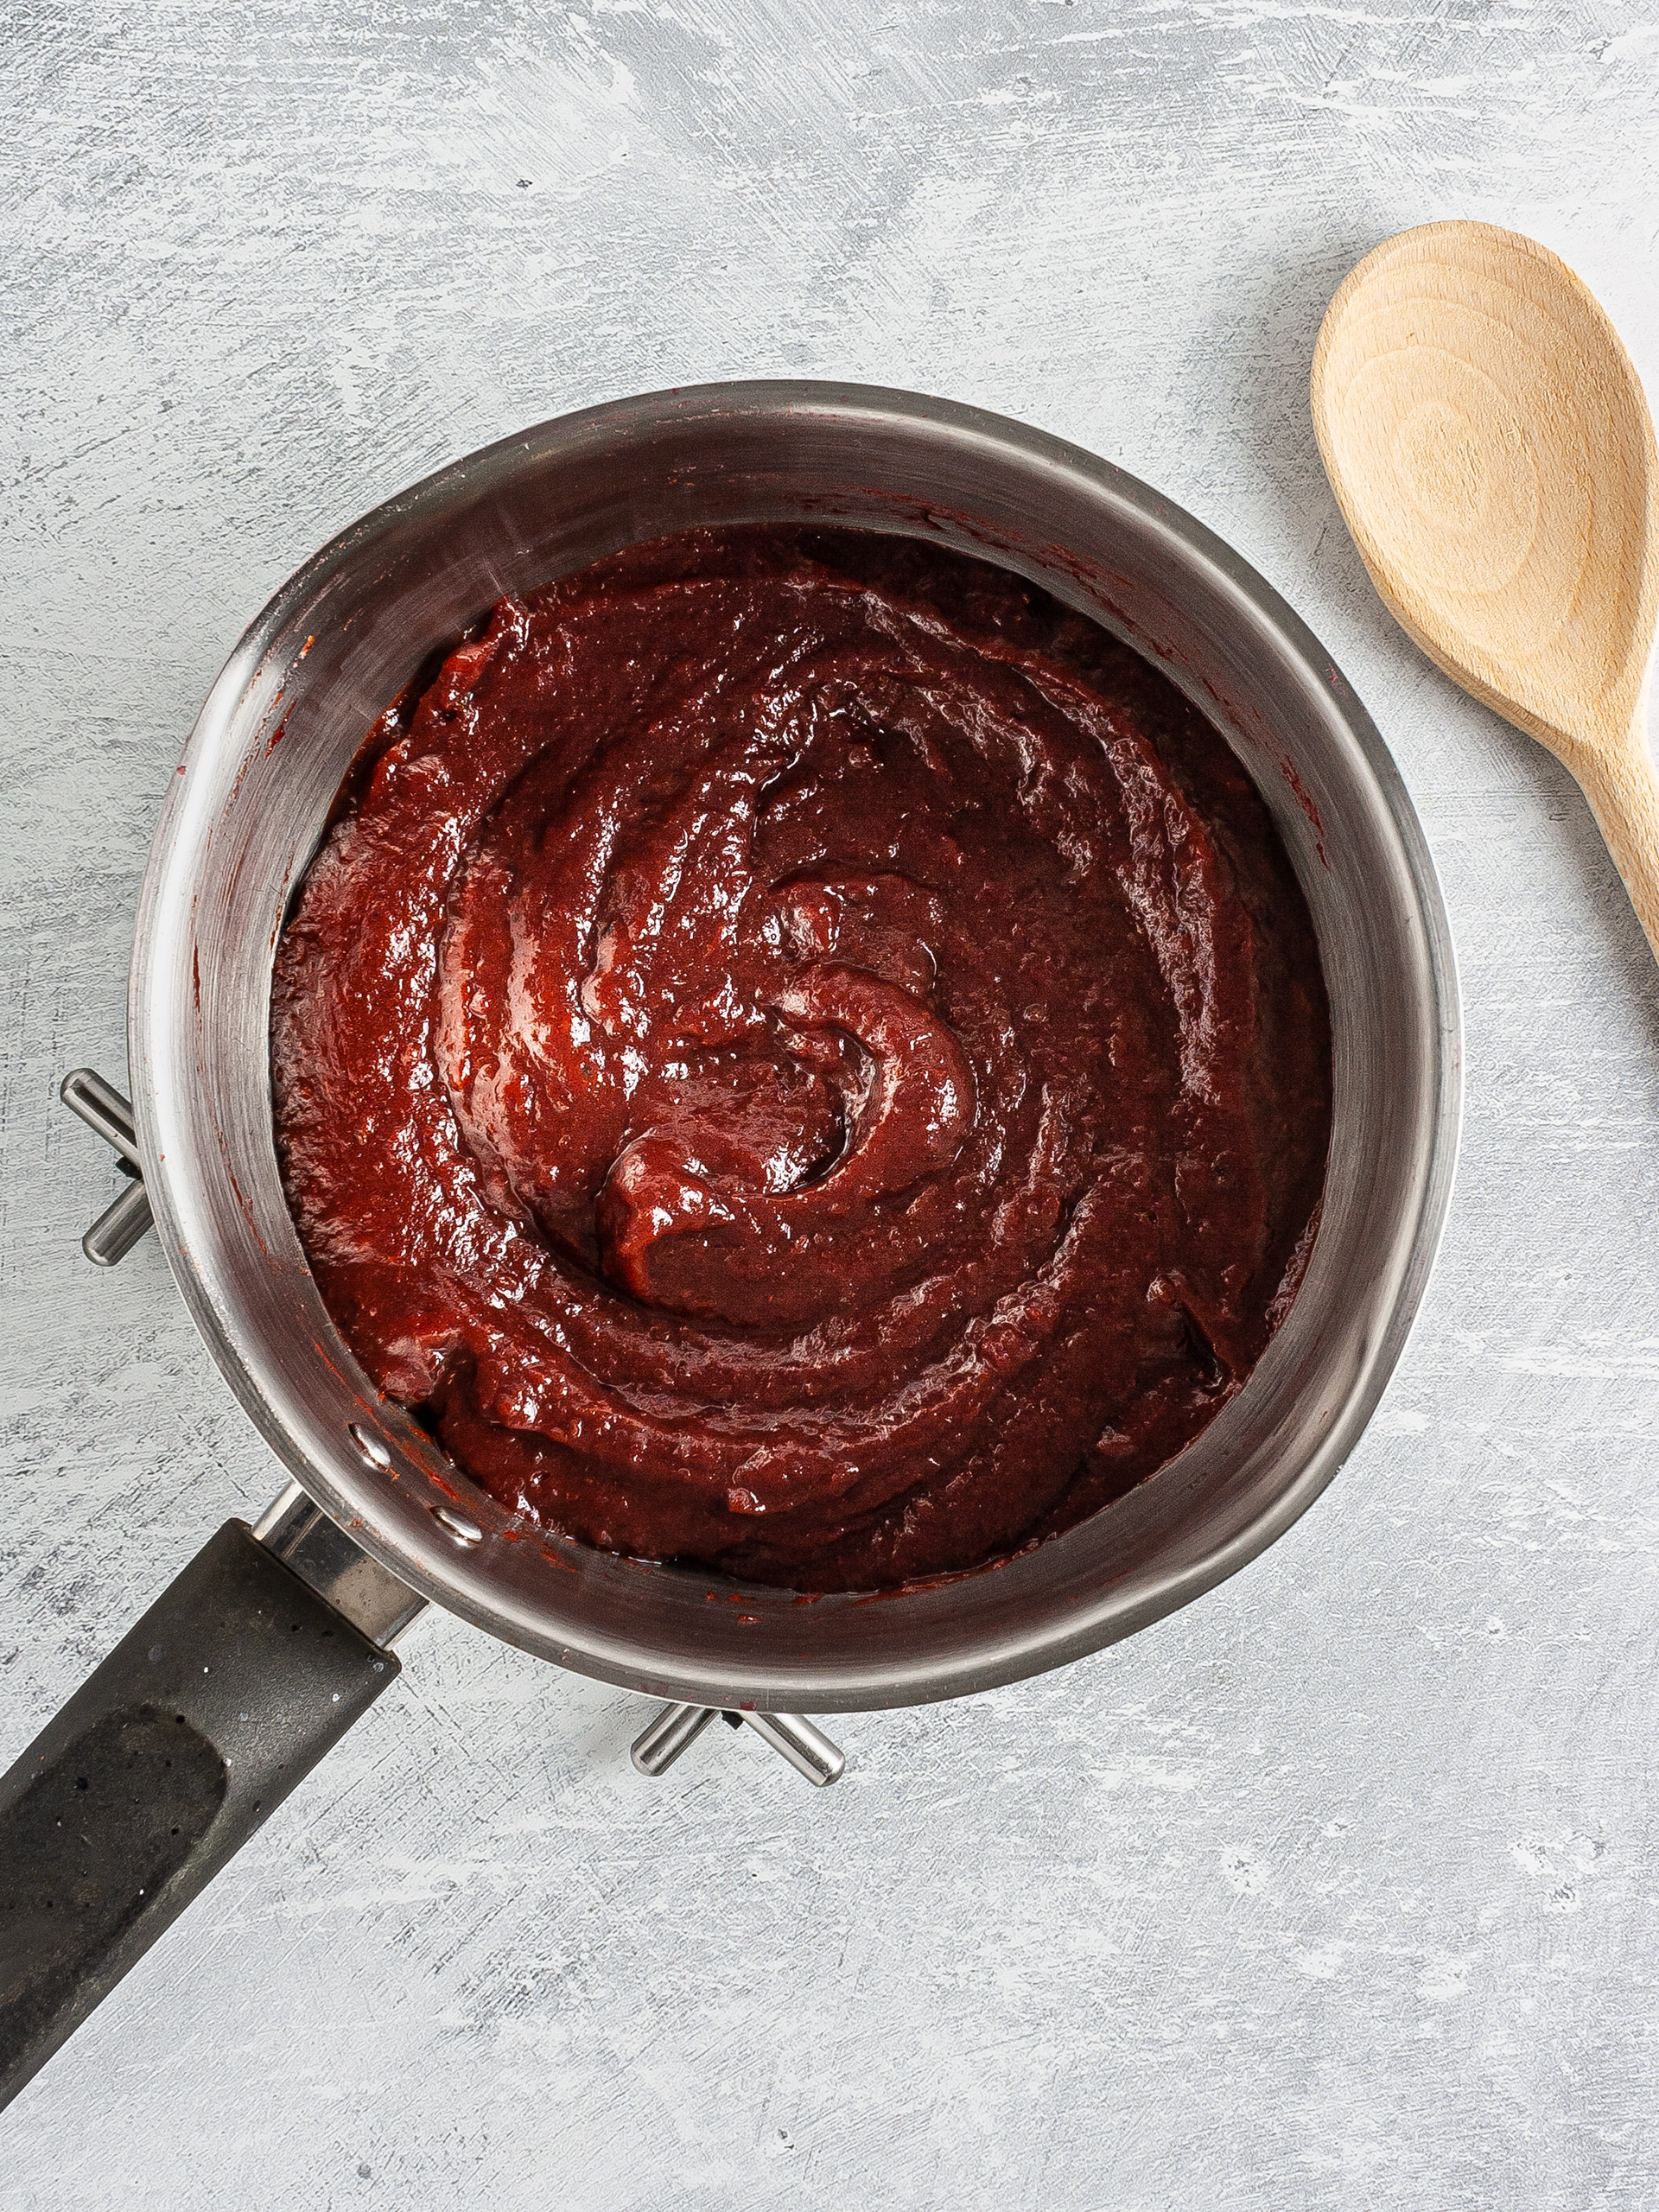
Now, bring the jam to a more vigorous boil and allow to reduce for 45 minutes.
Always keep stirring to prevent the jam from sticking to the bottom of the pan and burning.
All the water should evaporate, and the fruit pieces should turn very mushy. For a smoother preserve, you can blitz the mixture with an immersion blender.
When the marmalade looks thick and glossy, remove from the heat, and allow cooling down for a couple of minutes.
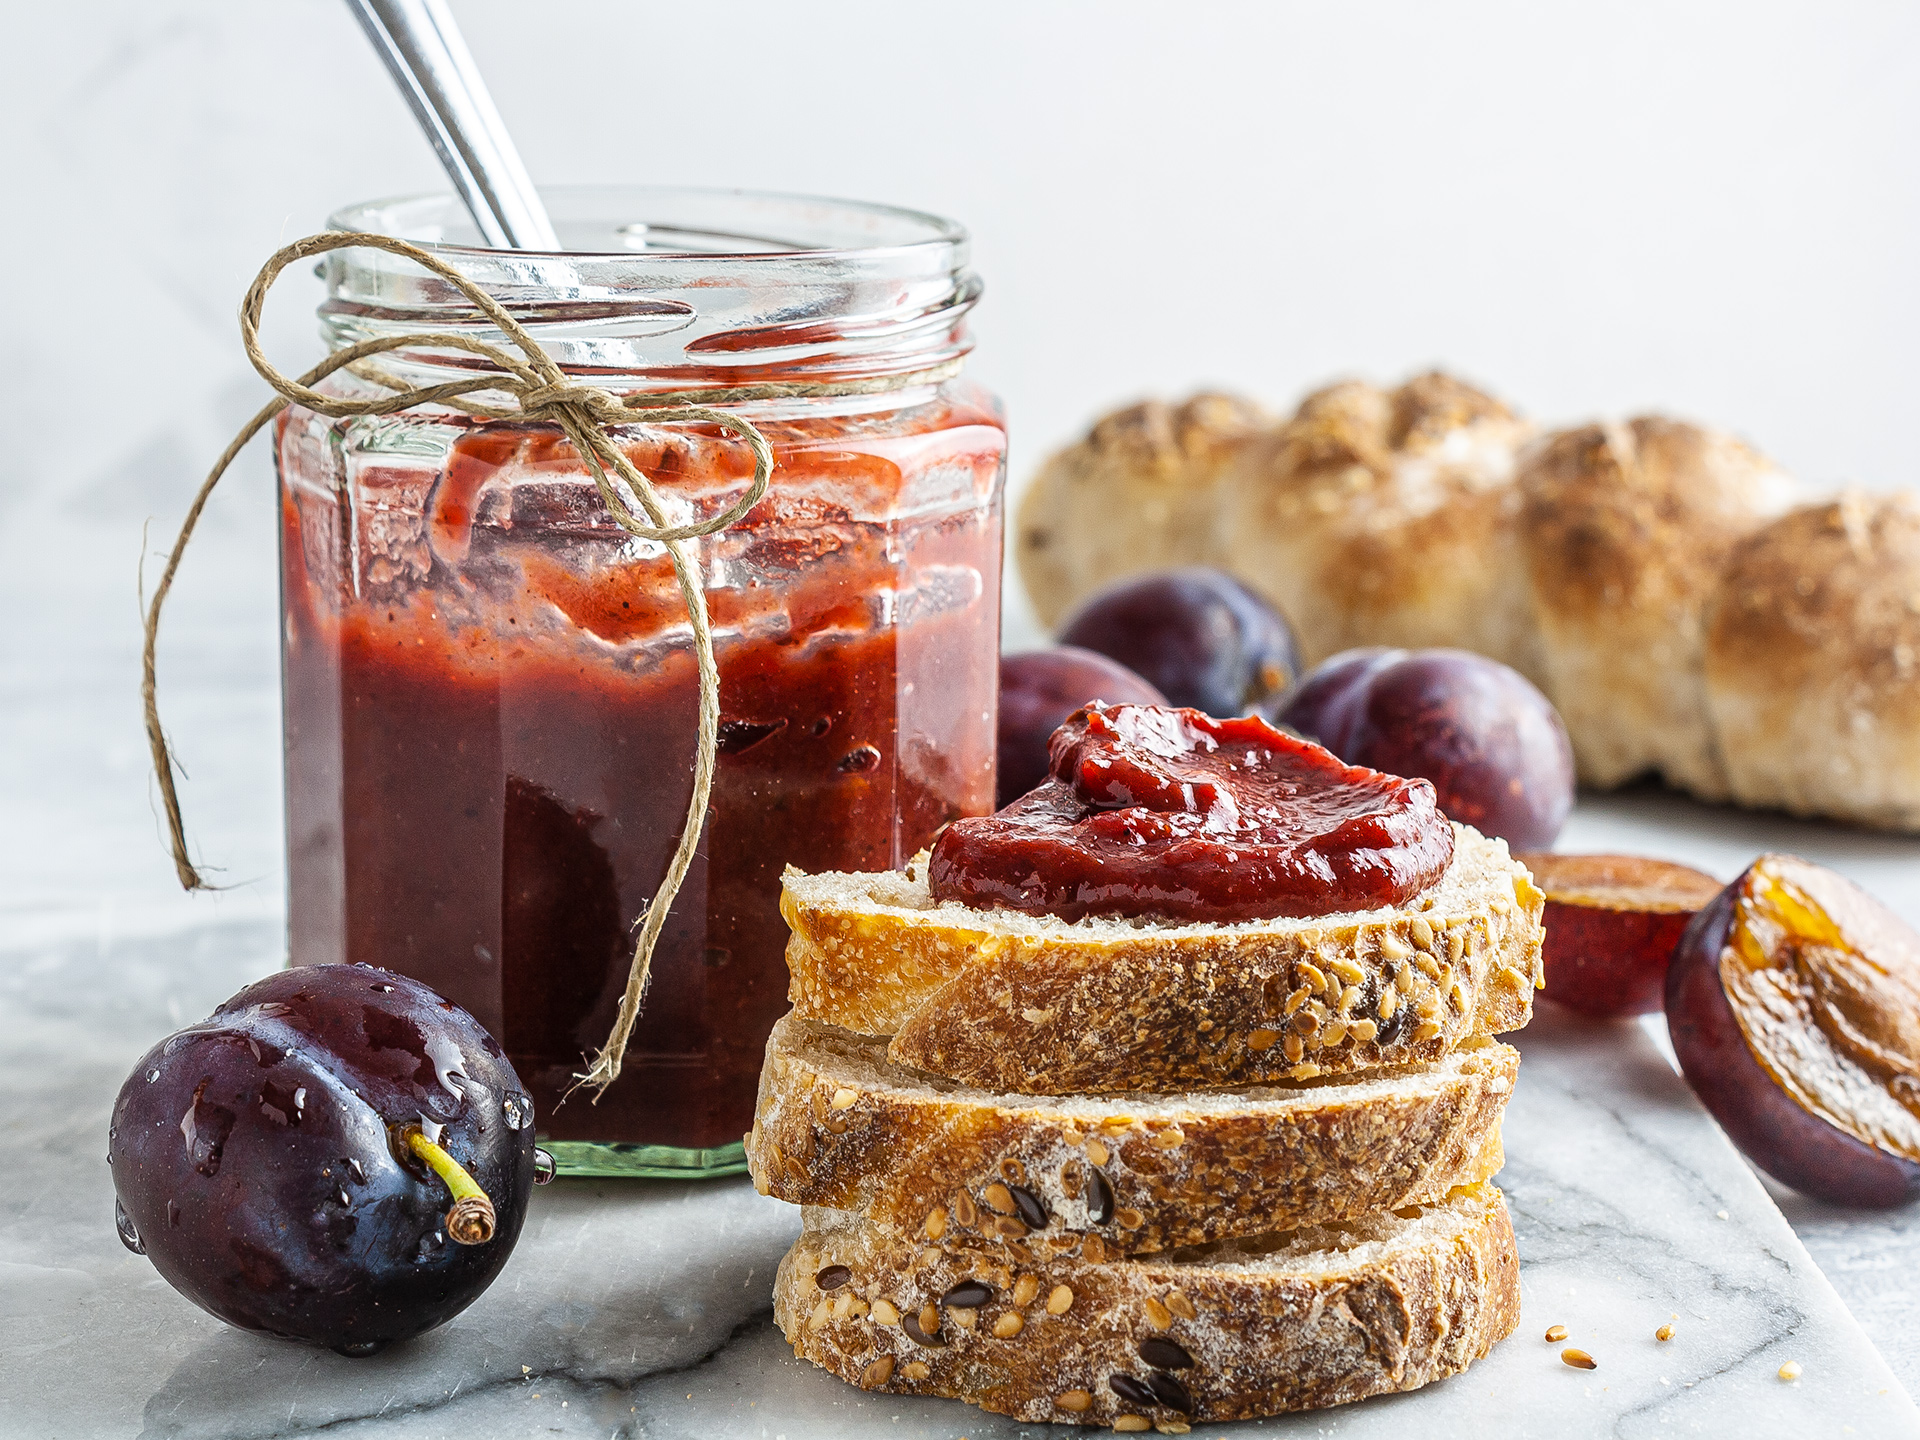
Ladle the preserve into sterilised tight-seal jars, then seal and flip them upside down to remove excess air.
Leave to cool and then store away.
Check out the FAQ below to learn more about how to sterilise and seal the jar.

Tips
On top of the spices already in the recipe, you can also use bee pollen for extra nutrition.
Using very ripe plums can make your jam sweeter. But if you really like the extra sweetness, then consider adding just a splash of maple, honey, or agave syrup, instead of white refined sugars.
